

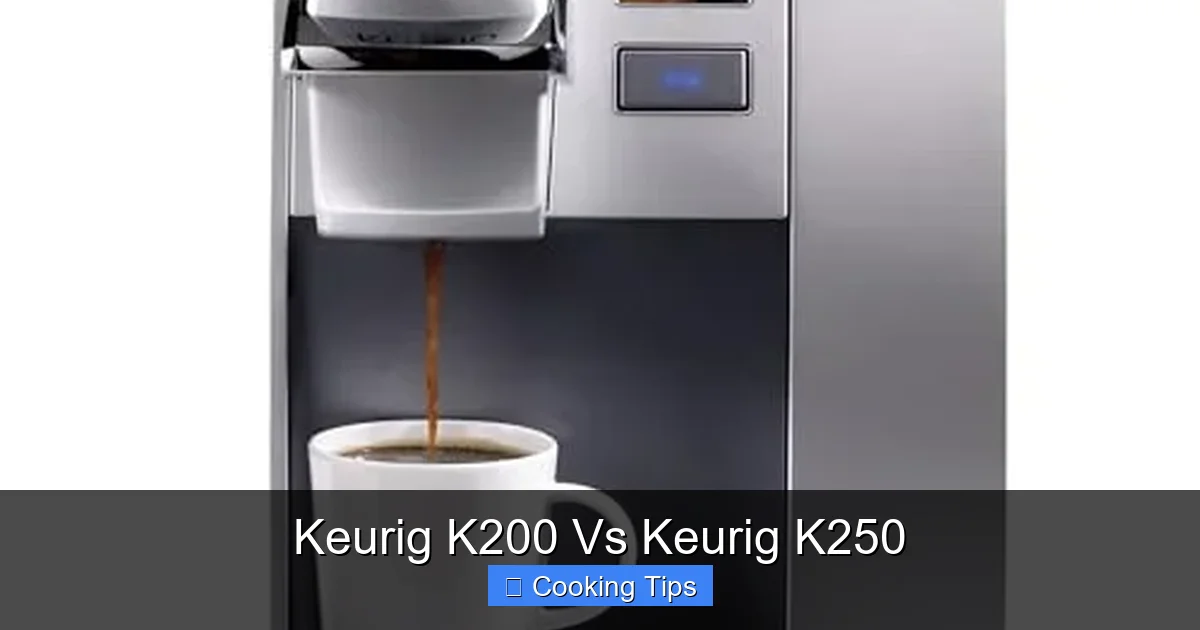
Choosing between the Keurig K200 and K250 can be confusing. This guide breaks down their similarities and differences, helping you make an informed decision. We’ll cover features, brewing capabilities, and overall value so you can select the perfect Keurig brewer for your home or office.
Keurig K200 Vs Keurig K250: Which Coffee Maker is Right For You?
Welcome to the ultimate showdown between two popular Keurig single-serve coffee makers: the Keurig K200 and the Keurig K250. If you’re in the market for a new Keurig brewer, you might be wondering what sets these two models apart. They look similar, and they both brew delicious single cups of coffee with the touch of a button. But are there any significant differences that should sway your decision?
In this comprehensive guide, we’ll dive deep into the Keurig K200 vs Keurig K250 comparison. We’ll explore their features, functionalities, strengths, and weaknesses. By the end, you’ll have a clear understanding of which brewer is the perfect fit for your lifestyle, your coffee preferences, and your budget.
Key Takeaways
- Identical Brewing Core: Both the K200 and K250 share the same fundamental brewing technology, ensuring similar coffee quality and brewing times.
- Water Reservoir Design: The primary visual and functional difference lies in their water reservoirs; the K250 features a removable reservoir, offering greater convenience.
- Ease of Cleaning and Refilling: The K250’s removable reservoir significantly simplifies the refilling and cleaning process compared to the K200’s fixed reservoir.
- Size and Footprint: While similar, slight variations in dimensions might make one a better fit for specific counter spaces than the other.
- Color Options: The K250 often boasts a wider array of color choices, allowing for more aesthetic customization in your kitchen.
- Price Point: Generally, the K250 is priced slightly higher than the K200 due to the added convenience of its removable reservoir.
- Target Audience: The K200 is ideal for budget-conscious buyers who don’t mind a less convenient refilling process, while the K250 appeals to those prioritizing ease of use.
Understanding the Keurig K200 and K250
Before we get into the nitty-gritty of the differences, let’s establish what these machines are all about. Both the Keurig K200 and K250 belong to Keurig’s K-Cup brewing system, designed for quick and convenient single-serve coffee, tea, hot chocolate, and other beverages.
They utilize K-Cups, pre-portioned pods filled with your favorite coffee grounds or other drink ingredients. You simply insert a K-Cup, select your desired brew size, and press a button. Within minutes, you have a fresh, hot beverage.
These machines are known for their simplicity and speed. They are ideal for individuals, small households, or offices where different people have different beverage preferences. No more brewing a whole pot of coffee only to have most of it go to waste!
The Core Brewing Technology: Where They’re Identical
One of the most crucial things to understand when comparing the Keurig K200 and K250 is that their fundamental brewing technology is the same. This means that when it comes to the actual process of brewing a K-Cup, you can expect very similar results from both machines.

Visual guide about Keurig K200 Vs Keurig K250
Image source: crazycoffeecrave.com
Here’s what they share:
Brewing Speed and Consistency
Both the K200 and K250 heat water rapidly and dispense it through the K-Cup at the optimal temperature and pressure for extraction. This results in a consistently brewed cup of coffee every time. You won’t experience a noticeable difference in how quickly your coffee is made or how good it tastes from one machine to the other, assuming you’re using the same K-Cup and brew size.
Brew Size Options
You’ll find that both brewers typically offer a range of brew sizes to accommodate your mug or travel cup. Common sizes include 6 oz, 8 oz, and 10 oz, and sometimes even larger options depending on the specific model variation. This flexibility allows you to customize your coffee strength.
Ease of Use
The user interface on both machines is designed to be intuitive. A few buttons allow you to select your brew size and start the brewing process. There are no complicated settings or menus to navigate, making them user-friendly for people of all ages and technical abilities.
K-Cup Compatibility
Both the Keurig K200 and K250 are fully compatible with all standard Keurig K-Cup pods. This means you have access to a vast library of brands, roasts, and flavors, from popular coffee giants to specialty roasters, as well as teas, hot chocolates, and even seasonal beverages.
The Key Differentiator: The Water Reservoir
Now, let’s get to the primary distinction that separates the Keurig K200 from the Keurig K250. It all comes down to the water reservoir.

Visual guide about Keurig K200 Vs Keurig K250
Image source: kitchenadvisor.net
Keurig K200: The Fixed Reservoir
The Keurig K200 features a fixed, non-removable water reservoir. This reservoir is typically integrated into the back or side of the machine. While it holds a decent amount of water (often around 40 oz), refilling it can be a bit more cumbersome.
How to refill the K200:
- You’ll need to bring a pitcher or jug of water to the machine.
- Carefully pour the water into the reservoir opening at the top.
- Be mindful not to overfill or spill water onto the countertop or the machine itself.
Pros of the K200’s reservoir:
- It keeps the machine’s footprint slightly smaller in some configurations.
- It’s a simpler design with fewer parts.
Cons of the K200’s reservoir:
- Refilling can be messy, especially if you have limited counter space or are using a large water bottle.
- Cleaning the reservoir can also be more challenging as you can’t detach it for a thorough scrub. You’ll likely need to use a bottle brush or sponge to reach all the internal surfaces.
- If you accidentally overfill, it can be hard to drain excess water without making a mess.
Keurig K250: The Removable Reservoir
The Keurig K250 addresses the refilling and cleaning challenge with a removable water reservoir. This reservoir is a separate, detachable unit that can be easily lifted out of the machine.
How to refill the K250:
- Simply detach the reservoir from the brewer.
- Take it to your sink and fill it up directly under the tap.
- Once filled, reattach it to the brewer.
Pros of the K250’s reservoir:
- Unmatched Convenience: This is the biggest advantage. Filling the reservoir is as easy as filling a pitcher.
- Effortless Cleaning: You can easily take the reservoir to the sink and wash it thoroughly, ensuring optimal hygiene and preventing any stale water taste.
- Less Mess: The risk of spills is significantly reduced because you’re not trying to pour water into a confined opening on the machine itself.
- Water Quality Control: If you use filtered water, you can fill the reservoir with your filtered pitcher directly.
Cons of the K250’s reservoir:
- The machine might have a slightly larger overall footprint to accommodate the detachable reservoir mechanism.
- The reservoir mechanism adds a minor complexity compared to a fixed unit, although it’s generally very durable.
Other Minor Differences and Considerations
While the water reservoir is the most significant difference, there are a few other subtle points to consider when comparing the Keurig K200 vs K250:
Visual guide about Keurig K200 Vs Keurig K250
Image source: crazycoffeecrave.com
Size and Dimensions
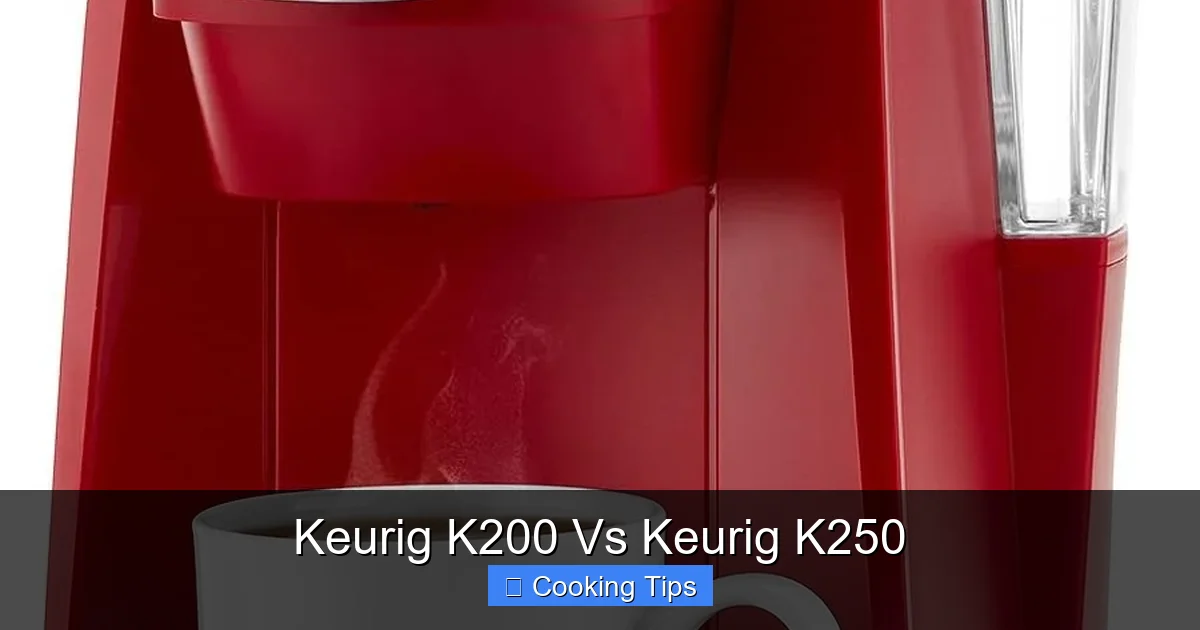
Both machines are designed to be relatively compact single-serve brewers. However, you might find slight variations in their exact dimensions. The K250, due to its removable reservoir, might be marginally wider or deeper in some instances to allow for the reservoir’s removal space. Always check the product specifications if counter space is extremely limited.
Color Options
Keurig often offers its models in a variety of colors to match different kitchen aesthetics. The K250 tends to have a broader range of color choices available, allowing you to pick a brewer that better complements your décor. The K200 might be available in fewer, more standard color options.
Price Point
Typically, the Keurig K250 is priced slightly higher than the Keurig K200. This price difference is primarily attributed to the added convenience and functionality of the removable water reservoir. If budget is your absolute top priority, the K200 might offer better value.
Who is the Keurig K200 For?
The Keurig K200 is an excellent choice for:
- Budget-conscious buyers: If you’re looking for an affordable entry into the Keurig ecosystem and the price is the most critical factor.
- Occasional users: If you only brew one or two cups a day and don’t mind the slight inconvenience of refilling a fixed reservoir.
- Those with ample counter space: Refilling a fixed reservoir is easier if you have plenty of room to maneuver a pitcher.
- Simplicity enthusiasts: If you prefer fewer moving parts and a more straightforward design, and cleaning isn’t a major concern for you.
Who is the Keurig K250 For?
The Keurig K250 is ideal for:
- Those who prioritize convenience: If you hate the idea of pouring water into a fixed reservoir and want the easiest refilling and cleaning experience possible.
- Heavy users: If you and your household brew multiple cups of coffee throughout the day, the ease of refilling the K250 will be a significant advantage.
- Anyone concerned with hygiene: The ability to easily remove and wash the reservoir makes it easier to maintain a clean brewing environment.
- Design-conscious individuals: The wider range of color options might appeal to those who want their appliances to match their kitchen’s style.
- Anyone willing to pay a little more for ease of use: The slight price increase for the K250 is often well worth the convenience it offers.
Step-by-Step Guide: Brewing Your First Cup (Applies to Both Models)
Regardless of whether you choose the Keurig K200 or K250, the brewing process is straightforward. Here’s how to make your first delicious cup:
Step 1: Prepare the Brewer
For the K200:
Open the water reservoir lid at the top of the machine and fill it with fresh, filtered water to the max fill line. Close the lid.
For the K250:
Remove the water reservoir by pulling it straight up. Fill it with fresh, filtered water to the max fill line at your sink. Reattach the reservoir securely to the brewer.
Step 2: Power On and Heat Up
Plug in the brewer and press the power button. The machine will begin to heat the water. A blue light usually indicates the heating process. Wait until the indicator light turns solid, signifying the water is ready (this usually takes 1-3 minutes).
Step 3: Place Your Mug
Open the handle at the top of the brewer and place your favorite mug on the drip tray. If you’re using a taller travel mug, you may be able to remove the drip tray to create more vertical space.
Step 4: Insert a K-Cup
Open the handle and insert a K-Cup into the K-Cup holder. Make sure to push it down firmly until it clicks into place.
Step 5: Select Your Brew Size
Close the handle completely. On the brewer’s control panel, select your desired brew size (e.g., 6 oz, 8 oz, 10 oz). Some models might also have a strength control. The lights for your selected size will illuminate.
Step 6: Brew Your Beverage
Press the “Brew” button. The machine will begin to dispense hot water through the K-Cup, creating your beverage. The brewing process typically takes about a minute.
Step 7: Enjoy!
Once the brewing is complete, carefully remove your mug. Lift the handle to eject the used K-Cup into the used K-Cup bin (if your model has one) or discard it appropriately. Your delicious, freshly brewed beverage is ready to enjoy!
Troubleshooting Common Issues
While Keurig brewers are generally reliable, you might encounter a few minor issues. Here are some common problems and their solutions:
Brewer Not Turning On
Possible Cause: Not plugged in, or power interruption.
Solution: Ensure the brewer is securely plugged into a working outlet. Check your home’s circuit breaker.
Brewer Not Brewing
Possible Cause: Water reservoir is empty or not seated correctly, K-Cup not pierced properly, or the machine needs descaling.
Solution: Check the water level in the reservoir and refill if necessary. Ensure the reservoir is properly seated (especially on the K250). Make sure the K-Cup is fully inserted. If the problem persists, descale your brewer.
Coffee Tastes Weak or Watery
Possible Cause: Incorrect brew size selected, K-Cup not fully inserted, or the brewer needs descaling.
Solution: Select a smaller brew size for a stronger coffee. Ensure the K-Cup is firmly seated. Descale the brewer.
Brewer Making Unusual Noises
Possible Cause: Air in the pump system, or the brewer needs descaling.
Solution: Try brewing a few cups of water without a K-Cup to help purge air. If noises persist or are loud, descale the brewer. If the problem continues after descaling, contact Keurig support.
Conclusion: Making Your Final Choice
When it comes down to the Keurig K200 vs Keurig K250, the decision largely hinges on your preference for convenience and your budget. Both machines deliver the same quality of coffee and offer a similar user experience in terms of brewing.
If you’re looking for the most budget-friendly option and don’t mind the occasional slight inconvenience of refilling a fixed reservoir, the Keurig K200 is a solid choice. It gets the job done efficiently and affordably.
However, if you value ease of use, effortless cleaning, and a hassle-free refilling process, and you’re willing to invest a little more, the Keurig K250 is the clear winner. The removable water reservoir significantly enhances the daily user experience, making it a more enjoyable appliance to own and operate.
Ultimately, both are fantastic single-serve coffee makers. Consider how often you’ll use it, how important convenience is to you, and what your budget allows. Whichever you choose, you’re sure to enjoy the simplicity and taste of your favorite K-Cup beverages!
