
Unlock the secret to perfectly cooked chicken breast in your air fryer! This comprehensive guide walks you through the optimal cooking times and temperatures for various thicknesses, ensuring juicy, tender, and flavorful results every time. Learn essential preparation, seasoning, and resting techniques for air fryer chicken breast that will become a go-to weeknight meal. Say goodbye to dry, bland chicken and hello to deliciousness!
How Long to Cook Chicken Breast in Air Fryer
Welcome to your ultimate guide to mastering chicken breast in the air fryer! If you’re looking for a way to cook chicken that’s both incredibly fast and results in wonderfully juicy, tender, and flavorful meat, you’ve come to the right place. The air fryer is a game-changer for chicken breast, transforming a notoriously easy-to-dry protein into a weeknight dinner superstar.
Gone are the days of bland, overcooked chicken. With this guide, you’ll learn the precise cooking times, the ideal temperatures, and all the essential tips and tricks to guarantee perfection every single time. We’ll cover everything from preparing your chicken to knowing when it’s perfectly done. Get ready to elevate your air fryer cooking!
Key Takeaways
- Perfect Cooking Time Varies: The ideal cooking time for air fryer chicken breast depends on thickness, ranging from 15-25 minutes.
- Temperature is Crucial: A consistent temperature of 375°F (190°C) is generally best for achieving crispy exteriors and cooked interiors.
- Internal Temperature is King: Always use a meat thermometer to ensure the chicken reaches an internal temperature of 165°F (74°C) for safety and doneness.
- Preheating Matters: Preheating your air fryer ensures even cooking and helps achieve that desirable crispy texture from the start.
- Don’t Overcrowd: Cook chicken in a single layer without overlapping for optimal air circulation and even cooking.
- Resting is Essential: Allowing the chicken breast to rest for 5-10 minutes after cooking allows juices to redistribute, ensuring moistness.
- Marinades & Seasonings Enhance Flavor: Properly seasoned or marinated chicken breast yields a tastier final product.
The Magic of Air Frying Chicken Breast
Before we dive into the “how,” let’s briefly touch upon “why” the air fryer is so fantastic for chicken breast. An air fryer works by circulating hot air around your food, creating a convection effect. This means your chicken breast gets that desirable crispy exterior while staying incredibly moist and tender on the inside. It’s like a mini convection oven, but faster and more energy-efficient for smaller portions.
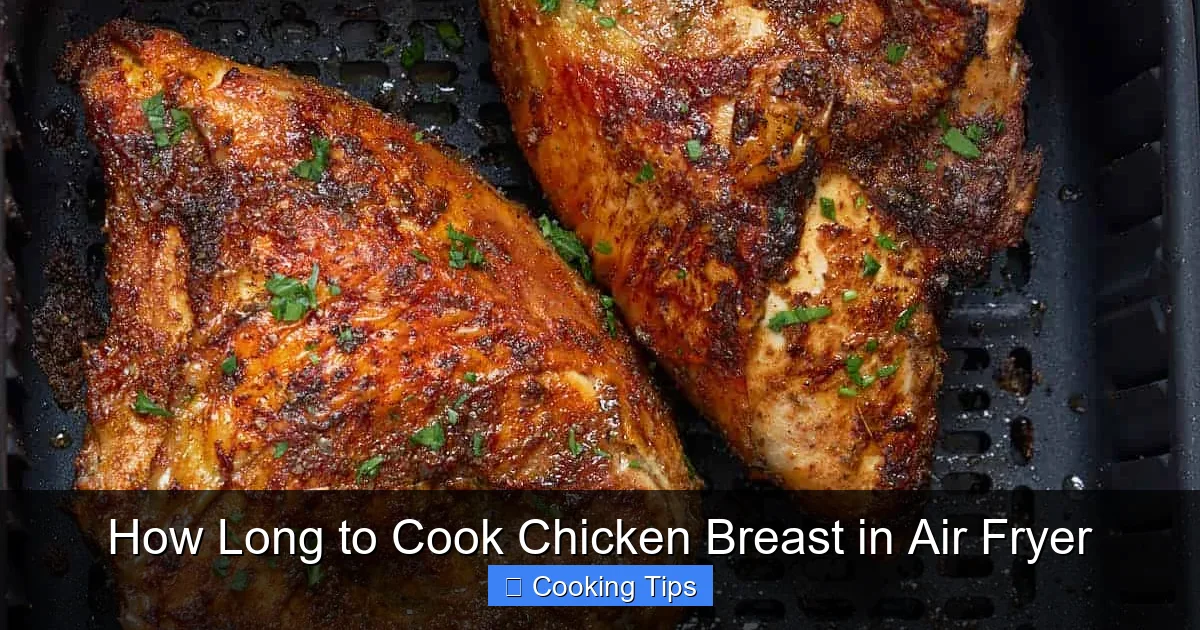
Step-by-Step Guide to Air Fryer Chicken Breast

Visual guide about How Long to Cook Chicken Breast in Air Fryer
Image source: cravingtasty.com
Cooking chicken breast in the air fryer is straightforward, but a few key steps make all the difference.
1. Preparation is Key
Proper preparation ensures your chicken cooks evenly and tastes amazing.
a. Choose Your Chicken
Start with good quality chicken breast. Boneless, skinless chicken breasts are the most common and easiest to work with. You can use whole breasts or cut them into smaller pieces, like tenders or cubes.
b. Pounding for Evenness (Optional but Recommended)
This is a crucial step for achieving even cooking. Chicken breasts are often thicker at one end than the other. To ensure they cook uniformly, pound the thicker end with a meat mallet or the flat side of a heavy pan until the entire breast is roughly the same thickness (about ½ to ¾ inch thick). Place the chicken between two sheets of plastic wrap or parchment paper before pounding to avoid mess.
c. Seasoning and Marinating
This is where you build flavor!
* Simple Seasoning: A generous rub of salt, black pepper, garlic powder, and paprika is a classic for a reason. Don’t be shy with the seasonings!
* Herbs and Spices: Experiment with dried herbs like thyme, rosemary, or Italian seasoning. For a kick, try cayenne pepper or chili powder.
* Marinades: Marinades add incredible moisture and flavor. Popular options include Italian dressing, soy sauce and ginger, lemon and herb, or yogurt-based marinades. Marinate for at least 30 minutes, or up to 4 hours in the refrigerator. If marinating, be mindful of the salt content in your marinade, and adjust your added salt accordingly.
2. Preheating Your Air Fryer
Just like preheating a regular oven, preheating your air fryer is essential. It ensures that when you place your chicken inside, it immediately starts cooking at the correct temperature. This leads to better texture and prevents the chicken from becoming soggy.
* Temperature: Set your air fryer to 375°F (190°C).
* Time: Preheat for 3-5 minutes. You should feel hot air circulating from the basket.
3. Arranging the Chicken in the Air Fryer Basket
This step is vital for achieving that perfect crispy exterior.
* **Single Layer:** Place the seasoned or marinated chicken breasts in a single layer in the air fryer basket.
* **No Overlapping:** Ensure the chicken pieces are not touching or overlapping. This allows the hot air to circulate freely around each piece, cooking it evenly and creating a crispy surface. If necessary, cook in batches. Overcrowding the basket is a common mistake that leads to unevenly cooked, steamed chicken.
4. The Crucial Cooking Time and Temperature
This is where the main question is answered! The cooking time for air fryer chicken breast will vary primarily based on the thickness of the breast.
a. General Guidelines
For a standard ½ to ¾-inch thick boneless, skinless chicken breast at 375°F (190°C):
* **Initial Cooking Time:** Start with approximately 15-20 minutes.
* **Flipping Halfway:** Around the 8-10 minute mark, carefully pull out the air fryer basket and flip each chicken breast. This ensures both sides get equally crispy and cook through.
b. Adjusting for Thickness
* **Thicker Breasts (¾ to 1 inch):** These may require a bit longer, closer to 20-25 minutes.
* **Thinner Breasts (½ inch or less):** These might be done in as little as 12-15 minutes.
c. Checking for Doneness
The most reliable way to know if your chicken is cooked is by using an instant-read meat thermometer.
* **Target Temperature:** Insert the thermometer into the thickest part of the chicken breast. It should register an internal temperature of 165°F (74°C). This is the safe internal temperature for poultry.
* **Visual Cues:** If you don’t have a thermometer, the juices should run clear when pierced with a fork, and the flesh should be opaque white throughout. However, a thermometer is always the most accurate method.
d. Adjusting Temperature for Crispiness
If you find your chicken is cooked through but you want it crispier, you can sometimes increase the temperature to 400°F (200°C) for the last 2-3 minutes. Watch it closely to prevent burning.
5. The All-Important Resting Period
Don’t skip this step! Once your chicken reaches the safe internal temperature, remove it from the air fryer basket and place it on a clean cutting board or plate. Tent it loosely with aluminum foil.
* **Resting Time:** Let the chicken rest for 5-10 minutes.
* **Why it Matters:** During cooking, the juices in the chicken are pushed to the center. Resting allows these juices to redistribute throughout the meat. If you cut into it immediately, all those delicious juices will run out, leaving you with drier chicken.
6. Slicing and Serving
After resting, your perfectly cooked chicken breast is ready to be sliced and served! It’s delicious in salads, sandwiches, wraps, or as a main dish with your favorite sides.
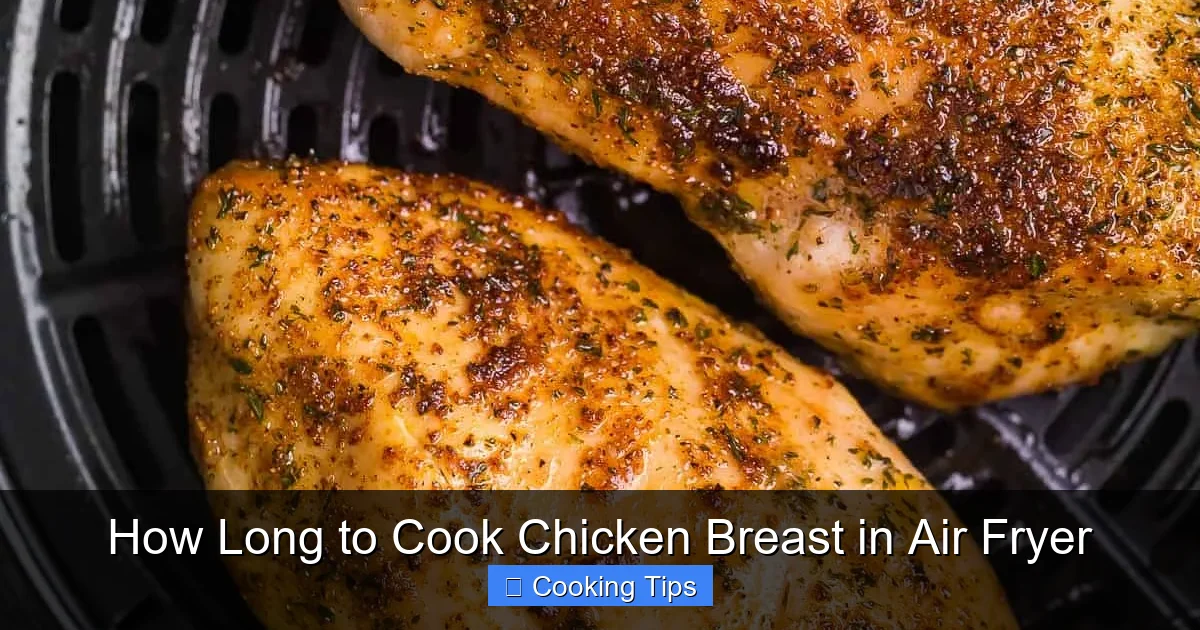
Tips for Perfect Air Fryer Chicken Breast
Visual guide about How Long to Cook Chicken Breast in Air Fryer
Image source: enjoycleaneating.com
* **Pat Dry:** Before seasoning or marinating, pat your chicken breasts completely dry with paper towels. This helps the seasonings adhere better and promotes a crispier exterior.
* **Don’t Overcook:** Chicken breast cooks very quickly in an air fryer. It’s better to check early and add a few more minutes if needed than to overcook it.
* **Learn Your Air Fryer:** Every air fryer is a little different. The times and temperatures in this guide are excellent starting points, but you may need to make slight adjustments based on your specific model. Keep notes on what works best for your air fryer.
* **Bone-in vs. Boneless:** Bone-in chicken breasts will take longer to cook. Adjust your times accordingly and always rely on a thermometer.
* **Frozen Chicken:** You can air fry frozen chicken breast, but it will take longer. Add about 5-10 minutes to the cooking time and check the internal temperature carefully. It’s generally recommended to thaw chicken for best results.
Troubleshooting Common Air Fryer Chicken Breast Issues
Visual guide about How Long to Cook Chicken Breast in Air Fryer
Image source: thereciperebel.com
* **Chicken is Dry:** This is usually due to overcooking. Make sure you’re checking the internal temperature with a thermometer and resting the chicken after cooking. Also, ensure you aren’t overcrowding the basket.
* **Chicken is Soggy:** This can happen if you don’t preheat the air fryer, overcrowd the basket, or if the chicken isn’t patted dry. Ensure good air circulation.
* **Uneven Cooking:** If your chicken breast is very uneven in thickness, it will cook unevenly. Pounding it to an even thickness before cooking is the best solution.
* **Burned Exterior, Undercooked Interior:** This can occur if the temperature is too high for too long, or if the chicken is too thick and hasn’t had enough time to cook through. Try a slightly lower temperature for longer, or ensure you’re flipping halfway.
Conclusion
Cooking chicken breast in the air fryer is one of the easiest and most rewarding ways to prepare this versatile protein. By following these simple steps, understanding the importance of cooking times, temperatures, and using a meat thermometer, you’ll achieve consistently delicious, juicy, and tender results.
Remember to preheat, season generously, don’t overcrowd, check for doneness with a thermometer, and always let it rest. Your air fryer chicken breast will become a staple in your meal rotation, perfect for quick weeknight dinners, meal prep, or adding to your favorite recipes. Happy air frying!