
Unlock the secret to perfectly crispy tater tots in your air fryer! This guide details the optimal cooking time and temperature, along with essential tips for achieving golden-brown perfection. Learn how to prepare your tater tots for the best results, and discover solutions to common air fryer issues. Get ready for consistently delicious air fryer tater tots!
How Long to Cook Tater Tots in Air Fryer
Tater tots! Those golden, crispy, potato-y delights are a crowd-pleaser for a snack, a side dish, or even a fun appetizer. While baking them in the oven works, there’s a faster, often crispier, and more energy-efficient way to achieve potato perfection: the air fryer! If you’re wondering just how long to cook tater tots in your air fryer to get that ideal crunch without burning them, you’ve come to the right place. This guide will walk you through everything you need to know to achieve consistently delicious air fryer tater tots every single time.
We’ll cover the essential cooking times and temperatures, explain why certain steps are crucial for success, and even offer some tips for when things don’t go exactly as planned. So, grab your favorite bag of frozen tater tots, and let’s get air frying!
Key Takeaways
- Optimal Cooking Time Varies: Most frozen tater tots cook best between 12-18 minutes in the air fryer.
- Temperature is Key: A consistent temperature of 400°F (200°C) is ideal for achieving crispiness.
- Shake for Even Cooking: Shaking the basket halfway through the cooking time ensures all tots get evenly golden and crispy.
- Don’t Overcrowd: Air circulation is crucial; cook tots in a single layer for the best texture.
- Preheating Matters: Preheating your air fryer helps start the cooking process immediately, leading to crispier results.
- Seasoning is Personal: Add your favorite seasonings before or after cooking, depending on your preference.
Understanding the Basics: Why Air Fry Tater Tots?
Before we dive into the “how,” let’s briefly touch on the “why.” Air fryers work by circulating hot air around your food at high speeds. This creates a convection effect, mimicking the results of deep-frying but with significantly less oil. For tater tots, this means you can achieve that coveted crispy exterior and fluffy interior without the mess and extra calories associated with traditional frying. It’s a healthier and more convenient option for enjoying this classic comfort food.
The Golden Rule: Tater Tot Cooking Time and Temperature
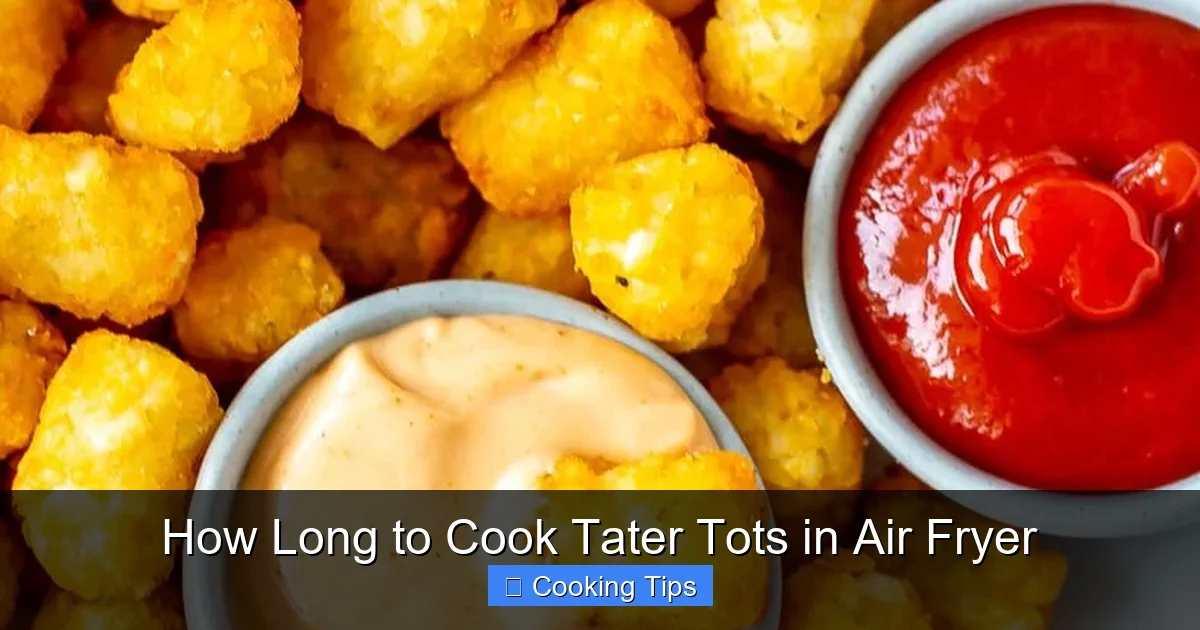
Visual guide about How Long to Cook Tater Tots in Air Fryer
Image source: thegirlonbloor.com
The most frequent question people have is simple: “How long do I cook tater tots in my air fryer?” While there’s no single, definitive answer that applies to every single bag and every single air fryer model, there’s a widely accepted sweet spot.
Optimal Cooking Time
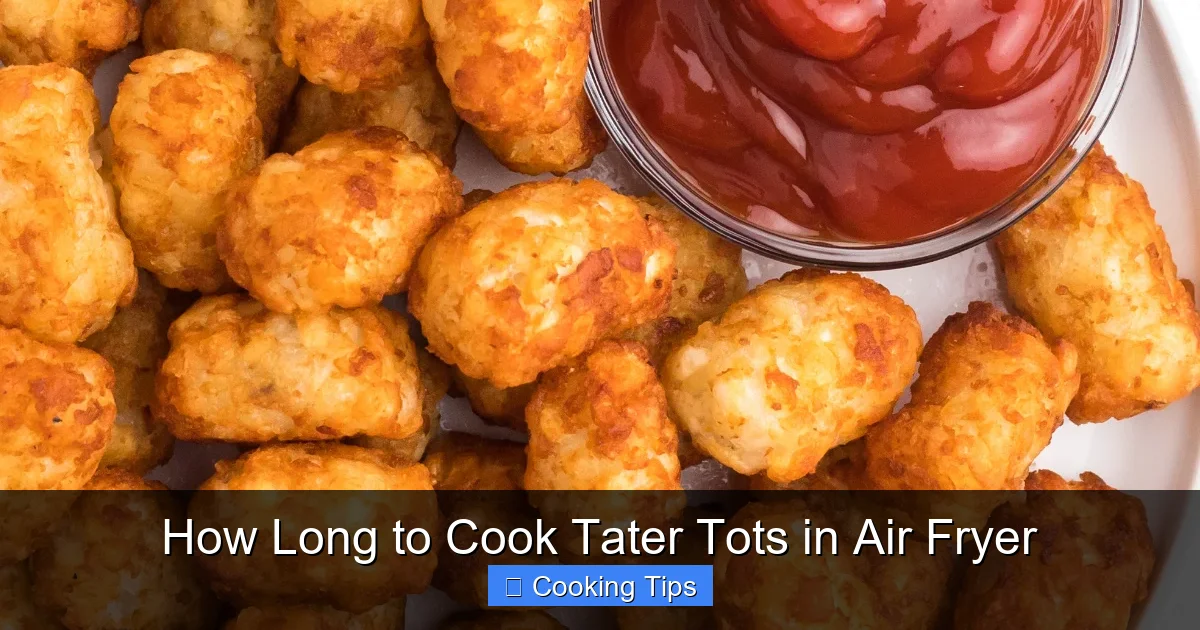
Visual guide about How Long to Cook Tater Tots in Air Fryer
Image source: airfryingfoodie.com
For most standard frozen tater tots, you’ll want to aim for a cooking time of **12 to 18 minutes**. This range allows the tots to heat through, become golden brown, and develop that delightful crispiness.
Ideal Temperature
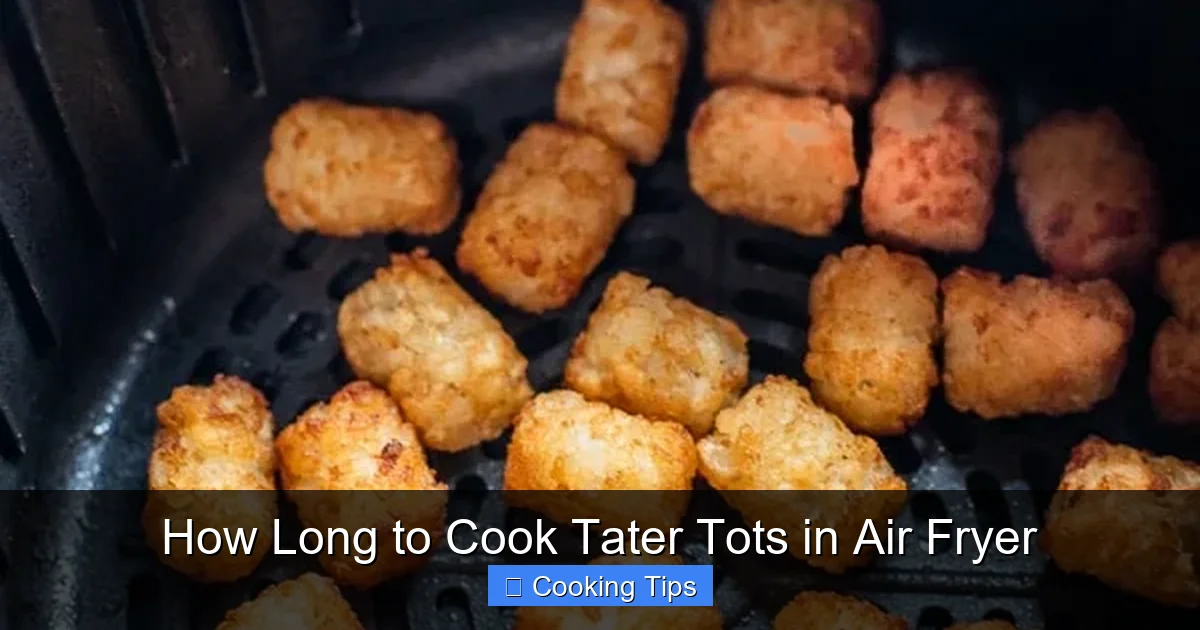
Visual guide about How Long to Cook Tater Tots in Air Fryer
Image source: bestrecipebox.com
The magic temperature for achieving perfectly crispy tater tots in an air fryer is **400°F (200°C)**. This high heat is essential for quickly crisping up the outside while keeping the inside tender.
Step-by-Step Guide to Air Frying Tater Tots
Ready to get started? Follow these simple steps for perfectly cooked air fryer tater tots.
Step 1: Prepare Your Tater Tots
This is the simplest step, but it’s important!
Choose Your Tater Tots
You can use any brand of frozen tater tots. Whether you prefer the classic style, crowns, or even seasoned varieties, the cooking principles remain largely the same.
Consider Pre-Seasoning (Optional)
If you like your tater tots seasoned, you have a few options.
- Before cooking: Toss your frozen tots with a little oil (if they aren’t pre-oiled) and your desired seasonings (salt, pepper, garlic powder, paprika, etc.) in a bowl. This helps the seasonings adhere well.
- After cooking: Some people prefer to add their seasonings right after the tots are done, while they are still hot. This can give a fresher flavor.
If your tater tots are already seasoned or come with oil, you can skip the extra oil and seasoning step before cooking.
Step 2: Preheat Your Air Fryer
This is a crucial step that many people skip, but it makes a big difference!
Why Preheat?
Preheating your air fryer ensures that the hot air is already circulating at the correct temperature when you add your tater tots. This helps them start cooking immediately and evenly, leading to a crispier exterior and preventing them from becoming soggy.
How to Preheat
Set your air fryer to 400°F (200°C) and let it run for about 3 to 5 minutes. Most air fryers have a ready indicator light or will beep when preheated.
Step 3: Load the Air Fryer Basket
Proper basket loading is key to achieving crispy, evenly cooked tots.
Arrange in a Single Layer
This is perhaps the most important tip for perfect air fryer tater tots. **Do not overcrowd the basket.** Place the tater tots in a single layer, ensuring they are not piled on top of each other.
- Why a single layer? Hot air needs to circulate freely around each tater tot to cook it evenly and make it crispy. If the basket is too full, the tots at the bottom won’t get enough hot air, leading to uneven cooking and a less crispy result.
- Adjust quantity as needed: You may need to cook your tater tots in batches, depending on the size of your air fryer. It’s always better to cook in two batches than to overcrowd one.
Step 4: Cook the Tater Tots
Now for the main event!
Initial Cooking Time
Place the loaded air fryer basket into the preheated air fryer. Set the timer for **12 minutes** at 400°F (200°C).
The Mid-Cook Shake
This step is non-negotiable for perfect tater tots!
- At the halfway point (around 6-7 minutes), carefully pull out the air fryer basket.
- Give it a good shake to flip the tater tots over. This ensures that all sides of the tots are exposed to the hot air and get evenly golden and crispy.
- You can also use tongs to flip them if you prefer, but a good shake is usually sufficient and much faster.
Step 5: Check and Continue Cooking
After the initial 12 minutes and the shake, it’s time to check your progress.
Assess Doneness
Pull out the basket and take a look.
- Are they golden brown and crispy? If yes, they are likely done!
- Are they still pale or looking a bit soft? If so, they need more time.
Add More Time as Needed
If your tater tots need more cooking time, return the basket to the air fryer and continue cooking in 2-minute increments. Keep checking every 2 minutes until they reach your desired level of crispiness. Remember that cooking times can vary slightly depending on your specific air fryer model and how full the basket is. The total cooking time usually won’t exceed 18 minutes for a standard batch.
Step 6: Serve and Enjoy!
Once your tater tots are perfectly golden and crispy, carefully remove the basket. You can serve them immediately with your favorite dipping sauces like ketchup, ranch, or even a spicy aioli.
Tips for Extra Crispy Tater Tots
Want to elevate your air fryer tater tot game even further? Here are some tips:
Use a Little Oil
Even if your tater tots are coated, a tiny bit of oil (about 1 teaspoon per pound of tots) tossed with them before air frying can help them crisp up even more and achieve a beautiful golden-brown color.
Don’t Be Afraid of the Shake
Seriously, shake that basket! It’s the easiest way to ensure even crispiness.
Cook in Batches
As mentioned, overcrowding is the enemy of crispiness. If you have a smaller air fryer, commit to cooking in batches for the best results. The slight wait is worth it!
Experiment with Seasonings
Once you’ve mastered the basic cooking time, get creative with your seasonings. Try smoked paprika, onion powder, chili powder, or even a sprinkle of Parmesan cheese after they’re cooked.
Troubleshooting Common Air Fryer Tater Tot Problems
Sometimes, despite our best efforts, things don’t turn out perfectly. Here are a few common issues and how to fix them:
Problem: Tater Tots are Soggy
- Cause: Likely due to overcrowding the basket or not preheating the air fryer.
- Solution: Ensure you’re cooking in a single layer and that your air fryer is properly preheated. For future batches, try cooking in smaller portions.
Problem: Tater Tots are Burnt on the Outside, Undercooked on the Inside
- Cause: Temperature might be too high, or they were cooked for too long without checking.
- Solution: Reduce the temperature slightly (try 375°F/190°C) and/or check them more frequently, especially towards the end of the cooking time. Make sure you shook the basket to ensure even heat distribution.
Problem: Tater Tots are Unevenly Cooked
- Cause: Insufficient shaking or overcrowding.
- Solution: Shake the basket more thoroughly at the halfway point. Ensure you’re not piling them too high in the basket.
Conclusion
Cooking tater tots in the air fryer is a simple and incredibly rewarding process. By understanding the optimal cooking time of 12-18 minutes at 400°F (200°C), preheating your air fryer, and ensuring you don’t overcrowd the basket, you’re well on your way to enjoying perfectly crispy, golden tater tots. Remember to give that basket a good shake halfway through for even cooking, and don’t hesitate to adjust the time by a few minutes based on your specific air fryer and desired crispiness. Happy air frying!