
Discover how baking dish inserts can revolutionize your oil-free cooking. This guide provides step-by-step instructions, practical tips, and troubleshooting advice for creating delicious, healthy oil-free casseroles and frittatas. Learn to achieve perfect textures and prevent sticking without any added oil, making your healthy meals a breeze.
Baking Dish Inserts for Oil-Free Casseroles and Frittatas
Are you looking to enjoy delicious, home-cooked casseroles and frittatas without the added oil? Perhaps you’re following a specific dietary plan, trying to reduce fat intake, or simply aiming for a healthier lifestyle. Whatever your reason, the good news is that achieving perfectly cooked, non-stick oil-free dishes is entirely possible. The secret? Baking dish inserts!
Many people associate cooking with oil to prevent sticking and ensure even browning. However, this can add unnecessary calories and fat to your meals. Baking dish inserts offer an ingenious solution, acting as a barrier between your food and the baking dish. This guide will walk you through everything you need to know to effectively use baking dish inserts for your oil-free casseroles and frittatas. We’ll cover what they are, why they’re essential, how to choose the right one, and the best techniques for using them to achieve culinary perfection, all without a drop of oil.
- Understand the Benefits: Baking dish inserts prevent sticking and promote even cooking in oil-free dishes.
- Choosing the Right Insert: Select materials like silicone, parchment paper, or non-stick liners based on your recipe and dish.
- Preparation is Key: Proper placement and sealing of the insert are crucial for success.
- Moisture Management: Learn techniques to manage moisture to avoid soggy bottoms in your oil-free creations.
- Versatile Applications: Inserts work for both hearty casseroles and delicate frittatas.
- Easy Cleanup: Inserts significantly simplify the post-cooking cleanup process.
Why Use Baking Dish Inserts for Oil-Free Cooking?
The primary challenge when cooking without oil is preventing food from sticking to the baking dish. This can lead to frustratingly messy cleanups and, more importantly, can cause your delicate dishes like frittatas to break apart. Baking dish inserts solve this problem by creating a non-stick surface. They allow your food to cook evenly and lift out cleanly. For oil-free casseroles, inserts ensure that ingredients don’t adhere to the bottom or sides, making serving a breeze and preventing burnt bits that can affect the flavor.
Choosing the Right Baking Dish Insert
There isn’t a one-size-fits-all insert. The best choice depends on your dish type, baking dish material, and personal preference. Here are the most common and effective options:
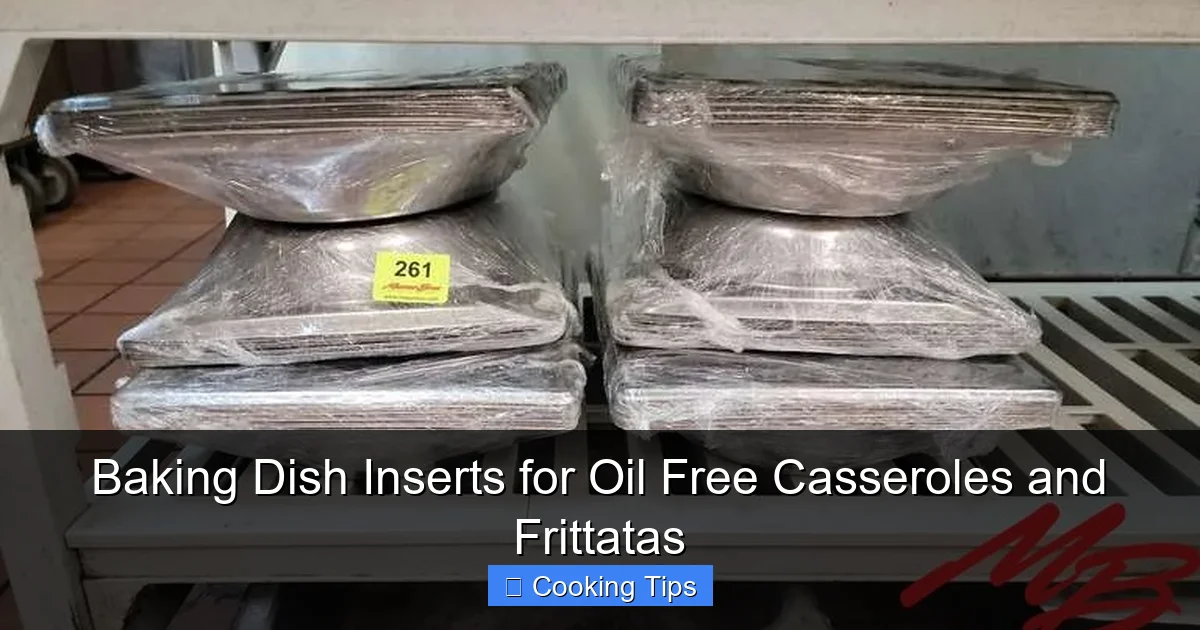
Visual guide about Baking Dish Inserts for Oil Free Casseroles and Frittatas
Image source: auctioneersoftware.s3.amazonaws.com
Silicone Baking Mats
Silicone mats are incredibly versatile. They are flexible, reusable, and naturally non-stick. They come in various shapes and sizes, including those specifically designed to fit standard baking dishes. For oil-free cooking, they create an excellent barrier.
- Pros: Reusable, durable, easy to clean, can withstand high temperatures, flexible.
- Cons: Might require trimming to fit smaller or unusually shaped dishes, can sometimes retain odors if not cleaned properly.
Parchment Paper (or Baking Paper)
Parchment paper is a fantastic disposable option. It’s readily available and can be easily shaped to fit any baking dish. It’s greaseproof and heat-resistant, making it ideal for oil-free baking.
- Pros: Inexpensive, widely available, disposable for easy cleanup, can be molded to fit any shape, food-safe.
- Cons: Disposable (creates waste), can sometimes curl up at the edges if not secured, not as durable as silicone.
Reusable Non-Stick Liners
These are often made from PTFE-coated fiberglass and are designed to be a more robust, reusable alternative to parchment paper. They offer a very smooth, non-stick surface.
- Pros: Highly durable, excellent non-stick properties, reusable for many years, easy to wipe clean.
- Cons: Can be more expensive upfront than parchment, may require careful handling to avoid scratching, might not be suitable for extremely high-temperature baking if specified by the manufacturer.
Specialty Baking Cups or Liners
For individual portions, like mini frittatas or small casseroles, silicone or paper baking cups are excellent. They offer pre-portioned, individual non-stick surfaces.
- Pros: Perfect for portion control, prevent sticking in muffin tins or ramekins, easy to serve.
- Cons: Only suitable for smaller dishes or individual servings.
How to Use Baking Dish Inserts for Oil-Free Casseroles
Preparing your casserole with an insert is straightforward, but a few steps ensure optimal results.
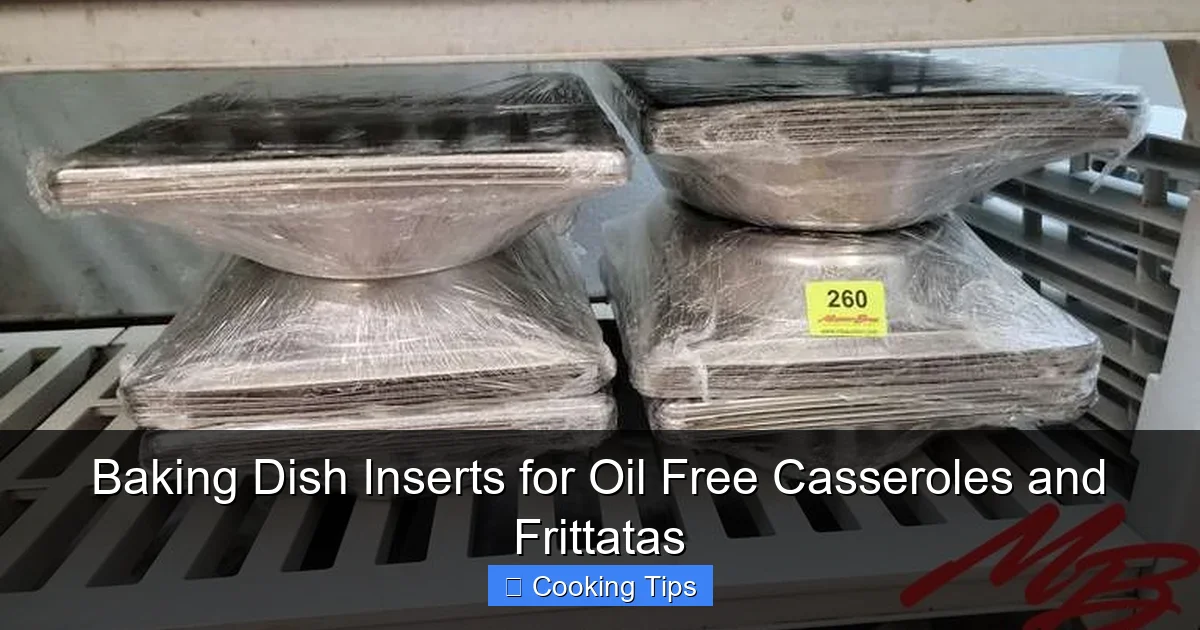
Visual guide about Baking Dish Inserts for Oil Free Casseroles and Frittatas
Image source: auctioneersoftware.s3.amazonaws.com
Step 1: Select and Prepare Your Insert
Choose the insert that best suits your baking dish. If using parchment paper, cut a piece slightly larger than the bottom of your dish. You can also cut strips to line the sides.
Step 2: Line Your Baking Dish
For Parchment Paper: Lay the cut parchment paper into the bottom of your baking dish. If it doesn’t lie flat, you can lightly dampen it (just a spritz of water) to help it conform to the shape, then gently press it down. For the sides, you can fold the paper to create neat corners or use multiple strips. Ensure there are no large gaps.
For Silicone Mats/Non-Stick Liners: Simply place the mat or liner into the baking dish, ensuring it covers the bottom and fits snugly against the sides.
Step 3: Add Your Casserole Ingredients
Now, add your oil-free casserole mixture directly onto the prepared insert. Spread it evenly. The insert will prevent the ingredients from touching the dish directly.
Step 4: Bake as Usual
Bake your casserole according to your recipe. The insert will help the heat distribute evenly, promoting consistent cooking without the need for oil.
Step 5: Remove and Serve
Once your casserole is cooked, let it cool slightly. You can then often lift the entire casserole out of the dish using the edges of the insert, or serve directly from the dish. The insert should prevent any sticking.
How to Use Baking Dish Inserts for Oil-Free Frittatas
Frittatas are more delicate than casseroles, so getting the insert right is crucial for a clean release and a beautiful presentation.
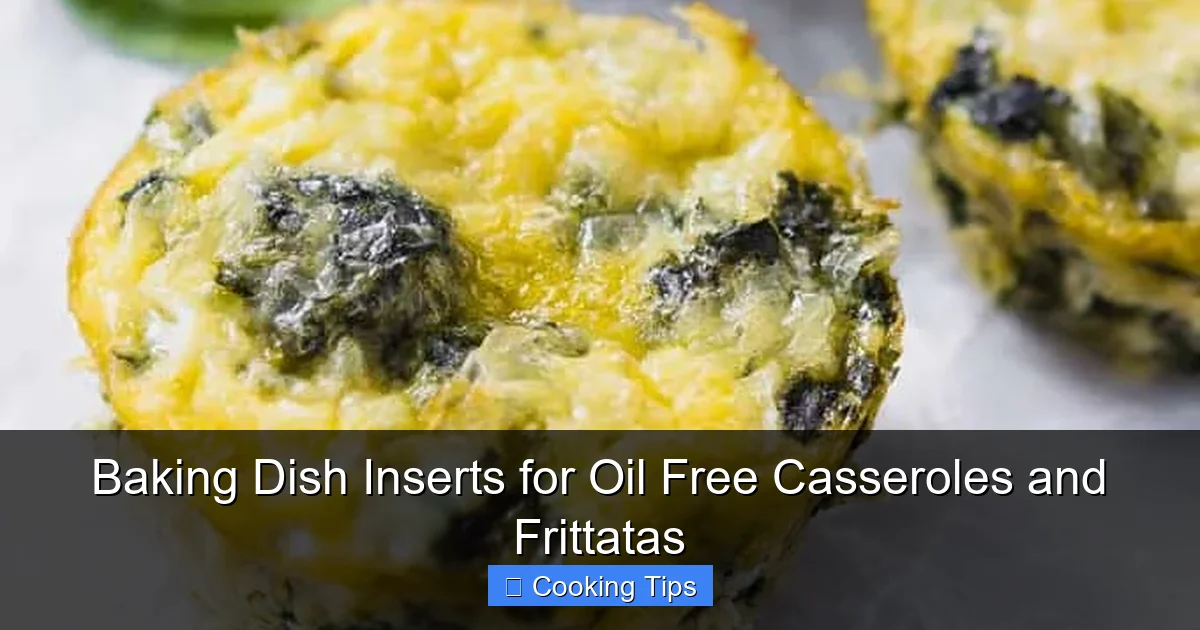
Visual guide about Baking Dish Inserts for Oil Free Casseroles and Frittatas
Image source: acleanbake.com
Step 1: Choose the Right Insert for Your Pan
For a standard pie plate or cake pan, parchment paper or a silicone mat works well. If using a cast-iron skillet, you might opt for a custom-fit parchment circle for the bottom.
Step 2: Prepare the Frittata Pan
For Pans: Cut parchment paper to fit the bottom of your pan. You can even fold and press it to create a shallow “liner” for the sides if you’re confident it will hold its shape. Silicone mats are also an excellent option for pans.
For Skillets: If your skillet is truly non-stick, you might get away with no insert. However, for absolute security in oil-free cooking, a perfectly cut circle of parchment paper for the bottom is highly recommended. Ensure it lies flat.
Step 3: Pour in the Frittata Mixture
Gently pour your egg and filling mixture into the prepared pan. Ensure the mixture doesn’t go over the edges of the insert if you’ve only lined the bottom.
Step 4: Bake and Finish
Bake your frittata as directed. If you need to brown the top, you can carefully transfer the frittata (still in its liner) to the broiler for a minute or two, keeping a close eye on it.
Step 5: Cool and Release
Allow the frittata to cool in the pan for about 5-10 minutes. This allows it to set further. Then, carefully use a spatula to loosen the edges. If you’ve used an insert, you should be able to slide the spatula underneath and lift the frittata out in one piece, or slide it onto a serving platter.
Practical Tips for Oil-Free Baking with Inserts
- Moisture Control: Sometimes, oil-free dishes can steam rather than bake, leading to a soggy bottom. Ensure your ingredients aren’t excessively wet. For casseroles, you might need to bake a bit longer at a slightly higher temperature if you find this issue.
- Pre-heating: Always preheat your oven. This helps ensure even cooking from the moment the dish enters the oven.
- Securing Parchment: If your parchment paper tends to curl up, you can weigh down the corners with a few of your casserole ingredients before you add the rest, or use oven-safe clips for a few minutes until the edges are held down by the food.
- Checking Doneness: Use a toothpick or knife to check if your casserole or frittata is cooked through. For frittatas, it should come out clean.
- Trimming Silicone Mats: If your silicone mat is too large, don’t be afraid to trim it with scissors to fit your dish perfectly. Ensure you’re only trimming excess material, not cutting into any reinforced areas.
- Deep Cleaning Silicone: For persistent odors on silicone mats, try soaking them in a mixture of baking soda and water for a few hours, or running them through a hot dishwasher cycle.
Troubleshooting Common Issues
My Frittata Stuck Despite Using an Insert!
Possible Causes: The insert wasn’t fully covering the bottom, the insert shifted during pouring, or the frittata wasn’t fully cooked and needed more time to set.
Solutions: Ensure the insert is perfectly fitted and lies flat. Pour the mixture gently. Allow sufficient cooling time before attempting to release. If it still sticks in small areas, try gently coaxing it with a thin spatula or knife.
My Casserole Bottom is Soggy
Possible Causes: Too much moisture in the ingredients, oven temperature too low, or not enough baking time.
Solutions: Sauté vegetables to reduce moisture before adding them to the casserole. Increase the oven temperature slightly (by 10-15°F) or bake for an additional 10-15 minutes. Ensure your insert is not trapping steam excessively.
The Insert Tends to Burn or Discolor
Possible Causes: Using a lower-quality parchment paper or silicone that isn’t rated for your oven temperature, or direct contact with heating elements.
Solutions: Always use oven-safe parchment paper and silicone mats. Ensure your dish is not placed too close to the heating elements at the bottom of your oven. Check the manufacturer’s temperature recommendations for your specific insert.
Conclusion
Baking dish inserts are a game-changer for anyone looking to prepare delicious oil-free casseroles and frittatas. They eliminate the need for oil, simplify cleanup, and help ensure your dishes turn out perfectly every time. Whether you choose reusable silicone mats, convenient parchment paper, or durable non-stick liners, incorporating them into your cooking routine is a simple yet highly effective way to make healthy eating even more enjoyable and less messy. Embrace these tools and savor the flavor of your favorite comfort foods, guilt-free!