
Discover how to choose and install the best under sink water filter system to enjoy pure, great-tasting water right from your tap. This guide breaks down your options, from multi-stage filtration to specialized filters, and provides clear, step-by-step installation instructions. Learn essential maintenance tips to ensure your under sink water filter consistently delivers healthy hydration for your family.
Best Under the Sink Water Filter System
Are you tired of the taste of tap water? Concerned about what might be lurking in your drinking water? You’re not alone. Many people are turning to under the sink water filter systems to ensure they have access to clean, fresh, and delicious water right at their kitchen faucet. These systems offer a convenient and effective way to improve your water quality without cluttering your countertops.
This comprehensive guide will walk you through everything you need to know to find and install the best under the sink water filter system for your home. We’ll explore the different types available, the key features to look for, and provide step-by-step instructions for installation. By the end of this guide, you’ll be well-equipped to make an informed decision and enjoy the benefits of pure, filtered water every day.
Key Takeaways
- Understand Your Water Needs: Identify the specific contaminants you want to remove from your water to choose the most effective filter type.
- Explore Filter Technologies: Learn about different filtration methods like activated carbon, reverse osmosis, and UV purification, each with unique benefits.
- Consider System Capacity and Flow Rate: Select a system that can handle your household’s water usage and provides a satisfactory flow rate for convenience.
- Factor in Installation Complexity: While most under sink filters are DIY-friendly, assess your comfort level with plumbing or consider professional installation.
- Prioritize Maintenance: Regular filter replacement is crucial for optimal performance and water purity; budget for ongoing costs.
- Look for Certifications: Seek out NSF/ANSI certifications to ensure the filter system effectively removes the contaminants it claims to.
Why Choose an Under the Sink Water Filter System?
Under the sink water filters offer a host of advantages over other water filtration methods. Here are a few reasons why they are a popular choice:
- Convenience: Filtered water is dispensed directly from your existing faucet or a dedicated filtered water faucet, meaning no more lugging heavy water bottles or filling pitchers.
- Space-Saving: Unlike countertop filters or pitcher systems, under sink filters are hidden away, keeping your kitchen counter free and tidy.
- Effective Filtration: These systems often employ multi-stage filtration, capable of removing a wider range of contaminants than simpler methods.
- Cost-Effective: While there’s an initial investment, the long-term cost of filtered water from an under sink system is typically much lower than bottled water.
- Environmental Friendliness: By reducing your reliance on single-use plastic bottles, you’re making a positive impact on the environment.
Understanding Your Water Quality: The First Step
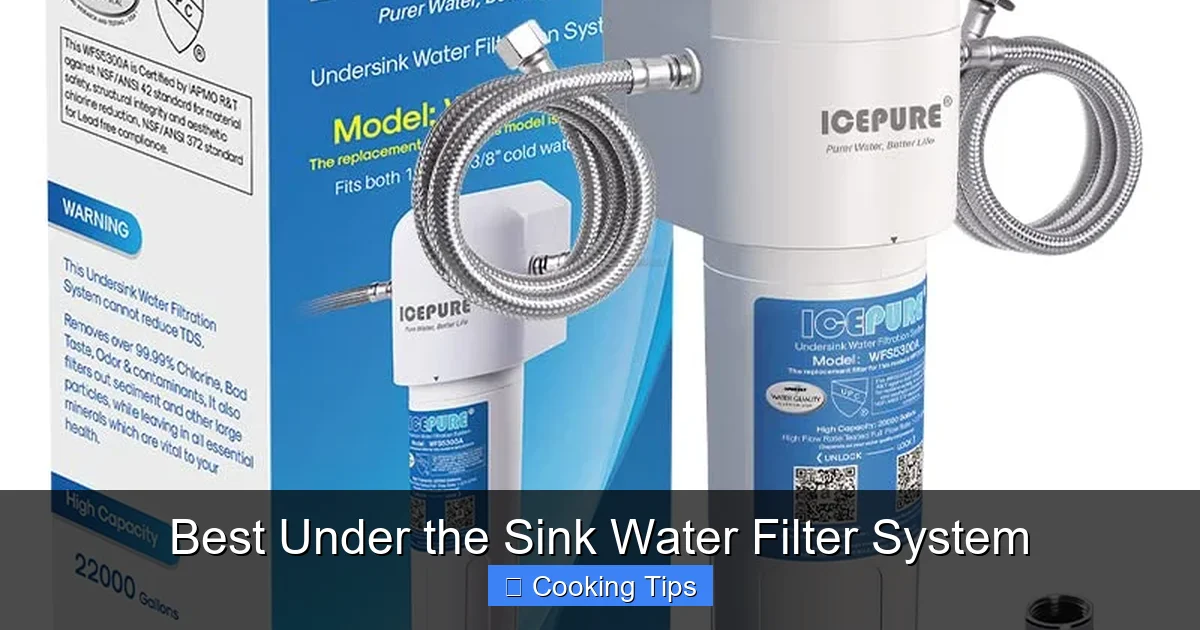
Visual guide about Best Under the Sink Water Filter System
Image source: m.media-amazon.com
Before you start shopping for an under sink water filter system, it’s essential to understand what’s in your water. Your local water utility typically provides a Consumer Confidence Report (CCR) that details the types and levels of contaminants found in your municipal water supply. You can usually find this report on their website or by contacting them directly.
If you have well water or are concerned about specific contaminants not covered by the CCR, you might consider getting your water tested by a certified laboratory. Knowing your water’s specific issues will help you choose a filter that targets those particular contaminants effectively. Common contaminants include chlorine, lead, sediment, pesticides, herbicides, bacteria, and volatile organic compounds (VOCs).
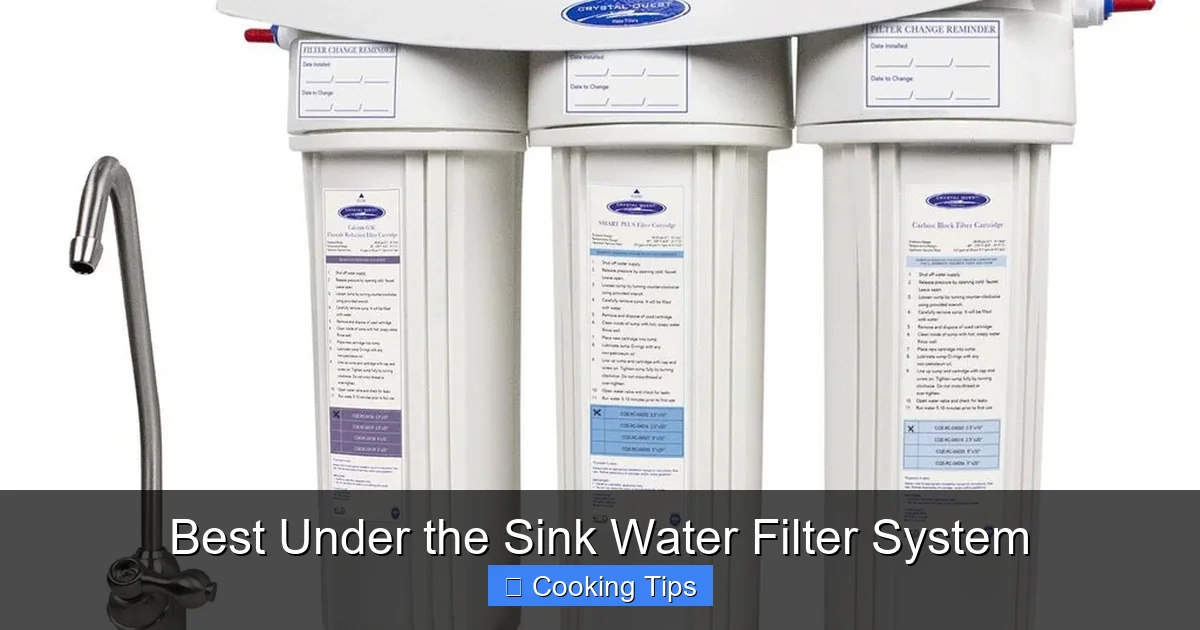
Types of Under the Sink Water Filter Systems

Visual guide about Best Under the Sink Water Filter System
Image source: kitchenadvising.com
There are several types of under the sink water filter systems, each with its own filtration technology and effectiveness. Here’s a breakdown of the most common options:
1. Multi-Stage Filtration Systems
These are perhaps the most popular and versatile under sink water filter systems. They use a series of filters, each designed to remove different types of contaminants. A typical multi-stage system might include:
- Sediment Filter: Removes larger particles like sand, silt, and rust.
- Activated Carbon Filter: This is a workhorse, effectively reducing chlorine taste and odor, as well as many organic compounds like pesticides and herbicides.
- Sub-Micron Filter: Removes smaller particles and potentially some bacteria.
The exact number and type of stages can vary, with some advanced systems offering five or more stages for comprehensive purification.
2. Reverse Osmosis (RO) Systems
Reverse osmosis is a highly effective filtration method that pushes water through a semi-permeable membrane, removing a very broad spectrum of contaminants, including dissolved solids, heavy metals (like lead and arsenic), and even some viruses and bacteria.
Pros of RO Systems:
- Excellent at removing a wide range of contaminants.
- Produces very pure water.
Cons of RO Systems:
- Typically more expensive upfront.
- Requires a dedicated faucet for filtered water.
- Slower filtration rate and produces wastewater.
- Can remove beneficial minerals, which some people prefer to have in their water. (Some RO systems include a remineralization stage.)
3. Ultrafiltration (UF) Systems
Ultrafiltration membranes have pores that are larger than those in RO membranes, meaning they don’t remove dissolved solids. However, they are excellent at removing suspended solids, bacteria, viruses, and parasites while allowing beneficial minerals to pass through.
Pros of UF Systems:
- Effective at removing bacteria and viruses.
- Retains beneficial minerals.
- No wastewater produced.
- Generally faster flow rate than RO.
Cons of UF Systems:
- Does not remove dissolved solids like salts or heavy metals as effectively as RO.
4. Specialized Filters (e.g., Lead Filters, Chlorine Filters)
If you have a very specific concern, like high levels of lead in your water, you can opt for specialized filters. These might be single-stage filters or integrated into a multi-stage system. For instance, a filter certified to remove lead will be specifically designed for that purpose.
Key Features to Consider When Buying
Visual guide about Best Under the Sink Water Filter System
Image source: thefiltrationcorner.com
When you’re ready to choose the best under sink water filter system, keep these important features in mind:
1. Filtration Effectiveness and Certifications
This is paramount. Look for certifications from reputable organizations like NSF International (NSF) or the American National Standards Institute (ANSI). Common certifications include:
- NSF/ANSI Standard 42: For aesthetic effects (chlorine taste and odor, particulates).
- NSF/ANSI Standard 53: For health effects (contaminants like lead, mercury, VOCs, cysts).
- NSF/ANSI Standard 58: For reverse osmosis systems.
- NSF/ANSI Standard 401: For emerging contaminants (pharmaceuticals, pesticides, etc.).
Ensure the system is certified to remove the specific contaminants you’re targeting.
2. Filter Lifespan and Replacement Costs
Filters don’t last forever. Check the manufacturer’s recommendations for filter lifespan (measured in months or gallons). Also, consider the cost of replacement filters. A system with a lower upfront cost might have more expensive replacement filters, making it less economical in the long run.
3. Flow Rate and Capacity
The flow rate dictates how quickly water is dispensed from your faucet. For busy households, a higher flow rate is desirable. Similarly, consider the system’s capacity – how much water it can filter before needing a change. Most under sink systems are designed for typical household use.
4. Ease of Installation
Many under sink water filter systems are designed for DIY installation. If you’re comfortable with basic plumbing tasks, you might be able to install it yourself. However, if you’re less mechanically inclined, factor in the cost of professional installation.
5. Faucet Type
Some systems use your existing faucet for filtered water, while others require a dedicated filtered water faucet to be installed. A dedicated faucet often offers better water pressure and purity, but it involves more installation steps.
6. Space Requirements
Measure the space under your sink to ensure the filter system will fit comfortably. Consider the dimensions of the filter housing, any storage tanks (for RO systems), and the plumbing connections.
Installing Your Under the Sink Water Filter System: A Step-by-Step Guide
Installing an under sink water filter system is generally a straightforward DIY project. Here’s a typical installation process. Always refer to your specific system’s instruction manual for detailed guidance.
Step 1: Gather Your Tools and Materials
Before you begin, make sure you have everything you need:
- Your new under sink water filter system (including all hoses, fittings, and mounting hardware)
- Screwdriver set
- Adjustable wrench
- Drill with appropriate drill bits (if installing a new faucet or drain saddle)
- Bucket or towels to catch any water spills
- Plumber’s tape (Teflon tape)
- Safety glasses
- Your system’s instruction manual
Step 2: Turn Off the Water Supply
This is a crucial safety step. Locate the cold water shut-off valve under your sink and turn it clockwise until it’s completely closed. Turn on your existing faucet to drain any residual water from the pipes.
Step 3: Prepare the Water Line
You’ll need to connect the filter system to your cold water line.
- **Locate the Cold Water Riser Tube:** This is the pipe that brings cold water to your faucet.
- **Install a Feed Water Adapter or Saddle Valve:** Most systems come with a T-fitting that screws onto the riser tube or a saddle valve that clamps onto it. Follow your manual’s instructions carefully. If using a T-fitting, you’ll typically unscrew the existing connection, screw on the T-fitting, and then screw the riser tube back on.
Step 4: Mount the Filter Housing
Most systems come with a mounting bracket. Decide where you want to mount the filter housing(s) under your sink. Ensure there’s enough space for filter changes and that it won’t interfere with other items stored under the sink. Use screws to securely attach the bracket to the cabinet wall. Then, attach the filter housing to the bracket.
Step 5: Connect the Hoses
This is where you’ll connect the water lines.
- **From the Water Supply to the Filter:** Connect a supply line from your feed water adapter (or saddle valve) to the inlet of the first filter stage.
- **Between Filter Stages (if applicable): Connect hoses between the different filter housings according to the manual’s diagram.
- **From the Filter to the Faucet:** Connect the outlet of the final filter stage to your faucet. This might be a direct connection to your faucet’s cold water line or to a dedicated filtered water faucet.
Ensure all connections are snug but avoid over-tightening. Use plumber’s tape on threaded connections as recommended by the manufacturer.
Step 6: Install the Filtered Water Faucet (if applicable)
If your system includes a dedicated filtered water faucet, you’ll need to install it. This usually involves:
- **Drilling a Hole:** If your sink or countertop doesn’t have a pre-drilled hole, you’ll need to drill one. Use a step drill bit or a hole saw suitable for your sink material.
- **Mounting the Faucet:** Insert the faucet through the hole and secure it from underneath with washers and a mounting nut.
- **Connecting the Water Line:** Connect a hose from the filter system’s outlet to the bottom of the new faucet.
Step 7: Flush the System
This is a critical step to remove any manufacturing residue or air from the new filters.
- **Turn on the Water Supply:** Slowly turn the cold water shut-off valve back on.
- **Check for Leaks:** Carefully inspect all connections for any drips or leaks. Tighten fittings as needed.
- **Flush the Filters:** Open the filtered water faucet (or your main cold water faucet if not using a dedicated one) and let the water run for the time recommended by the manufacturer (usually 5-10 minutes, or until the water runs clear and the chlorine smell is gone). Some systems may require flushing multiple times.
Step 8: Final Checks
Once the system is flushed and you’ve confirmed there are no leaks, your under sink water filter system is ready to use!
Maintaining Your Under the Sink Water Filter System
Regular maintenance is key to ensuring your under sink water filter system continues to provide clean, safe drinking water. Neglecting maintenance can lead to reduced performance, increased contaminants, and potential damage to the system.
1. Regular Filter Replacement
This is the most important maintenance task. Filters have a finite lifespan. Follow the manufacturer’s recommendations for replacement frequency. Some systems have indicators that alert you when it’s time to change filters, but don’t rely solely on these.
- Keep a Schedule: Mark your calendar or set reminders for filter replacements.
- Purchase Replacement Filters in Advance: Avoid the inconvenience of running out of filters.
Replacing filters is usually a simple process of unscrewing the old filter housing, removing the old filter, inserting the new one, and screwing the housing back on. Be sure to flush the new filters after replacement, as per the manufacturer’s instructions.
2. Cleaning the Faucet and Housing
Periodically, you may want to clean the exterior of your filtered water faucet and the filter housings. Use a mild detergent and a soft cloth. Avoid abrasive cleaners that could damage the finish.
3. Inspecting for Leaks
Even after installation, it’s a good idea to periodically check under your sink for any signs of leaks, especially around the filter housings and connections. Catching small leaks early can prevent water damage.
Troubleshooting Common Issues
While under sink water filter systems are generally reliable, you might encounter a few common issues:
1. Reduced Water Flow
- Cause: Clogged filters or sediment buildup in the lines.
- Solution: Replace the filters. If the problem persists, check for kinks in the supply lines or potential blockages in the faucet aerator.
2. Unpleasant Taste or Odor
- Cause: Filters have reached the end of their lifespan and are no longer effective.
- Solution: Replace the filters immediately. Ensure you’re using the correct replacement filters recommended by the manufacturer.
3. Leaks
- Cause: Loose fittings, damaged O-rings, or improperly seated filters.
- Solution: Turn off the water supply and carefully re-tighten fittings. If a leak persists, inspect O-rings for damage and replace if necessary. Ensure filters are properly seated in their housings.
4. Filter Replacement Indicator Not Working
- Cause: The indicator may need to be reset, or it might be malfunctioning.
- Solution: Consult your manual for instructions on how to reset the indicator. If it continues to malfunction, consider using a manual calendar reminder for filter changes.
Conclusion
Choosing and installing the best under sink water filter system is an investment in your health and well-being, as well as your kitchen’s convenience. By understanding your water needs, exploring the available technologies, and carefully considering features like certifications and filter lifespan, you can find a system that perfectly suits your household. With a little effort and regular maintenance, you’ll be enjoying pure, delicious water for years to come. Say goodbye to bottled water and hello to effortless hydration!