
Is your blender failing to spin its blades? This comprehensive guide will help you diagnose and fix the problem. We cover everything from simple user errors to potential mechanical issues, offering clear, actionable solutions. Don’t let a stubborn blender ruin your smoothie day; learn how to get it spinning again with our expert tips.
Key Takeaways
- Blender blades not spinning can stem from simple assembly errors, like an improperly seated jar or blade assembly. Always ensure all components are securely locked in place before operating.
- Overloading the blender is a common culprit; too much food or liquid can strain the motor and prevent blade movement. Reduce the contents if the blades are struggling.
- A dull blade assembly can make it harder for the motor to turn, especially with tough ingredients. Sharpening or replacing dull blades is often a necessary solution.
- The drive socket (on the blender base) and the coupler (on the blade assembly) are critical connection points and can wear out or become damaged, preventing power transfer. Inspect and clean these components.
- Motor issues, such as overheating or internal damage, are more serious but can be a cause. Allow the blender to cool or consider professional repair/replacement if suspected.
- Electrical problems, including a faulty power cord or switch, can interrupt the power supply needed for the blades to spin. Check these basic electrical connections first.
- Safety features designed to prevent operation when not properly assembled are essential, but can sometimes trigger unnecessarily. Ensure all safety mechanisms are correctly engaged.
Blender Blades Not Spinning? Let’s Get Them Whirring Again!
It’s a frustrating moment: you’re ready to whip up a delicious smoothie, a creamy soup, or a perfect salsa, and you hit the power button, only to hear the motor whirring… but the blades? Not moving an inch. Your blender, usually a trusty kitchen companion, has decided to take an unscheduled break. Before you resign yourself to manually chopping everything or worse, buying a new one, take a deep breath! Most of the time, a blender whose blades aren’t spinning has a fixable issue.
This guide is your roadmap to diagnosing and resolving why your blender blades aren’t spinning. We’ll walk you through the most common causes, from simple user errors to potential mechanical hiccups, and provide you with clear, actionable solutions. By the end of this article, you’ll be empowered to troubleshoot your blender and, hopefully, get those blades spinning with renewed vigor.
Understanding How Your Blender Works (The Basics!)
Before we dive into troubleshooting, a quick refresher on how a blender typically operates can be helpful. At its core, a blender has three main parts involved in spinning the blades:
1. The Motor: Located in the blender base, this is the powerhouse that drives everything.

Visual guide about Blender Blades Not Spinning Causes and Solutions
Image source: pickcomfort.com
2. The Drive Socket (or Coupler): This is a plastic or rubber piece on top of the motor shaft. It’s designed to connect with the blade assembly.
3. The Blade Assembly: This is the unit with the sharp blades that sits at the bottom of your blender jar. It has a corresponding piece (often called a drive coupler or blade driver) that connects to the drive socket on the base.
When you turn your blender on, the motor spins the drive socket, which in turn spins the blade assembly, pulverizing your ingredients. Simple, right? So, when this chain of power transfer breaks, something in this sequence is off.
Common Causes and Solutions for Non-Spinning Blender Blades
Let’s get down to business. We’ll start with the easiest fixes and move towards more complex possibilities.
1. Incorrect Assembly or Seating
This is by far the most frequent reason why blender blades refuse to spin. Modern blenders often have safety mechanisms that prevent them from operating unless everything is perfectly in place.
H3: The Blender Jar Isn’t Properly Secured
Many blenders require the jar to click or lock into place on the base. If it’s slightly off, the drive socket might not engage with the blade assembly coupler properly.
Visual guide about Blender Blades Not Spinning Causes and Solutions
Image source: images-na.ssl-images-amazon.com
Visual guide about Blender Blades Not Spinning Causes and Solutions
Image source: m.media-amazon.com
- Solution: Remove the blender jar from the base. Realign it carefully and ensure it sits flush. Listen for a “click” or visual confirmation that it’s locked. Try running the blender again.
H3: The Blade Assembly Isn’t Screwed On Tightly (or is Loose)
For blenders where the blade assembly screws onto the bottom of the jar, a loose connection is a major culprit. The blade assembly needs to be snug for the drive socket to grip it effectively.
- Solution: Unscrew the blade assembly from the blender jar. Inspect the threads on both the jar and the assembly for any debris or damage. Screw the blade assembly back on very tightly. Some people even use a rubber grip or a dish towel to get a better hold. Test the blender.
H3: The Lid Isn’t On Correctly
Some blenders have lid-sensing safety features. While less common for *preventing blade spin*, it’s worth checking if your model has such a mechanism.
- Solution: Ensure the lid is firmly in place, with any locking tabs engaged.
2. Overloading the Blender
Putting too much into your blender can put an immense strain on the motor, sometimes to the point where it can’t overcome the resistance to spin the blades. This is particularly true for less powerful blenders or when trying to blend very dense or frozen ingredients.
Signs of Overloading:
- The motor makes a strained “humming” sound but the blades don’t move.
- The motor may even stop completely after a few seconds of trying to spin.
- You might smell a faint burning odor if the motor is struggling excessively.
- Solution: Turn off and unplug the blender. Remove the blender jar. Take out about half of the ingredients. You might need to cut larger solid ingredients into smaller pieces. Add a little more liquid if the mixture seems too thick. Restart the blender with the reduced load. You can always blend in batches.
3. Dull or Damaged Blades
Blades are meant to be sharp to cut through food effectively. Over time, they can become dull, especially with frequent use. Dull blades require more force and torque from the motor to spin and cut. If the blades are significantly dull or bent, the motor might simply not have enough power to get them moving.
Signs of Dull Blades:
- The blender struggles to blend even normal amounts of ingredients.
- Ingredients get chopped unevenly, with larger chunks remaining.
- You hear the motor running but the blending action is very slow or ineffective.
- Solution: If your blender jar and blade assembly are removable, you can inspect the blades. Look for nicks, bends, or a dull edge. For most home blenders, replacing the entire blade assembly unit is the most practical solution. These can often be purchased from the manufacturer or third-party retailers. If you’re feeling adventurous and your blender model allows, some sources suggest methods for sharpening blades, but this can be risky and may damage the assembly. Replacement is generally safer and more effective.
4. Issues with the Drive Socket and Coupler
The connection points between the motor and the blade assembly are crucial. If either the drive socket on the base or the coupler on the blade assembly is worn, damaged, or obstructed, the power won’t transfer.
H3: Worn or Damaged Drive Socket (Base)
The drive socket is usually made of plastic or rubber and spins with the motor shaft. It has teeth or ridges designed to mesh with the blade assembly coupler.
- Solution: Unplug the blender. Inspect the drive socket on the top of the base. Look for signs of wear, cracking, or missing teeth. If it appears damaged, it will likely need replacement. This can sometimes be a DIY job if you can find the part and the base is designed for easy access, but often it means replacing the entire blender base.
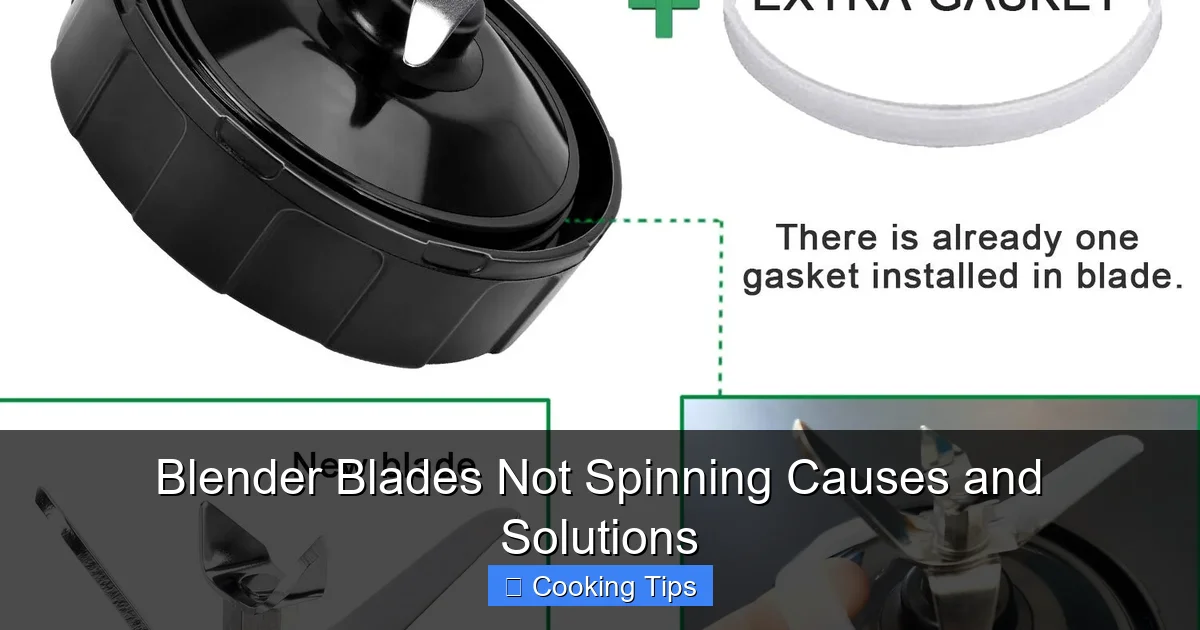
H3: Worn or Damaged Blade Assembly Coupler
This is the part on the bottom of your blender jar that connects to the drive socket. It’s also often plastic or rubber.
- Solution: Unscrew the blade assembly from the jar. Examine the coupler. Check for worn teeth, cracks, or if it spins freely on the blade shaft (which it shouldn’t). If the coupler is damaged, you’ll need to replace the entire blade assembly unit.
H3: Debris or Obstruction
Sometimes, small food particles or residue can get lodged between the drive socket and the coupler, preventing them from engaging properly.
- Solution: Unplug the blender. Clean both the drive socket on the base and the coupler on the blade assembly thoroughly with a damp cloth or a small brush. Ensure they are completely dry before reassembling.
5. Motor Overheating or Internal Motor Problems
The motor is the heart of your blender. If it overheats, safety mechanisms might shut it down to prevent damage, or it might simply be too hot to function correctly. More serious internal motor issues can also cause the blades to stop spinning.
Signs of Overheating:
- The blender worked fine initially but stopped after a few minutes of use.
- You might smell a distinct “hot” or “burning” odor (not necessarily from smoke, but a strong heat smell).
- The blender feels unusually warm to the touch.
- Solution: Immediately unplug the blender. Let it cool down completely. This can take anywhere from 15 minutes to an hour or more, depending on how hot it got. Once cool, try operating it again with a lighter load. If it overheats again quickly, or if it never worked after cooling, there might be a more serious internal motor problem, like a failing thermal fuse or windings. In such cases, professional repair might be necessary, or it might be more economical to replace the unit.
6. Electrical Issues
No power means no spinning blades. While seemingly obvious, electrical problems are a potential cause.
H3: Faulty Power Cord
A damaged or frayed power cord can interrupt the flow of electricity to the motor.
- Solution: Unplug the blender. Visually inspect the entire length of the power cord for any cuts, fraying, or damage. If you see any damage, the cord needs to be replaced, which is usually a job for a qualified technician or indicates that the blender is no longer safe to use.
H3: Tripped Circuit Breaker or Blown Fuse
The blender itself might be fine, but the outlet it’s plugged into might not be receiving power.
- Solution: Check your home’s electrical panel. See if the circuit breaker for the kitchen outlets has tripped. If it has, reset it. If your blender has an inline fuse (less common on modern blenders), check if it has blown and needs replacement. Try plugging another small appliance into the same outlet to confirm the outlet is working.
H3: Faulty On/Off Switch or Speed Dial
The controls on your blender that tell the motor when to turn on or at what speed can also fail.
- Solution: This is a more complex issue that often requires disassembling the blender base to access the switch. Unless you are comfortable with basic electronics and have a service manual, this is typically a repair best left to professionals or a reason to consider replacing the blender.
7. Safety Lockout Mechanisms
Many blenders have built-in safety features that prevent operation if certain conditions aren’t met. This is usually tied to the jar being seated correctly, but some advanced models might have other sensors.
- Solution: Refer to your blender’s user manual. It will detail all the safety features and what conditions need to be met for the blender to operate. Double-check that you are following all assembly and usage instructions precisely.
Troubleshooting Checklist: Quick Steps to Try
When your blender blades aren’t spinning, run through this quick checklist:
1. Is it plugged in? (Seriously, it happens!)
2. Is the jar seated correctly and locked?
3. Is the blade assembly screwed on tightly?
4. Is the lid properly secured?
5. Is the blender overloaded? Remove some ingredients.
6. Are the blades dull or damaged? (Inspect if possible).
7. Are the drive socket and coupler clean and undamaged?
8. Has the motor overheated? Let it cool down.
9. Check the outlet: Try another appliance or reset the breaker.
10. Inspect the power cord.
When to Call It Quits (Or Call a Pro)
If you’ve gone through all these steps and your blender blades still refuse to spin, it might be time to consider professional repair or replacing your appliance. If the motor emits a strong burning smell, sparks, or makes loud grinding noises, do not attempt to use it further; it’s a safety hazard.
For less expensive, older, or heavily used blenders, the cost of professional repair might exceed the price of a new unit. For high-end blenders, however, repair can often be a worthwhile investment. Always check your warranty before attempting any repairs yourself.
Conclusion
A blender that won’t spin its blades can be a puzzling problem, but as you’ve seen, most issues are quite common and often have simple DIY solutions. By systematically checking assembly, load, component condition, and basic electrical connections, you can frequently bring your trusty blender back to life. Remember to always prioritize safety: unplug your appliance before inspecting or cleaning any parts. With a little patience and this guide, you’ll be back to blending your favorite creations in no time. Happy blending in 2026!