
Discover how to choose and use the best blenders for crushing ice and frozen fruit in 2026. This guide covers blender types, essential techniques, and troubleshooting tips to ensure you achieve perfectly smooth results every time. Unlock the secret to delicious smoothies, frozen cocktails, and healthy sorbets with your blender’s full potential.
Blenders for Crushing Ice and Frozen Fruit
In today’s fast-paced world, a high-quality blender is more than just a kitchen appliance; it’s a gateway to healthy and delicious creations. From vibrant smoothies that kickstart your morning to refreshing cocktails that unwind your evening, blenders capable of tackling ice and frozen fruit are indispensable. But with so many options on the market in 2026, how do you choose the right one? And once you have it, how do you use it effectively to achieve that perfect icy crunch or velvety fruit purée?
This comprehensive guide will equip you with all the knowledge you need. We’ll delve into the different types of blenders best suited for crushing, explore essential techniques, offer practical tips for optimal results, and even touch upon troubleshooting common issues. By the end of this guide, you’ll be a confident blender-wielding chef, ready to conquer any frozen ingredient with ease.
Key Takeaways
- Understanding Blender Power: High wattage and sturdy blades are crucial for effectively crushing hard ingredients like ice and frozen fruit without damaging the motor.
- The Importance of Jar Design: Look for durable materials (glass or BPA-free plastic) and a design that creates a vortex to pull ingredients down towards the blades.
- Pre-Treatment Matters: Slightly thawing frozen fruit or breaking down large ice cubes can significantly improve blending efficiency and reduce strain on your appliance.
- Layering for Success: Add liquids first, then softer ingredients, followed by ice or frozen fruit, to help create a smooth, even blend and prevent blade cavitation.
- Pulse Power: Utilize the pulse function for initial breaking down of hard ingredients before a continuous blend, offering better control and preventing over-processing.
- Maintenance is Key: Regular cleaning and checking for blade sharpness will prolong your blender’s life and ensure optimal performance for all your crushing needs.
Choosing the Right Blender for the Job
Not all blenders are created equal, especially when it comes to processing hard ingredients like ice and frozen fruit. Understanding the key features to look for will save you time, money, and frustration.
Power: The Engine of Your Blender
The wattage of a blender is a significant indicator of its power. For crushing ice and frozen fruit, you’ll want a blender with a robust motor. Aim for at least 700 watts, but ideally 1000 watts or more for consistent performance without overheating. High-powered blenders can pulverize frozen ingredients into a smooth consistency, whereas lower-powered models may struggle, leading to chunky results or even motor burnout.
Blade Design and Durability
The blades are the workhorses of your blender. For crushing tasks, look for blenders with sharp, sturdy blades made from high-quality stainless steel. Some blenders feature specialized blade designs, such as serrated edges or multi-angled configurations, that are particularly effective at breaking down tough ingredients. The thicker and more robust the blades, the better they will handle the stress of crushing ice and frozen fruit.
Jar Material and Capacity
The blender jar should be durable and able to withstand the impact of frozen solids. Glass jars are heavy and can be prone to breaking, but they are scratch-resistant and don’t retain odors. BPA-free plastic jars are lighter and more impact-resistant, making them a popular choice. Consider the capacity you need. If you’re typically making single servings, a smaller jar might suffice. For families or entertaining, a larger capacity jar is essential.
Speed Settings and Pre-programmed Functions
Multiple speed settings give you greater control over the blending process. A “pulse” function is particularly useful for breaking down large frozen pieces before a sustained blend. Many modern blenders also come with pre-programmed settings for smoothies, ice crushing, or frozen desserts, which can simplify operation and ensure optimal results for specific tasks.
Types of Blenders to Consider
In 2026, several blender types excel at crushing ice and frozen fruit:
- High-Performance Blenders: These are the crème de la crème, often featuring powerful motors (1000-2000+ watts), robust stainless-steel blades, and sophisticated jar designs. They can handle almost anything you throw at them, from frozen berries to dense ice. Examples include brands like Vitamix, Blendtec, and Ninja’s higher-end models.
- Personal Blenders with Strong Motors: While some personal blenders are designed for lighter tasks, many newer models (especially from brands like NutriBullet or Magic Bullet’s more advanced lines) now boast powerful motors and reinforced blades specifically for crushing. They are perfect for single servings and convenient for on-the-go needs.
- Countertop Blenders with Ice Crush Function: Many standard countertop blenders now include an “ice crush” button or setting. While not as powerful as high-performance models, these can be a good option for moderate ice crushing and frozen fruit, provided they have a decent motor (800+ watts).
Mastering the Technique: Step-by-Step Crushing
Once you have your ideal blender, mastering the right technique is key to unlocking its full potential. These steps will help you achieve smooth, consistent results every time.
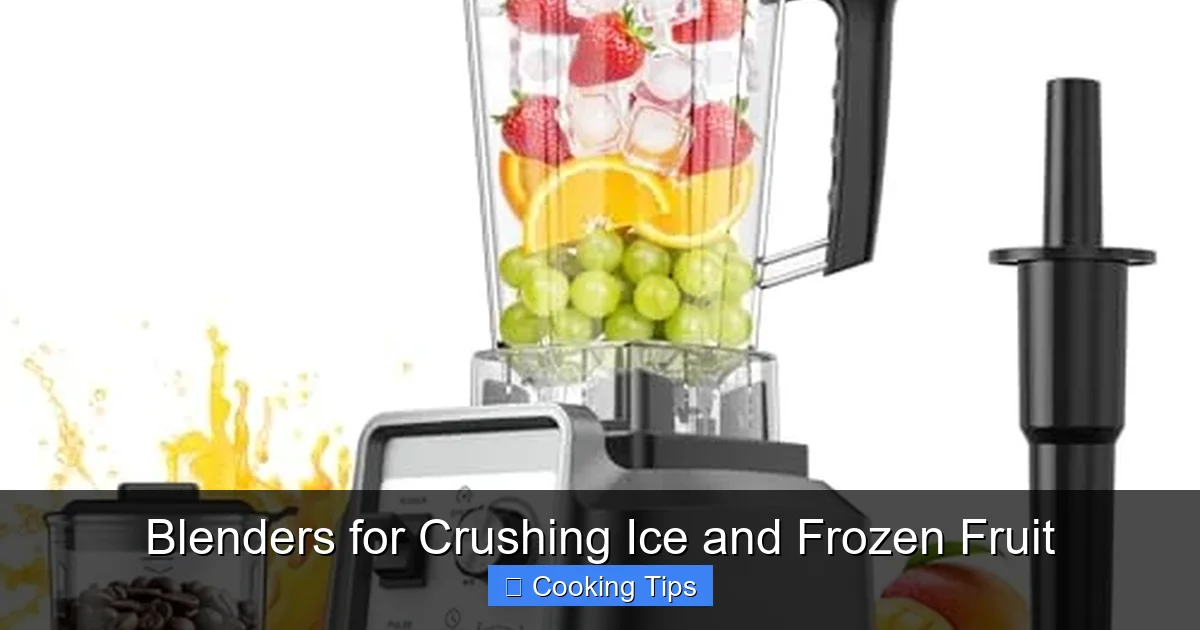
Visual guide about Blenders for Crushing Ice and Frozen Fruit
Image source: m.media-amazon.com
Step 1: Prepare Your Ingredients
Proper preparation can make a significant difference in your blending experience.
- For Frozen Fruit: If your frozen fruit is rock-hard, consider letting it sit at room temperature for 5-10 minutes. This slight thawing makes it easier for the blender blades to grip and break down the fruit without excessive strain. You can also break apart any large frozen clumps.
- For Ice: For best results, use cubes that are not too large. If you’re using large ice blocks, break them into smaller pieces first. Some blenders come with ice crushers, or you can place ice in a sturdy bag and gently break it with a rolling pin.
Step 2: Layer Your Blender Properly
The order in which you add ingredients is crucial for efficient blending and to prevent cavitation (air pockets around the blades).
- Liquids First: Always start by adding your liquids to the blender jar. This could be water, juice, milk, yogurt, or any other liquid base for your recipe. The liquid helps the blades move freely and pulls the solid ingredients down.
- Soft Ingredients Next: Add softer ingredients like fresh fruit, leafy greens, protein powder, or sweeteners after the liquid.
- Frozen Fruit and Ice Last: Place your frozen fruit and ice on top of the other ingredients. This weight helps to push everything down towards the blades.
Step 3: Start Slowly and Pulse
Don’t just hit the highest speed immediately. This can overwhelm the motor and lead to uneven blending.
- Begin on Low Speed: Start your blender on its lowest speed setting. This allows the blades to begin breaking down the larger pieces without immediate force.
- Utilize the Pulse Function: If your blender has a pulse button, use it initially. Give it a few short pulses to break down the ice and frozen fruit into smaller pieces. This gives the blender a head start and makes the subsequent blending smoother.
Step 4: Gradually Increase Speed
Once the initial crushing has begun, you can increase the blender’s speed.
- Increase Gradually: Slowly ramp up to your desired speed. For ice and frozen fruit, a medium to high speed is usually necessary to achieve a smooth consistency.
- Observe the Vortex: As you blend, you should see a vortex form in the center of the jar. This indicates that the ingredients are circulating properly and being pulled towards the blades. If the mixture seems too thick and isn’t circulating, stop the blender and add a little more liquid.
Step 5: Blend Until Smooth
Patience is key to achieving the perfect texture.
- Blend for the Right Duration: Blend until the mixture reaches your desired consistency. For smoothies, this is typically smooth and creamy. For sorbets or granitas, you might want a slightly coarser texture. Be careful not to over-blend, which can warm up the mixture and melt the ice.
- Scrape Down Sides (If Needed): If you notice ingredients sticking to the sides of the jar, stop the blender, remove the lid, and use a spatula to scrape them down towards the blades. Then, replace the lid and continue blending.
Practical Tips for Perfect Results
Beyond the basic steps, a few extra tips can elevate your blending game.
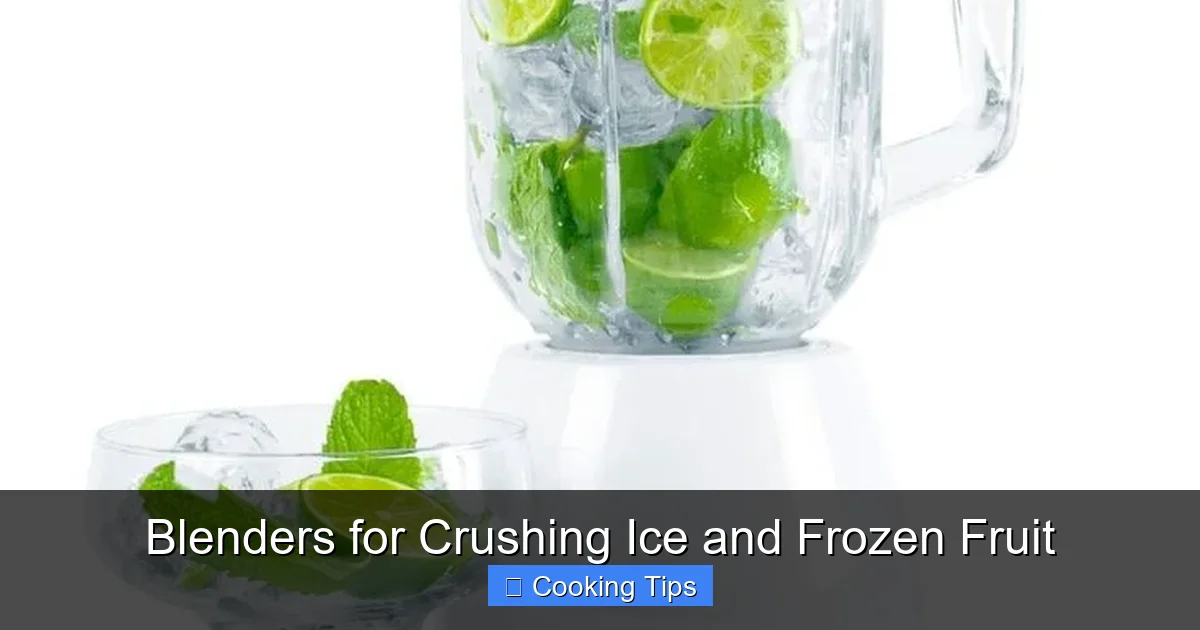
Visual guide about Blenders for Crushing Ice and Frozen Fruit
Image source: i.pinimg.com
- Don’t Overfill: Respect your blender’s maximum fill line. Overfilling can lead to poor blending and can strain the motor.
- Use the Tamper (If Provided): Many high-performance blenders come with a tamper. This tool allows you to push ingredients down towards the blades while the blender is running, without coming into contact with the blades themselves. It’s incredibly useful for thick mixtures.
- Experiment with Ratios: The ratio of liquid to solids is crucial for texture. For a thicker smoothie, use less liquid. For a thinner one, add more.
- Add a Thickener: For extra creaminess, consider adding ingredients like avocado, banana, Greek yogurt, or a spoonful of nut butter.
- For Hot Liquids: If you plan to blend hot liquids, always vent the lid (if your blender allows) and start on a very low speed to avoid pressure buildup and potential splashes. (Though this is less relevant for crushing ice/frozen fruit).
Troubleshooting Common Blending Issues
Even with the best blenders and techniques, you might encounter a few hiccups. Here’s how to address them:
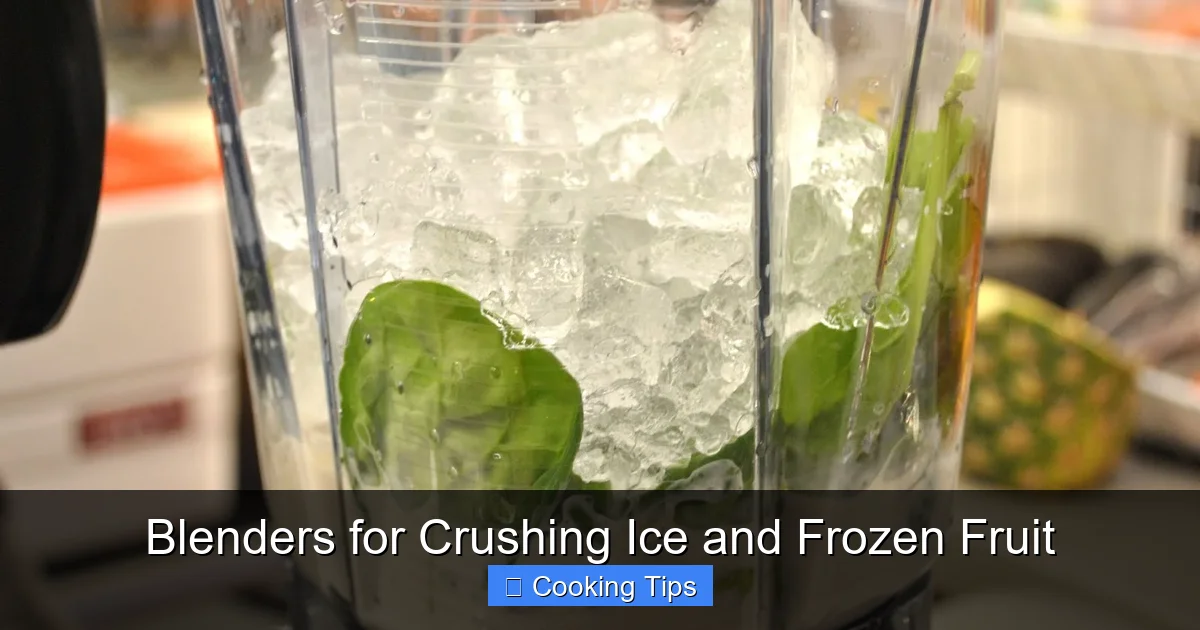
Visual guide about Blenders for Crushing Ice and Frozen Fruit
Image source: crazyjuicer.com
- Problem: My blender is struggling, and the motor sounds strained.
- Solution: You might have too many frozen ingredients or not enough liquid. Stop the blender, remove some of the frozen items, or add a little more liquid. Ensure you’re not overfilling the jar. If the motor continues to struggle, it might be overheating; let it cool down before trying again.
- Problem: My smoothie is chunky, not smooth.
- Solution: This could be due to insufficient blending time, inadequate blender power, or improper layering. Try blending for longer, ensure you’re using a blender powerful enough for ice and frozen fruit, and double-check that you’ve layered your ingredients correctly (liquids first, frozen last).
- Problem: There are air pockets around the blades (cavitation).
- Solution: Cavitation often happens when there’s too much air trapped, usually because there isn’t enough liquid or the ingredients are too solid. Stop the blender, use a tamper to push ingredients down, or add a little more liquid and restart.
- Problem: My blender leaks.
- Solution: Ensure the blade assembly is securely tightened to the jar and that the lid is properly sealed. Check the gasket for any signs of wear or damage.
Cleaning and Maintenance
Proper cleaning and maintenance will ensure your blender continues to perform optimally for years to come.
Quick Cleaning
For daily cleaning, fill the blender jar halfway with warm water, add a drop of dish soap, secure the lid, and blend on a medium speed for 30-60 seconds. Rinse thoroughly. This is a quick and effective way to clean most residues.
Deep Cleaning
For tougher residues, you might need to disassemble the blade assembly (if your model allows). Wash the jar, lid, and blade assembly with warm, soapy water. Use a brush to clean around the blades carefully. Always ensure all parts are completely dry before reassembling.
Blade Care
Regularly inspect your blades for any dullness or damage. While many home blenders have self-sharpening blades, prolonged heavy use can still impact their sharpness. If you notice a significant decline in performance, it might be time to consider replacing the blade assembly, if possible for your model.
Conclusion
Mastering the art of crushing ice and frozen fruit with your blender opens up a world of culinary possibilities. By understanding the nuances of blender power, blade design, and proper layering techniques, you can transform your kitchen into a haven for delicious, healthy, and refreshing beverages and treats. Whether you’re a smoothie enthusiast, a cocktail aficionado, or simply someone looking to incorporate more frozen fruits into your diet, the right blender and the techniques outlined in this guide will serve you well. So, go forth, experiment with your favorite ingredients, and enjoy the delightful creations you can achieve with your powerful kitchen companion!