
Is your coffee maker overflowing? Don’t let a messy kitchen ruin your morning brew! This guide provides step-by-step solutions to identify and fix common causes of coffee maker overflow. From simple checks like water levels to deeper cleaning, you’ll learn how to get your coffee maker working perfectly again and prevent future mishaps.
Coffee Maker Overflowing: What to Check and Fix
A gurgling, sputtering coffee maker that suddenly decides to flood your countertop is a disheartening way to start your day. The aroma of fresh coffee should be a welcome invitation, not a sign of impending kitchen chaos. If your coffee maker is overflowing, don’t despair! Most overflows are caused by simple issues that can be easily identified and fixed. This comprehensive guide will walk you through exactly what to check and how to resolve those messy overflows, ensuring your morning caffeine ritual remains a pleasure.
By the end of this guide, you’ll understand the common reasons behind a coffee maker overflowing and have the practical steps to tackle them. We’ll cover everything from checking basic settings to troubleshooting more persistent problems, helping you enjoy consistently delicious coffee without the mess.
Key Takeaways
- Overfilling the water reservoir is the most common culprit; always check the MAX fill line.
- Clogged coffee grounds in the filter basket can impede water flow and cause overflow.
- Using too finely ground coffee can lead to over-extraction and overflow.
- Mineral buildup (limescale) is a frequent cause of blockages, requiring regular descaling.
- Damaged or incorrectly seated filter baskets or carafes can disrupt the brewing process.
- Ensure the brew basket is properly aligned and closed before starting a brew cycle.
Understanding Why Your Coffee Maker Might Be Overflowing
Before diving into fixes, it’s helpful to understand the common culprits. Coffee makers operate on a simple principle: hot water is heated and then drips through coffee grounds into a carafe. When this process goes awry, overflow is often the result. The most frequent causes usually involve an imbalance in the water-to-coffee ratio, a blockage in the system, or an issue with the machine’s components.
Step-by-Step Guide to Fixing an Overflowing Coffee Maker
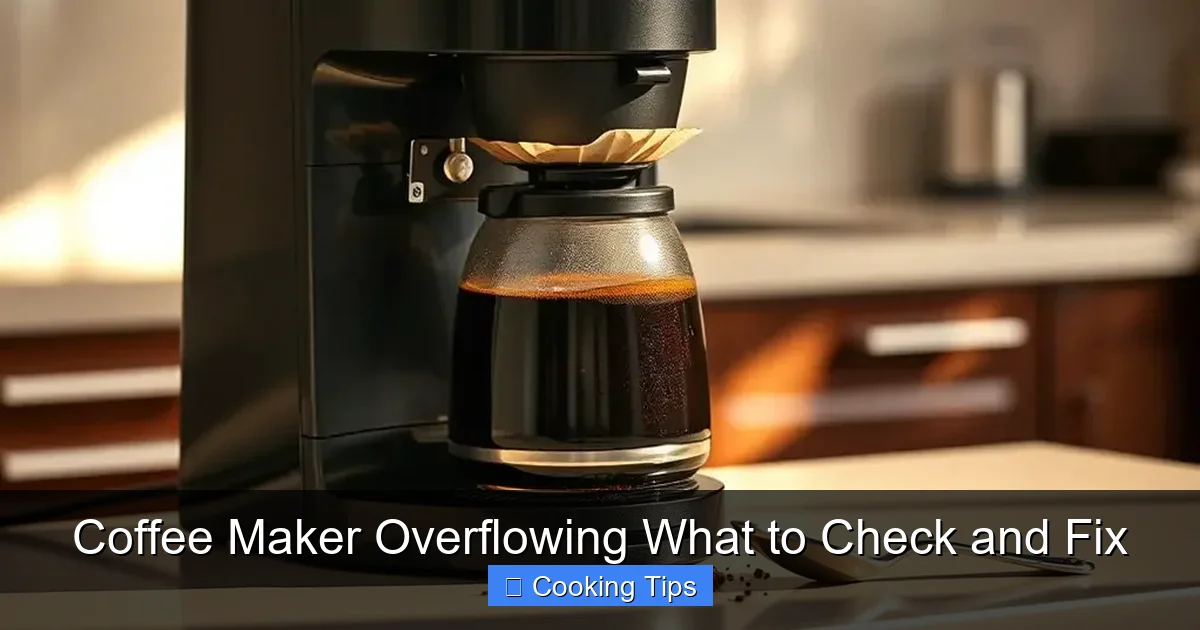
Visual guide about Coffee Maker Overflowing What to Check and Fix
Image source: coffeecherish.com
Let’s break down the most common issues and how to resolve them.
1. Check the Water Reservoir Level
This is by far the most common reason for a coffee maker overflow. It’s incredibly easy to accidentally pour too much water into the reservoir, especially if the markings are worn or unclear.
What to do:
- Inspect the reservoir: Look for the maximum fill line. This line is crucial for ensuring the correct amount of water is used.
- Drain excess water: If you’ve gone over the max line, carefully pour out the excess water. You might need to tilt the machine slightly over a sink or use a small pitcher to siphon out the extra liquid.
- Measure accurately: In the future, use the carafe or a measuring cup to ensure you’re adding the correct amount of water. Most coffee makers have markings on the carafe that correspond to the number of cups.
Practical Tip: Always refer to your coffee maker’s manual for specific instructions on water capacity. Some machines are more sensitive to overfilling than others.
2. Examine the Coffee Filter and Grounds
The coffee grounds and the filter they sit in play a critical role in the brewing process. If the filter is clogged or the grounds are too fine, water can’t flow through properly, leading to a backup.
What to do:
- Check the filter placement: Ensure the coffee filter is seated correctly in the brew basket. It should sit flush against the sides and bottom, with no folds or gaps that could allow grounds to escape or water to bypass.
- Inspect for clogs: If the brew basket is full of coffee grounds and water seems to be pooling on top, the filter might be clogged. Carefully remove the brew basket (once the machine has cooled down slightly to avoid burns) and discard the used grounds and filter.
- Assess the coffee grind: If you’re using pre-ground coffee, try a coarser grind next time. If you grind your own beans, adjust your grinder settings to a medium or coarse grind. Very fine grinds can clog the filter and lead to over-extraction, causing overflow.
- Use the right type of filter: Ensure you’re using the correct size and type of filter for your coffee maker (e.g., cone vs. basket, paper vs. permanent).
Example: Imagine trying to push a large amount of thick mud through a small sieve. The mud will back up. Coffee grounds act similarly within the filter.
3. Clean the Brew Basket and Filter Holder
Over time, coffee oils and fine grounds can accumulate in the brew basket and its holder, creating a sticky residue that impedes water flow.
What to do:
- Remove the brew basket: Take out the brew basket and any reusable filter holder.
- Wash thoroughly: Wash these parts with warm, soapy water. Pay attention to any nooks and crannies where grounds might be stuck. A small brush can be helpful here.
- Rinse and dry: Rinse thoroughly to remove all soap residue and let the parts air dry completely or dry them with a clean cloth.
Important Note: If your brew basket is dishwasher safe, check your manual to see if it can be cleaned that way.
4. Descale Your Coffee Maker
Mineral buildup, commonly known as limescale, is a silent assassin of coffee makers. It can form inside the heating element and water tubes, creating blockages that prevent water from flowing freely. This is a very common cause of slow brewing and eventual overflow.
What to do:
- Check your manual: Your coffee maker’s manual will have specific instructions for descaling.
- Prepare a descaling solution: Typically, this involves a mixture of white vinegar and water (often a 1:1 ratio) or a commercially available descaling solution.
- Run a brew cycle: Fill the water reservoir with the descaling solution and run a full brew cycle without coffee grounds.
- Run plain water cycles: After the descaling cycle, discard the solution and run at least two to three full cycles with plain water to rinse out any residual solution and loosened mineral deposits.
Frequency: Aim to descale your coffee maker every 1-3 months, depending on the hardness of your water and how often you use it.
5. Verify Carafe and Lid Placement
The carafe and its lid are designed to sit in a specific way to allow brewed coffee to flow into it. If the carafe isn’t positioned correctly or the lid isn’t properly aligned, it can prevent the brewed coffee from entering the carafe, causing it to back up into the brew basket and overflow.
What to do:
- Ensure the carafe is properly seated: Make sure the carafe is pushed all the way in and is sitting level on the warming plate or drip tray.
- Check the carafe lid: Some carafes have a hinged lid or a specific groove for the brew basket to rest on. Ensure this lid is correctly attached and aligned. Some models have a pause-and-serve feature that is activated by the carafe’s lid; if this isn’t engaging correctly, it can cause overflow.
- Clean the carafe lid and opening: Coffee residue can build up around the carafe opening and lid, obstructing the flow. Clean these areas regularly.
Troubleshooting Tip: If your carafe has a “pause and serve” mechanism, check if the little lever that is pushed by the carafe lid is stuck or dirty.
6. Inspect the Drip Tray and Warming Plate
While less common as a direct cause of overflow *into* the brew basket, a clogged or improperly draining drip tray can lead to water pooling around the base of the machine, which might be mistaken for an overflow.
What to do:
- Remove and clean: Take out the drip tray and wash it with warm, soapy water.
- Check drainage holes: Ensure any drainage holes in the drip tray or around the warming plate are clear of debris.
- Reassemble correctly: Make sure the drip tray is properly seated after cleaning.
7. Consider Machine Age and Damage
If you’ve tried all the above steps and your coffee maker continues to overflow, it might be time to consider the age or potential damage to the machine. Seals can degrade, internal components can fail, or plastic parts can become warped, all leading to brewing malfunctions.
What to do:
- Consult your manual: Look for troubleshooting sections that might address persistent issues.
- Contact the manufacturer: If your coffee maker is still under warranty, reach out to the manufacturer for support or repair options.
- Evaluate for replacement: If the machine is old and out of warranty, it might be more cost-effective to replace it rather than attempting complex repairs.
Preventing Future Coffee Maker Overflows

Visual guide about Coffee Maker Overflowing What to Check and Fix
Image source: thumbs.dreamstime.com
Prevention is always better than cure, especially when it comes to avoiding a soggy kitchen!
* Regular Cleaning: Make it a habit to rinse the brew basket and carafe after each use.
* Consistent Descaling: Follow a regular descaling schedule.
* Accurate Measuring: Always measure your water and coffee grounds precisely.
* Right Grind Size: Use the appropriate grind size for your coffee maker.
* Check Components: Ensure all parts are correctly placed and clean before brewing.
Conclusion
Visual guide about Coffee Maker Overflowing What to Check and Fix
Image source: images-na.ssl-images-amazon.com
An overflowing coffee maker can be a frustrating experience, but as we’ve seen, most issues stem from simple, fixable problems. By systematically checking the water reservoir, coffee grounds, filters, and the cleanliness of your machine, you can usually pinpoint the cause. Regular maintenance, including cleaning and descaling, is key to preventing these messy mishaps and ensuring your coffee maker functions smoothly for years to come. So, take a deep breath, follow these steps, and get back to enjoying your perfectly brewed, overflow-free coffee!