
Ensure your kitchen jars are bone dry before reassembling to prevent mold, preserve your food, and maintain the integrity of your storage. This guide provides essential techniques for thorough drying. Properly dried jars are key to successful food preservation and a hygienic kitchen.
Welcome, home cooks and food preservation enthusiasts! Today, we’re diving into a crucial step that often gets overlooked but is vital for successful food storage and maintaining a clean kitchen: **drying jars completely before reassembling**. You’ve spent time carefully washing your jars, ensuring they are sparkling clean. But what happens next is just as important. If you put away or reassemble jars that still hold even a tiny bit of moisture, you’re inviting problems like mold, bacteria, and ultimately, spoiled food.
This guide is designed to walk you through the simple yet essential process of ensuring your jars are perfectly dry. We’ll cover why it’s so important, the best methods for drying, and how to troubleshoot common issues. By the end, you’ll have the confidence to know your jars are ready for whatever you plan to store in them, whether it’s your grandmother’s jam recipe or freshly picked produce. Let’s get started on making sure your kitchen practices are as efficient and hygienic as possible.
Key Takeaways
- Thorough Drying Prevents Spoilage: Any residual moisture in jars can lead to mold growth and bacterial contamination, ruining your stored food.
- Air Drying is Best: Allowing jars to air dry upside down on a clean surface is the most effective method for complete moisture removal.
- Avoid Towel-Drying Interiors: Never use towels to dry the inside of jars, as this can introduce lint and bacteria, negating the cleaning process.
- Patience is Crucial: Don’t rush the drying process. Jars need ample time to dry completely, especially in humid environments.
- Dry All Components: Remember to dry lids, rings, and any other parts of the jar assembly thoroughly as well.
- Heat Aids Drying: Using a low oven setting or a dish dryer can significantly speed up the drying process if time is a constraint.
Why Drying Jars Completely Matters
Before we get into the “how,” let’s understand the “why.” Why is this step so critical? It all comes down to preventing spoilage and ensuring food safety.
Think about it: jars are designed to create a seal, protecting your food from the outside world. If there’s water trapped inside, it becomes a breeding ground for microorganisms. These tiny life forms can cause food to spoil much faster than it should. Furthermore, residual moisture can weaken the seal, allowing air to enter and further compromising the food. This can lead to unpleasant tastes, textures, and even make your food unsafe to eat. Properly dried jars are foundational for successful food preservation techniques, ensuring your hard work isn’t undone by a simple oversight.
The Best Methods for Drying Jars
Now that we know why it’s important, let’s look at the most effective ways to get your jars bone dry.
Air Drying: The Gold Standard
Air drying is often the simplest and most reliable method. It requires patience but yields excellent results.
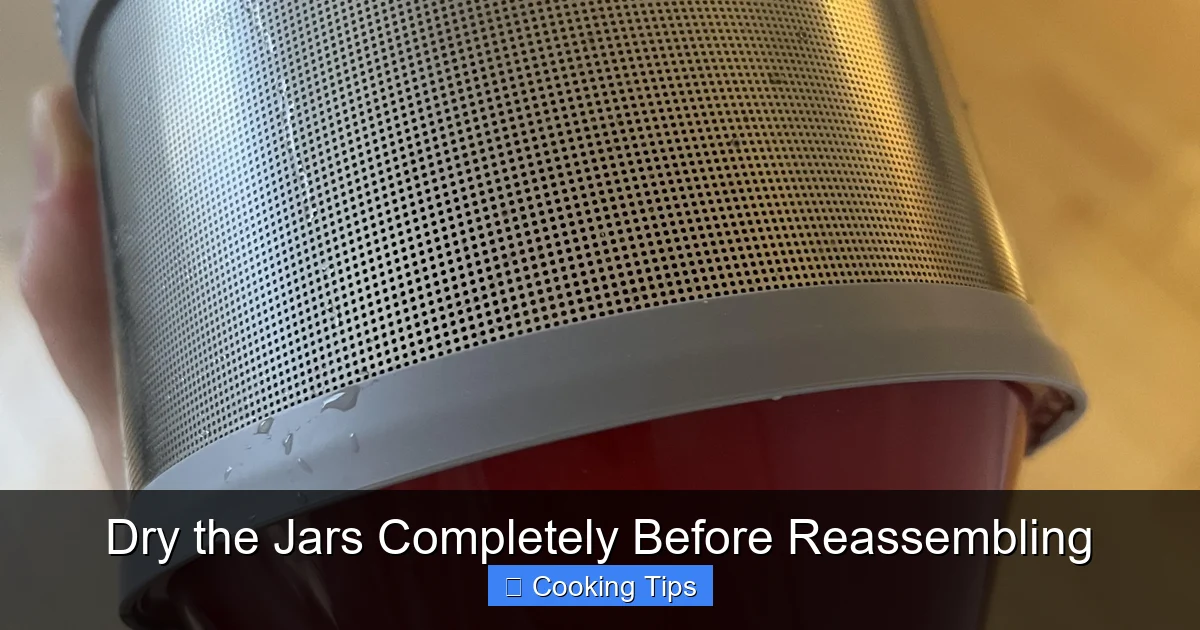
Visual guide about Dry the Jars Completely Before Reassembling
Image source: i.redd.it
Step 1: Drain Excess Water
After washing your jars and rinsing them thoroughly, invert them over your sink or a clean dish rack. Let as much water as possible drip out for a minute or two. This initial draining helps speed up the subsequent drying process.
Step 2: Position for Airflow
This is where the magic happens. You want to position your jars so that air can circulate both inside and outside. The best way to do this is to place them upside down on a clean surface. A clean dish rack is ideal. If you don’t have a suitable dish rack, you can use a clean kitchen towel folded a few times to elevate the jar’s mouth, allowing air to get underneath. Ensure the jar is stable and won’t easily tip over.
Step 3: Allow Ample Drying Time
This is the most crucial part of air drying: patience. The amount of time needed will vary depending on your environment. In a dry, warm climate with good airflow, a few hours might be sufficient. In a humid or cool environment, it could take overnight or even longer. Resist the urge to put lids on too soon! You want to be absolutely certain there is no moisture left inside the jar or on its rim. You can gently touch the inside of the jar with a clean finger to feel for any dampness, but be careful not to contaminate it.
Using Heat to Speed Things Up
If you’re short on time or live in a humid climate where air drying takes too long, heat can be your best friend.
Method 1: The Low Oven Method
This is a fantastic way to dry jars quickly and efficiently.
Step 1: Preheat your oven. Set your oven to its lowest possible temperature, usually around 170-200°F (75-95°C). You don’t want to bake the jars, just use a gentle warmth to evaporate moisture.
Step 2: Place jars in the oven. Once the oven is warm, carefully place your drained jars directly on the oven racks. Ensure they are stable and not touching each other.
Step 3: Heat for a short period. Leave the jars in the oven for about 10-15 minutes. The gentle heat will help to evaporate any remaining moisture. Keep an eye on them to ensure they don’t overheat, though at these low temperatures, it’s unlikely.
Step 4: Air dry further if needed. After the oven time, you can remove the jars and let them finish air drying on a rack for a bit longer, just to be absolutely sure they are dry. This combined approach is very effective.
Method 2: Using a Dish Dryer (Dehydrator)
If you have a kitchen appliance designed for drying, like a food dehydrator or a specialized dish dryer, it can also be used.
Step 1: Set up the dryer. Follow the manufacturer’s instructions for your appliance. Typically, you’ll place the jars on the drying racks.
Step 2: Use a low heat setting. Select the lowest heat setting available. The goal is gentle evaporation, not cooking.
Step 3: Dry until completely moisture-free. This may take longer than the oven method, so check periodically until you are certain the jars are dry.
The Dishwasher’s Role
Can the dishwasher help? Yes, but with caveats. A dishwasher can effectively clean jars, but it might not always get them completely dry, especially the insides.
Step 1: Run a hot wash and dry cycle. Use the hottest water setting and a heated drying cycle on your dishwasher. This will get them very clean and mostly dry.
Step 2: Inspect and air dry. After the dishwasher cycle, open the door and carefully inspect the jars. If you see any condensation or feel any dampness inside, you’ll still need to air dry them completely upside down on a rack. The dishwasher can be a good first step, but the final drying should be confirmed manually.
Drying Lids and Rings
Don’t forget the other parts of your jar! Lids and rings also need to be completely dry before reassembling or storing.
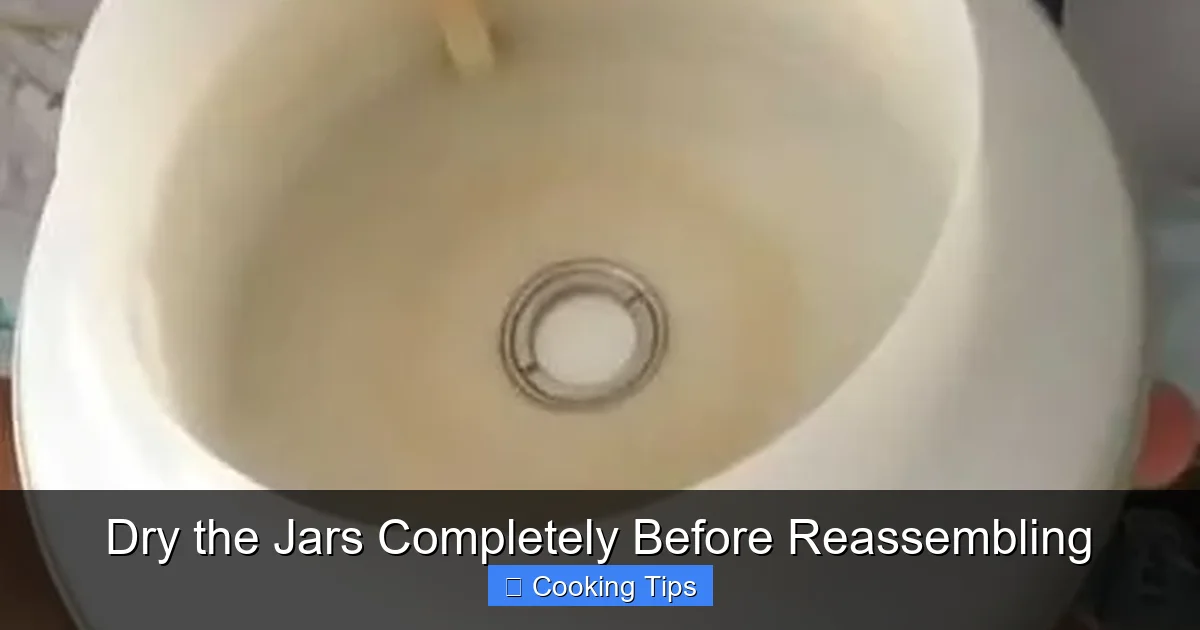
Visual guide about Dry the Jars Completely Before Reassembling
Image source: veranda-interiors.com
Lids
Most canning lids are metal. They can be air-dried on a rack like jars, or you can use the low oven method after washing.
Important Note: For two-piece canning lids (the kind with the flat lid and the screw band), you typically only reuse the screw band for subsequent canning. The flat lids are usually single-use for a proper seal. However, if you are reusing lids for dry goods storage, ensure they are completely dry.
Rings (Bands)
The screw bands are durable and can be washed and dried easily. Air drying is usually sufficient. Ensure no water is trapped in the threads.
Practical Tips for Perfect Drying
Here are some extra tips to ensure your jars are as dry as can be:
- Use a Clean Surface: Always place washed and drained jars on a clean dish rack or a clean towel that has been laundered recently and has no detergent residue.
- Check the Rims: Pay special attention to the rim of the jar. This is where a seal will form, and any moisture here can compromise the seal. Wipe the rims gently with a clean, lint-free cloth if necessary after the main drying is complete, but only if you are absolutely sure no lint is being left behind. Better yet, let air do the work on the rim.
- Consider Humidity: If you live in a humid area, you will need more time for air drying or will benefit greatly from using the oven or a dish dryer.
- Avoid Towel-Drying the Interior: This is a critical point. Never use a kitchen towel to dry the *inside* of a jar. Towels can harbor bacteria and shed tiny fibers (lint) that can contaminate your clean jars and, subsequently, your food. It’s better to let air do the work. You might, however, use a clean, lint-free cloth to gently wipe the *outside* of a dry jar.
- Organize Your Drying Space: Have a designated spot for drying jars. A large dish rack or a clean countertop with towels underneath to catch drips can be very helpful.
- When in Doubt, Dry Longer: It’s always better to err on the side of caution. If you’re unsure if a jar is completely dry, give it more time. It’s a small effort for a big reward in food preservation.
Troubleshooting Common Drying Issues
Even with the best intentions, you might encounter a few snags. Here’s how to handle them:
Problem: Jars Still Feel Damp After Several Hours
Solution: This is likely due to high humidity or poor airflow. If you can’t improve the airflow (e.g., by opening windows), it’s time to use heat. Place the jars in a low-temperature oven (170-200°F or 75-95°C) for 10-15 minutes, then allow them to finish air drying. Ensure your oven’s lowest setting is not too high; you don’t want to crack the glass.
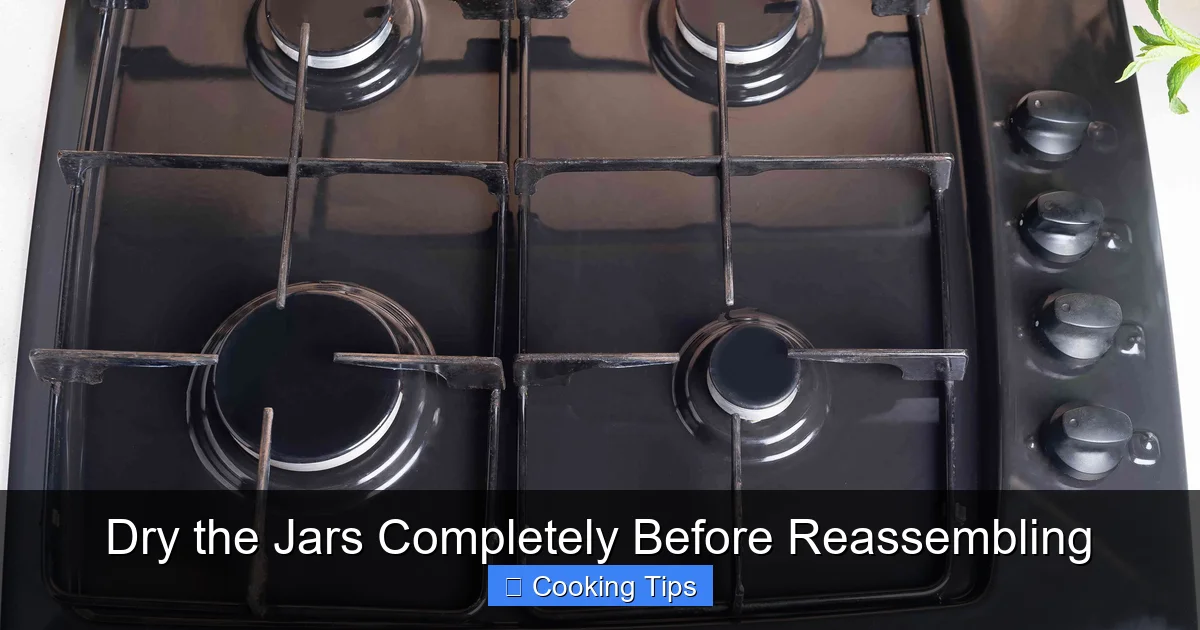
Visual guide about Dry the Jars Completely Before Reassembling
Image source: thespruce.com
Problem: I See Condensation Inside the Jar After it Sits for a While
Solution: This is a sign that the jar was not completely dry to begin with, or that there’s a temperature difference causing condensation. If it’s recent condensation, it means it wasn’t fully dry. Re-dry the jar using the methods described above. If it’s persistent condensation, and you know the jar is dry, it might be related to the temperature of the environment it’s stored in – perhaps it’s too cold for the ambient air.
Problem: I Accidentally Used a Towel to Dry the Inside of My Jars
Solution: If you’ve done this and are concerned about contamination, it’s best to rewash and thoroughly dry the jars using an air-drying or heat-assisted method. For canning, it’s especially important to be meticulous. You don’t want to risk the integrity of your food preservation.
Conclusion
Mastering the art of drying your jars completely before reassembling is a simple yet powerful step in your kitchen routine. It’s a small investment of time that pays huge dividends in preventing spoilage, ensuring food safety, and keeping your stored goods fresh and delicious. Whether you’re canning fruits, pickling vegetables, or simply storing dry goods, bone-dry jars are essential. By following the methods of air drying, utilizing heat when needed, and always remembering to dry lids and rings, you’ll be well on your way to perfect food preservation.
Remember, a clean jar is a good start, but a clean *and completely dry* jar is the foundation for success. So, next time you wash your jars, give them the time and care they need to dry thoroughly. Your future self, enjoying your perfectly preserved food, will thank you for it!