
Wondering whether to use a food processor or a blender for your next hummus batch? This guide breaks down the differences and provides clear, step-by-step instructions for making delicious hummus with each appliance. We’ll cover which tool delivers superior creaminess, essential ingredients, and tips for achieving hummus perfection. Learn how to make the best hummus, regardless of your kitchen gadget.
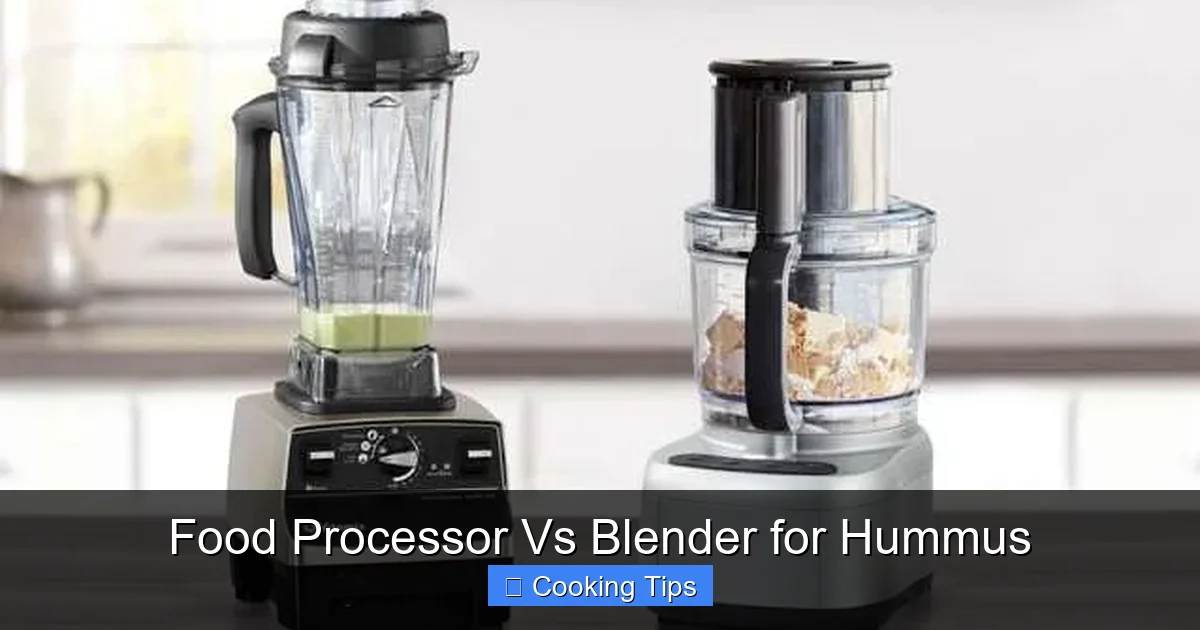
Food Processor Vs Blender for Hummus: Which Appliance Reigns Supreme?
Making homemade hummus is a rewarding culinary adventure. The creamy, savory spread is a staple for a reason. But when it comes to achieving that perfect, velvety texture, a common question arises: should you use a food processor or a blender? Both appliances have their strengths, and the “better” choice often depends on your desired outcome and the equipment you have on hand.
This comprehensive guide will demystify the process. We’ll dive deep into the nuances of using a food processor versus a blender for hummus, offering clear, step-by-step instructions for both. You’ll learn what makes each appliance shine, essential ingredients for delicious hummus, and practical tips to troubleshoot any issues. By the end of this guide, you’ll be confident in your ability to create restaurant-quality hummus, no matter which appliance you choose.
What Makes Hummus Great?
Before we compare the appliances, let’s touch on what makes hummus so irresistible. It’s a simple yet elegant combination of mashed chickpeas, tahini (sesame paste), lemon juice, garlic, and olive oil. The magic lies in the texture – it should be smooth, creamy, and rich. This is where the choice of appliance plays a significant role.
The Food Processor: The Traditional Champion
For many home cooks, the food processor is the go-to appliance for hummus. Its design is inherently suited for tasks like pureeing, chopping, and mixing, making it a natural fit for blending ingredients into a smooth paste.
Why a Food Processor Often Wins for Hummus:
* Wider Bowl: The broad, shallow bowl of a food processor allows ingredients to spread out, coming into consistent contact with the blades. This promotes even processing and prevents ingredients from getting stuck in a clump.
* Blade Design: The S-shaped blades of a food processor are designed to create a vortex, pulling ingredients down and around, which helps in achieving a smooth, homogenous mixture.
* Capacity: Food processors typically come with larger capacities, making them ideal for making a generous batch of hummus for gatherings or for meal prepping.
* Ease of Use: Generally, food processors are straightforward to operate. You add your ingredients, pulse, and let it run until smooth.
Making Hummus with a Food Processor: A Step-by-Step Guide
Let’s get down to business. Here’s how to make fantastic hummus using your food processor.
Ingredients:
* 2 cans (15 ounces each) chickpeas, drained and rinsed (or 1.5 cups cooked dried chickpeas)
* 1/2 cup tahini
* 1/4 cup fresh lemon juice (from about 1-2 lemons)
* 2-3 cloves garlic, minced or roughly chopped
* 1/4 cup ice water (plus more as needed)
* 2 tablespoons olive oil (plus more for serving)
* 1/2 teaspoon salt (or to taste)
* Optional: pinch of cumin, paprika for garnish
Equipment:
* Food processor
* Spatula
**Instructions:**
Key Takeaways
- Food processors generally excel at producing creamier, smoother hummus due to their wider, shallower bowls and blade design that allows ingredients to circulate more effectively.
- Blenders, particularly high-powered models, can also make excellent hummus, but may require more attention to prevent overheating and achieve the desired consistency.
- The quality of your chickpeas is crucial for both appliances; using dried, soaked, and cooked chickpeas (or very high-quality canned ones) yields better results.
- Proper technique is key: adding liquids gradually and scraping down the sides of the bowl/jar frequently ensures even processing and a smooth texture.
- A food processor is often more forgiving for beginners and handles larger batches with ease, making it a popular choice for hummus.
- A high-speed blender can achieve an incredibly silky texture that’s almost like a paste, but it might take longer and require more liquid.
Step 1: Prepare Your Aromatics
Mince the Garlic
Start by mincing or finely chopping your garlic. If you have a very powerful food processor, you can sometimes throw in whole cloves, but mincing ensures a more even distribution of garlic flavor and a smoother final product.
Combine with Lemon Juice
In a small bowl, combine the minced garlic with the fresh lemon juice. Let this sit for about 10 minutes. This step is called “blooming” the garlic and lemon, and it helps to mellow the sharp bite of the raw garlic, making it sweeter and more integrated into the hummus.
Step 2: Process the Tahini and Lemon Mixture
Add Tahini and Lemon-Garlic Mixture
Place the tahini and the lemon-garlic mixture into the bowl of your food processor. Process for about 1 minute, scraping down the sides of the bowl occasionally. This step creates a smooth, creamy base for your hummus. The tahini will become lighter and fluffier.
Visual guide about Food Processor Vs Blender for Hummus
Image source: indoorguider.com
Step 3: Add the Chickpeas
Add Chickpeas and Seasonings
Add the drained and rinsed chickpeas to the food processor. Add the salt and optional cumin at this stage. Process for about 2 minutes, or until the mixture starts to break down and become crumbly.

Visual guide about Food Processor Vs Blender for Hummus
Image source: indoorguider.com
Step 4: Emulsify with Ice Water and Olive Oil
Gradually Add Liquids
With the food processor running, slowly stream in the ice water, about a tablespoon at a time, through the feed tube. Also, drizzle in the 2 tablespoons of olive oil. Continue processing and scraping down the sides of the bowl as needed.
Visual guide about Food Processor Vs Blender for Hummus
Image source: indoorguider.com
Why ice water? Ice water is a secret weapon for achieving ultra-creamy hummus. The cold temperature helps the tahini and chickpeas emulsify better, creating a smoother texture. It also helps to slightly “shock” the ingredients, leading to a fluffier consistency.
Keep processing for another 3-5 minutes, or until the hummus is very smooth and creamy. If the hummus is too thick, add more ice water, one tablespoon at a time, until you reach your desired consistency.
Step 5: Taste and Adjust
Season to Perfection
Stop the food processor and taste the hummus. Adjust salt and lemon juice as needed. Some people prefer more tang, while others like it richer. You can also add a pinch more cumin if you desire.
Step 6: Serve
Garnish and Enjoy
Transfer the hummus to a serving bowl. Create a swirl with the back of a spoon, drizzle with a generous amount of good-quality olive oil, and sprinkle with paprika or a pinch of sumac. Serve with pita bread, vegetables, or crackers.
The Blender: The Speed Demon (with Caveats)
Blenders, especially high-powered ones, are designed for liquefying ingredients. While they can produce incredibly smooth textures, they approach hummus-making a bit differently than food processors.
When a Blender Might Be Your Best Bet:
* Ultimate Smoothness: High-speed blenders can pulverize ingredients to an almost paste-like consistency, achieving a silkiness that’s hard to beat.
* Smaller Batches: If you’re only making a small amount of hummus, a personal-sized blender or a smaller regular blender might be more efficient.
* Speed (Potentially): Once you get the hang of it, a powerful blender can whip up hummus very quickly.
Challenges with Blenders for Hummus:
* Thick Mixtures: Blenders struggle with very thick mixtures. Hummus can be quite dense, and if it’s too thick, it can stall the motor or cause it to overheat.
* Overheating: Running a blender for extended periods on a thick mixture can lead to the motor overheating, potentially damaging the appliance.
* Requires More Liquid: To get a thick mixture moving in a blender, you often need to add more liquid than you would in a food processor, which can sometimes dilute the flavor or make the hummus thinner than desired.
Making Hummus with a Blender: A Step-by-Step Guide
If you’re keen to use your blender, here’s how to get a great result. The key is patience and careful addition of liquids.
Ingredients: (Same as above)
Equipment:
* Blender (preferably high-powered)
* Tamper (if your blender has one)
* Spatula
**Instructions:**
Step 1: Prepare Ingredients
Soak and Blend Garlic/Lemon
Follow the same steps for preparing the garlic and lemon juice mixture. Let it sit for 10 minutes.
Add Tahini and Lemon Mixture
Add the tahini and lemon-garlic mixture to your blender jar. Blend for about 30-60 seconds until smooth and creamy.
Step 2: Add Chickpeas and Seasonings
Add Chickpeas, Salt, and Cumin
Add the drained chickpeas, salt, and optional cumin to the blender jar.
Step 3: Blend and Emulsify
Start Blending
Begin blending on a low speed, gradually increasing to high. You’ll likely need to use the tamper (if you have one) to push the ingredients down towards the blades. Blend for about 1-2 minutes until the mixture is broken down.
Add Ice Water Gradually
With the blender running on a medium to high speed, slowly drizzle in the ice water, a tablespoon at a time. You may need to stop the blender and scrape down the sides of the jar with a spatula. The goal is to get the mixture moving and emulsifying without becoming too thin.
Continue blending and adding water until you reach a smooth, creamy consistency. This might take longer than in a food processor, and you need to be mindful of the blender’s motor. If it feels like it’s struggling, stop and scrape, or add a tiny bit more water.
Add Olive Oil
Once the hummus is mostly smooth, drizzle in the 2 tablespoons of olive oil while the blender is running. This will help create a richer, emulsified texture.
Step 4: Taste and Adjust
Season to Your Liking
Once smooth, stop the blender and taste. Adjust salt and lemon juice as needed. Add more liquid (water or a touch more lemon juice) if it’s still too thick for your liking.
Step 5: Serve
Garnish and Enjoy
Transfer to a bowl, drizzle with olive oil, and garnish as desired. Serve with your favorite accompaniments.
Tips for Hummus Perfection, Regardless of Appliance:
* Use Dried Chickpeas: While canned chickpeas are convenient, cooking your own from dried will yield a superior texture and flavor. Soak them overnight, then boil them until very tender – they should be easily mashable between your fingers.
* Remove Chickpea Skins: This is a labor of love, but removing the papery skins from the chickpeas before processing will result in noticeably smoother hummus. You can rub them gently between your hands or use a colander.
* Don’t Skimp on Tahini: Tahini is essential for that authentic hummus flavor and creamy texture. Good quality tahini makes a big difference.
* Fresh Lemon Juice is Key: Bottled lemon juice simply won’t cut it. The brightness of fresh lemon juice is irreplaceable.
* Start with Less Liquid: It’s always easier to add more liquid than to fix hummus that’s too thin. Start with the recommended amount and add more gradually until you reach your desired consistency.
* Scrape, Scrape, Scrape: Whether you’re using a food processor or a blender, pausing to scrape down the sides of the bowl or jar is crucial for even processing and achieving that smooth texture.
* Be Patient: Hummus doesn’t happen in 30 seconds. Allow your appliance the time it needs to break down the ingredients fully.
Troubleshooting Common Hummus Issues:
* **Hummus is Too Thick:** Add more ice water or a little more lemon juice, a tablespoon at a time, while processing.
* Hummus is Too Thin/Watery: This is harder to fix. You can try adding a few more chickpeas (if you have them) or a bit more tahini to thicken it. Alternatively, chill it in the refrigerator; it often firms up.
* Hummus is Gritty: You likely didn’t process it long enough, or your chickpeas weren’t tender enough. If using a food processor, try processing for a few more minutes. If using a blender, ensure you’ve used the tamper and processed until very smooth. For very gritty hummus, you might consider running it through a fine-mesh sieve if texture is paramount, but this is an extra step.
* Hummus Has a Raw Garlic Taste:** You may need to process it longer, or try mincing your garlic and letting it sit in the lemon juice for longer to mellow its flavor. You could also try roasting the garlic first for a milder, sweeter garlic flavor.
Conclusion: The Verdict on Food Processor vs. Blender for Hummus
So, which appliance should you choose for your hummus-making endeavors?
The **food processor** remains the reigning champion for many due to its inherent design, which promotes even processing and a reliably creamy, smooth texture with relative ease. It’s forgiving, handles larger batches well, and is generally less prone to overheating with thick mixtures. If you’re looking for a consistent, excellent result with minimal fuss, the food processor is likely your best friend.
However, the **high-powered blender** is a strong contender if your priority is achieving an exceptionally silky, almost ethereal smoothness. It can produce a texture that rivals the best restaurant versions, but it demands more attention, a careful hand with liquids, and an awareness of your blender’s motor.
Ultimately, the best appliance is the one you have and the one you’re comfortable using. Both can produce delicious, homemade hummus that will impress your friends and family. By following these step-by-step guides and incorporating the practical tips, you’re well on your way to hummus mastery. Happy blending (or processing)!