
When making pesto, both food processors and blenders can be used, but they offer distinct results. A food processor typically yields a chunkier, more rustic pesto, ideal for those who enjoy texture. Conversely, a blender tends to produce a smoother, more emulsified pesto, perfect for a silky finish. This guide will help you choose the right appliance for your desired pesto perfection.
Food Processor Vs Blender for Pesto: Which Kitchen Appliance Reigns Supreme?
Homemade pesto is a culinary delight. Its vibrant green hue and fresh, herbaceous flavor can elevate pasta dishes, sandwiches, grilled meats, and so much more. But when it comes to achieving that perfect pesto texture, a question often arises: which kitchen appliance is best, a food processor or a blender?
The truth is, both tools can get the job done. However, they produce distinctly different results. Understanding the nuances of each appliance will help you make the right choice for your pesto-making adventures. This comprehensive guide will walk you through the pros and cons of using a food processor versus a blender for your next batch of pesto, offering step-by-step instructions and practical tips to ensure your homemade creation is nothing short of spectacular.
Key Takeaways
- Food processors excel at achieving a rustic, textured pesto due to their wider bowl and S-blade design, which pulses ingredients effectively without over-processing.
- Blenders are better suited for creating a smooth, emulsified pesto thanks to their powerful motors and tall, narrow jar that forces ingredients towards the blades.
- The choice between a food processor and a blender for pesto ultimately depends on your preferred texture.
- For a quick pesto, a food processor is often more efficient as it can handle larger batches and requires less scraping down of the sides.
- Blenders might require more scraping and a bit more liquid to achieve a smooth consistency, especially if using fibrous greens.
- Both appliances can produce delicious pesto; the key is understanding their strengths and weaknesses for this specific culinary task.
Understanding Your Pesto Goals: Texture is Key
Before we dive into the appliance showdown, let’s consider what makes a great pesto. At its heart, pesto is a paste. Traditionally, it’s made by pounding basil, garlic, pine nuts, Parmesan cheese, and olive oil in a mortar and pestle. This method results in a wonderfully textured, slightly chunky pesto. Modern kitchen appliances aim to replicate this, but with varying degrees of success and different textural outcomes.
Your ultimate pesto goal will largely dictate which appliance you should reach for. Do you crave a rustic, slightly coarse pesto where you can still discern the individual ingredients? Or do you prefer a silky smooth, homogenous paste that coats your pasta like a dream?
The Food Processor: Your Champion for Rustic Pesto
A food processor is often considered the go-to appliance for making pesto, and for good reason. Its design is perfectly suited for this task.
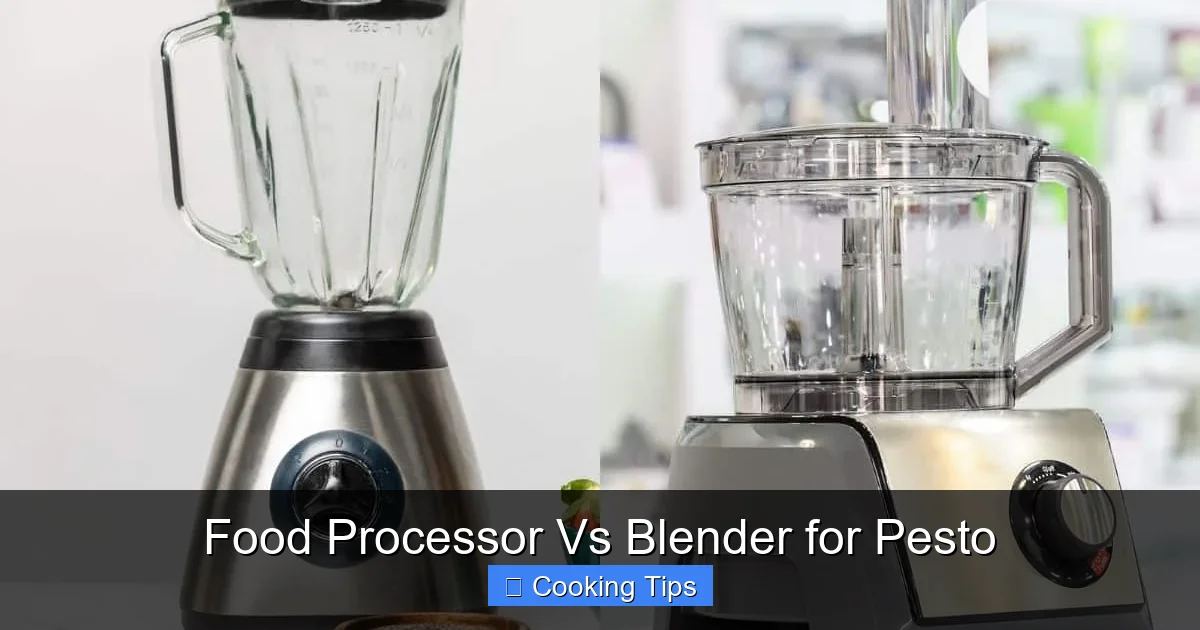
Visual guide about Food Processor Vs Blender for Pesto
Image source: fitibility.com
How a Food Processor Creates Great Pesto
Food processors typically have a wide, relatively shallow bowl. This design allows ingredients to spread out, rather than being forced into a concentrated vortex. The S-shaped blade at the bottom of the bowl is designed to chop and churn ingredients.
When you pulse ingredients in a food processor, it creates a more controlled chopping action. This means you’re less likely to over-process your basil, which can turn it mushy and dull its vibrant green color. The wider bowl also makes it easier to scrape down the sides, ensuring all ingredients are incorporated without overworking the mixture.
Step-by-Step Pesto with a Food Processor
Making pesto in a food processor is straightforward:
- Prepare Your Ingredients: Wash and thoroughly dry your basil leaves. Remove any tough stems. Toast your pine nuts lightly in a dry skillet until fragrant, then let them cool. Grate your Parmesan cheese. Have your garlic and olive oil ready.
- Add Dry Ingredients: Place the basil leaves, pine nuts, and garlic into the food processor bowl.
- Pulse to Chop: Secure the lid and pulse several times until the ingredients are roughly chopped. You want to see some texture at this stage.
- Add Cheese and Pulse: Add the grated Parmesan cheese to the bowl and pulse a few more times to incorporate.
- Stream in Olive Oil: With the food processor running on a low setting (or by pulsing), slowly drizzle in the olive oil through the feed tube. Continue until the pesto reaches your desired consistency. You may not need all the oil, or you might need a little more, depending on your preference.
- Season and Serve: Taste and season with salt and pepper. Transfer to a storage container.
Tips for Food Processor Pesto Perfection
- Dry Your Basil Well: Excess water will dilute your pesto and can make it spoil faster. A salad spinner is your best friend here.
- Don’t Over-Process: Listen to your processor. Stop pulsing as soon as you achieve a coarse chop. Over-processing will turn your beautiful basil into a paste.
- Toast Your Pine Nuts: This step is crucial for flavor development. It brings out a nutty richness that raw pine nuts lack.
- Use Good Quality Olive Oil: Extra virgin olive oil is essential for the flavor of pesto.
- Batch Size Matters: Food processors are excellent for larger batches of pesto. If you have a lot of basil, a food processor will likely be more efficient.
The Blender: Your Path to Silky Smooth Pesto
While a food processor leans towards rustic, a blender, particularly a high-powered one, is your best bet for achieving a smooth, emulsified pesto.
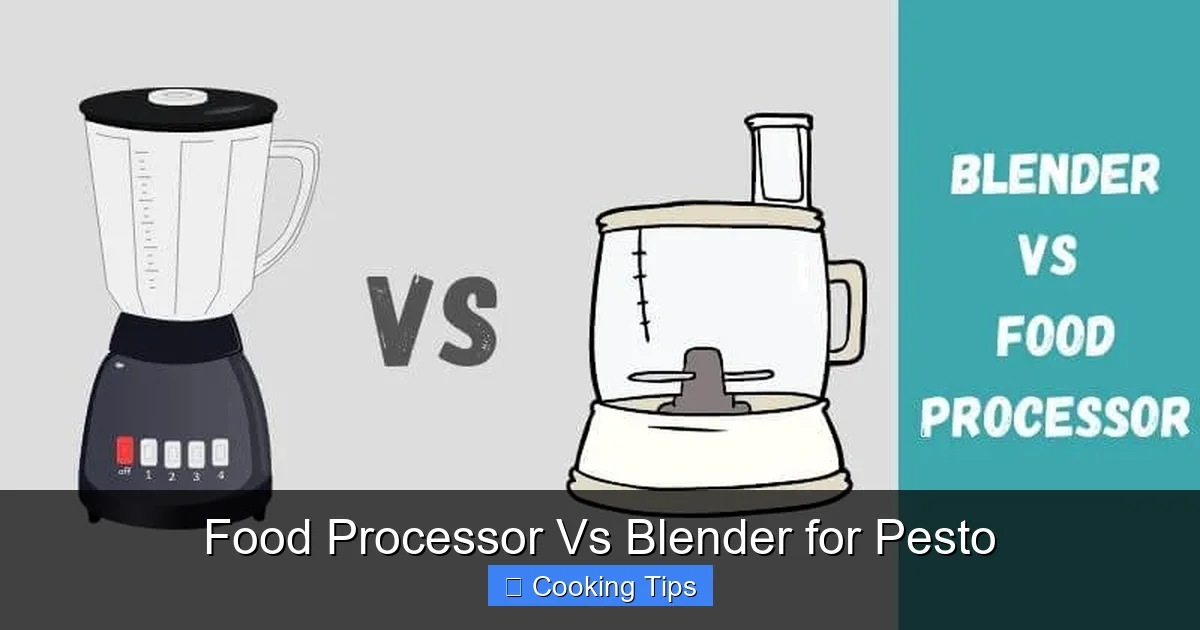
Visual guide about Food Processor Vs Blender for Pesto
Image source: thefamilyneed.com
How a Blender Creates Smooth Pesto
Blenders have tall, narrow jars with blades that create a powerful vortex. This action pulls ingredients down towards the blades, forcing them into a finer consistency. The centrifugal force generated by a blender’s motor is what gives it the power to pulverize ingredients into a smooth paste.
However, this same power can be a double-edged sword. It’s easier to over-process ingredients in a blender, potentially heating them up and dulling their color and flavor. You might also need to scrape down the sides more often, and sometimes, a little extra liquid might be required to get the blades moving freely.
Step-by-Step Pesto with a Blender
Making pesto in a blender requires a slightly different approach:
- Prepare Your Ingredients: Similar to the food processor method, ensure your basil is washed and thoroughly dried. Toast your pine nuts and grate your cheese.
- Add Ingredients to Blender: Place the basil, pine nuts, and garlic into the blender jar. If using a powerful blender, you might want to add the cheese at this stage as well.
- Begin Blending: Start blending on a low speed, gradually increasing to high. You’ll likely need to stop and scrape down the sides of the blender jar a few times to ensure everything is incorporated.
- Stream in Olive Oil: With the blender running, slowly drizzle in the olive oil through the opening in the lid. Continue blending until you achieve a smooth, emulsified consistency. You might need to add a tablespoon or two of water if the mixture is too thick for the blades to move freely.
- Add Cheese (if not added earlier): If you held back the cheese, add it now and blend briefly until just incorporated.
- Season and Serve: Taste and adjust seasoning with salt and pepper. Serve immediately or store.
Tips for Blender Pesto Perfection
- Don’t Overfill: Blenders work best when not packed too full. Work in batches if necessary.
- Use the Tamper (if available): If your blender has a tamper, use it to push ingredients down towards the blades without stopping the motor. This is incredibly helpful for achieving a smooth consistency.
- Be Patient with Scraping: You will likely need to stop and scrape down the sides of the blender jar multiple times. This is normal.
- Control the Heat: High-powered blenders can generate heat. Blend in short bursts if you’re concerned about the pesto warming up too much.
- Consider the Liquid: If your pesto is too thick to blend, add a little water, lemon juice, or even a touch more olive oil to help things along.
Food Processor vs. Blender: The Direct Comparison for Pesto
Let’s break down the key differences when it comes to making pesto:
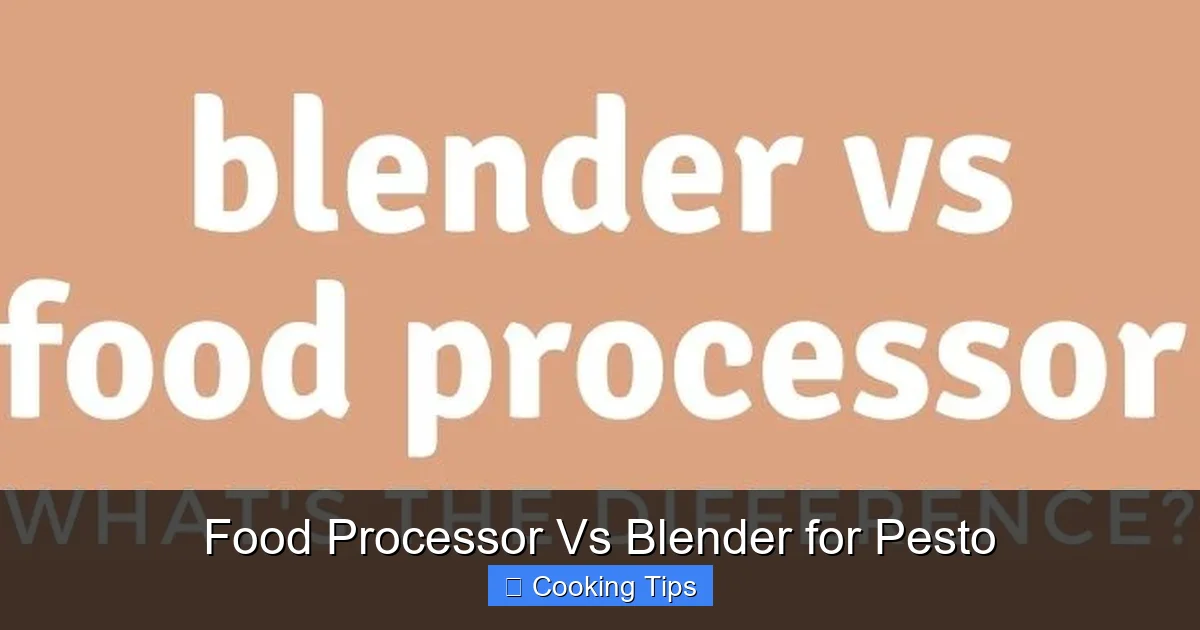
Visual guide about Food Processor Vs Blender for Pesto
Image source: anourishingplate.com
Texture
- Food Processor: Tends to produce a chunkier, more rustic pesto. You can easily control the texture by how long you pulse. It’s ideal for those who enjoy a bit of bite in their pesto.
- Blender: Excels at creating a very smooth, almost creamy pesto. The vortex action pulverizes ingredients more finely. This is perfect for a silken sauce.
Speed and Efficiency
- Food Processor: Generally quicker for larger batches. The wider bowl means less scraping, and ingredients are processed more evenly in one go.
- Blender: Can be slower, especially if you need to stop and scrape frequently or if working with a less powerful model. It might require more effort to get the blades to engage all ingredients.
Ease of Use
- Food Processor: Often considered more forgiving for beginners. It’s easier to achieve the desired texture without over-processing.
- Blender: Can require a bit more practice to master, especially concerning scraping and avoiding overheating.
Flavor and Color
- Food Processor: Less likely to overheat the basil, which helps preserve its vibrant green color and fresh flavor.
- Blender: High-powered blenders can generate heat quickly. Blending for too long can slightly dull the color and flavor of the basil.
Cleanup
- Food Processor: The bowl and blade are typically easy to clean.
- Blender: The tall, narrow jar can sometimes be trickier to get into for thorough cleaning, though many have self-cleaning functions.
Troubleshooting Your Pesto
No matter which appliance you choose, you might run into a few common pesto predicaments:
My pesto is too watery.
Cause: You might have used too much olive oil, or your basil wasn’t dried thoroughly.
Solution: For a food processor, try adding a little more cheese or pine nuts to absorb excess liquid. For a blender, you can add more cheese or pine nuts, or blend in a few more basil leaves. In a pinch, you can also gently warm the pesto in a saucepan over low heat to evaporate some of the liquid, but be careful not to cook the basil.
My pesto is too dry and crumbly.
Cause: Not enough olive oil was added, or your ingredients were too finely chopped before adding the oil.
Solution: With either appliance, slowly stream in more olive oil while processing or blending. You can also add a tablespoon of water or lemon juice to help emulsify the sauce.
My pesto is brown or dull green.
Cause: The basil was over-processed, leading to oxidation and heat.
Solution: This is difficult to reverse. Next time, be more mindful of pulsing in shorter bursts with a food processor or blending in shorter intervals with a blender. Toasted nuts and fresh, dry basil are key to preventing this.
Which One Should You Use?
The answer, as with many things in the kitchen, is: it depends!
-
Choose a food processor if:
- You prefer a rustic, textured pesto.
- You are making a large batch.
- You want a more hands-off and forgiving process.
-
Choose a blender if:
- You desire a super smooth, silky pesto.
- You have a high-powered blender.
- You don’t mind a little extra attention to scraping and blending time.
Ultimately, the most important ingredient in any pesto is fresh, high-quality basil. Both appliances are capable of transforming simple ingredients into a delicious condiment. Experiment with both methods to discover your personal pesto preference.
Conclusion
Deciding between a food processor and a blender for your pesto isn’t about which appliance is “better” overall, but which one aligns with your desired pesto outcome. For those who appreciate texture and a more traditional feel, the food processor is likely your best companion. Its design naturally lends itself to that delightful, slightly chunky consistency. If, however, your heart sings for a luxuriously smooth, almost velvety pesto that coats every strand of pasta, then a blender, particularly a high-powered one, will be your trusty ally.
Don’t be afraid to experiment. The joy of homemade pesto lies in its adaptability. Whether you choose the robust chopping power of a food processor or the emulsifying might of a blender, you’re on your way to creating a flavor-packed staple that will bring brightness and depth to countless meals. So, dust off your chosen appliance, gather your fresh basil, and get ready to experience the unparalleled taste of homemade pesto!