
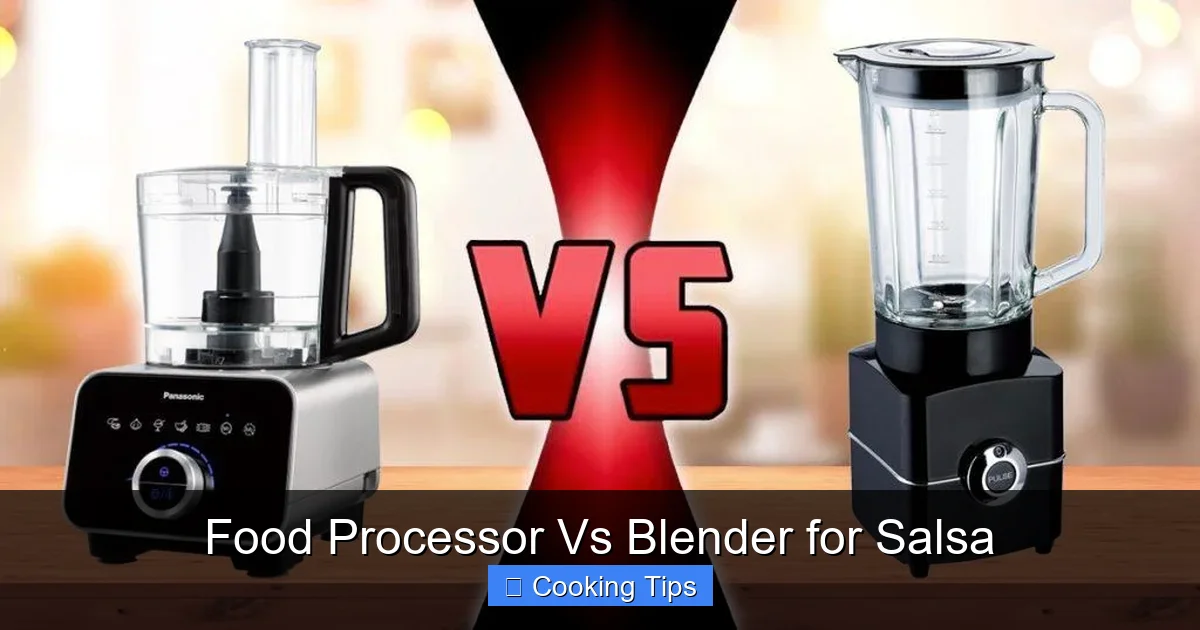
Choosing between a food processor and a blender for your salsa can significantly impact the final texture. This guide breaks down the differences, helping you decide which appliance is best for your desired salsa consistency. Whether you prefer a chunky pico de gallo or a smooth, blended salsa, we’ll walk you through the pros and cons of each. Get ready to make your best salsa yet!
Food Processor Vs Blender for Salsa
Making homemade salsa is one of the most rewarding culinary endeavors. The vibrant flavors, the fresh ingredients – it’s a taste of sunshine in a bowl! But when it comes to achieving that perfect salsa texture, a common question arises: should you reach for the food processor or the blender? Both appliances can chop, dice, and blend, but they do so with distinct results. This guide is here to help you navigate the food processor vs blender debate for salsa. We’ll break down their strengths and weaknesses, provide step-by-step instructions for using each, and offer tips to ensure your salsa is exactly how you like it. Get ready to elevate your salsa game!
Key Takeaways
- Food processors excel at creating chunkier salsas due to their wider bowl and S-shaped blade that pulses ingredients rather than liquefying them.
- Blenders are ideal for smooth, pureed salsas as their tall, narrow jar and powerful motor create a vortex that breaks down ingredients more finely.
- Pulsing is key for texture control in a food processor, allowing you to achieve desired chunkiness by processing in short bursts.
- Over-processing in a blender can quickly lead to a watery or mushy salsa, so vigilance is required.
- Ingredient size matters: Smaller, uniform pieces are easier for both appliances, but especially a blender, to process effectively.
- Consider your preferred salsa style: If you love biting into distinct pieces of tomato, onion, and cilantro, a food processor is likely your winner. For a dip-like consistency, a blender shines.
Understanding the Appliances: Food Processor vs. Blender
Before we dive into the nitty-gritty of salsa making, let’s understand the fundamental differences between these two kitchen workhorses and how they apply to salsa.
The Food Processor: The Chopper Extraordinaire
A food processor typically features a wide bowl and an S-shaped blade that sits at the bottom. Its design is optimized for chopping, dicing, mincing, and pureeing solid ingredients. The wide bowl allows ingredients to spread out, making it easier to achieve a more uniform chop without completely pulverizing them. The S-shaped blade is excellent at catching and repeatedly cutting ingredients.
When it comes to salsa, the food processor’s advantage lies in its ability to pulse. This controlled chopping action allows you to break down ingredients into smaller pieces without turning them into a liquid. This is crucial for achieving that desirable chunky texture that many people associate with a good pico de gallo. You have more control over the size of your ingredients, which translates directly to the texture of your finished salsa.
The Blender: The Master of Smoothness
A blender, on the other hand, usually has a tall, narrow jar and blades at the very bottom. Its design is optimized for creating smooth liquids and purees. The tall jar helps ingredients circulate in a vortex, allowing the blades to efficiently chop and liquefy them. Blenders are fantastic for smoothies, soups, and sauces where a silky-smooth consistency is desired.
For salsa, a blender can create a very smooth, almost sauce-like consistency. If you prefer a salsa that’s closer to a dip, or if you’re making a cooked salsa where a smoother texture is preferred, a blender can be a great option. However, it’s very easy to over-process ingredients in a blender, turning your lovely salsa into a watery, mushy mess. This requires a lighter touch and more careful monitoring.
Making Salsa with a Food Processor: The Chunky Champion
Visual guide about Food Processor Vs Blender for Salsa
Image source: answersrepublic.com
If your idea of perfect salsa involves noticeable chunks of tomato, onion, and pepper, then the food processor is likely your best friend. Its ability to pulse and chop makes it ideal for achieving a rustic, textured salsa.
Step 1: Prepare Your Ingredients
This is a crucial step for any salsa, but especially when using a food processor. The appliance works best with ingredients that are roughly the same size.
* **Tomatoes:** Core them and cut them into quarters or halves, depending on the size of your food processor bowl. Remove any excess watery pulp and seeds if you prefer a less watery salsa.
* **Onions:** Peel and quarter them.
* **Peppers (Jalapeños, Serranos, etc.):** Remove stems and seeds if you want to control the heat. Cut them into manageable pieces.
* **Garlic:** Peel whole cloves.
* **Cilantro:** Wash and roughly chop the stems (they have a lot of flavor!).
* **Other aromatics (optional):** Such as lime zest or a piece of jalapeño.
Step 2: Load the Food Processor
It’s generally best to add the harder ingredients first, followed by softer ones. This ensures everything gets processed evenly.
* Add your quartered onions, peeled garlic cloves, and seeded jalapeños or other peppers to the food processor bowl.
* If using cilantro stems, add them now too.
Step 3: Pulse for Texture Control
This is where the magic happens with a food processor for salsa.
* Secure the lid tightly.
* Begin pulsing the ingredients. Start with short, quick pulses – about 1-2 seconds each.
* Check the texture after every few pulses. You’re aiming for finely chopped ingredients, but not yet completely pulverized. You should still see distinct pieces.
* Continue pulsing until you reach your desired chunkiness. For a pico de gallo style, you’ll want noticeable pieces of everything.
Step 4: Add the Tomatoes and Cilantro Leaves
Once your aromatics and peppers are chopped to your liking, it’s time to add the softer ingredients.
* Add your quartered tomatoes.
* Add the cilantro leaves.
Step 5: Final Pulses (Gentle!)
Now, you need to be very gentle to avoid turning your salsa into a watery paste.
* Pulse a few more times, *very* briefly. Again, 1-second pulses are your friend here.
* The goal is to break down the tomatoes slightly and incorporate the cilantro, not to liquefy everything. You want to see bits of tomato and flecks of cilantro.
* Stop processing as soon as you see the desired consistency. It’s better to under-process slightly and finish by hand than to over-process.
Step 6: Season and Serve
* Transfer the salsa to a bowl.
* Add salt to taste, lime juice, and any other desired seasonings (cumin, chili powder, etc.).
* Stir well and let it sit for at least 15-30 minutes for the flavors to meld.
Making Salsa with a Blender: The Smooth Operator
Visual guide about Food Processor Vs Blender for Salsa
Image source: cdn.mos.cms.futurecdn.net
If you crave a salsa that’s smooth, emulsified, and perfect for dipping or as a sauce, a blender can be your go-to. It’s quicker to achieve a very fine texture, but it requires more attention to avoid overdoing it.
Step 1: Prepare Your Ingredients (Similar to Food Processor)
The principle of uniform size still applies here, but since a blender is more aggressive, slightly smaller pieces can be beneficial.
* **Tomatoes:** Core and quarter them. You can remove seeds if you prefer a less watery blend.
* **Onions:** Peel and quarter.
* **Peppers:** Remove stems and seeds if desired. Cut into smaller pieces.
* **Garlic:** Peel.
* **Cilantro:** Wash.
Step 2: Load the Blender Jar
Blenders work best when loaded strategically.
* Add your garlic and peppers to the blender jar first.
* Then add the onions.
* Finally, add your tomatoes and cilantro leaves.
Step 3: Blend in Short Bursts
This is the most critical part of using a blender for salsa.
* Secure the lid tightly, ensuring the center cap is in place.
* Start by blending on a low speed.
* Instead of continuous blending, use short bursts. Think 5-10 seconds at a time.
* Listen to the motor and watch the ingredients. You’ll see a vortex form as the ingredients are pulled down into the blades.
* Stop and scrape down the sides of the blender jar with a spatula if needed to ensure even processing.
Step 4: Monitor Consistency Closely
Blenders can go from perfectly chunky to watery very quickly.
* Check the texture frequently. You’re looking for a smooth, uniform consistency.
* If you want a slightly chunkier salsa, try pulsing at a lower speed or for shorter durations.
* For a very smooth salsa, you might blend for a bit longer, but still in controlled bursts.
Step 5: Add Liquids and Seasonings
Once you’ve achieved your desired texture, it’s time to refine the flavor.
* Add lime juice and salt.
* If your salsa seems too thick, you can add a tablespoon or two of water or even a little olive oil to help with blending and achieve a smoother consistency.
* Blend again briefly to incorporate the seasonings and liquids.
Step 6: Season and Serve
* Taste and adjust seasonings as needed.
* Transfer to a serving dish.
* Allow the flavors to meld for at least 15-30 minutes.
Tips for Perfect Salsa, Regardless of Appliance
Visual guide about Food Processor Vs Blender for Salsa
Image source: catchyfinds.com
No matter which appliance you choose, a few universal tips will elevate your salsa:
* Freshness is Key: Always use the freshest ingredients you can find. Ripe tomatoes, crisp onions, and fragrant cilantro make all the difference.
* Control the Heat: For spicier salsa, leave some seeds and membranes in your peppers. For milder salsa, remove them all. You can also add a pinch of cayenne pepper or hot sauce for an extra kick.
* Don’t Forget the Salt: Salt is a flavor enhancer. Start with a small amount and add more as needed. It brings out the sweetness of the tomatoes and the tang of the lime.
* Acidity is Your Friend: Lime juice is essential for balancing the flavors and adding brightness. Lemon juice can be a substitute in a pinch, but lime is traditional.
* Let it Sit: Salsa almost always tastes better after it’s had some time for the flavors to meld together. Aim for at least 30 minutes at room temperature or in the refrigerator.
* Taste and Adjust: This is the golden rule of cooking. Taste your salsa throughout the process and adjust seasonings until it’s perfect for your palate.
Troubleshooting Common Salsa Issues
Even with the best intentions, sometimes salsa doesn’t turn out as planned. Here are a few common problems and how to fix them:
Issue: My salsa is too watery.
* **Food Processor Fix:** This usually happens if you over-process. If it’s already done, you can try draining off some of the excess liquid. For future batches, use tomatoes with less pulp and seeds, or let chopped tomatoes drain in a colander for 10-15 minutes before processing.
* **Blender Fix:** Similar to the food processor, over-processing releases too much liquid from the tomatoes. Try draining off excess liquid. To thicken, you can add a tiny bit more tomato or a pinch of tomato paste, or even a very small amount of breadcrumbs (though this can alter texture). For future batches, use less watery tomatoes.
Issue: My salsa is too chunky.
* **Food Processor Fix:** This is easily fixed. Simply pulse a few more times until you reach your desired consistency. Be gentle to avoid over-processing.
* **Blender Fix:** If using a blender, continue blending for slightly longer, but still in short bursts. Be mindful of the texture to avoid making it too smooth.
Issue: My salsa is too smooth and mushy.
* **Food Processor Fix:** This is difficult to undo once it’s happened. For future batches, use shorter pulses and check the consistency more frequently.
* **Blender Fix:** This is the most common issue with blenders. It means you’ve over-blended. You can try adding some finely diced fresh tomato and onion to reintroduce some texture, or consider serving it as a smooth sauce rather than a chunky salsa. For future batches, be very judicious with your blending time and use short bursts.
Issue: The flavors aren’t melding well.
* Fix for Both: Give it more time! Letting your salsa sit for at least 30 minutes to an hour (or even longer in the fridge) allows the flavors to deepen and combine. Ensure you’ve added enough salt and acid (lime juice) to bring out the best in the ingredients.
Conclusion: Which Appliance Wins for Your Salsa?
Ultimately, the choice between a food processor and a blender for salsa depends entirely on your personal preference for texture.
* If you crave a chunky, rustic salsa with distinct pieces of fresh ingredients, a **food processor** is the superior tool. Its pulsing action gives you precise control over the chop, preventing a watery or mushy outcome.
* If you prefer a smooth, refined salsa that’s almost sauce-like, a **blender** can achieve this efficiently. However, you must be vigilant to avoid over-processing and ending up with an undesirable texture.
Both appliances can produce delicious salsa. By understanding their strengths and weaknesses, and by following these simple steps and tips, you can confidently choose the right tool to create your perfect batch of homemade salsa every time. Happy salsa making!