
This guide dives into using high power blenders to create delicious homemade nut butters and silky sauces. We’ll cover everything from selecting the right blender to mastering the blending process, offering practical tips and troubleshooting advice. Get ready to elevate your kitchen creations with consistently smooth and flavorful results.
Key Takeaways
- Understand the Power Difference: High power blenders (1000 watts+) are essential for breaking down tough nuts and creating smooth textures, unlike standard blenders.
- Choose the Right Blender: Look for robust motors, durable blades, and sufficient capacity when selecting a blender for nut butter and sauce making.
- Prepare Your Nuts: Toasting nuts enhances flavor and makes them easier to blend. For nut butters, ensure nuts are at room temperature.
- Master the Blending Process: Start on low speed and gradually increase. Use the tamper tool effectively to keep ingredients moving and prevent air pockets.
- Achieve Desired Consistency: Blend in stages, scraping down the sides as needed. Add small amounts of liquid or oil to adjust thickness for sauces and butters.
- Clean Promptly: Immediate cleaning prevents ingredients from drying and sticking, making maintenance much easier.
- Experiment with Flavors: Once you’ve mastered the basics, experiment with adding spices, sweeteners, or other ingredients to your nut butters and sauces.
High Power Blenders for Nut Butters and Sauces
Are you tired of grainy, store-bought nut butters? Do you dream of creating velvety smooth sauces from scratch? In 2026, the kitchen appliance that can truly revolutionize your culinary creations is the high power blender. These machines aren’t just for smoothies anymore; they are powerhouses capable of transforming simple ingredients into incredibly delicious nut butters and perfectly smooth sauces. This guide will walk you through everything you need to know to harness the power of these blenders for your homemade delights.
What sets a high power blender apart? It’s all about the motor. Standard blenders might struggle with dense ingredients like nuts, leading to frustratingly chunky results. High power blenders, typically boasting 1000 watts or more, possess the torque and speed to pulverize nuts and other ingredients into incredibly smooth textures. This power is crucial for achieving that desirable creamy consistency without any grit. You’ll learn how to select the best blender for your needs, prepare your ingredients for optimal blending, and master the techniques that will give you professional-quality nut butters and sauces every time.
Choosing Your High Power Blender
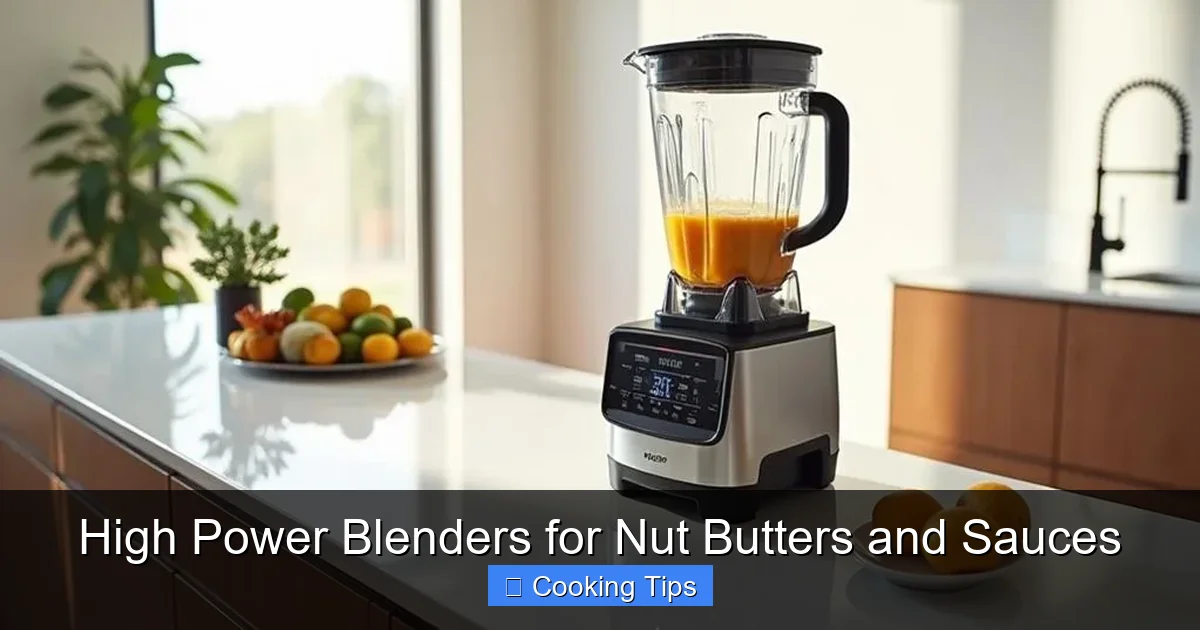
Visual guide about High Power Blenders for Nut Butters and Sauces
Image source: blenderjunkie.com
The first step to amazing homemade nut butters and sauces is selecting the right tool. Not all high power blenders are created equal, so consider these factors:
Motor Power
This is the most critical feature. Aim for a blender with at least 1000 watts. Higher wattage means more power to tackle tough ingredients. Blenders in the 1500-watt range or even higher are excellent for nut butters.
Blade Design and Material
Look for sturdy, sharp blades made from high-quality stainless steel. The design of the blades can influence how efficiently ingredients are processed. Some blenders have multi-pronged blades designed to create a vortex, pulling ingredients down towards the blades.
Container Size and Material
You’ll need a container that can hold a sufficient amount of ingredients. For nut butters, a 64-ounce container is often ideal. The material of the container is also important. Tritan plastic is a popular choice as it’s durable, BPA-free, and resistant to staining. Glass is also an option, though it can be heavier.
Speed Settings and Pulse Function
A variety of speed settings allows you to control the blending process. A pulse function is invaluable for starting the process and breaking up larger chunks.
Tamper Tool
Most high power blenders come with a tamper. This accessory is essential for pushing ingredients down towards the blades without having to stop the blender. It helps ensure even blending and prevents air pockets from forming, especially with thick mixtures like nut butters.
Durability and Warranty
These blenders are an investment. Check reviews for build quality and look for blenders that offer a good warranty, typically five years or more.
Preparing Your Nuts for Nut Butters

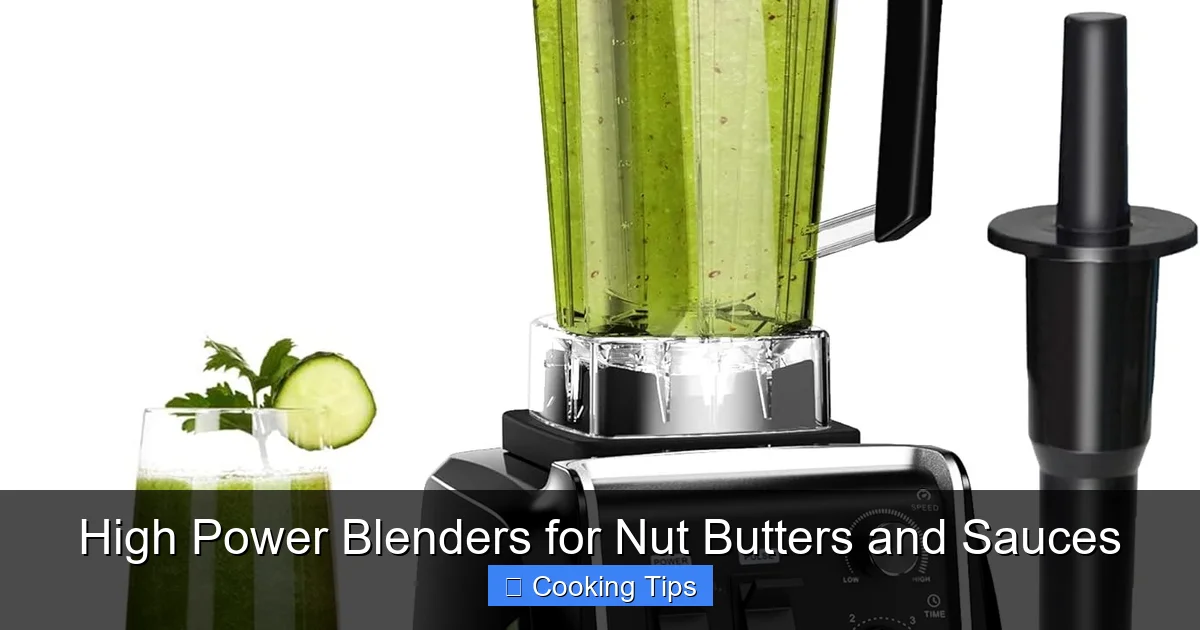
Visual guide about High Power Blenders for Nut Butters and Sauces
Image source: vibranthappyhealthy.com
Making nut butter at home is surprisingly simple, but proper preparation is key to achieving that perfect, smooth texture.
Toasting for Flavor
While you can make nut butter from raw nuts, toasting them first significantly enhances their flavor. Spread your chosen nuts (almonds, cashews, peanuts, walnuts, etc.) in a single layer on a baking sheet. Roast them in a preheated oven at around 300-325°F (150-160°C) for 10-15 minutes, or until they are lightly golden and fragrant. Keep a close eye on them to prevent burning. Let the toasted nuts cool completely before blending.
Cooling is Crucial
Ensure your nuts are completely cooled after toasting. Warm nuts can create excess moisture during blending, which can affect the final texture and shelf life of your nut butter. Room temperature is ideal.
What About the Skins?
For nuts like almonds, you might want to remove the skins after toasting. Rub the cooled nuts in a clean kitchen towel; the skins should loosen and rub off. While not strictly necessary, removing skins can result in a smoother, milder-flavored nut butter.
Making Your Homemade Nut Butter
Visual guide about High Power Blenders for Nut Butters and Sauces
Image source: m.media-amazon.com
Now, let’s get blending! This is where your high power blender truly shines.
Step 1: Add Your Nuts
Place your cooled, prepared nuts into the blender jar. Don’t overfill the jar; it’s better to work in batches if necessary. For a standard 64-ounce jar, 2-3 cups of whole nuts is a good starting point.
Step 2: Start Blending on Low
Begin by pulsing your nuts a few times to break them up. Then, start the blender on its lowest speed. You’ll notice the nuts will start to break down, turning into a coarse meal.
Step 3: Gradually Increase Speed and Use the Tamper
As the nuts become more powdery, gradually increase the speed. This is where the tamper tool becomes your best friend. Use it to push the nuts down towards the blades, ensuring they are constantly moving. You’ll see the mixture start to clump together.
Step 4: Keep Blending Until Smooth
Continue blending, using the tamper to keep everything moving. The mixture will go through stages: from powder to a thick paste, and then, as the oils are released, it will become creamy and smooth. This process can take anywhere from 3 to 10 minutes, depending on your blender’s power and the type of nut.
Step 5: Scrape Down the Sides (If Needed)
If you find ingredients sticking to the sides of the jar and not reaching the blades, stop the blender and use a spatula to scrape them down. Then, resume blending with the tamper.
Step 6: Add Optional Ingredients
Once your nut butter reaches your desired consistency, you can add sweeteners (honey, maple syrup), salt, or spices (cinnamon, vanilla extract) if you like. Blend briefly to incorporate.
Creating Silky Smooth Sauces
High power blenders are also perfect for crafting a wide array of sauces, from rich tomato sauces to delicate vinaigrettes and creamy dairy-free alternatives.
Preparing Your Sauce Ingredients
For cooked sauces, ensure your ingredients are cooled slightly before blending. For raw ingredients like pesto or vinaigrettes, ensure they are chopped or prepared as needed. For example, remove stems from herbs or peel and chop vegetables.
Step 1: Add Liquids First
When making sauces, it’s often best to add your liquid ingredients (broth, water, oil, vinegar) to the blender jar first. This helps the blades move more freely and prevents thicker ingredients from getting stuck at the bottom.
Step 2: Add Softer Ingredients
Next, add softer ingredients like herbs, cooked vegetables, or fruits.
Step 3: Add Thicker or Dry Ingredients
Finally, add any thicker or dry ingredients, such as nuts, seeds, cheeses, or spices.
Step 4: Start on Low and Increase Speed
Begin blending on the lowest speed to incorporate ingredients, then gradually increase the speed to high. For very smooth sauces, you’ll want to blend for a sufficient amount of time, allowing the blades to fully emulsify and break down all components.
Step 5: Use the Tamper (If Necessary)
If your sauce is thick or has ingredients that aren’t circulating well, use the tamper to guide them towards the blades.
Step 6: Blend Until Desired Consistency
Blend until your sauce reaches the perfect silky smoothness. For some sauces, a few minutes of blending is enough. For others, especially those containing tough fibrous ingredients, you might need to blend for longer.
Tip for Creamy Dairy-Free Sauces
For creamy dairy-free sauces, high power blenders are fantastic for blending soaked cashews, silken tofu, or even cooked white beans until completely smooth, creating a rich and neutral base for various dishes.
Troubleshooting Common Issues
Even with a great blender, you might encounter a few hiccups. Here’s how to solve them:
My Nut Butter is Still Chunky
* Cause: Not enough blending time, insufficient nut preparation, or overfilling the blender jar.
* Solution: Blend for longer. Ensure your nuts are fully cooled and toasted if desired. Try working in smaller batches. Use the tamper tool religiously to keep ingredients moving.
The Blender is Overheating
* Cause: Blending for too long without breaks, or trying to blend too much at once.
* Solution: Stop the blender and let the motor cool down for a few minutes. If making nut butter, try blending in shorter intervals, allowing the machine to rest in between. Reduce the amount of ingredients in the jar.
Ingredients are Sticking to the Sides
* Cause: The mixture is too thick, or the vortex isn’t forming properly.
* Solution: Stop the blender and use a spatula to scrape down the sides. Then, resume blending, using the tamper to push ingredients towards the blades. For sauces, try adding a little more liquid.
My Sauce is Too Thin
* Cause: Too much liquid added, or ingredients didn’t blend down enough.
* Solution: For cooked sauces, you can try simmering them gently to reduce the liquid. For cold sauces, you can try adding more of your main ingredients or a thickening agent like cornstarch (cooked) or a bit more nut butter/seeds.
Cleaning Your High Power Blender
Prompt cleaning is crucial for maintaining your blender and preventing food residues from hardening.
Immediate Rinse
As soon as you’re finished, rinse the blender jar with warm water.
Self-Cleaning Method
Fill the jar halfway with warm water and add a drop of dish soap. Secure the lid and run the blender on high speed for 30-60 seconds. This usually does the trick for most messes.
Deeper Cleaning
For stubborn residues, you might need to gently scrub the inside of the jar and blades with a non-abrasive sponge or brush. Be extremely careful around the blades. The lid and tamper can usually be washed by hand or in the top rack of the dishwasher.
Conclusion
In 2026, a high power blender is an indispensable tool for any home cook looking to elevate their creations. From achieving the dreamiest nut butters to crafting the silkiest sauces, the power and efficiency of these blenders will transform your kitchen experience. By understanding your blender, preparing your ingredients correctly, and mastering the simple blending techniques, you’ll be able to consistently produce delicious, homemade delights. So, embrace the power, experiment with flavors, and enjoy the incredible results that await you!