
Discover the secret to creamy, decadent homemade ice cream without needing an expensive ice cream maker. This guide provides simple, step-by-step instructions for achieving perfect no-churn ice cream, perfect for any occasion. You’ll learn how to transform everyday ingredients into a frozen delight that will impress your friends and family.
Homemade Ice Cream Recipe Without Ice Cream Maker
Are you dreaming of creamy, delightful homemade ice cream but don’t have an ice cream maker? In 2026, fancy kitchen gadgets are becoming less of a necessity, and we’re all about clever, simple solutions. Good news! You absolutely can make fantastic ice cream right in your own freezer with just a few basic ingredients and some everyday kitchen tools. This guide will walk you through everything you need to know to create luscious, no-churn ice cream that rivals any store-bought pint. Get ready to impress yourself and your loved ones with your newfound ice cream-making prowess!
- No Special Equipment Needed: This recipe relies on common kitchen tools, making homemade ice cream accessible to everyone.
- Simple Ingredients: You’ll only need a few pantry staples to create a delicious base.
- Creamy Texture Guaranteed: The method involves specific steps to ensure a smooth and luscious consistency, avoiding iciness.
- Customizable Flavors: Once you master the base, you can experiment with endless flavor combinations.
- Time-Efficient: While it requires freezing time, the active preparation is minimal.
- Perfect for Small Batches: This method is ideal for making just the right amount of ice cream whenever a craving strikes.
The Magic Behind No-Churn Ice Cream
The key to making ice cream without an ice cream maker is understanding how to prevent ice crystals from forming. Traditional ice cream makers churn the mixture constantly while it freezes, which breaks up ice crystals into tiny pieces, resulting in a smooth texture. For no-churn ice cream, we achieve a similar result through a combination of ingredients and a specific freezing technique. We’ll be using sweetened condensed milk, which is rich and thick, and whipped cream, which incorporates air for lightness and a creamy mouthfeel.
Gather Your Ingredients
The beauty of this homemade ice cream recipe lies in its simplicity. You likely have most of these items in your pantry right now!
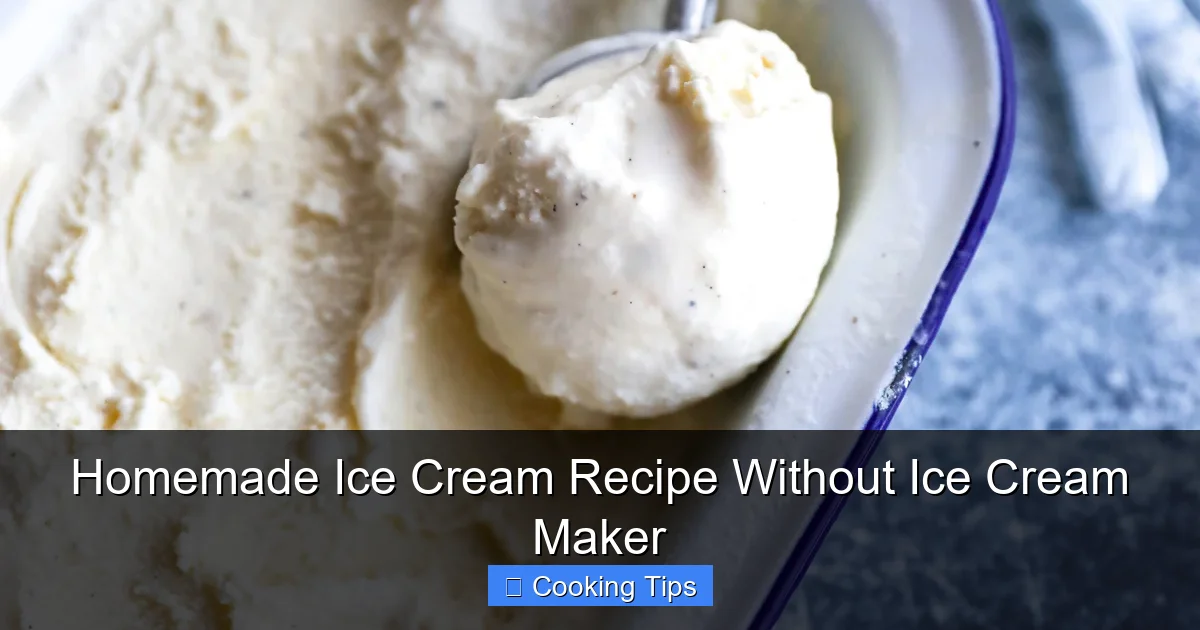
Visual guide about Homemade Ice Cream Recipe Without Ice Cream Maker
Image source: justeasyrecipes.com
Base Ingredients:
- 2 cups heavy whipping cream (cold): This is crucial for creating that airy, frozen texture. Make sure it’s well-chilled.
- 1 (14-ounce) can sweetened condensed milk (cold): This provides sweetness and a smooth, creamy base that helps prevent ice crystals. Keep it cold to help the whipping cream whip up better.
- 1 teaspoon vanilla extract: For classic flavor. You can adjust this or omit it if you’re planning a different flavor profile.
Optional Flavorings and Add-ins:
This is where the fun begins! You can customize your ice cream to your heart’s content. Here are a few ideas to get you started:
- Chocolate: 1/2 cup cocoa powder (unsweetened) whisked into the condensed milk, or 1 cup melted and cooled dark chocolate folded in.
- Fruit: 1 cup pureed fruit (like strawberries, raspberries, or mango) folded in. Cook down any watery fruit first to reduce moisture.
- Cookies and Cream: 1 cup crushed cookies (Oreos work wonderfully) folded in at the end.
- Caramel Swirl: 1/2 cup caramel sauce swirled into the mixture before freezing.
- Coffee: 2 tablespoons instant coffee granules dissolved in 1 tablespoon hot water, then cooled and mixed into the condensed milk.
Step-by-Step No-Churn Ice Cream Creation
Follow these simple steps to create your delicious homemade ice cream.
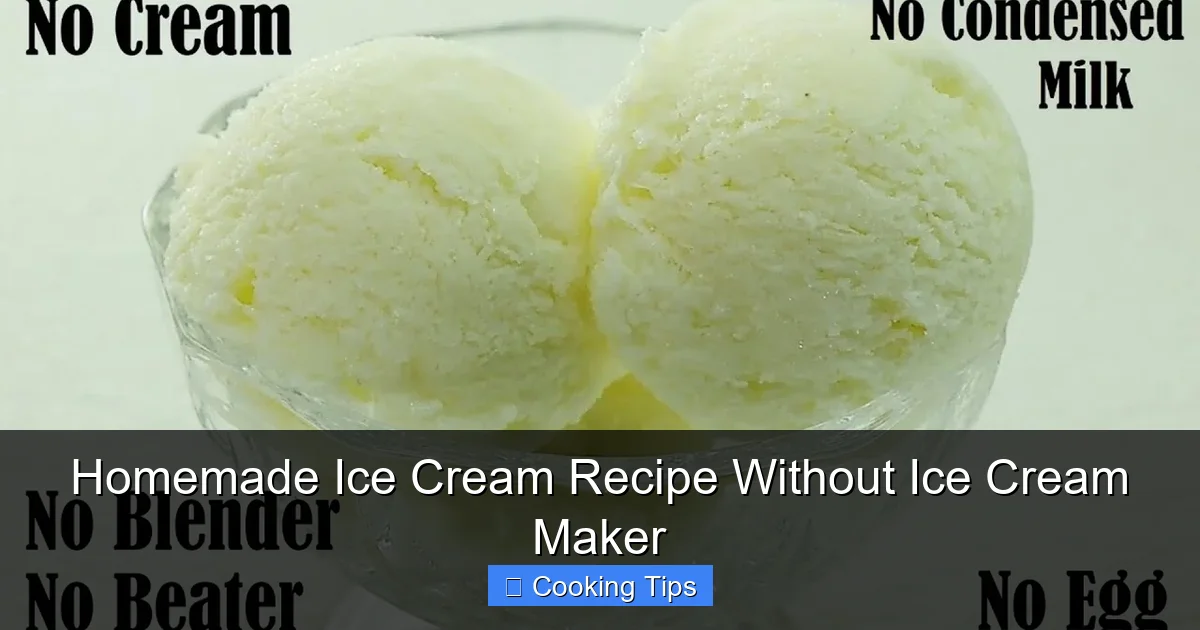
Visual guide about Homemade Ice Cream Recipe Without Ice Cream Maker
Image source: i.ytimg.com
Step 1: Chill Your Equipment
This step is more important than you might think. For the best results, especially when whipping cream, ensure your mixing bowl and whisk (or beaters) are thoroughly chilled. You can place them in the freezer for about 15-20 minutes before you start.
Step 2: Whip the Cream
In your chilled mixing bowl, pour in the 2 cups of cold heavy whipping cream. Using an electric mixer (handheld or stand mixer), whip the cream on medium-high speed. Start slowly and gradually increase the speed. You’re looking for stiff peaks. This means when you lift the whisk, the cream will stand up straight and hold its shape without drooping.
Tips for Perfect Whipped Cream:
- Don’t Over-Whip: If you whip the cream for too long, it can turn into butter. Watch it closely!
- Cold is Key: Warm cream won’t whip properly.
Step 3: Combine Sweetened Condensed Milk and Flavorings
In a separate bowl, pour in the can of cold sweetened condensed milk. Add the vanilla extract. If you’re adding any powdered flavorings (like cocoa powder or instant coffee), whisk them in now until thoroughly combined and smooth. If you’re using melted chocolate, make sure it’s cooled to room temperature before mixing it in. This ensures it doesn’t melt the whipped cream.
Step 4: Gently Fold in the Whipped Cream
Now it’s time to combine your two mixtures. Add about a third of the whipped cream to the sweetened condensed milk mixture. Gently fold it in using a spatula. This first addition of whipped cream helps to lighten the condensed milk base, making it easier to incorporate the rest of the whipped cream without deflating it.
Once that’s partially incorporated, add the remaining whipped cream to the condensed milk mixture. Continue to fold gently until no white streaks remain. The goal here is to keep as much air in the mixture as possible, which is what makes the ice cream light and fluffy.
Folding Technique:
To fold, use your spatula to cut down through the center of the mixture, then sweep across the bottom of the bowl and up the side, turning the mixture over itself. Repeat this motion until everything is just combined.
Step 5: Add Your Mix-ins (Optional)
If you’re adding any solid mix-ins like chocolate chips, cookie pieces, or chopped nuts, gently fold them in now. Don’t overmix; you want them to be evenly distributed but not broken down further.
Step 6: Pour into a Freezer-Safe Container
Pour your ice cream mixture into a freezer-safe container. A loaf pan, an airtight plastic container, or even a metal brownie pan will work perfectly. If you’re using a loaf pan or brownie pan, you can line it with parchment paper or plastic wrap to make removal easier later.
Step 7: Freeze!
Cover the container tightly. If you’re using a loaf pan or brownie pan without a lid, cover it tightly with plastic wrap, pressing it directly onto the surface of the ice cream to prevent ice crystals from forming. Then, cover with foil. Place the container in the freezer for at least 6-8 hours, or preferably overnight, until it’s firm and scoopable.
Troubleshooting Your Homemade Ice Cream
Even with the best intentions, sometimes things don’t go perfectly. Here are a few common issues and how to fix them:
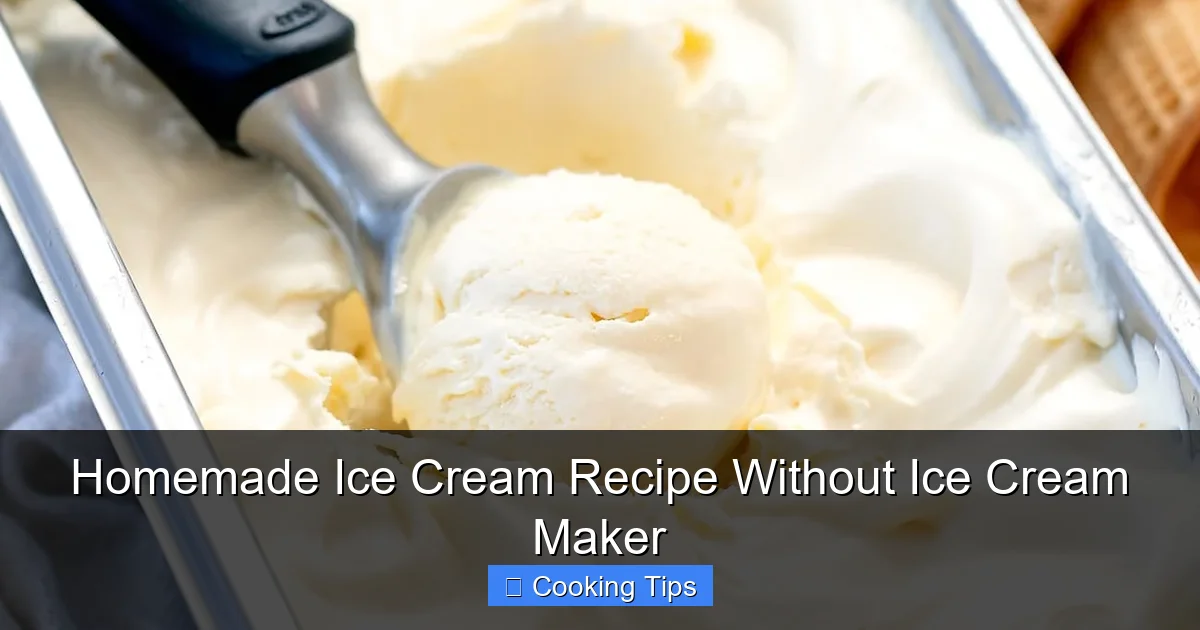
Visual guide about Homemade Ice Cream Recipe Without Ice Cream Maker
Image source: kirbiecravings.com
My Ice Cream is Too Icy
Cause: This usually happens if the mixture wasn’t folded gently enough, allowing air to escape, or if there was too much moisture from fruit.
Solution: For future batches, focus on gently folding the whipped cream to maintain airiness. If using fruit, make sure to reduce its moisture content by cooking it down before pureeing. You can also try adding a tablespoon or two of alcohol (like vodka or rum) to the base, as alcohol lowers the freezing point and helps prevent large ice crystals.
My Ice Cream is Too Hard
Cause: This can occur if the freezer temperature is too low or if the mixture didn’t have enough fat or sugar to keep it scoopable.
Solution: Ensure your freezer isn’t set to its coldest setting. If it’s consistently too hard, you might need to adjust your recipe slightly in the future by ensuring you have the right ratio of sweetened condensed milk and cream. Letting it sit at room temperature for 5-10 minutes before scooping can also help.
My Whipped Cream Didn’t Whip Properly
Cause: The cream might not have been cold enough, or the equipment wasn’t chilled.
Solution: Always use very cold heavy whipping cream and chilled bowls and beaters. If it still doesn’t whip, it might be that the cream’s fat content is too low; ensure you’re using heavy whipping cream (at least 30% fat).
Enjoy Your Delicious Creation!
Once your homemade ice cream is fully frozen, scoop it into bowls and enjoy! This no-churn method is incredibly versatile, allowing you to create a wide array of flavors. Experiment with different extracts, spices, mix-ins, and swirls. You’ll find that making ice cream without a machine is not only easy but incredibly rewarding. So, ditch the store-bought pints and embrace the joy of homemade, no-churn ice cream. Happy scooping!