
Don’t let a lack of a food processor stop you from enjoying fresh, homemade pesto! This guide provides detailed, step-by-step instructions for creating vibrant, flavorful pesto using simple kitchen tools like a knife and mortar and pestle. Discover how to achieve the perfect consistency and taste for all your favorite dishes, proving that great pesto is accessible to everyone.
Key Takeaways
- Mastering Traditional Pesto: Understand the classic methods of pesto-making that predate modern appliances.
- Knife Skills are Key: Learn how to finely mince ingredients for a smooth pesto texture without a machine.
- The Power of the Mortar and Pestle: Discover how this ancient tool can create a wonderfully textured and flavorful pesto.
- Ingredient Flexibility: Explore how to adapt your pesto recipe based on available herbs and nuts.
- Achieving the Right Consistency: Get tips on balancing the oil and other ingredients for your desired pesto texture.
- Troubleshooting Common Issues: Learn how to fix pesto that’s too dry, too oily, or lacks flavor.
- Serving Suggestions: Find inspiration for using your homemade pesto in various culinary applications.
How Do You Make Pesto Without a Food Processor?
Hello, home cooks of 2026! Are you craving that bright, herbaceous burst of fresh pesto but find yourself without a food processor? Don’t worry, you’re not alone. Many of us have faced this kitchen conundrum. The good news is that making delicious, authentic pesto is absolutely achievable with just a few common kitchen tools. In fact, some argue that the traditional methods yield an even superior flavor and texture. This guide will walk you through the entire process, proving that you can create fantastic pesto without relying on electricity. Get ready to unlock the secrets to making pesto the old-fashioned way!
The Beauty of Traditional Pesto
Before we dive into the “how-to,” let’s appreciate why you might want to make pesto without a food processor. The original pesto, Genovese pesto, hails from Genoa, Italy. It was, and often still is, made using a mortar and pestle. This gentle crushing and grinding action releases the essential oils from the basil and garlic differently than the rapid chopping of a food processor. This traditional method is believed to create a more nuanced flavor profile and a slightly coarser, more rustic texture that many adore. Plus, it’s a wonderful way to connect with culinary heritage and enjoy a bit of hands-on cooking.
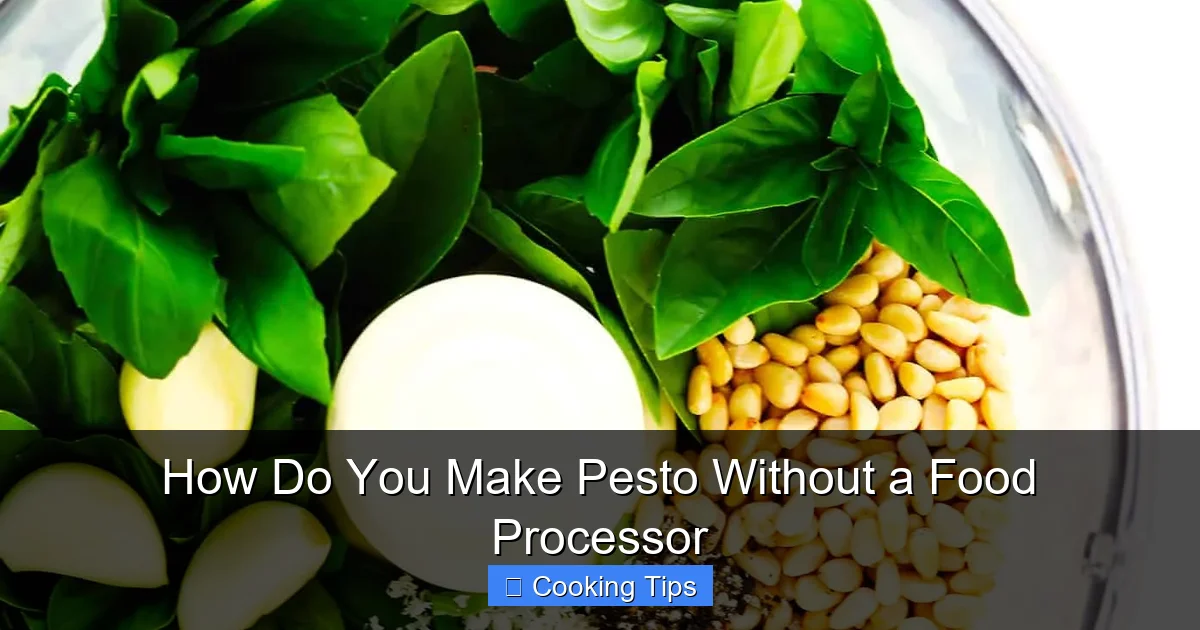
Gathering Your Ingredients
Visual guide about How Do You Make Pesto Without a Food Processor
Image source: joyfoodsunshine.com
The heart of any great pesto is fresh, high-quality ingredients. You’ll need the following for a classic pesto:
* Fresh Basil: This is non-negotiable for traditional pesto. Aim for about 2 cups of packed fresh basil leaves. Sweet, fragrant Genovese basil is ideal, but regular sweet basil will work beautifully.
* Garlic: Fresh garlic cloves are essential for that signature punch. Start with 2-3 cloves, but adjust to your taste.
* Pine Nuts: These small, delicate nuts add a creamy richness and subtle sweetness. About 1/4 cup is a good starting point. Toasting them beforehand will deepen their flavor.
* Parmesan Cheese: Freshly grated Parmesan Reggiano is the gold standard. You’ll need about 1/2 cup.
* Extra Virgin Olive Oil: A good quality olive oil is crucial for emulsifying the pesto and binding the flavors. You’ll likely need 1/4 to 1/2 cup, depending on your desired consistency.
* Salt: To enhance all the other flavors. Start with 1/2 teaspoon and adjust.
* Optional: A squeeze of lemon juice can brighten the flavor, especially if your basil is a bit muted.
Your Essential Tools
Visual guide about How Do You Make Pesto Without a Food Processor
Image source: gimmesomeoven.com
You don’t need fancy gadgets! Here’s what you’ll need:
* A Sharp Knife: For finely mincing your herbs and garlic.
* A Cutting Board: A sturdy surface for chopping.
* A Mortar and Pestle: This is your primary pesto-making tool. A good-sized one will make the process much easier. Granite or marble mortars are excellent choices.
* A Small Bowl: For holding your finished pesto.
* A Spoon or Spatula: For mixing and scraping.
Step-by-Step Pesto Making: The Knife and Mortar Method
Visual guide about How Do You Make Pesto Without a Food Processor
Image source: georgiapellegrini.com
This method combines meticulous chopping with the traditional grinding of a mortar and pestle. It’s a two-pronged approach that ensures both fine texture and deep flavor.
Step 1: Prepare Your Aromatics
This is where your knife skills come into play.
1. Mince the Garlic
* Peel your garlic cloves.
* Place them on the cutting board and chop them as finely as possible. You want them to be almost a paste. You can use the side of your knife to smash them into a finer texture if needed.
2. Toast the Pine Nuts (Optional but Recommended)
* Toast your pine nuts in a dry skillet over medium-low heat for a few minutes. Watch them very carefully, as they can burn quickly. They should be lightly golden and fragrant.
* Let them cool completely.
Step 2: Start with the Mortar and Pestle
This is where the magic begins to happen.
1. Grind the Garlic and Nuts
* Place the finely minced garlic into the mortar.
* Add the toasted pine nuts.
* Begin to grind them together with the pestle. Use a circular motion, pressing the ingredients against the sides and bottom of the mortar. The goal is to break them down and start releasing their oils. Continue until you have a rough paste.
Step 3: Incorporate the Basil
This is a patient process.
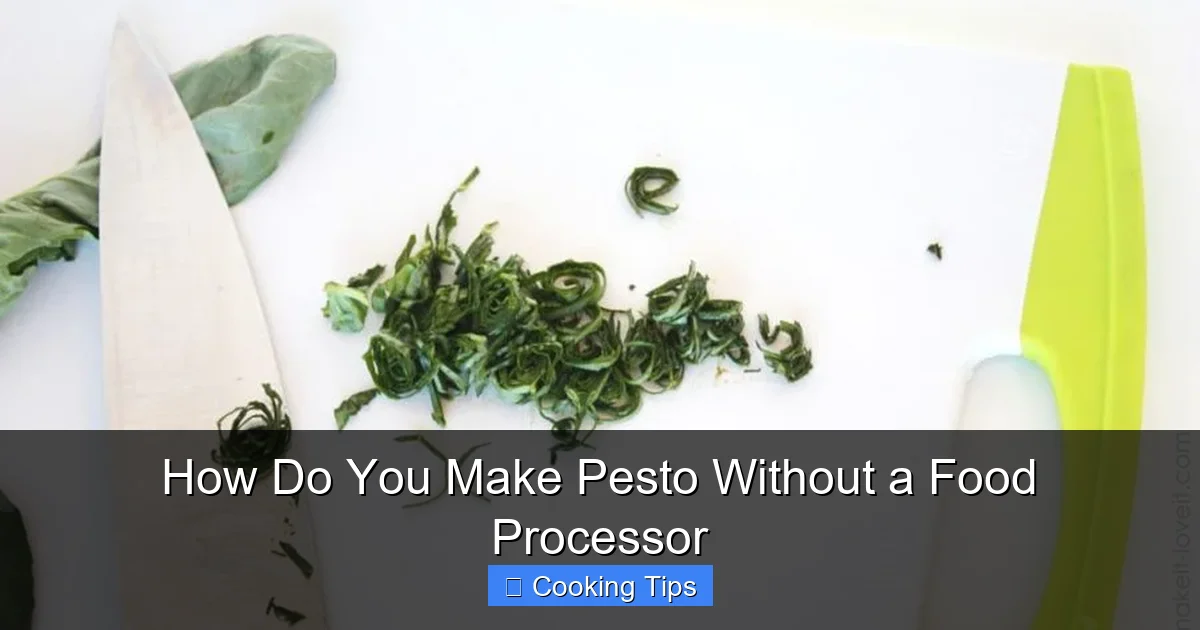
1. Mince the Basil
* Wash and thoroughly dry your basil leaves. Excess water will dilute your pesto.
* Stack a handful of basil leaves, roll them up tightly into a cigar shape, and slice them very thinly with your sharp knife. This is called “chiffonade.”
* Repeat with the remaining basil. You will have a large pile of finely shredded basil.
2. Add Basil to the Mortar
* Gradually add the finely shredded basil to the mortar with the garlic and pine nut paste.
* Continue to grind and mash the basil into the mixture. It will take time and effort. Don’t be afraid to use some force. The goal is to break down the basil leaves and incorporate them into the paste.
Step 4: Add Cheese and Seasoning
The final flavor boosters.
1. Add Grated Parmesan
* Once the basil is well incorporated and looks like a paste, add your freshly grated Parmesan cheese.
* Continue to grind and mix everything together until the cheese is well distributed.
2. Season with Salt
* Add your salt. You can also add a pinch of black pepper if you like.
* Mix thoroughly. Taste and adjust seasoning as needed.
Step 5: Emulsify with Olive Oil
This brings it all together.
1. Slowly Drizzle in Olive Oil
* While continuously stirring with your pestle or a spoon, slowly drizzle in the extra virgin olive oil.
* Start with about 1/4 cup and add more as needed. You’re looking for a consistency that is spreadable but not too oily. The oil will help bind the ingredients into a cohesive sauce.
* Keep mixing until the pesto is well emulsified and has a vibrant green color.
Step 6: Taste and Adjust
The most important step for perfect pesto!
* Taste your pesto. Does it need more salt? More garlic? A touch more Parmesan? Additions can be made at this stage. Remember, flavors will meld and deepen as it sits.
Alternative Method: The Mincing and Mixing Approach
If you don’t have a mortar and pestle, or simply prefer a slightly quicker (though less traditional) method, you can rely solely on your knife skills and a bowl.
Step 1: Finely Mince All Ingredients
* Finely mince your garlic.
* Chop your toasted pine nuts very finely (or omit them and use a touch more cheese for creaminess).
* Prepare your basil using the chiffonade technique described above – aim for the finest shred possible.
Step 2: Combine in a Bowl
* In a medium bowl, combine the minced garlic, finely chopped pine nuts, and finely shredded basil.
Step 3: Add Cheese and Seasoning
* Stir in the freshly grated Parmesan cheese and salt. Mix well.
Step 4: Gradually Add Olive Oil
* Slowly drizzle in the olive oil while stirring continuously with a spoon or spatula.
* Continue adding oil until you achieve your desired consistency. You’re aiming for a thick but spreadable sauce.
Step 5: Taste and Adjust
* Taste and adjust seasonings as needed.
Tips for Success
* Use Fresh Ingredients: The quality of your basil, garlic, and cheese will significantly impact the final flavor.
* Don’t Overwork the Basil: While you want to break it down, avoid turning it into a complete mush, especially with the mortar and pestle, as this can release bitterness.
* Toast Your Nuts: This step really elevates the flavor of the pine nuts.
* Freshly Grate Your Cheese: Pre-grated cheese often contains anti-caking agents that can affect the texture and flavor.
* Adjust Oil Gradually: You can always add more oil, but you can’t easily take it away. Start slow.
* Taste as You Go: Seasoning is personal! Adjust salt and garlic to your preference.
Troubleshooting Your Pesto
* Pesto is too dry/crumbly: You need more olive oil. Slowly drizzle in more oil while stirring until you reach your desired consistency.
* Pesto is too oily: This is harder to fix, but you can try adding a little more Parmesan cheese or some more finely minced basil if you have extra.
* Pesto lacks flavor: Ensure your basil and garlic are fresh and potent. Add a little more salt, garlic, or a squeeze of lemon juice to brighten it up.
* Pesto has a bitter taste: This can happen if the basil is bruised or over-processed. Use younger, more tender basil leaves if possible. Ensure your garlic isn’t sprouted.
* Pesto is brown instead of green: This is often due to oxidation. Try adding a squeeze of lemon juice, which acts as an antioxidant. Also, storing it with a thin layer of olive oil on top can help prevent this.
Storing Your Homemade Pesto
Homemade pesto is best enjoyed fresh, but it stores well.
* **Refrigeration:** Transfer your pesto to an airtight container. To prevent oxidation and browning, pour a thin layer of olive oil over the top of the pesto before sealing the container. It should last for about 4-5 days in the refrigerator.
* **Freezing:** Pesto freezes beautifully. You can freeze it in an ice cube tray for convenient single-serving portions. Once frozen, transfer the pesto cubes to a freezer bag. It will keep for several months. Thaw overnight in the refrigerator.
Conclusion
Making pesto without a food processor is a rewarding culinary experience. It connects you to a rich culinary tradition and results in a vibrant, flavorful sauce that’s perfect for pasta, sandwiches, dips, and so much more. Whether you choose the traditional mortar and pestle method or the more direct knife and bowl approach, the key is fresh ingredients and a little patience. So, next time you’re craving pesto, don’t let appliance limitations hold you back. Embrace the process, enjoy the journey, and savor the incredible taste of homemade pesto, made with your own two hands. Happy cooking!