
Unlock perfectly cooked air fryer chicken breast with this comprehensive guide. We’ll detail the ideal cooking times based on thickness and temperature, ensuring juicy, tender, and flavorful results every time. Learn essential tips for preparing your chicken, achieving crispy skin, and troubleshooting common issues for foolproof air frying.
How Long to Air Fryer Chicken Breast
Are you tired of dry, bland chicken breasts? The air fryer can be your secret weapon for achieving perfectly cooked, juicy, and tender chicken every single time. But like any cooking method, there’s a sweet spot for timing. This guide will walk you through everything you need to know about how long to air fryer chicken breast, ensuring delicious results for any meal.
We’ll cover the key factors that influence cooking time, provide clear step-by-step instructions, offer practical tips for maximum flavor, and even touch on how to troubleshoot if things don’t go perfectly. Get ready to elevate your weeknight dinners and meal prep game!
Key Takeaways
- Optimal Cook Time Varies: The most crucial factor for air fryer chicken breast is its thickness. Thicker breasts require longer cooking.
- Temperature Matters: A consistent temperature of 375°F (190°C) is generally recommended for achieving a golden-brown exterior and cooked interior.
- Internal Temperature is King: Always use a meat thermometer to ensure your chicken reaches a safe internal temperature of 165°F (74°C) at its thickest part.
- Don’t Overcrowd the Basket: Allow for proper air circulation by cooking chicken breasts in a single layer, avoiding stacking.
- Resting is Essential: Letting your chicken rest for 5-10 minutes after cooking allows the juices to redistribute, resulting in more tender and moist meat.
- Seasoning Enhances Flavor: Simple marinades or dry rubs can significantly elevate the taste of your air fryer chicken breast.
- Adjust for Bone-In/Boneless: Bone-in chicken breasts will require a slightly longer cooking time compared to boneless cuts.
Understanding the Factors Affecting Air Fryer Chicken Breast Cook Time
Before we dive into specific times, it’s important to understand that there’s no one-size-fits-all answer to “how long to air fry chicken breast.” Several factors come into play:
- Thickness of the Chicken Breast: This is by far the most critical factor. A thin chicken cutlet will cook much faster than a thick, plump breast.
- Starting Temperature of the Chicken: Chicken that is at room temperature will cook more evenly and slightly faster than chicken straight from the refrigerator.
- Your Specific Air Fryer Model: Air fryers can vary in their wattage and heat distribution. Some run hotter than others.
- Whether the Breast is Bone-In or Boneless: Bone-in chicken breasts generally take longer to cook because the bone acts as an insulator.
- Whether the Breast is Marinated or Stuffed: Added moisture or fillings can alter cooking times.
The most important takeaway here is to always rely on an internal meat thermometer to confirm your chicken is safely cooked, rather than just the clock.
The Golden Rule: Internal Temperature
The United States Department of Agriculture (USDA) recommends that all poultry be cooked to an internal temperature of 165°F (74°C). This is the temperature at which harmful bacteria are killed, making the chicken safe to eat. For the most accurate reading, insert your meat thermometer into the thickest part of the chicken breast, avoiding any bone.
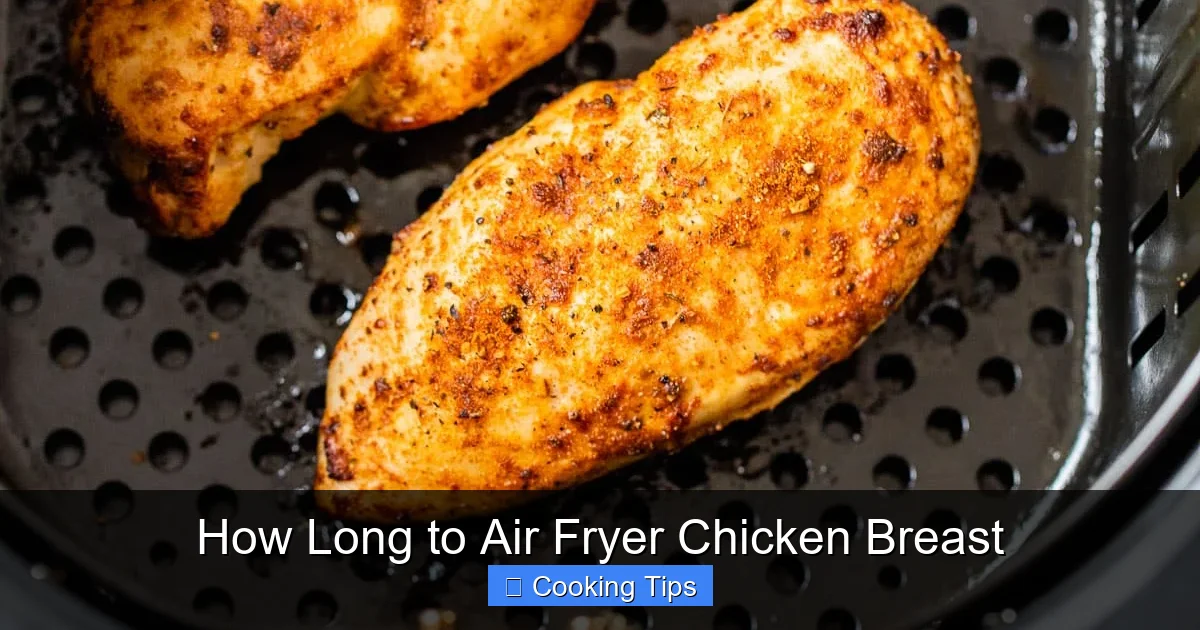
Visual guide about How Long to Air Fryer Chicken Breast
Image source: wellplated.com
While recipes might give you a time range, think of it as a guideline. Your thermometer is your ultimate guide to perfectly cooked, safe chicken.
General Cooking Times and Temperatures for Air Fryer Chicken Breast
For most standard-sized, boneless, skinless chicken breasts, a good starting point for air fryer temperature is 375°F (190°C). This temperature allows the outside to get nicely browned and crispy while ensuring the inside cooks through without drying out.
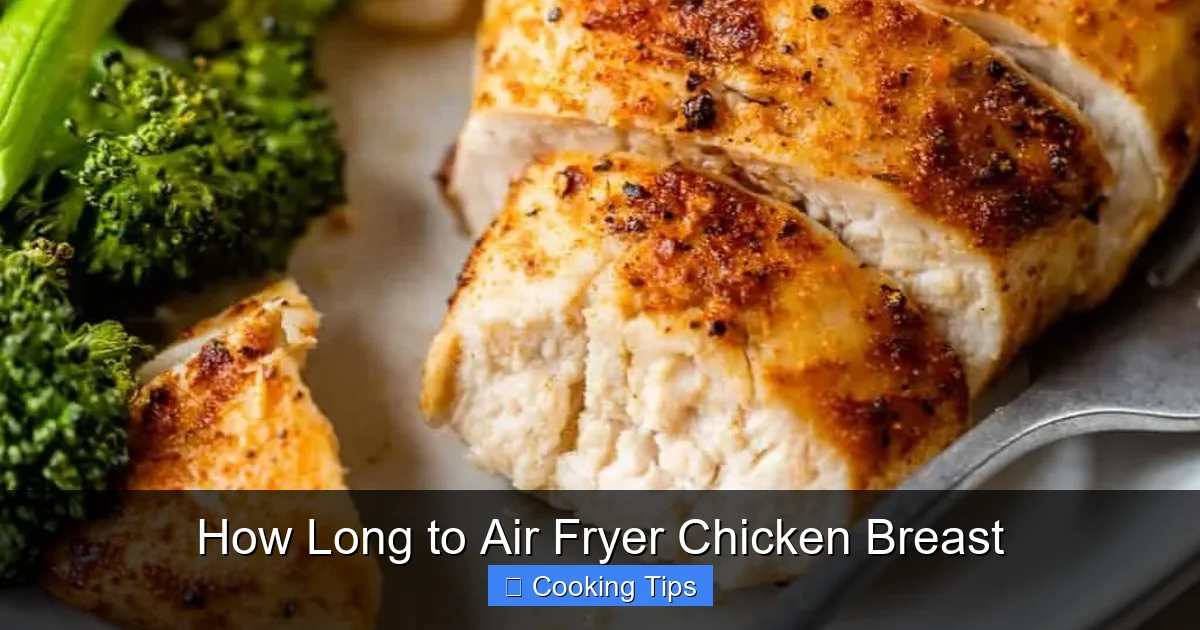
Visual guide about How Long to Air Fryer Chicken Breast
Image source: wellplated.com
Here’s a general guideline for boneless, skinless chicken breasts at 375°F (190°C):
- Thin breasts (about 1/2 inch thick): 12-15 minutes
- Medium breasts (about 3/4 inch thick): 15-20 minutes
- Thick breasts (about 1 inch or more thick): 20-25 minutes
Remember: These are approximate times. Always check the internal temperature!
Cooking Bone-In Chicken Breasts
If you’re air frying bone-in chicken breasts, you’ll need to adjust the cooking time. The bone significantly increases the cooking time. A general guideline for bone-in, skin-on chicken breasts at 375°F (190°C) is:
- Around 25-35 minutes, depending on the size and thickness. Again, the thermometer is your best friend here.
Cooking Stuffed Chicken Breasts
Stuffed chicken breasts will require a longer cooking time to ensure both the chicken and the stuffing are cooked through. You might also need to adjust the temperature slightly lower to prevent the outside from burning before the inside is done.
- A good starting point for stuffed chicken breasts at 360°F (182°C) would be 25-30 minutes. Check the internal temperature of both the chicken and the stuffing.
Step-by-Step Guide to Air Frying Chicken Breast
Now that you have a better understanding of the timing, let’s get to the actual cooking. Follow these simple steps for perfectly air-fried chicken breasts.
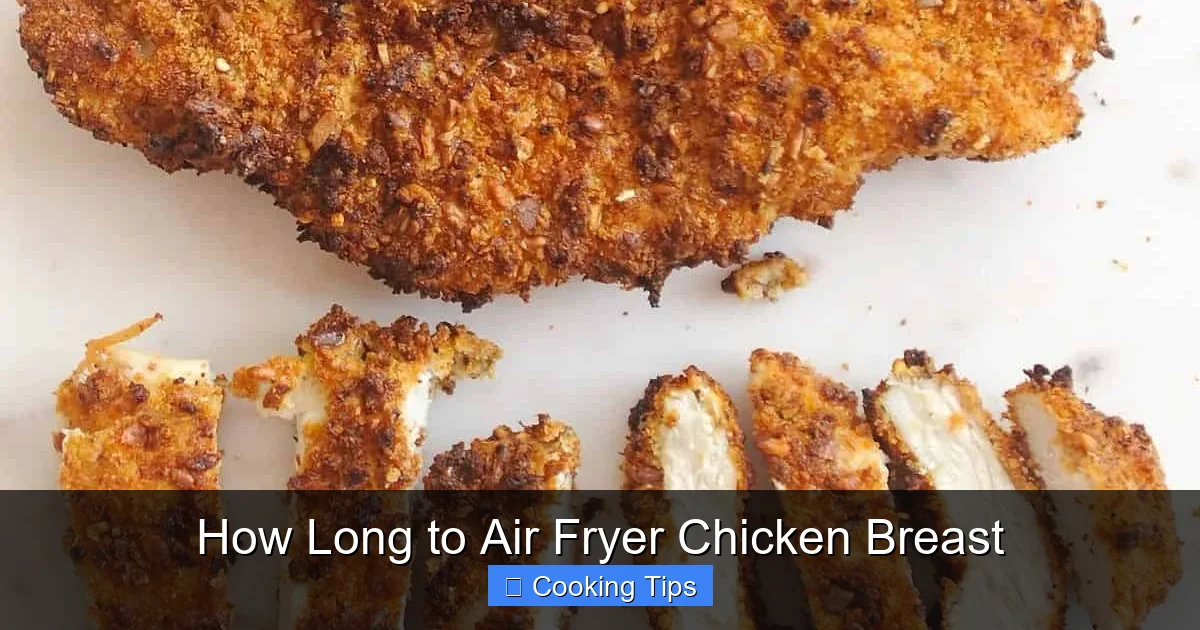
Visual guide about How Long to Air Fryer Chicken Breast
Image source: mommafitlyndsey.com
Step 1: Prepare Your Chicken Breast
The preparation stage is crucial for both flavor and even cooking.
Trim and Pound if Necessary
Trim any excess fat from your chicken breasts. If your breasts are very uneven in thickness, you can pound them to a more uniform thickness using a meat mallet or the bottom of a heavy pan. This promotes even cooking. Place the chicken between two sheets of plastic wrap or inside a sturdy plastic bag before pounding to avoid mess.
Season Generously
This is where the flavor really comes to life! You can use a simple salt and pepper rub, or get creative with marinades and spice blends. For a basic rub:
- Mix 1 teaspoon of garlic powder, 1 teaspoon of onion powder, 1/2 teaspoon of paprika, 1/2 teaspoon of salt, and 1/4 teaspoon of black pepper.
- Rub this mixture all over the chicken breasts.
If you’re using a marinade, ensure you pat the chicken dry after marinating to help it crisp up in the air fryer.
Preheat Your Air Fryer
Preheating your air fryer is important for achieving that desired crispy exterior and ensuring the chicken starts cooking immediately upon entering the basket. Most air fryers suggest preheating at 375°F (190°C) for about 3-5 minutes. Refer to your air fryer’s manual for specific preheating instructions.
Step 2: Arrange Chicken in the Air Fryer Basket
This step is vital for proper air circulation, which is key to crispy results.
Single Layer is Key
Place the seasoned chicken breasts in a single layer in the air fryer basket. Do not overcrowd the basket. If necessary, cook in batches. Overcrowding will steam the chicken rather than air fry it, leading to uneven cooking and a less desirable texture.
Add a Little Oil (Optional)
While not always necessary, a light spray of cooking oil (like avocado oil or olive oil) can help achieve a crispier skin or exterior, especially if your chicken is very lean. You can use an oil mister or spray bottle for even coverage.
Step 3: Air Fry the Chicken Breast
This is the main event! Here’s how to get it right.
Set Temperature and Time
Set your air fryer to 375°F (190°C). For medium-thickness boneless, skinless chicken breasts (around 3/4 inch), set the timer for 18-20 minutes as a starting point. Remember this is a guideline!
Flip Halfway Through
About halfway through the cooking time (around the 9-10 minute mark for medium breasts), carefully open the air fryer basket and flip the chicken breasts over using tongs. This ensures even browning and cooking on both sides.
Check for Doneness
The most important step! At the lower end of your estimated cooking time, insert an instant-read meat thermometer into the thickest part of the chicken breast. If it reads 165°F (74°C), your chicken is ready. If not, continue cooking in 2-3 minute increments, checking the temperature each time, until it reaches the safe temperature.
Step 4: Rest the Chicken
Don’t skip this crucial step!
Let It Rest
Once the chicken reaches 165°F (74°C), remove it from the air fryer basket and place it on a clean plate or cutting board. Tent it loosely with foil and let it rest for at least 5-10 minutes. This resting period allows the juices to redistribute throughout the meat, resulting in significantly more tender and moist chicken.
Step 5: Serve and Enjoy
Your perfectly air-fried chicken breast is ready to be sliced, diced, or enjoyed whole!
Tips for Crispy Air Fryer Chicken Breast
Want that delightful crunch? Here are some extra tips:
- Pat it Dry: Before seasoning, ensure your chicken breasts are thoroughly patted dry with paper towels. Moisture is the enemy of crispiness.
- Use a Little Oil: A light mist of cooking spray or oil can make a big difference in achieving a golden, crispy exterior.
- Don’t Overcrowd: We can’t stress this enough! Good air circulation is paramount for crisping.
- Consider Skin-On: If you’re not worried about the calories, chicken breasts with skin will naturally crisp up beautifully.
- Breaded Chicken: For breaded chicken breasts, ensure your breading adheres well. You can spray the breaded chicken with oil before air frying for extra crispiness.
Troubleshooting Common Air Fryer Chicken Breast Issues
Even with the best intentions, sometimes things don’t go as planned. Here are a few common issues and how to fix them:
- My Chicken is Dry: You likely overcooked it. Always rely on your meat thermometer and pull the chicken out as soon as it reaches 165°F (74°C). Resting is also crucial for moisture retention.
- My Chicken is Not Cooked Through: It probably needs more time. Ensure you are checking the thickest part of the breast. Also, confirm your air fryer is preheated and that you’re not overcrowding the basket.
- The Outside is Burnt, but the Inside is Not Done: This can happen if the temperature is too high, or if the chicken is very uneven. Try a slightly lower temperature (e.g., 350°F/175°C) and cook for a bit longer, or ensure your chicken is pounded to a uniform thickness.
- My Chicken is Not Crispy: You might need to increase the temperature slightly for the last few minutes of cooking, or ensure you patted the chicken very dry and used a little oil.
Conclusion
Mastering the art of air frying chicken breast is surprisingly simple once you understand the key principles: thickness, temperature, and internal doneness. By following these guidelines and always using a reliable meat thermometer, you can consistently achieve succulent, flavorful, and perfectly cooked chicken breasts. So go ahead, experiment with different seasonings, and enjoy the convenience and deliciousness of your air fryer!