
Maintaining a clean air fryer is crucial for optimal performance and food safety. This guide provides a detailed, step-by-step process for cleaning your air fryer racks and skewers, ensuring they remain in top condition for delicious and healthy cooking. With simple techniques and readily available household items, you can easily remove stubborn grease and food residue, extending the life of your air fryer accessories.
Key Takeaways
- Gentle Soaking is Key: For light messes, soaking racks and skewers in warm, soapy water is an effective first step.
- Tackling Tough Grime: For stubborn, burnt-on food, a paste of baking soda and water offers a powerful yet gentle cleaning solution.
- Vinegar for Shine: White vinegar is excellent for cutting through grease and leaving your racks and skewers sparkling clean.
- Non-Abrasive Tools are Essential: Always use soft sponges, cloths, or soft-bristled brushes to avoid scratching non-stick coatings.
- Thorough Drying Prevents Rust: Ensure all parts are completely dry before reassembling or storing to prevent rust and corrosion.
- Regular Maintenance is Crucial: Cleaning after each use, or at least very frequently, prevents buildup and makes future cleaning much easier.
How to Clean Air Fryer Racks and Skewers
Welcome to your ultimate guide to keeping those essential air fryer accessories sparkling clean! In 2026, we’re all about maximizing the lifespan and performance of our kitchen gadgets, and that absolutely includes your trusty air fryer. While the air fryer itself is relatively easy to wipe down, the racks and skewers can sometimes become targets for stubborn grease, burnt-on food bits, and general grime. Don’t worry, though! Cleaning them is far simpler than you might think, and with a little know-how, you’ll have them looking and performing like new again.
This guide will walk you through effective, easy-to-follow methods for cleaning your air fryer racks and skewers, whether they’re lightly soiled or covered in the remnants of your most adventurous culinary creations. We’ll cover everything from everyday maintenance to tackling those tougher cleaning challenges. Let’s dive in and ensure your air fryer continues to deliver perfectly crispy, healthy meals every time!
Why Cleaning Air Fryer Racks and Skewers Matters
Before we get to the ‘how,’ let’s quickly touch on the ‘why.’ A clean air fryer rack and skewers aren’t just about aesthetics. Leftover food particles and grease can:
- Impact Food Taste: Burnt-on bits can impart a bitter or burnt flavor to your next meal.
- Create Smoke: Dripping grease igniting on the heating element can cause smoke and an unpleasant odor.
- Attract Pests: Food residue can attract unwanted kitchen visitors.
- Reduce Airflow: Clogged racks can hinder proper air circulation, leading to uneven cooking.
- Damage the Non-Stick Coating: Harsh scrubbing or improper cleaning can wear down protective coatings.
Regular and proper cleaning is an investment in both the quality of your food and the longevity of your air fryer.
Preparing for Cleaning
Safety and efficiency are key. Here’s what you should do before you start scrubbing:
Unplug and Cool Down
This is the most crucial first step. Always ensure your air fryer is unplugged and has cooled down completely before attempting to remove or clean any of its parts. Hot surfaces can cause severe burns.
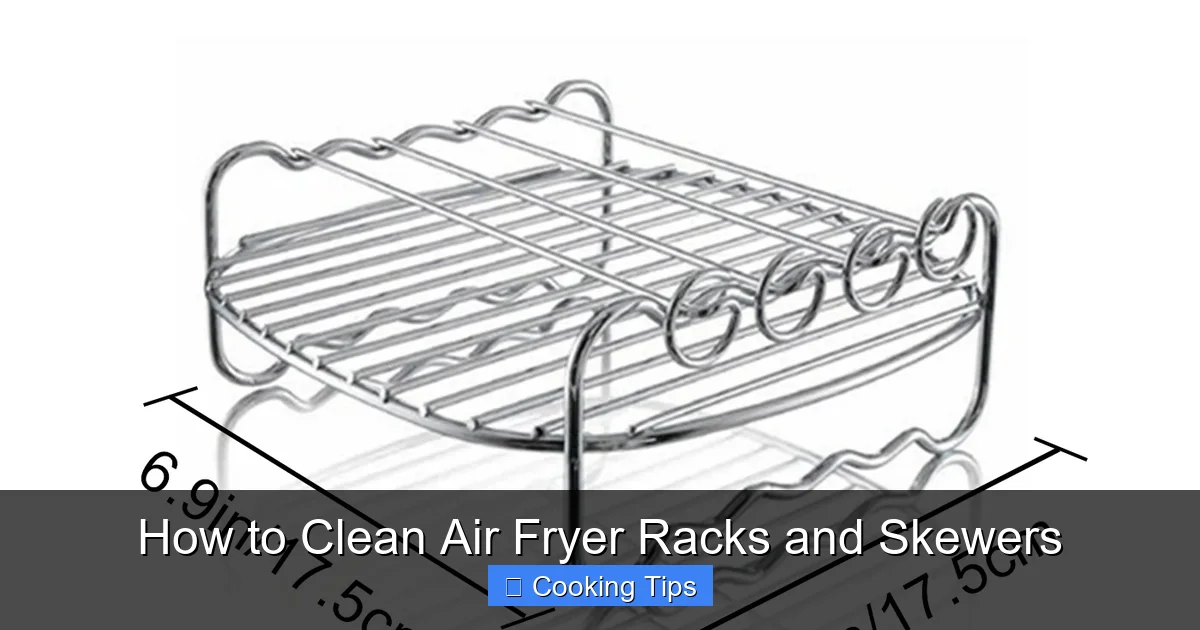
Visual guide about How to Clean Air Fryer Racks and Skewers
Image source: images.nexusapp.co
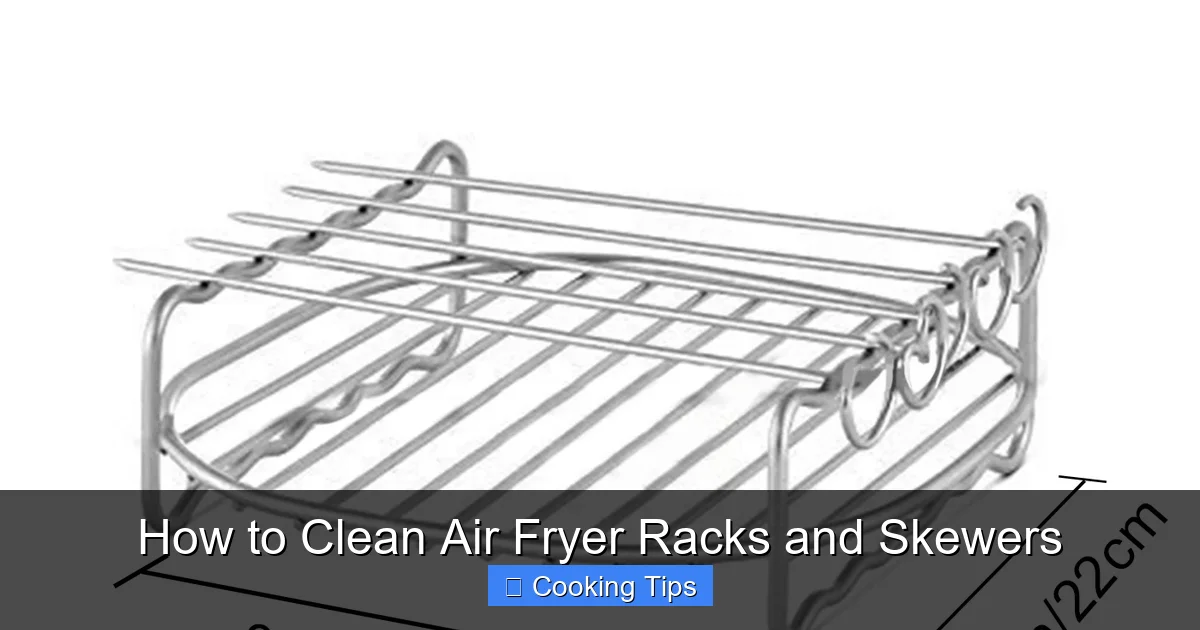
Visual guide about How to Clean Air Fryer Racks and Skewers
Image source: images.nexusapp.co
Gather Your Supplies
Having everything ready makes the process smoother. You’ll typically need:
- Warm water
- Mild dish soap
- Baking soda
- White vinegar
- A soft sponge or cloth
- A soft-bristled brush (an old toothbrush works well for crevices)
- Paper towels or a clean drying cloth
- A large sink or basin
Cleaning Lightly Soiled Racks and Skewers
For routine cleaning after cooking, or for accessories that aren’t heavily encrusted, a simple soak and wash is usually sufficient.
Step 1: Initial Rinse
Once cooled, remove the racks and skewers from your air fryer. Give them a quick rinse under warm running water to remove any loose food particles. This makes the subsequent cleaning steps more effective.

Visual guide about How to Clean Air Fryer Racks and Skewers
Image source: cjeatsrecipes.com
Step 2: Soak in Warm, Soapy Water
Fill your sink or a large basin with warm water. Add a few drops of mild dish soap. Submerge the racks and skewers completely in the soapy water. Let them soak for at least 15-30 minutes. For lightly soiled items, this step alone might be enough to loosen most of the residue.
Step 3: Gentle Scrubbing
After soaking, use a soft sponge or cloth to gently scrub away any remaining food. For crevices and tight spots, a soft-bristled brush is your best friend. Work in gentle, circular motions. Avoid using abrasive scrubbers like steel wool or stiff brushes, as these can scratch and damage the non-stick coating on your racks and skewers.
Step 4: Rinse Thoroughly
Rinse the racks and skewers under clean, warm water to remove all soap residue. Ensure no soap is left behind, as this could affect the taste of your food.
Step 5: Dry Completely
This is a vital step to prevent rust and maintain the integrity of your accessories. Use a clean, soft towel to thoroughly dry all surfaces. Pay close attention to any nooks and crannies. You can also let them air dry completely on a rack before storing them.
Tackling Stubborn Grease and Burnt-On Food
Sometimes, especially after cooking fattier foods or forgetting to clean promptly, you’ll encounter more resilient messes. Don’t despair! These methods will help.
Method 1: Baking Soda Paste
Baking soda is a fantastic, natural abrasive that’s gentle enough not to damage most surfaces.
Step 1: Create a Paste
In a small bowl, mix baking soda with a small amount of water. You want to create a thick, spreadable paste, similar in consistency to toothpaste. Add water gradually to avoid making it too runny.
Step 2: Apply the Paste
Generously apply the baking soda paste to the areas with stubborn, burnt-on food. Let it sit for at least 15-30 minutes, or even longer for very tough stains. The paste will work to break down the food particles.
Step 3: Gentle Scrubbing and Rinsing
After the paste has had time to work, use a damp, soft sponge or cloth to gently scrub the area. The baking soda provides a mild abrasive action. Rinse thoroughly with warm water.
Step 4: Repeat if Necessary
For extremely stubborn residue, you may need to repeat the process. Patience is key here!
Method 2: Vinegar Soak
White vinegar is a powerhouse for cutting through grease and removing mineral deposits.
Step 1: Prepare the Vinegar Solution
Fill your sink or basin with a mixture of equal parts white vinegar and warm water. For instance, if you have a large basin, use 2 cups of vinegar and 2 cups of warm water. Ensure there’s enough solution to fully submerge your racks and skewers.
Step 2: Soak the Accessories
Submerge the racks and skewers in the vinegar and water solution. Let them soak for at least 30 minutes to an hour. You might notice some bubbling as the vinegar works on the grime. This is normal!
Step 3: Scrub and Rinse
After soaking, use a soft sponge or brush to scrub away loosened debris. The vinegar should have made the scrubbing much easier. Rinse everything thoroughly under warm, running water.
Step 4: Final Wash with Soap
Even after the vinegar soak, it’s a good idea to give your racks and skewers a quick wash with mild dish soap and water to remove any lingering vinegar smell or taste. Rinse again and then dry completely.
Cleaning Air Fryer Skewers Specifically
Air fryer skewers, especially metal ones, can sometimes get food stuck in their grooves or at the pointed ends.
For Reusable Metal Skewers:
- Follow the baking soda paste or vinegar soak methods described above.
- Use a small, soft-bristled brush (like an old toothbrush) to get into any grooves or around the base of the skewer where it might join a handle.
- Ensure the pointed tips are thoroughly cleaned and dried to prevent rust.
For Wooden Skewers (if using them in a compatible air fryer):
Wooden skewers are often single-use. If yours are designed for multiple uses (check your air fryer’s manual), clean them gently. Avoid prolonged soaking, as wood can warp or splinter. A quick wipe with a damp, soapy cloth followed by immediate thorough drying is best. However, most wooden skewers are intended for one-time use for hygiene and to prevent splintering.
Important Cleaning Tips and Considerations
To make your cleaning routine even more effective and to protect your air fryer accessories:
- Clean After Every Use: The easiest way to keep things clean is to tackle messes while they’re fresh. A quick wipe-down or rinse after each cooking session will prevent significant buildup.
- Avoid Harsh Chemicals: Stay away from oven cleaners, abrasive powders, or bleach, as these can damage the non-stick coating and are not food-safe.
- Check Your Manual: Always refer to your air fryer’s instruction manual for specific cleaning recommendations for your model. Some manufacturers may have particular advice regarding their accessories.
- Drying is Non-Negotiable: We’ve said it before, and we’ll say it again: complete drying is essential to prevent rust and maintain the condition of your racks and skewers.
- Consider a Dishwasher (with Caution): Some air fryer racks and skewers are advertised as dishwasher-safe. However, it’s often best to hand wash them to protect the non-stick coating. If you do use a dishwasher, place them on the top rack and avoid harsh detergents or high-heat drying cycles.
Troubleshooting Common Cleaning Issues
Even with the best intentions, you might run into a few snags. Here’s how to handle them:
Issue: Still seeing residue after cleaning.
Solution: Repeat the cleaning process, perhaps using a stronger method (like the baking soda paste or vinegar soak) for a longer duration. Ensure you’re using a soft brush to get into all the nooks and crannies.
Issue: Scratches on the non-stick coating.
Solution: Unfortunately, once the non-stick coating is scratched, it’s difficult to repair. This is why using only soft sponges, cloths, and brushes is so important. If the scratching is minor and doesn’t affect performance, you can continue to use the rack. For significant damage, you may need to consider replacing the accessory.
Issue: Rust spots appearing.
Solution: If you have minor rust spots, try making a paste of baking soda and lemon juice, applying it to the rust, letting it sit, and then gently scrubbing with a soft brush. Rinse thoroughly and ensure it’s completely dry. If the rust is extensive, it might be time to replace the accessory, as rust can be a health concern.
Conclusion
Maintaining clean air fryer racks and skewers is fundamental to enjoying all the benefits of this popular cooking appliance. By following these simple, step-by-step methods, you can easily banish stubborn grease and burnt-on food, ensuring your air fryer continues to produce delicious, healthy, and perfectly cooked meals. Remember, a little regular effort goes a long way in preserving your kitchen tools and enhancing your cooking experience. Happy air frying, and happy cleaning!