
A clogged grinder vent or fan can significantly impact performance, leading to overheating and reduced efficiency. This guide provides clear, step-by-step instructions to tackle these common grinder issues. By following these tips, you’ll ensure your grinder operates at its best, extending its lifespan and maintaining optimal functionality for all your grinding needs.
Key Takeaways
- Regular Maintenance is Crucial: Proactive cleaning prevents severe clogs and extends the life of your grinder.
- Safety First: Always unplug your grinder before attempting any cleaning to avoid electrical hazards.
- Gather the Right Tools: Having appropriate cleaning supplies readily available makes the process smoother and more effective.
- Gentle but Thorough Cleaning: Use appropriate tools and techniques to remove debris without damaging delicate grinder components.
- Ventilation is Key: Clean vents allow for proper airflow, preventing overheating and ensuring consistent performance.
- Fan Functionality Matters: A clean fan ensures efficient cooling, crucial for preventing motor strain and damage.
- Troubleshooting Common Issues: Learn how to address stubborn clogs and identify potential underlying problems.
How to Clean Clogged Grinder Vents and Fans
Is your grinder sounding a little rough? Does it seem to be working harder than usual, or perhaps even getting unusually warm? These are all tell-tale signs that your grinder’s vents and fans might be clogged. In 2026, with our reliance on efficient kitchen gadgets, a well-functioning grinder is a must-have. Clogged vents and fans can lead to overheating, reduced performance, and ultimately, a shortened lifespan for your beloved appliance. But don’t worry! This comprehensive guide will walk you through exactly how to clean clogged grinder vents and fans, ensuring your grinder runs smoothly and efficiently for years to come.
We’ll cover everything from identifying the problem to the best cleaning methods and even some preventative tips. Get ready to give your grinder the spa treatment it deserves!
Understanding Grinder Vents and Fans
Before we dive into the cleaning process, let’s quickly understand what these parts do. Your grinder, whether it’s for coffee, spices, or even meat, generates heat during operation. Grinder vents are small openings, usually on the exterior or base of the grinder, designed to allow air to circulate. This airflow is essential for cooling the motor and internal components.
The fan, often located near the motor, is responsible for actively drawing in cool air through the vents and expelling warm air. When dust, food particles, or other debris accumulate in these vents and around the fan blades, they obstruct the airflow. This obstruction forces the motor to work harder, leading to overheating and potential damage.
Why Cleaning is Essential
Neglecting to clean your grinder’s vents and fans can lead to several problems:
- Overheating: The most common issue. An overheated motor can seize up or burn out.
- Reduced Performance: The grinder may become sluggish or struggle to grind effectively.
- Unpleasant Odors: Trapped debris can decompose, leading to stale or burnt smells.
- Shorter Lifespan: Continuous strain on the motor due to poor cooling will shorten the appliance’s life.
- Fire Hazard: In extreme cases, accumulated dust can become a fire risk.
Safety First: Before You Begin
This is the most critical step. Before you even think about cleaning, **always unplug your grinder from the power outlet.** Never attempt to clean any electrical appliance while it is connected to power. It’s also a good idea to place your grinder on a stable, well-lit surface where you can easily access all areas.
Step-by-Step Guide to Cleaning Clogged Grinder Vents and Fans
Visual guide about How to Clean Clogged Grinder Vents and Fans
Image source: us.v-cdn.net
Let’s get down to business! Here’s how to tackle those stubborn clogs.
Step 1: Gather Your Cleaning Supplies
Having the right tools makes the job much easier. You’ll likely need:
- A soft brush (an old toothbrush or a small, clean paintbrush works well)
- Cotton swabs or Q-tips
- A vacuum cleaner with a crevice tool or brush attachment
- Compressed air can (optional, but very useful)
- A soft, damp cloth
- A dry cloth
Step 2: Inspect the Grinder Vents
Turn your grinder over and look for the vent openings. They are usually small holes or slots on the housing. You’ll likely see dust, lint, or food particles obstructing these openings.
Examine the Exterior Vents
Start by visually inspecting all accessible vents on the outside of the grinder. Note where the clogs are most prominent.
Check for Hidden Vents
Some grinders might have vents on the bottom or in less obvious places. Take a good look around the entire unit.
Step 3: Clean the Exterior Vents
This is where your soft brush comes in handy.
Use a Soft Brush to Loosen Debris
Gently brush away any loose dust and debris from the exterior of the vents. Work the brush into the openings as much as you can without forcing it.
Vacuum Away Loosened Debris
After loosening the debris, use your vacuum cleaner with a crevice tool or brush attachment to suck away the loose particles. This prevents them from being pushed further into the grinder.
Utilize Compressed Air for Stubborn Clogs (Optional)
If you have compressed air, it can be incredibly effective. Hold the can upright and use short bursts to blow out debris from the vents. Be sure to do this in a well-ventilated area, as dust will fly!
Step 4: Accessing and Cleaning the Fan
This step might require a little more effort and depends on your grinder’s design. Some grinders have easily accessible fan housings, while others might require partial disassembly.
Locate the Fan Housing
The fan is typically located near the motor. For many common grinders, you might be able to access the fan area by removing the base or a specific panel. Consult your grinder’s manual if you’re unsure.
Remove Loose Debris from the Fan Blades
Once you can see the fan, use your soft brush to gently clean dust and debris from the fan blades. Be careful not to bend or damage the blades.
Use Cotton Swabs for Precision Cleaning
Cotton swabs are excellent for reaching into tight spaces around the fan blades and the housing. Dampen them slightly if needed for stubborn grime, but ensure they are not dripping wet.
Vacuum the Fan Area
After brushing and swabbing, use your vacuum’s crevice tool to remove any remaining loose debris from the fan housing and surrounding areas.
Compressed Air for the Fan (Optional)
Again, compressed air can be a lifesaver here. Use short, controlled bursts to blow out any dust that has settled on the fan or in the motor housing.
Step 5: Wipe Down the Exterior
Once the vents and fan are clean, take a damp cloth to wipe down the exterior of your grinder. This removes any lingering dust or grime. Follow up with a dry cloth to ensure the appliance is completely dry.
Step 6: Reassemble (If Necessary) and Test
If you had to disassemble any part of your grinder, carefully reassemble it according to your manual. Once everything is back together and dry, you can plug your grinder back in.
Perform a Test Run
Turn on your grinder for a few seconds without any ingredients. Listen for any unusual noises and check if it sounds smoother. You should notice an improvement in its operation.
Troubleshooting Common Issues

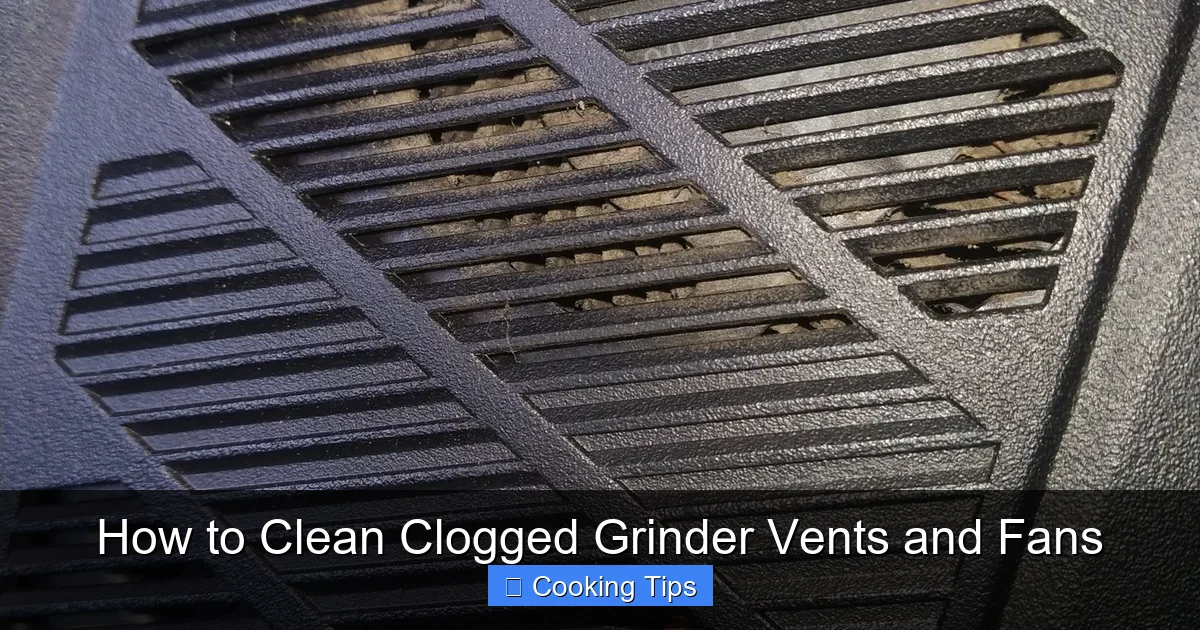
Visual guide about How to Clean Clogged Grinder Vents and Fans
Image source: mygrinderguide.com
What if your grinder is still acting up?
Persistent Overheating
If your grinder continues to overheat after cleaning, there might be a more serious issue. The motor may be failing, or there could be a problem with the internal cooling system beyond just clogged vents. In this case, it might be time to contact the manufacturer for repair or consider replacing the appliance.
Stubborn Clogs That Won’t Budge
For extremely stubborn grime, especially around the fan, you might need a slightly more robust approach. For non-food contact areas, a very mild solution of dish soap and water can be used sparingly on a cotton swab. Ensure everything is thoroughly dried afterward. **Never submerge any part of your grinder in water.**
Strange Noises After Cleaning
If you hear new or persistent strange noises, double-check that all parts are properly reassembled and that no cleaning tools or debris were accidentally left inside.
Preventative Maintenance: Keeping Your Grinder Grinding
Visual guide about How to Clean Clogged Grinder Vents and Fans
Image source: us.v-cdn.net
The best way to deal with clogged vents and fans is to prevent them from getting clogged in the first place!
- Regular Cleaning Schedule: Aim to clean your grinder’s vents at least once a month, or more often if you use it frequently.
- Clean After Each Use (Minor): For coffee grinders, a quick brush out of the grinding chamber after each use can prevent a build-up that might eventually reach the vents.
- Avoid Overfilling: Don’t stuff your grinder beyond its capacity. This can force more particles into areas they shouldn’t be.
- Proper Storage: Store your grinder in a clean, dry place. Avoid dusty environments.
- Inspect Regularly: Take a quick look at the vents every now and then to catch any developing clogs early.
By incorporating these simple preventative measures into your routine, you can significantly extend the life of your grinder and ensure it’s always ready when you need it.
Conclusion
Keeping your grinder’s vents and fans clean is not just about aesthetics; it’s crucial for performance, longevity, and safety. With this guide, you’re equipped to tackle those clogs with confidence. Remember to always prioritize safety by unplugging your appliance and to be gentle when cleaning delicate parts. A little regular maintenance goes a long way in keeping your grinder in top condition. So, go ahead, give your grinder a thorough cleaning, and enjoy the fruits of its (now unobstructed!) labor!