
Keeping your electric kettle clean is essential for optimal performance and great-tasting hot beverages. This guide provides step-by-step instructions for effectively cleaning the inside of your electric kettle, tackling stubborn limescale buildup and ensuring hygiene. With our simple methods, you can easily restore your kettle to its sparkling best and enjoy pure, fresh water every time.
How to Clean Electric Kettle Inside
Welcome to our comprehensive guide on cleaning the inside of your electric kettle! Do you find that your once-sparkling kettle is now coated with a white, chalky film? That’s limescale, a common problem caused by mineral deposits in your water. Not only does it make your kettle look unsightly, but it can also affect the taste of your drinks and even reduce the efficiency of your kettle. But don’t worry! Cleaning your electric kettle inside is a straightforward process that can be done with common household items.
In this guide, you’ll learn exactly how to tackle that stubborn limescale and keep your electric kettle looking and performing like new. We’ll cover different cleaning methods, from using natural ingredients like vinegar and lemon to more specific descaling solutions. You’ll discover why regular cleaning is important and get practical tips to make the process even easier. So, let’s get your kettle back to its pristine condition and ensure your morning cuppa is always perfect!
Key Takeaways
- Regular cleaning prevents limescale buildup: Doing a quick clean every few weeks stops mineral deposits from hardening, making future cleaning much easier.
- Natural cleaning solutions are effective: White vinegar and lemon juice are powerful, non-toxic agents that break down limescale without harsh chemicals.
- Boiling is key to loosening grime: Heating the cleaning solution in the kettle helps to dissolve stubborn mineral deposits and disinfect the interior.
- Rinse thoroughly to remove all traces: Always rinse the kettle multiple times after cleaning to ensure no vinegar or lemon taste remains in your boiled water.
- Descale based on water hardness: If you have hard water, you’ll need to descale more frequently, perhaps every month, compared to soft water areas.
- Never submerge the base: The electrical components in the kettle’s base are not waterproof and should never come into contact with water.
Why Cleaning Your Electric Kettle is Important
Before we dive into the cleaning process, let’s quickly touch upon why it’s so crucial to keep your electric kettle clean.
Limescale Buildup
The primary reason for cleaning is to remove limescale. When you boil water, minerals like calcium and magnesium are left behind. Over time, these minerals build up on the heating element and the inside walls of your kettle, forming a hard, white deposit. This is limescale.
Impact on Performance
Limescale acts as an insulator. When the heating element is covered in limescale, it has to work harder to heat the water. This means your kettle will take longer to boil, and it will use more electricity. Over time, heavy limescale buildup can even damage the heating element, shortening the lifespan of your appliance.
Taste and Hygiene
Beyond performance, limescale can affect the taste of your water and, consequently, your tea, coffee, or other hot beverages. It can impart a chalky or metallic flavor. Furthermore, a dirty kettle can become a breeding ground for bacteria, which is not ideal for something you use to prepare drinks for yourself and your family.
Preparing for Cleaning
Before you start scrubbing, a little preparation goes a long way.
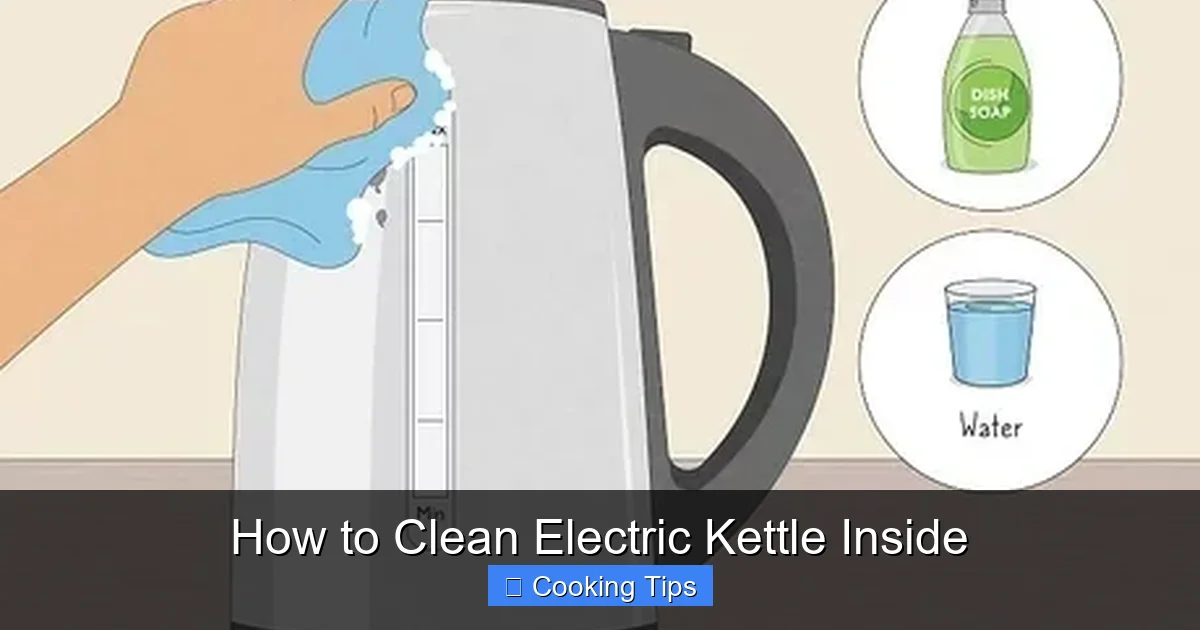
Gather Your Supplies
Having everything ready will make the cleaning process smoother. You’ll typically need:
- Cleaning Agent: White vinegar, lemon juice, or a commercial descaler.
- Water: Fresh, clean water for rinsing.
- Soft Cloth or Sponge: For wiping down the exterior and lid.
- Dish Soap: For cleaning the exterior.
- Gloves (Optional): If you’re sensitive to the smell of vinegar or lemon.
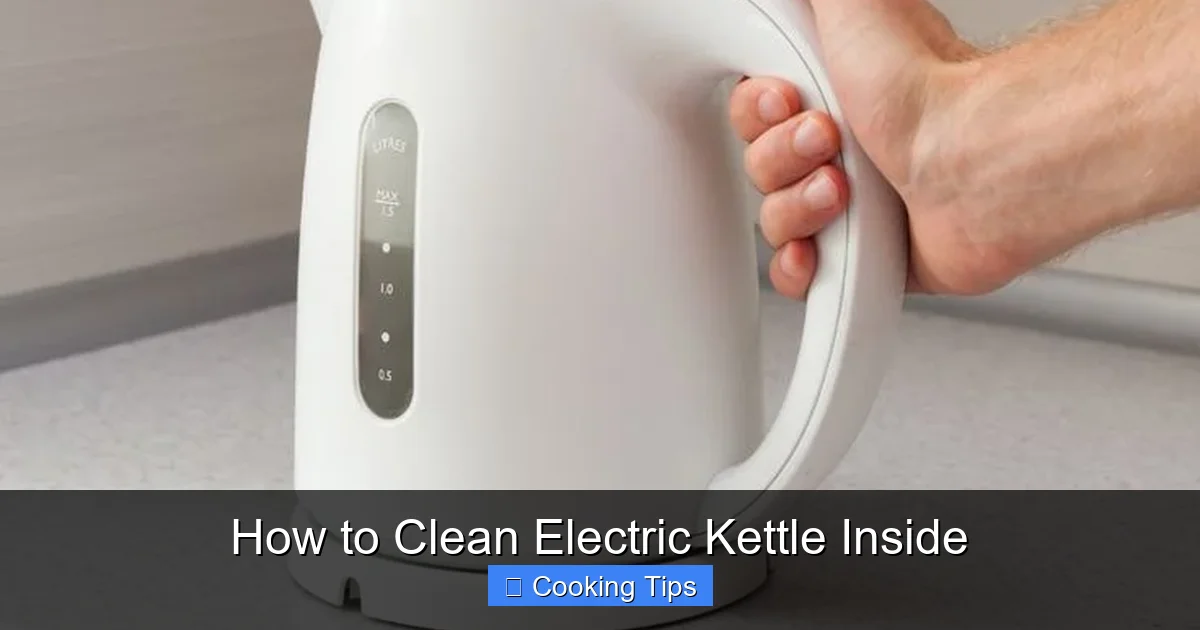
Unplug and Cool Down
This is a critical safety step. Always ensure your electric kettle is unplugged from the power outlet and has cooled down completely before you begin cleaning. You do not want to risk electric shock or burn yourself with hot water or cleaning solutions.
Method 1: Cleaning with White Vinegar
White vinegar is a fantastic natural descaler. Its acetic acid content effectively breaks down the mineral deposits in limescale.
Step 1: Prepare the Vinegar Solution
Fill your electric kettle with a mixture of equal parts white vinegar and water. For a standard kettle, this might be about half full.
Visual guide about How to Clean Electric Kettle Inside
Image source: wikihow.com

Visual guide about How to Clean Electric Kettle Inside
Image source: irrorwxhiqijjr5q.ldycdn.com
Step 2: Boil the Solution
Close the lid and switch on the kettle to boil the vinegar-water mixture. Once it has boiled, let it sit for at least 30 minutes to an hour. For very stubborn limescale, you might want to let it sit longer, even overnight.
Step 3: Empty and Inspect
Carefully pour out the vinegar-water solution. You should be able to see that the limescale has started to loosen and may even be peeling away from the sides and heating element.
Step 4: Scrub (If Necessary)
If there are still some stubborn bits of limescale, you can use a non-abrasive sponge or a soft cloth to gently scrub them away. Avoid using harsh scouring pads or metal brushes, as these can scratch the interior of your kettle.
Step 5: Rinse Thoroughly
This is a very important step to remove any lingering vinegar smell or taste. Fill the kettle with fresh water and boil it. Discard this water. Repeat this rinsing process at least two or three times, or until you can no longer detect any vinegar odor or taste when boiling plain water.
Method 2: Cleaning with Lemon Juice
Lemon juice is another excellent natural alternative. It’s less pungent than vinegar and leaves a pleasant citrus scent.
Step 1: Prepare the Lemon Solution
Fill your kettle with fresh water to about half its capacity. Then, add the juice of one to two lemons. Alternatively, you can slice a lemon and add the slices to the water.
Visual guide about How to Clean Electric Kettle Inside
Image source: i.pinimg.com
Step 2: Boil and Steep
Boil the lemon-water mixture. Once boiled, turn off the kettle and let the solution steep inside for at least 30 minutes. For tougher buildup, you can leave it for an hour or two.
Step 3: Empty and Wipe
Pour out the lemon-water. You should see the limescale has softened. You can use a soft cloth or sponge to wipe away any loosened deposits.
Step 4: Rinse Well
As with the vinegar method, thorough rinsing is key. Fill the kettle with fresh water and boil it. Empty and repeat the rinsing process two or three times to ensure no lemony residue remains.
Method 3: Using a Commercial Descaler
If you have very tough limescale or prefer a product specifically designed for the job, a commercial descaler is an option.
Step 1: Follow Product Instructions
Commercial descalers come in liquid or powder form. Always read and follow the manufacturer’s instructions carefully. Each product might have slightly different ratios of descaler to water and different recommended soaking times.
Step 2: Prepare and Apply
Typically, you’ll mix the descaler with water in the kettle to a specified level and then allow it to sit for a period (e.g., 15-30 minutes), or you might be instructed to boil the mixture.
Step 3: Empty and Rinse Extensively
After the recommended time, empty the kettle. Because these products are formulated to dissolve mineral deposits, it’s crucial to rinse the kettle multiple times with fresh water afterwards. Boiling fresh water and discarding it several times is a good practice to ensure all chemical residue is gone.
Cleaning the Exterior and Lid
While we’re focusing on the inside, don’t forget the exterior and lid of your kettle!
Exterior Cleaning
Unplug the kettle and ensure it’s cool. Wipe down the exterior with a damp cloth. For tougher grime or water spots, you can use a mild dish soap mixed with water on your cloth. Rinse the cloth and wipe again to remove any soap residue. Never immerse the kettle’s base in water.
Lid and Spout
The lid can usually be wiped down with a damp cloth. If the spout is clogged or dirty, you might be able to gently clean it with a soft brush or cotton swab dipped in a diluted cleaning solution (like vinegar and water) or soapy water. Be gentle to avoid damaging any parts.
Troubleshooting Common Issues
Even with regular cleaning, you might encounter some challenges.
Extremely Stubborn Limescale
If a single round of cleaning doesn’t fully remove very thick limescale, you may need to repeat the process. For particularly stubborn areas, you can try applying a concentrated paste of baking soda and water directly to the limescale (after emptying the kettle) and letting it sit for a while before attempting to scrub and rinse. You could also try boiling the vinegar solution for a longer period or letting it steep overnight.
Persistent Smells or Tastes
If you still detect a vinegar or lemon smell after multiple rinses, try boiling the kettle with just plain water several more times. Sometimes, it takes a good number of boils to fully dissipate the odor. Ensure you are using clean, fresh water for each rinse.
Plastic Kettles and Discoloration
Some plastic kettles can become discolored over time, especially near the heating element. While cleaning can help remove some of this, severe discoloration might be permanent. Ensure you are using methods that are safe for plastic and avoid abrasive cleaners.
Frequency of Cleaning
How often should you clean your electric kettle? The answer depends on the hardness of your water and how frequently you use it.
Hard Water Areas
If you live in an area with hard water, you’ll likely notice limescale buildup more quickly. In this case, aim to descale your kettle at least once a month. A quick rinse and boil with diluted vinegar or lemon juice every week or two can help prevent significant buildup.
Soft Water Areas
If you have soft water, limescale will be less of an issue. You might be able to get away with descaling every two to three months. However, it’s still a good idea to check the inside of your kettle periodically.
General Use
Even with moderate water, if you use your kettle daily for multiple cups, inspect it regularly. A visual check every couple of weeks can tell you if it’s time for a clean.
Conclusion
Keeping your electric kettle clean is a simple yet vital part of maintaining your kitchen appliances and ensuring the quality of your hot beverages. By following these easy step-by-step methods using common household ingredients like white vinegar or lemon juice, you can effectively banish limescale and keep your kettle working efficiently. Remember to always prioritize safety by unplugging and cooling down your kettle before cleaning. Regular cleaning not only makes your kettle look better but also contributes to better-tasting drinks and a longer appliance lifespan. So, grab your vinegar or lemon, and give your electric kettle the spa treatment it deserves! Enjoy your perfectly brewed tea or coffee, knowing it’s made with fresh, pure water from a sparkling clean kettle.