
Regular cleaning of your air fryer is crucial for maintaining its performance and ensuring delicious, residue-free food. This guide provides a simple, step-by-step process to clean your air fryer after each use, from removing debris to tackling stubborn grease. By following these tips, you’ll extend the life of your appliance and enjoy healthier, tastier meals.
Key Takeaways
- Regular Cleaning is Key: Cleaning your air fryer after every use prevents oil buildup and burnt-on food particles, ensuring your food tastes great and your appliance functions efficiently.
- Safety First: Always unplug your air fryer and ensure it has cooled down completely before starting the cleaning process.
- Disassemble for Best Results: Most air fryer baskets and trays are removable and dishwasher-safe, making them easy to clean separately.
- Gentle Cleaning Solutions: Use mild dish soap and warm water for most cleaning tasks. Avoid harsh chemicals or abrasive scrubbers that can damage the non-stick coating.
- Tackle Stubborn Grease: For tougher grease spots, a paste of baking soda and water can be an effective natural cleaner.
- Don’t Forget the Interior: Wipe down the inside of the air fryer cavity to remove any drips or splatters.
- Dry Thoroughly: Ensure all parts are completely dry before reassembling and storing your air fryer to prevent mold or mildew.
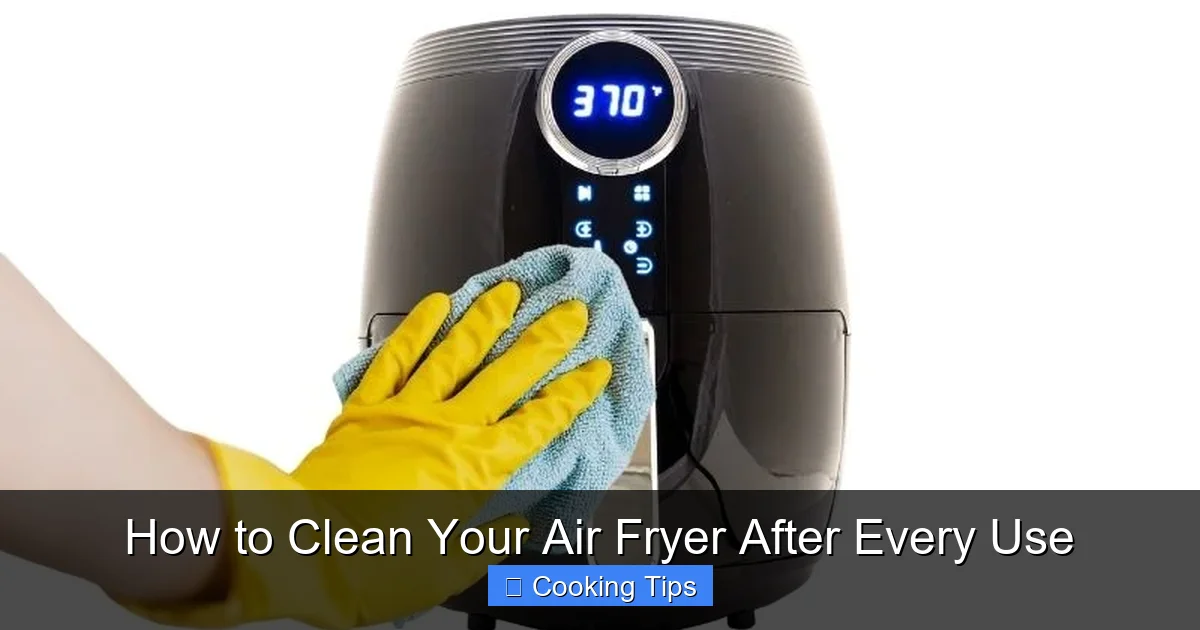
How to Clean Your Air Fryer After Every Use
Congratulations on your air fryer! It’s a fantastic kitchen gadget that makes cooking healthier and quicker. But just like any appliance that gets a lot of action, it needs a little love and attention. Cleaning your air fryer after every use might sound like a chore, but it’s actually a simple process that makes a big difference. This guide will walk you through exactly how to keep your air fryer sparkling clean, so you can enjoy perfectly crispy food every time and extend the life of your appliance.
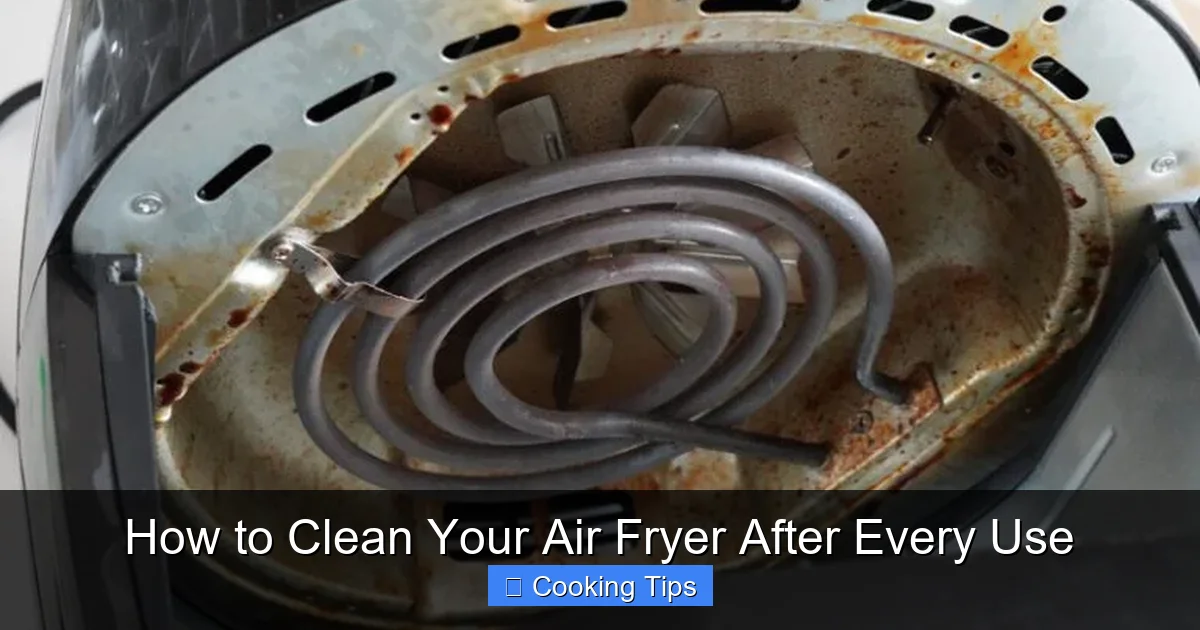
Why bother cleaning your air fryer after every single use? It’s all about performance and taste! When oil and food particles build up, they can start to smoke and leave an unpleasant taste on your next batch of fries or chicken wings. Plus, a clean air fryer works more efficiently, ensuring even cooking and that signature crispy texture you love.
Let’s get started on making your air fryer cleaning routine a breeze!
Step 1: Safety First – Unplug and Cool Down
This is the most important step in any appliance cleaning. Before you even think about wiping down your air fryer, make sure it’s safe to handle.
Visual guide about How to Clean Your Air Fryer After Every Use
Image source: familyguidecentral.com
Unplugging the Unit
Locate the power cord and unplug it from the wall socket. Never attempt to clean an appliance while it is still plugged in. This is a crucial safety precaution to prevent electric shock.
Allowing it to Cool
Air fryers get hot, and some parts can remain hot for a considerable time after use. Give your air fryer at least 20-30 minutes to cool down completely. You should be able to touch the exterior and the basket without feeling any warmth.
Step 2: Remove and Inspect the Basket and Tray
Most air fryer cleaning tasks focus on the removable parts, as these are where the majority of food debris and grease collect.

Visual guide about How to Clean Your Air Fryer After Every Use
Image source: airfryanytime.com
Carefully Remove the Basket
Once cool, slide out the air fryer basket. Be gentle, as there might be loose crumbs or food bits that could spill if you’re too rough. Place the basket on a clean surface or directly in the sink.
Remove the Crisper Tray (if applicable)
Many air fryers come with a crisper tray or a similar insert that sits inside the basket. Remove this as well. This tray often catches drippings and can get quite greasy.
Initial Debris Removal
Before washing, give the basket and tray a quick shake or brush to remove any large crumbs or loose food particles. You can use a soft brush or even a paper towel for this. This makes the washing process much easier and prevents large bits from clogging your drain.
Step 3: Wash the Basket and Tray
Now it’s time for the real cleaning. For most air fryer baskets and trays, washing them by hand is the best method, especially if they have a non-stick coating.
Visual guide about How to Clean Your Air Fryer After Every Use
Image source: airfryanytime.com
Hand Washing Method
- Fill your sink with warm, soapy water. Use a mild dish soap that’s good at cutting through grease.
- Submerge the basket and tray in the soapy water and let them soak for a few minutes if they are particularly greasy.
- Use a soft sponge or a non-abrasive dishcloth to scrub away any food residue or grease. Work in gentle, circular motions.
- For stubborn bits, a soft-bristled brush (like a dish brush) can be very effective. Avoid wire brushes or abrasive scrubbers, as these can scratch and damage the non-stick coating.
- Rinse the basket and tray thoroughly under warm running water to remove all soap residue.
Dishwasher Option (Check Your Manual!)
Some air fryer baskets and trays are advertised as dishwasher-safe. Always check your air fryer’s user manual to confirm this. If yours is dishwasher-safe, you can place it in the top rack of your dishwasher. However, hand washing is often recommended to preserve the non-stick coating for longer, as the high heat and harsh detergents in dishwashers can degrade it over time.
Step 4: Clean the Interior of the Air Fryer
Don’t forget the inside of the air fryer itself! While the basket catches most of the mess, splatters and drips can happen.
Wipe Down the Heating Element (if accessible)
Some air fryers have a heating element at the top. If it’s accessible, you can gently wipe it with a damp, soft cloth. Make sure the cloth is only slightly damp, not wet, and ensure the appliance is unplugged and cool. Some manufacturers advise against touching the heating element directly, so refer to your manual.
Wipe the Interior Cavity
Take a damp, soft cloth or sponge and wipe down the inside walls and bottom of the air fryer cavity. Pay attention to any areas where you see grease splatters or food residue.
Tip: For a bit of extra cleaning power on greasy spots inside, you can dampen your cloth with a mixture of water and a little white vinegar or a mild dish soap solution.
Step 5: Tackle Stubborn Grease and Burnt-on Food
Sometimes, despite your best efforts, you’ll encounter some sticky, burnt-on messes.
The Baking Soda Paste Method
- In a small bowl, mix baking soda with a little bit of water to create a thick paste.
- Apply this paste directly to the stubborn spots on the basket, tray, or interior.
- Let the paste sit for about 10-15 minutes. This allows the baking soda to work its magic and loosen the grime.
- Gently scrub the area with a soft sponge or cloth. The baking soda is slightly abrasive but gentle enough not to damage most surfaces.
- Rinse thoroughly to remove all traces of the paste and loosened residue.
Using a Degreaser (Use Sparingly)
If you have a commercial kitchen degreaser, you can use it sparingly on very tough, greasy areas. Ensure it’s food-safe and follow the product’s instructions carefully. Always rinse extremely well afterward.
Step 6: Dry Everything Thoroughly
This is a critical step that many people overlook. Moisture left behind can lead to mold or mildew, and can also affect the performance of your air fryer.
Air Dry or Towel Dry
You can either let the basket and tray air dry completely on a drying rack, or you can dry them with a clean, soft kitchen towel. Ensure no dampness remains, especially in crevices.
Wipe Down the Exterior
While the interior parts are drying, take a damp cloth and wipe down the exterior of your air fryer. This removes any fingerprints or dust. Dry the exterior with a clean, soft towel.
Step 7: Reassemble and Store
Once all parts are clean and dry, it’s time to put your air fryer back together.
Place Basket and Tray Back
Carefully slide the dry basket and tray back into the air fryer. Make sure they are seated correctly.
Store Properly
Your air fryer is now clean and ready for its next adventure. Store it in a dry, well-ventilated area. Avoid covering it with plastic, as this can trap moisture.
Troubleshooting Common Air Fryer Cleaning Issues
Even with regular cleaning, you might encounter a few challenges.
Problem: Non-stick coating is peeling.
Solution: This often happens from using abrasive scrubbers or harsh detergents. If it’s minor, you can continue using the air fryer, but be aware that food might stick more. For significant peeling, consider replacing the basket or tray, or if the appliance is still under warranty, contact the manufacturer.
Problem: Lingering food smells.
Solution: Even after washing, some smells can linger. Try running the air fryer empty at a low temperature (around 200°F or 90°C) for 5-10 minutes with a few slices of lemon or a small bowl of white vinegar inside. This can help neutralize odors.
Problem: Greasy residue that won’t come off easily.
Solution: Revisit the baking soda paste method, letting it soak for a longer period (up to 30 minutes for very tough spots) before scrubbing. Ensure you are using warm or hot water when washing, as this is more effective at dissolving grease.
Conclusion
Cleaning your air fryer after every use is a simple habit that pays off in delicious food and a longer-lasting appliance. By following these easy steps, you can ensure your air fryer remains a star in your kitchen. Remember to always prioritize safety by unplugging and cooling down your appliance, and use gentle cleaning methods to protect its non-stick surfaces. A little bit of regular cleaning effort will keep your air fryer performing at its best, making every meal a crispy, healthy delight!