
Learning to cook rice is a fundamental skill, and this guide breaks it down into 4 easy steps. You’ll discover the perfect rice-to-water ratio and simple techniques to achieve fluffy, delicious rice every time. Say goodbye to sticky or burnt rice and hello to a versatile staple dish!
Welcome to your ultimate guide on how to cook rice in just 4 simple steps! Rice is a global staple, a versatile base for countless meals, and a comforting dish all on its own. Yet, for many, achieving that perfect fluffy, non-sticky result can feel like a culinary mystery. If you’ve ever ended up with a mushy mess or a pot of burnt grains, you’re not alone!
This guide is designed to demystify the process. We’ll walk you through the essential steps to cook rice perfectly every single time, whether you’re a complete beginner or looking to refine your technique. You’ll learn about the ideal rice-to-water ratio, the importance of rinsing, and the secrets to achieving that light, fluffy texture that makes rice a joy to eat. Get ready to transform your rice game and impress yourself (and anyone you’re cooking for!).
Let’s get started on mastering this fundamental cooking skill.
Key Takeaways
- Accurate Measurement is Crucial: The ratio of rice to water is the most critical factor for perfect rice. A common starting point is 1:2 (rice to water), but this can vary slightly by rice type.
- Rinsing Removes Excess Starch: Rinsing your rice under cold water until the water runs clear removes excess starch, preventing clumping and leading to fluffier grains.
- Proper Simmering is Key: Once brought to a boil, reducing the heat to a low simmer allows the rice to absorb water evenly without burning.
- Resting Time is Essential: Allowing the rice to rest off the heat after cooking lets the steam redistribute, ensuring every grain is perfectly cooked and fluffy.
- Avoid Peeking: Resist the urge to lift the lid while the rice is simmering or resting, as this releases steam and can disrupt the cooking process.
- Adaptability for Different Rice Types: While these steps provide a general guideline, different types of rice (like basmati, jasmine, or brown rice) may require slight adjustments to the water ratio and cooking time.
Step 1: Measure Your Rice and Water Accurately
This is arguably the most crucial step in cooking perfect rice. The ratio of rice to water dictates the final texture. Too little water, and your rice will be dry and undercooked. Too much water, and it will be gummy and mushy.
Choosing Your Rice
Before you measure, decide which type of rice you’re using. The most common types are:
- Long-grain white rice (like Basmati or Jasmine): These are typically drier and fluffier.
- Medium-grain white rice: These are a bit stickier.
- Short-grain white rice: These are the stickiest and are often used for sushi.
- Brown rice: This is a whole grain and requires more water and a longer cooking time.
For the purpose of this guide, we’ll focus on long-grain white rice, as it’s a popular choice and a great starting point.
The Golden Ratio
For most long-grain white rice, the standard ratio is:
1 cup of uncooked rice to 2 cups of water.
This 1:2 ratio is a good starting point. However, always check the package instructions, as some rice varieties might recommend a slightly different ratio. For instance, some basmati or jasmine rices might do well with a 1:1.5 ratio. Brown rice, on the other hand, often needs a 1:2.5 or even 1:3 ratio and a longer cooking time.
Using the Right Measuring Tools
It’s essential to use standard measuring cups for both the rice and the water. Don’t eyeball it! A consistent measurement ensures consistent results.
Pre-determining the Amount
Consider how much cooked rice you need. A general guideline is that 1 cup of uncooked rice yields about 3 cups of cooked rice. This is helpful for meal planning.
Example:
If you want about 4-6 servings of cooked rice, you’ll start with 2 cups of uncooked rice. Following the 1:2 ratio, you’ll need 4 cups of water.
Step 2: Rinse and Prepare the Rice
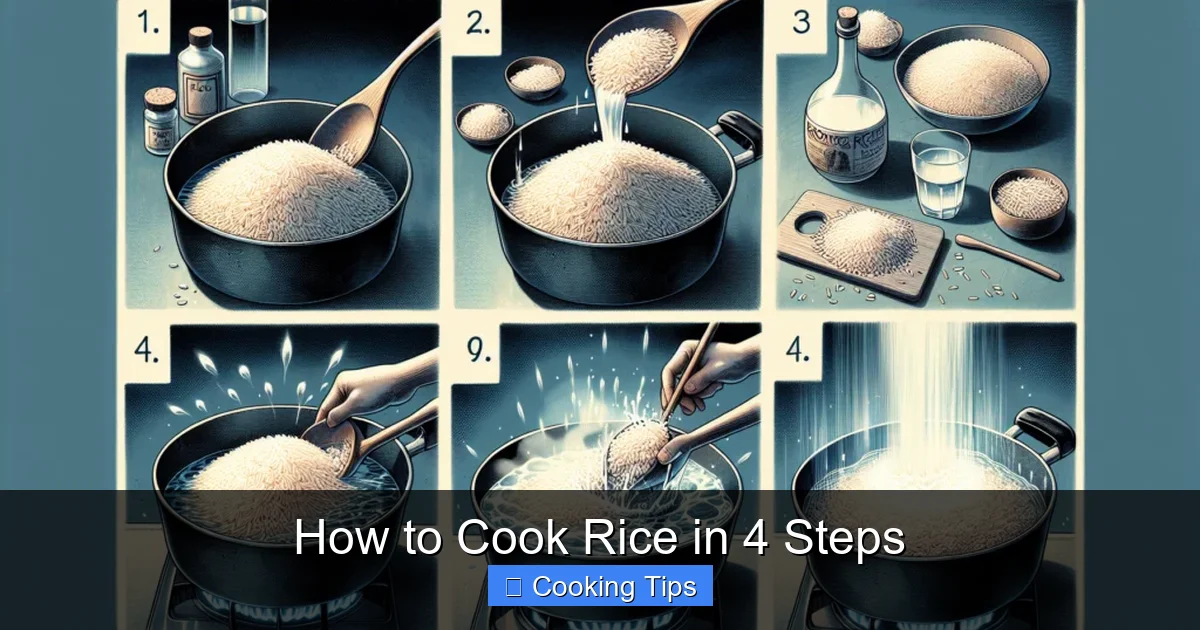
Visual guide about How to Cook Rice in 4 Steps
Image source: ricecookerreviewcentral.com
This step is often skipped, but it makes a significant difference in the final texture of your rice. Rinsing removes excess surface starch, which is what causes rice to become sticky and clump together.
Why Rinse?
Imagine washing your hands – you remove dirt. Similarly, rinsing rice removes its outer layer of starch. This leads to individual, fluffy grains rather than a sticky mass. This is especially important for white rice. For certain dishes, like risotto or rice pudding, you might intentionally want some starch for creaminess, but for everyday fluffy rice, rinsing is key.
How to Rinse
1. Place Rice in a Bowl or Pot: Pour the measured uncooked rice into a fine-mesh sieve or directly into the pot you plan to cook it in. If using a sieve, place it over a bowl to catch the water.
2. Add Cold Water: Pour cold running water over the rice.
3. Swish and Drain: Gently swirl the rice with your hand in the water. You’ll see the water immediately turn cloudy and milky. This is the starch being released.
4. Drain and Repeat: Drain the cloudy water and repeat the process.
5. Continue Until Clear: Keep rinsing and draining until the water runs mostly clear. This usually takes 3-5 rinses, sometimes more depending on the rice.
For some sticky rice recipes, you might want to do this in a rice cooker specifically, and we have a guide on how to make sticky rice in a rice cooker that you might find helpful if that’s your goal.
Optional: Soaking (For Some Rice Types)
Some recipes, especially for specific varieties of rice like basmati or jasmine, suggest soaking the rice for 15-30 minutes after rinsing. Soaking can help the grains cook more evenly and become more tender. If you choose to soak, you might need to slightly reduce the amount of cooking water, as the rice will absorb some water during soaking. For this basic 4-step method, rinsing is sufficient.
Step 3: Cook the Rice
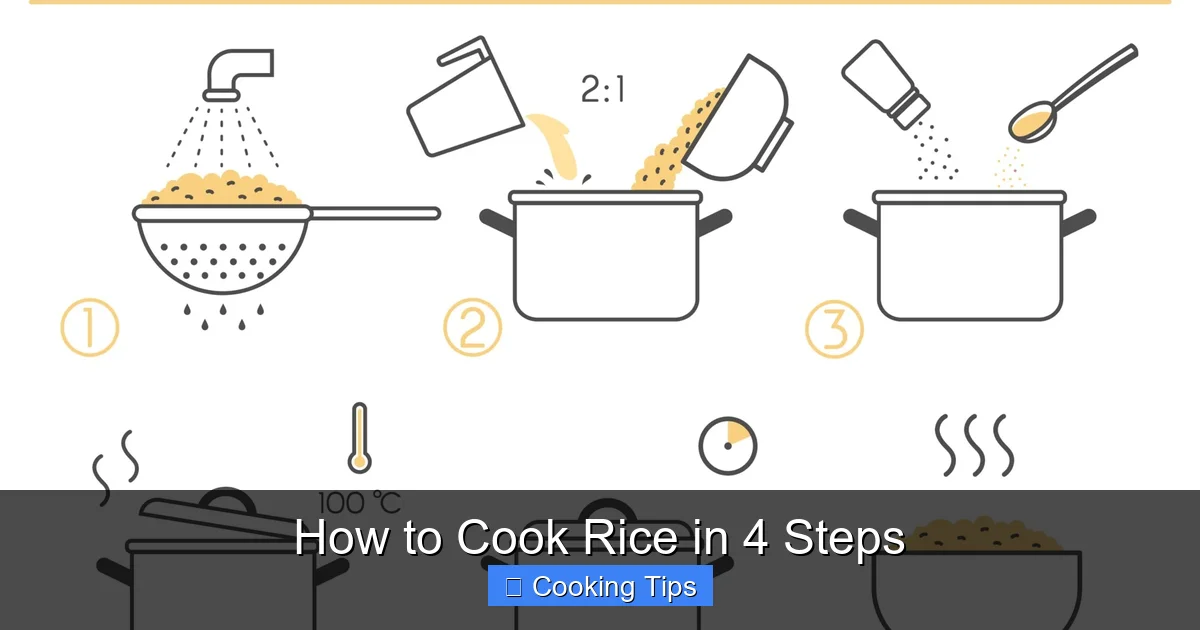
Visual guide about How to Cook Rice in 4 Steps
Image source: static.vecteezy.com
This is where the magic happens! The cooking process involves bringing the water to a boil and then letting the rice absorb it gently.
The Cooking Method (Stovetop)
1. Combine Rice and Water: Pour the rinsed rice and the measured water into a saucepan with a tight-fitting lid.
2. Add Salt (Optional): If you like, you can add about half a teaspoon of salt per cup of uncooked rice at this stage. It enhances the flavor.
3. Bring to a Boil: Place the saucepan over medium-high heat. Bring the water to a rolling boil, uncovered.
4. Reduce Heat and Cover: As soon as it reaches a boil, immediately reduce the heat to the lowest possible setting. You want a very gentle simmer. Cover the pot tightly with the lid. Ensure the lid fits snugly so steam doesn’t escape. This is crucial for the rice to steam and cook properly. If you’re concerned about how to manage heat, check out our tips on how to adjust heat while cooking rice.
5. Simmer: Let the rice simmer gently for about 15-20 minutes for white rice. The exact time can vary slightly depending on the type of rice and your stove. Brown rice will take longer, often 40-45 minutes.
6. Resist Peeking! This is a common pitfall. Avoid lifting the lid during this simmering time. Each time you lift the lid, precious steam escapes, which is essential for cooking the rice.
Managing Heat on Different Stoves
* Gas Stove: You have direct control. Turn the flame down to the absolute minimum setting that still produces a gentle simmer. You might need to experiment a bit to find your stove’s “lowest effective simmer.” For more on this, see how to cook evenly on gas stove.
* Electric Stove: You might need to turn the knob to the lowest setting or even briefly lift the pot off the burner if the lowest setting is still too high.
* Induction Stove: These are very responsive. Find the lowest setting that maintains a simmer. For tips, look at how to cook evenly on induction.
The goal is to cook the rice using the steam trapped inside the pot. If you find your rice is burning on the bottom despite low heat, it might be too high, or you might be cooking it too long without enough water. For guidance on preventing this, see how to prevent burning food while cooking.
Step 4: Rest and Fluff
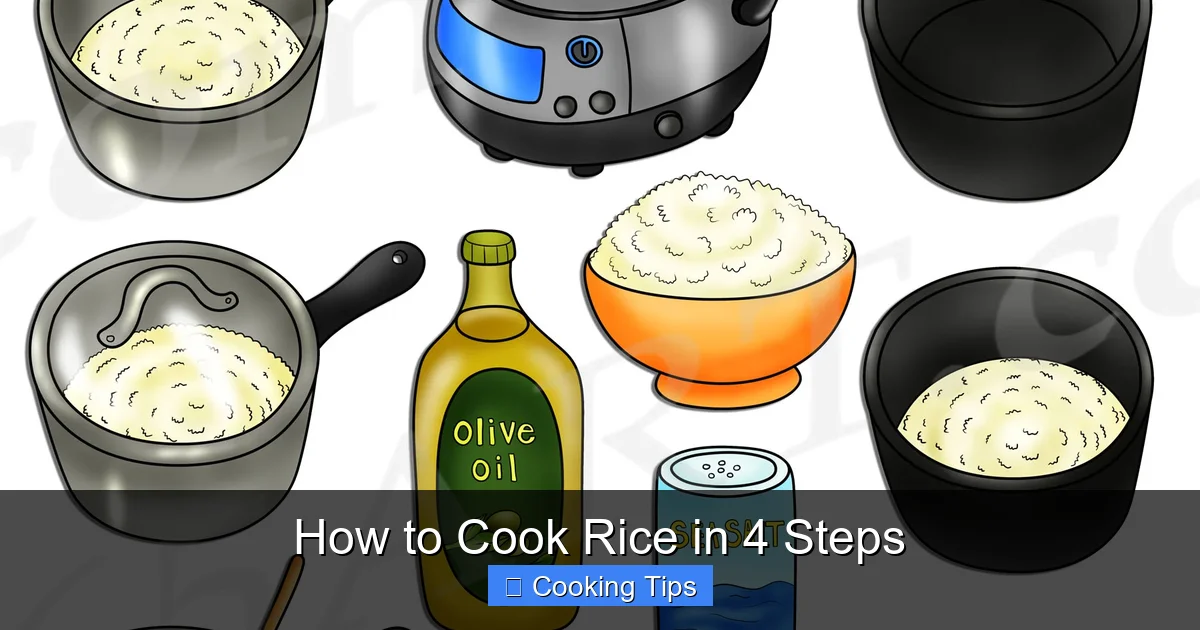
Visual guide about How to Cook Rice in 4 Steps
Image source: clipart4school.com
This final step is as important as the first three. Resting allows the cooked rice to finish absorbing any remaining moisture and lets the grains separate.
The Resting Process
1. Remove from Heat: Once the simmering time is up (usually 15-20 minutes for white rice), carefully remove the saucepan from the heat.
2. Keep it Covered: Do NOT lift the lid yet. Let the rice sit, undisturbed, with the lid firmly in place, for at least 5-10 minutes. This is the resting period. During this time, the steam inside the pot continues to work, distributing moisture evenly and finishing the cooking process. It’s like letting a cake rest after baking.
3. Fluff with a Fork: After the resting period, remove the lid. You should see perfectly cooked, separated grains of rice. Use a fork (a wooden spoon can sometimes mash the grains) to gently fluff the rice. This means gently separating the grains from each other. Start from the sides and work your way into the center.
Why Resting is Essential
* Even Moisture Distribution: It ensures all parts of the rice are cooked and moist.
* Fluffier Texture: It prevents the grains from sticking together.
* Easier to Serve: Fluffed rice is easier to scoop and serve.
If you’re using a rice cooker, the process is often even simpler as the cooker handles the heat and timing. For specific models, you can check out guides on how to use a Black and Decker rice cooker.
Troubleshooting Common Rice Cooking Problems
Even with these steps, things can sometimes go awry. Here are some common issues and how to fix them:
* Rice is too wet/mushy:
* Cause: Too much water, lid was lifted too much during cooking, or not rested long enough.
* Fix: If it’s slightly wet, you can try to spread it out on a baking sheet and let it air dry a bit, or gently reheat it in a dry pan on low heat for a few minutes. For future cooks, reduce the water ratio slightly.
* Rice is too dry/hard/undercooked:
* Cause: Not enough water, heat was too high and water evaporated too quickly, or lid wasn’t on tightly.
* Fix: Add a tablespoon or two of hot water to the pot, cover it tightly, and let it steam for another 5-10 minutes on very low heat. For future cooks, increase the water ratio slightly.
* Rice is burnt on the bottom:
* Cause: Heat was too high, or cooked for too long without enough water.
* Fix: Gently scrape off the burnt part. The rest of the rice might still be salvageable. For future cooks, ensure the heat is on the absolute lowest setting. You can also try using a thicker-bottomed pot. Cooking without burning is a skill in itself; see how to cook without burning food for more general advice.
* Rice is clumpy/sticky:
* Cause: Did not rinse the rice, or used a rice variety that is naturally sticky and didn’t rinse it enough.
* Fix: There’s not much to do once it’s clumpy, but for future cooks, always remember to rinse thoroughly until the water runs clear.
By understanding these common issues, you can quickly identify and correct them, leading to better rice every time.
Conclusion
Congratulations! You’ve learned how to cook rice in just 4 simple steps. From accurate measurement and thorough rinsing to gentle simmering and essential resting, each stage plays a vital role in achieving that perfect fluffy texture. This fundamental cooking skill will serve you well, opening up a world of culinary possibilities.
Remember, practice makes perfect. Don’t be discouraged if your first attempt isn’t flawless. With these clear instructions and a little bit of patience, you’ll soon be cooking delicious, perfectly textured rice that will be the star of any meal. Enjoy your perfectly cooked rice!