
Don’t toss that faulty electric kettle just yet! This guide provides step-by-step instructions for diagnosing and fixing common issues, from not heating to leaking. Learn simple repairs to save money and reduce waste. With a little know-how, you can get your electric kettle working like new again.
How to Fix an Electric Kettle
There’s nothing quite like a perfectly brewed cup of tea or coffee to start your day or unwind in the evening. And the trusty electric kettle is often the unsung hero in achieving that perfect beverage. But what happens when your beloved electric kettle decides to take a siesta? When it refuses to heat, won’t switch on, or starts acting peculiar, it can be a real bummer. Before you resign yourself to buying a new one, consider this: many common electric kettle problems are surprisingly easy to fix!
This comprehensive guide will walk you through diagnosing and repairing your electric kettle. We’ll cover the most frequent issues, from minor annoyances to more significant malfunctions. You’ll learn how to safely assess the situation, perform simple troubleshooting steps, and make basic repairs that can breathe new life into your appliance. So, grab your toolbox (or just a screwdriver!), and let’s get your electric kettle back to its boiling best.
Key Takeaways
- Safety First: Always unplug your electric kettle and allow it to cool completely before attempting any repairs to prevent electric shock and burns.
- Identify the Problem: Carefully observe what’s happening (or not happening) with your kettle to pinpoint the likely cause of the malfunction.
- Common Issues & Solutions: Many electric kettle problems, like a kettle not turning on or not heating, can be resolved with simple checks and fixes.
- Power Supply Checks: Issues often stem from the power outlet, the plug, or the kettle’s base and connecting points.
- Internal Components: While more complex, understanding basic components like thermostats and heating elements can help diagnose deeper issues.
- When to Call a Pro or Replace: Know your limits; some repairs are beyond DIY, and it might be more cost-effective to replace a severely damaged kettle.
Understanding Your Electric Kettle
Before we dive into fixing, it’s helpful to have a basic understanding of how your electric kettle works. Most electric kettles consist of a heating element, usually concealed beneath a metal plate at the bottom of the jug. When you switch the kettle on, electricity flows through this element, generating heat that warms the water. A thermostat is also present, which detects when the water reaches boiling point and automatically switches the kettle off.
The kettle sits on a power base that connects to the mains electricity. A cord extends from the base to the wall socket. Many kettles also have safety features like boil-dry protection, which prevents the heating element from overheating if the kettle is accidentally switched on without water.
Safety First!
This cannot be stressed enough: always prioritize safety when working with any electrical appliance. Electricity and water are a dangerous combination. Before you even think about poking around your electric kettle, follow these crucial safety steps:

Visual guide about How to Fix an Electric Kettle
Image source: kitchenadvising.com
- Unplug the Kettle: Make sure the kettle is completely disconnected from the power outlet.
- Let it Cool Down: If the kettle was recently used, allow it ample time to cool down. Hot surfaces and water can cause severe burns.
- Work in a Dry Area: Ensure your workspace is dry to minimize the risk of electric shock.
- If in Doubt, Don’t: If you’re unsure about any step or feel uncomfortable, it’s always best to seek professional help or consider replacing the appliance.
Common Electric Kettle Problems and How to Fix Them
Let’s get down to business. Here are the most common issues you might encounter with your electric kettle and how to tackle them.

Visual guide about How to Fix an Electric Kettle
Image source: jefftk.com
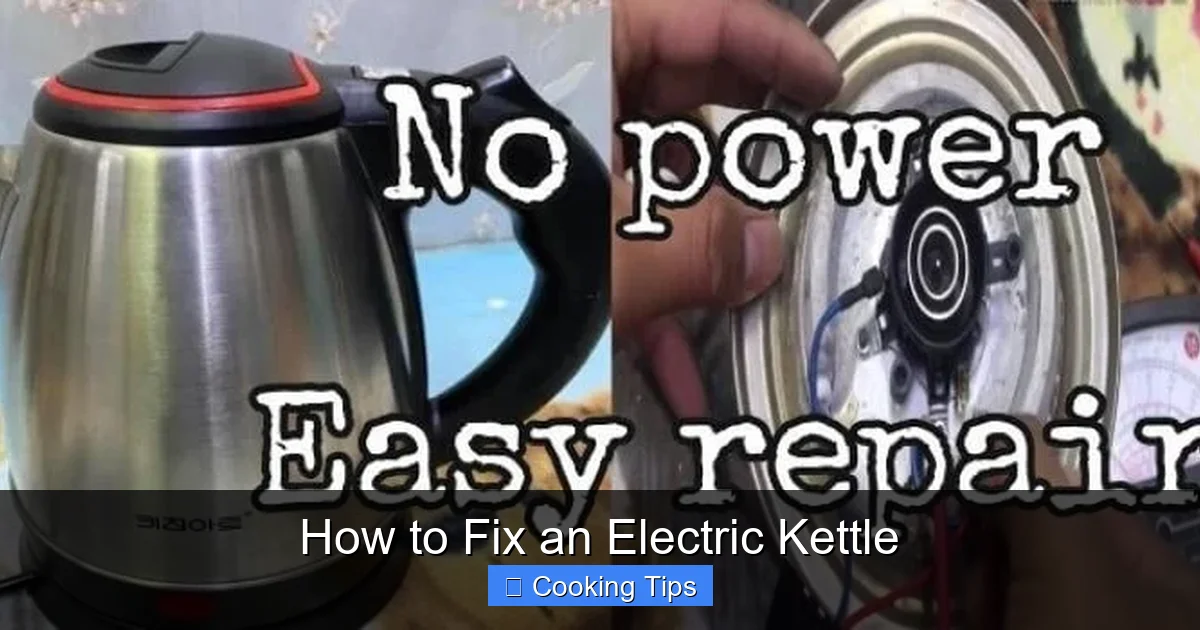
1. The Kettle Won’t Turn On (No Power)
This is perhaps the most frustrating problem. You press the switch, and… nothing. Don’t panic! The issue is often simple and external.
Visual guide about How to Fix an Electric Kettle
Image source: longroadhomeproject.com
Check the Power Source
This is the most basic but often overlooked step.
- Wall Socket: Is the wall socket working? Try plugging in another small appliance, like a lamp or toaster, to confirm the socket is live.
- Extension Cords/Adaptors: If you’re using an extension cord or adaptor, try plugging the kettle directly into the wall socket. Faulty extension cords can be the culprit.
- Circuit Breaker: Check your home’s electrical panel. Has a circuit breaker tripped? If so, reset it. If it trips again immediately, there might be a more serious electrical issue with the kettle or the circuit.
Inspect the Kettle Base and Plug
The connection between the kettle and its base, and the base and the wall, is critical.
- Kettle Base Connection: Ensure the kettle is seated correctly on its base. Sometimes, it needs a firm, central placement to make proper contact. Look for any debris or mineral buildup on the contacts of both the kettle and the base. Gently clean them with a dry cloth or a soft brush.
- Power Cord: Examine the power cord for any visible damage, such as cuts, fraying, or kinks. If the cord is damaged, it’s a serious safety hazard and the kettle should not be used. In many cases, the power cord is not user-replaceable, and you’ll need to consider a new kettle.
- Plug: Check the plug itself for damage, bent prongs, or signs of overheating (discoloration or melting). Again, a damaged plug often means the kettle is unsafe to use.
Clean the Contacts
Over time, limescale and general grime can build up on the electrical contacts. This can impede the flow of electricity.
- Unplug the kettle and allow it to cool.
- Inspect the contacts on the underside of the kettle and on the power base.
- Use a soft, dry cloth or a cotton swab to gently wipe away any dirt or residue. For stubborn deposits, you can use a cotton swab dipped in a small amount of isopropyl alcohol (let it dry completely before reassembling or plugging in).
2. The Kettle Turns On But Doesn’t Heat
The power light comes on, you hear a click, but the water stays stubbornly cold. This usually points to an issue with the heating element or the thermostat.
Check the Water Level
This might sound silly, but some kettles have safety mechanisms that prevent them from heating if the water level is too low.
- Minimum Fill Line: Ensure the water level is above the minimum fill line indicated on your kettle.
- Boil-Dry Protection: If the kettle has been accidentally switched on without water, the boil-dry protection might have tripped. In this case, unplug the kettle, let it cool completely, and then try again with sufficient water.
Inspect the Heating Element (Internal)
The heating element is the part that actually heats the water. If it’s damaged or has failed, the kettle won’t heat.
- Visual Inspection: If you’ve removed the base (which can be tricky and may void warranties), you might be able to see the heating element. Look for any signs of corrosion, breakage, or burning.
- Professional Repair: Diagnosing and replacing a heating element is usually a complex repair that requires some technical skill and knowledge of electrical components. If you suspect the heating element is faulty and you’re not comfortable with internal repairs, it’s best to consult a professional or consider a replacement.
Thermostat Issues
The thermostat controls the temperature and signals the kettle to switch off when boiling. If it’s faulty, it might not be allowing the heating element to engage properly.
- Resetting the Thermostat: Some kettles have a resettable thermostat. This is often a small button located near the power switch or on the underside of the kettle. Refer to your kettle’s manual to see if yours has this feature and how to reset it. You might need to press it firmly with a pin or paperclip.
- Internal Fault: If resetting doesn’t work, the thermostat itself might be faulty. Like the heating element, this is an internal component that is difficult for the average user to diagnose and replace.
3. The Kettle Leaks Water
A leaking kettle is not only messy but can also be a safety hazard. Leaks usually occur at the base or around the lid.
Check the Seal at the Base
The connection between the kettle body and the power base is usually sealed.
- Loose Base: If the base of the kettle appears loose or detached, it might be the source of the leak.
- Damaged Seal: There’s often a rubber or silicone seal between the main body of the kettle and the base. This seal can degrade over time or become dislodged. If you can access it safely, check if the seal is intact and properly seated. Replacing a seal might be possible if you can find a compatible part, but it’s often integrated into the unit.
Inspect the Lid and Spout
Leaks can also happen if the lid isn’t closing properly or if there’s damage to the spout.
- Lid Mechanism: Ensure the lid is closing securely. Sometimes debris can prevent it from sealing tightly.
- Spout Damage: Check the spout for any cracks or damage that could be allowing water to escape.
- Condensation: In some cases, water dripping from the lid area might just be condensation from the steam. This is usually normal, especially if the lid seal isn’t perfect.
Cracks in the Kettle Body
If your kettle is made of plastic or glass, it’s possible to develop cracks.
- Careful Inspection: Thoroughly inspect the entire body of the kettle for any visible cracks.
- No Easy Fix: Cracks in the kettle body are generally not repairable. A leaking crack poses a significant safety risk, and the kettle should be replaced immediately.
4. The Kettle Boils Excessively (Doesn’t Switch Off)
This is a dangerous situation. If your kettle doesn’t switch off automatically, it can lead to overheating, damage, or even a fire hazard.
Immediate Action Required
If your kettle is boiling continuously and not switching off, unplug it immediately. Do not leave it unattended.
Potential Causes
- Faulty Thermostat: The most likely cause is a malfunctioning thermostat that isn’t detecting the boiling point.
- Internal Wiring: There might be an issue with the internal wiring that prevents the switch-off signal from reaching the power.
Repair or Replace?
This is a critical safety issue. Attempting to repair a kettle that doesn’t switch off is generally not recommended for DIY enthusiasts unless you have a very strong understanding of electrical safety and repair. The risk of fire or electric shock is high. In most cases, a kettle with this problem should be immediately retired and replaced.
5. Strange Noises or Smells
Unusual noises like rattling, hissing, or a burning smell can indicate various issues.
Rattling/Hissing Noises
- Limescale Buildup: Excessive limescale inside the kettle can sometimes cause rattling or sputtering as it heats.
- Loose Internal Parts: Although less common in well-built kettles, a loose internal component could be the source of rattling.
Burning Smell
- Overheating: A burning smell often indicates that something is overheating. This could be a faulty heating element, wiring, or even a plastic component that’s starting to degrade.
- Foreign Objects: Rarely, a foreign object might have fallen into the kettle and is now heating up.
Troubleshooting
- Descale Your Kettle: Regularly descaling your kettle can resolve many noise-related issues caused by limescale. (See tips on descaling below).
- Inspect for Debris: Ensure there are no foreign objects inside the kettle.
- Unplug and Cool: If you smell burning, unplug the kettle immediately and let it cool. Inspect for any signs of melted plastic or burnt components. If you see or smell this, it’s a strong indicator of internal damage, and the kettle should be replaced.
Tips for Descaling Your Electric Kettle
Limescale is the white, chalky deposit that builds up inside kettles, especially in hard water areas. It not only affects the taste of your water but can also hinder performance and be a source of strange noises. Regular descaling is crucial maintenance.
Using Vinegar:
- Fill the kettle with equal parts white vinegar and water.
- Bring the mixture to a boil.
- Let it sit for about 30 minutes to an hour.
- Empty the kettle and rinse thoroughly.
- Boil fresh water a couple of times and discard it to remove any lingering vinegar taste.
Using Citric Acid:
- Add 1-2 tablespoons of citric acid to the kettle.
- Fill the kettle with water.
- Bring to a boil.
- Let it sit for 15-20 minutes.
- Empty and rinse thoroughly.
- Boil fresh water a couple of times to rinse away any residue.
Using Commercial Descalers:
- Follow the instructions on the product packaging carefully. These are often very effective but ensure you rinse thoroughly afterward.
When to Call it Quits
While many electric kettle issues are fixable, some problems are beyond a simple DIY repair. You should consider replacing your kettle if:
- The power cord is damaged (frayed, cut, or melted).
- The plug is damaged (bent prongs, melted plastic).
- There are visible cracks in the kettle body (especially plastic or glass).
- The kettle has a persistent electrical smell or signs of burning.
- The kettle fails to switch off automatically (this is a serious safety hazard).
- You’ve tried basic troubleshooting, and the problem persists, and you’re not comfortable with more advanced internal repairs.
Remember, safety should always come first. Sometimes, the cost and effort of a complex repair outweigh the price of a new, reliable electric kettle.
Conclusion
Your electric kettle is a workhorse in the kitchen, and it’s frustrating when it stops performing its duty. By following this guide, you can now approach common electric kettle problems with confidence. From checking the power supply to cleaning contacts and understanding basic troubleshooting, you’re equipped to tackle many issues. Remember to always prioritize safety, unplug your kettle, and let it cool before attempting any repairs. With a little effort and these tips, you can often extend the life of your electric kettle, save money, and enjoy your hot beverages without interruption. Happy fixing!