
Is your electric kettle refusing to heat? Don’t despair! This guide offers a step-by-step approach to diagnosing and fixing common electric kettle problems. We’ll cover everything from simple power checks to more intricate internal component troubleshooting, so you can enjoy hot beverages again. Learn to identify the issue and perform easy fixes, saving you money and hassle.
How to Fix Electric Kettle Not Working
There’s nothing quite as frustrating as reaching for your trusty electric kettle, only to find it stubbornly refusing to heat your water. Whether it’s for your morning coffee, a soothing cup of tea, or just some hot water for cooking, a non-functioning kettle can really disrupt your routine. But before you toss it in the bin and rush out to buy a new one, consider this: most electric kettle problems are surprisingly simple to fix. In this comprehensive guide, we’ll walk you through a series of troubleshooting steps to help you diagnose and resolve the most common issues, getting your kettle back in working order in no time.
By the end of this guide, you’ll be equipped with the knowledge to identify why your electric kettle isn’t working and the practical steps to fix it. We’ll start with the easiest checks and progress to more involved troubleshooting, covering everything from power supply issues to potential internal component malfunctions. So, let’s get your kettle brewing again!
Key Takeaways
- Safety First: Always unplug your electric kettle before attempting any troubleshooting or cleaning.
- Power Source Check: Ensure the kettle is properly plugged in, the outlet is working, and the circuit breaker hasn’t tripped.
- Water Level Matters: Most kettles have a minimum and maximum water line. Ensure the water level is within this range.
- Lid Mechanism: A faulty or improperly closed lid can prevent the kettle from operating due to safety cut-off features.
- Cleaning and Descaling: Mineral buildup can interfere with heating elements and safety mechanisms. Regular cleaning is crucial.
- Internal Component Issues: If external checks fail, the problem might lie with the thermostat, switch, or heating element, which may require professional repair or replacement.
Step 1: Safety First – Always Unplug!
Before you even think about touching your electric kettle to inspect it, the very first and most important step is to unplug it from the power outlet. Electricity and water, while essential for your kettle’s function, can be a dangerous combination if not handled with care. Assuming your kettle is faulty doesn’t give you a free pass to ignore basic safety precautions. Always ensure the appliance is completely disconnected from the power source before you begin any examination or cleaning. This simple act protects you from electric shock and prevents further damage to the kettle itself.
Step 2: Check the Power Connection
This might sound obvious, but it’s the most common reason an electric kettle might seem “broken.” Let’s systematically check the power flow.
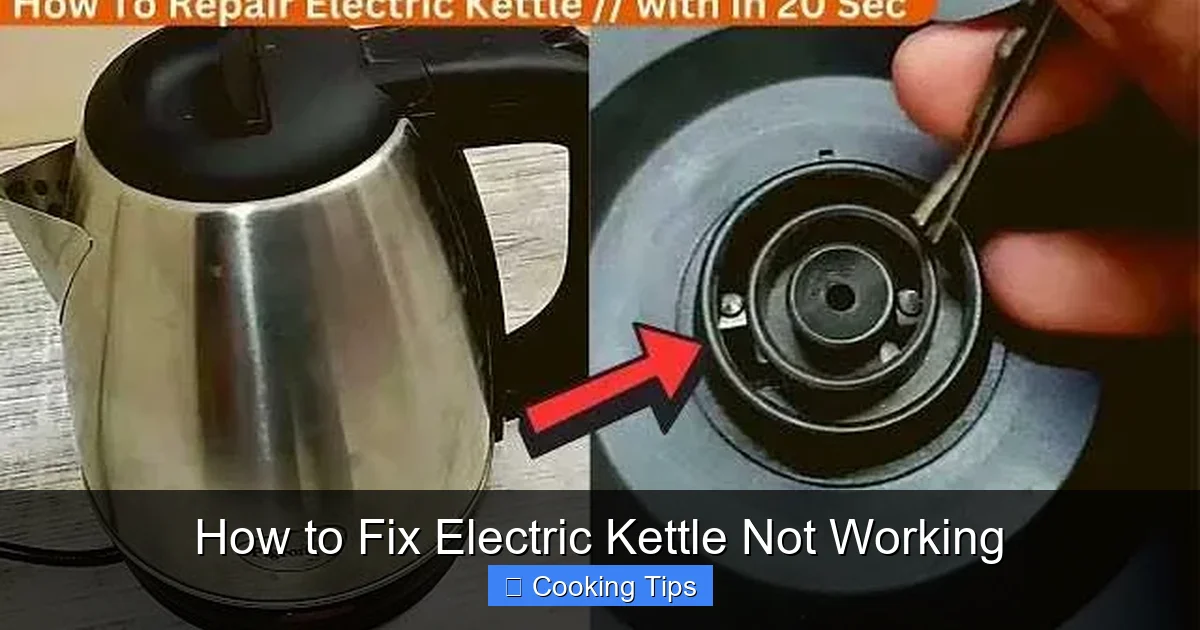
Visual guide about How to Fix Electric Kettle Not Working
Image source: kitchenadvising.com
Check the Wall Outlet
First, ensure the kettle is firmly plugged into the wall socket. Sometimes, a loose connection is all it takes. If it’s plugged in, try a different outlet in your kitchen. This will help you determine if the issue is with the kettle or the outlet itself. To test the outlet, plug in another small appliance you know works, like a toaster or a lamp. If that appliance also doesn’t work, the problem lies with your wall outlet or the circuit it’s on.
Check the Circuit Breaker
If the alternative outlet doesn’t work either, it’s time to check your home’s circuit breaker box. Look for any breakers that are in the “off” position or somewhere in between “on” and “off.” If you find one, flip it completely to the “off” position and then back to the “on” position. If a breaker has tripped, it usually means there was a power surge or a short circuit. Sometimes, high-wattage appliances running simultaneously can trip a breaker. Resetting it should restore power to the outlet. If the breaker trips again immediately after resetting, there might be a more serious electrical issue in your home, and you should consult a qualified electrician.
Inspect the Kettle’s Power Cord and Plug
While the kettle is unplugged, carefully examine its power cord. Look for any signs of damage, such as fraying, cuts, or kinks. A damaged cord can prevent power from reaching the kettle, or worse, pose a fire hazard. Also, inspect the plug itself for any bent or broken prongs, or signs of melting or scorching. If you find any damage to the cord or plug, it’s generally not safe to use the kettle, and you should consider replacing it.
Step 3: Inspect the Kettle’s Base and Connection
Most modern electric kettles have a detachable base. The connection between the kettle and its base is crucial for operation.
Visual guide about How to Fix Electric Kettle Not Working
Image source: irrorwxhiqijjr5q.ldycdn.com
Clean the Base and Kettle Connector
Over time, dust, debris, and mineral deposits can accumulate on the metal contacts of both the kettle’s base and the kettle itself. These can interfere with the electrical connection. With the kettle unplugged, use a damp cloth to wipe down the metal contacts on the base and the underside of the kettle. For stubborn deposits, you can use a soft-bristled brush or a cotton swab dipped in a little rubbing alcohol. Ensure everything is completely dry before reassembling or attempting to power it on.
Ensure Proper Seating
Make sure the kettle is seated securely and correctly on its base. It should click or sit firmly into place. If it feels wobbly or isn’t aligned properly, it won’t make the necessary electrical connection to heat up.
Step 4: Examine the Water Level
Electric kettles are designed with safety features that prevent them from operating if the water level is too low or too high.
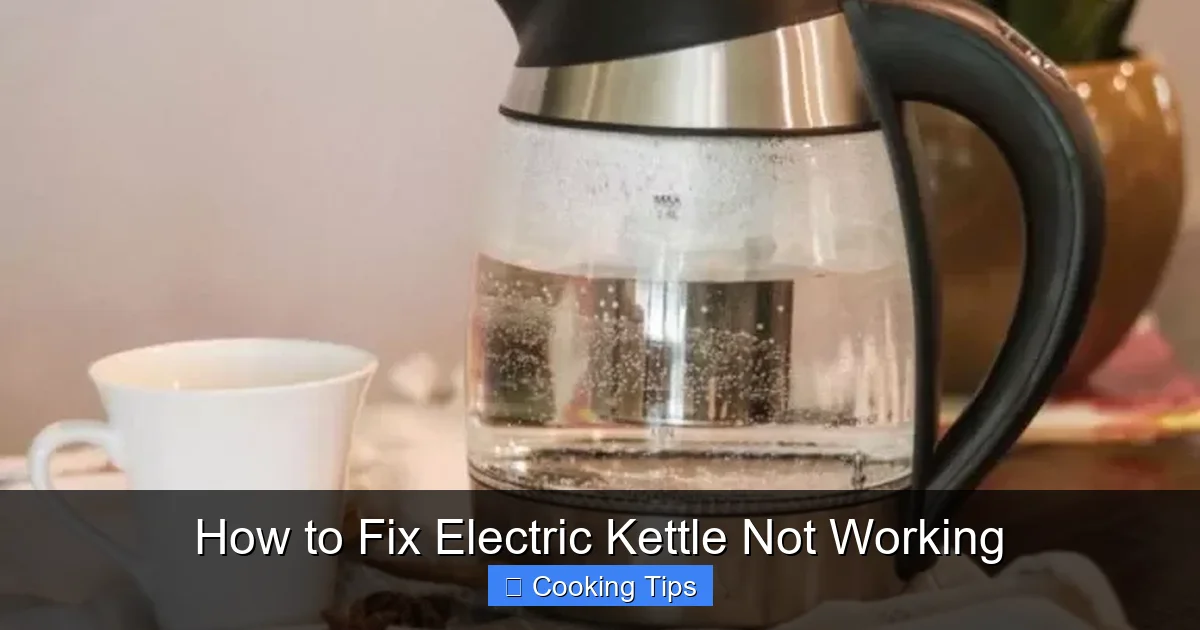
Visual guide about How to Fix Electric Kettle Not Working
Image source: tonytantillo.com
Minimum Water Line
Most kettles have a clearly marked minimum water line. If you fill the kettle with less water than this, the heating element might not be submerged correctly, or a safety thermostat may prevent it from turning on. Always ensure you fill the kettle with at least the minimum recommended amount of water.
Maximum Water Line
Conversely, overfilling the kettle can also cause problems. If the water level is above the maximum line, boiling water can potentially spill over the lid when it starts to heat, which can trigger safety mechanisms or even damage the kettle. Ensure your water level is below the maximum fill line.
Step 5: Check the Lid and Auto Shut-Off Mechanism
The lid of an electric kettle isn’t just for containing the heat; it often plays a vital role in the kettle’s operation and safety.
Properly Closed Lid
Many kettles will not start heating if the lid is not properly closed or latched. This is a safety feature to prevent boiling water from splashing out. Ensure the lid is securely shut. Sometimes, the latch mechanism can get stuck or become dirty, preventing it from engaging properly. Try opening and closing the lid a few times to ensure it moves freely.
Lid-Related Safety Switches
Some kettles have small switches or sensors near the lid hinge that communicate with the kettle’s internal workings. If these are blocked by debris or damaged, they can signal to the kettle that the lid isn’t properly secured, thus preventing it from heating. Clean the area around the lid hinge gently.
Step 6: Clean and Descale Your Kettle
Mineral deposits, commonly known as limescale, are a frequent culprit behind malfunctioning electric kettles, especially in areas with hard water. Limescale is calcium carbonate that builds up on the heating element and the inside surfaces of the kettle.
Symptoms of Limescale Buildup
Signs of limescale include a white, chalky residue inside the kettle, a gritty feel to the water, and a noticeable decrease in heating efficiency. The limescale can insulate the heating element, making it take longer to boil water, or in severe cases, prevent it from heating altogether. It can also interfere with the thermostat and auto shut-off functions.
Descaling Methods
Using Vinegar: Fill your kettle with equal parts white vinegar and water. Let it sit for at least 30 minutes (or overnight for heavy buildup). After soaking, boil the mixture. Once boiled, discard the solution and rinse the kettle thoroughly with fresh water. You might need to boil a few kettles full of plain water to remove any lingering vinegar smell or taste.
Using Lemon Juice: Similar to vinegar, lemon juice is acidic and can help break down limescale. Fill the kettle with water, add the juice of half a lemon (or about two tablespoons of concentrated lemon juice), and boil the mixture. Let it sit for about 15-20 minutes, then discard and rinse thoroughly. Boil a kettle of plain water afterwards to remove any citrusy residue.
Using Baking Soda: For a gentler approach, mix two tablespoons of baking soda with water and fill the kettle. Boil this mixture. Let it sit for a while, then discard and rinse. This method is good for lighter scale buildup.
Commercial Descalers: You can also purchase dedicated electric kettle descalers from most supermarkets. Follow the product’s instructions carefully, as they are often more potent and may require specific rinsing procedures.
Regular descaling (every 1-3 months, depending on your water hardness) is key to maintaining your kettle’s performance and longevity.
Step 7: Troubleshooting Internal Components (Advanced)**
If you’ve gone through all the external checks and your electric kettle still isn’t working, the problem might lie with its internal components. This is where things can get a bit more complex, and you’ll need to decide if you’re comfortable proceeding or if it’s time to consider professional repair or replacement.
The Thermostat
The thermostat is responsible for regulating the water temperature and triggering the auto shut-off function when the water reaches boiling point. If the thermostat fails, the kettle might not heat at all, or it might continue to boil indefinitely (a dangerous situation). Diagnosing a faulty thermostat usually requires testing its electrical continuity with a multimeter, which is beyond basic troubleshooting for most users.
The Switch Mechanism
The on/off switch on your kettle might be faulty. It could be stuck, broken, or have a loose connection internally. If the switch feels loose, sticky, or doesn’t provide a satisfying click when pressed, it might be the culprit. Sometimes, minor debris can get lodged in the switch mechanism, preventing it from operating correctly. A gentle cleaning might help, but if the switch itself is damaged, it will need replacement.
The Heating Element
The heating element is the part that actually heats the water. If this element burns out, the kettle will not heat. Like the thermostat, diagnosing a faulty heating element typically involves using a multimeter to check for continuity. If the heating element is damaged, it’s often integrated into the kettle’s design and can be difficult or impossible to replace separately.
When to Call a Professional or Replace
If you’re not experienced with electrical repairs, attempting to fix internal components can be dangerous and may void any remaining warranty on your kettle. If you’ve tried all the simpler troubleshooting steps and suspect an internal issue, it’s often more practical and safer to:
- Consult the Manufacturer’s Manual: Check if your kettle is still under warranty. Contact the manufacturer for repair or replacement options.
- Seek Professional Repair: For high-end or expensive kettles, you might consider taking it to a small appliance repair shop.
- Consider Replacement: For most standard electric kettles, the cost and effort of internal repairs may not be worthwhile. Replacing a faulty kettle is often the most cost-effective and safest solution. Modern kettles are also more energy-efficient and may have improved safety features.
Conclusion
Dealing with an electric kettle that’s not working can be a minor annoyance, but as we’ve seen, many issues are easily resolved with a little bit of troubleshooting. By systematically checking the power supply, connections, lid, and water levels, and by performing regular cleaning and descaling, you can often get your kettle back to its full working capacity. Remember to always prioritize safety by unplugging the appliance before any inspection or cleaning. If you’ve exhausted these steps and suspect a problem with the internal components, weigh the cost and safety of repair against the price of a new kettle. Hopefully, this guide has empowered you to fix your electric kettle and enjoy your hot beverages once more!