
A leaking electric kettle can be a messy and potentially hazardous issue. This guide provides a detailed, step-by-step approach to diagnosing and fixing common kettle leaks. We’ll cover identifying the source of the leak, performing simple repairs, and offering tips for preventing future problems, ensuring your kettle is safe and functional.
How to Fix Leaking Electric Kettle
An electric kettle is a kitchen staple, a quick and convenient way to heat water for your morning coffee, afternoon tea, or instant noodles. But what happens when this trusty appliance starts to spring a leak? A dripping kettle isn’t just annoying; it can be a safety hazard, potentially damaging your countertops and creating a slip risk. Fortunately, most electric kettle leaks are fixable with a little know-how and some basic tools. This guide will walk you through everything you need to know to identify the source of your kettle’s leak and get it back in tip-top shape.
Key Takeaways
- Understand Common Leak Points: Leaks often originate from the spout, lid seal, base, or internal components, each requiring a specific troubleshooting approach.
- Safety First: Always unplug your electric kettle and allow it to cool completely before attempting any inspection or repair to avoid burns or electric shock.
- Simple Sealant Solutions: For minor external leaks, high-temperature, food-grade silicone sealant can often provide a quick and effective fix.
- Inspect the Lid: A loose or damaged lid gasket is a frequent culprit for leaks, especially during boiling when steam pressure builds.
- Base Inspections are Crucial: Leaks from the base often indicate issues with the heating element seal or internal wiring connections, sometimes requiring professional attention.
- Preventative Maintenance Matters: Regular cleaning, proper storage, and avoiding overfilling can significantly reduce the chances of your kettle developing leaks.
Understanding Why Your Electric Kettle Might Be Leaking
Before we dive into the repair process, it’s helpful to understand the common areas where electric kettles tend to leak. Pinpointing the origin of the water is the first crucial step towards a successful fix. Most leaks can be categorized into a few main culprits:
- The Spout: This is perhaps the most obvious place for water to escape, especially if the kettle is tilted or overfilled.
- The Lid: A poorly fitting lid or a damaged seal around the lid can allow steam and water to escape, particularly during the boiling process.
- The Base: Leaks originating from the bottom of the kettle are often more serious, potentially indicating issues with the heating element seal or internal connections.
- The Body/Seams: Some kettles have visible seams or joins in their construction. If these seals fail, water can seep out.
- Cracks or Damage: Accidental drops or impacts can lead to cracks in the kettle’s plastic or glass body, creating direct leak points.
Safety First: Essential Precautions Before You Begin
Working with any electrical appliance requires caution, and an electric kettle is no exception. Before you even think about picking up a tool or sealant, make sure you follow these safety steps:
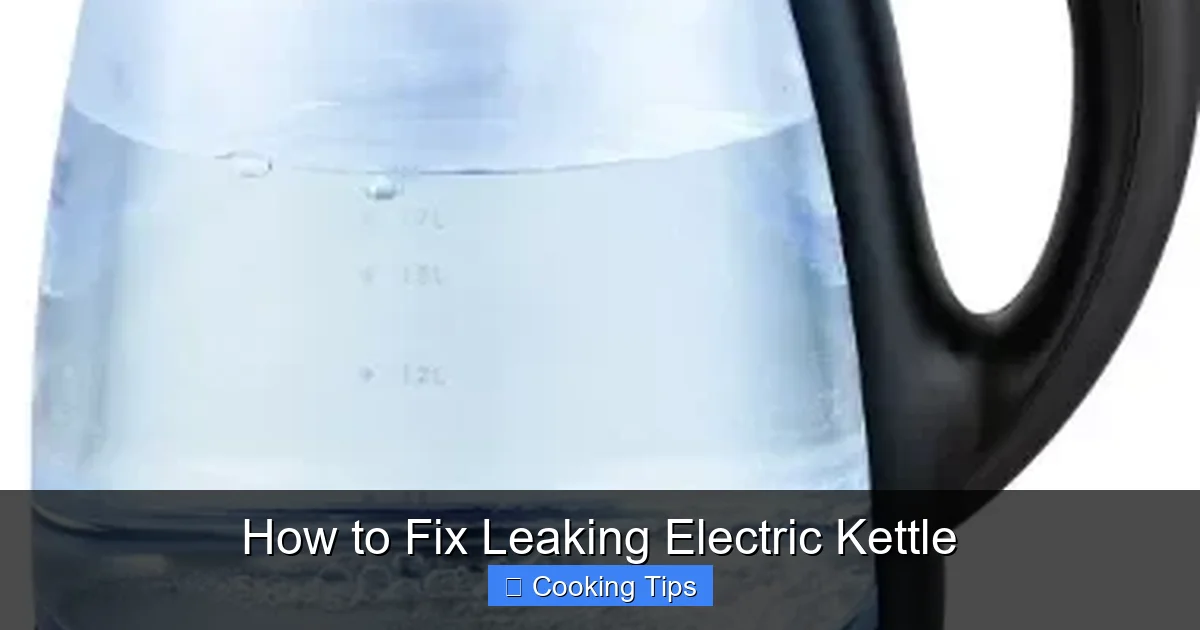
Visual guide about How to Fix Leaking Electric Kettle
Image source: irrorwxhiqijjr5q.ldycdn.com
- Unplug the Kettle: This is the golden rule. Always ensure the kettle is completely unplugged from the power outlet. Never attempt repairs while it’s connected to electricity.
- Let it Cool Down: Electric kettles get very hot. Allow the kettle to cool down entirely before you touch it. You don’t want to burn yourself.
- Work in a Dry Area: Ensure your workspace is dry to prevent any accidental slips or further electrical hazards.
Step-by-Step Guide to Fixing a Leaking Electric Kettle
Now that you’re prepared and understand the potential problem areas, let’s get down to fixing your leaky kettle.
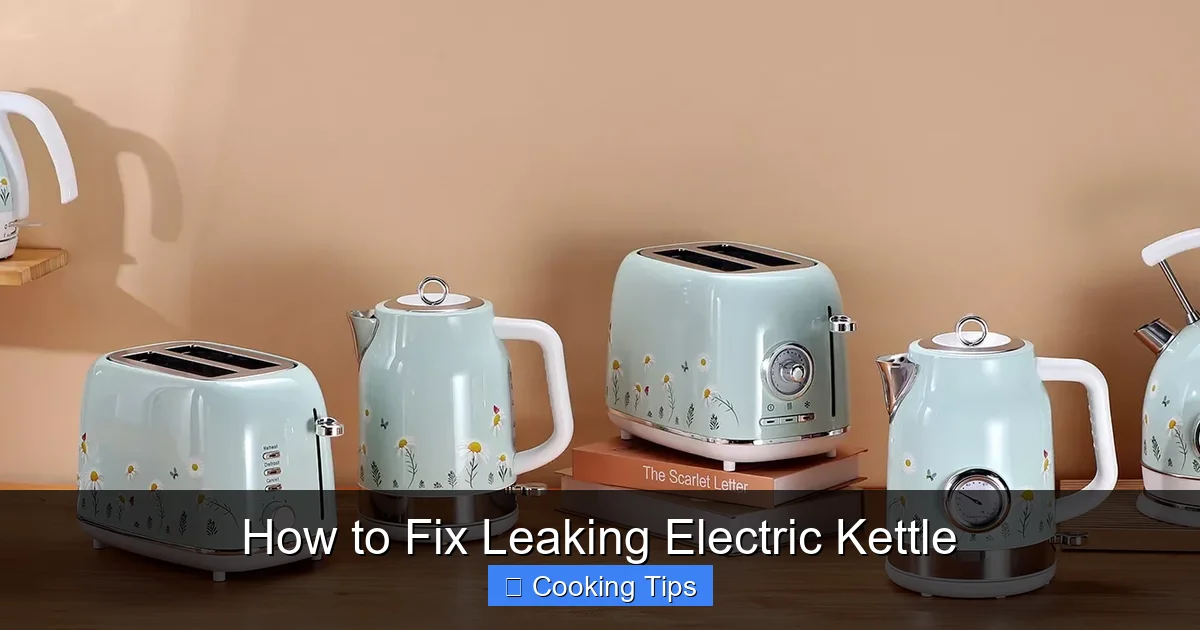
Visual guide about How to Fix Leaking Electric Kettle
Image source: jirorwxhiqijjr5q.ldycdn.com
Step 1: Identify the Source of the Leak
This is the most critical step. You need to know *where* the water is coming from. Here’s how to do it:
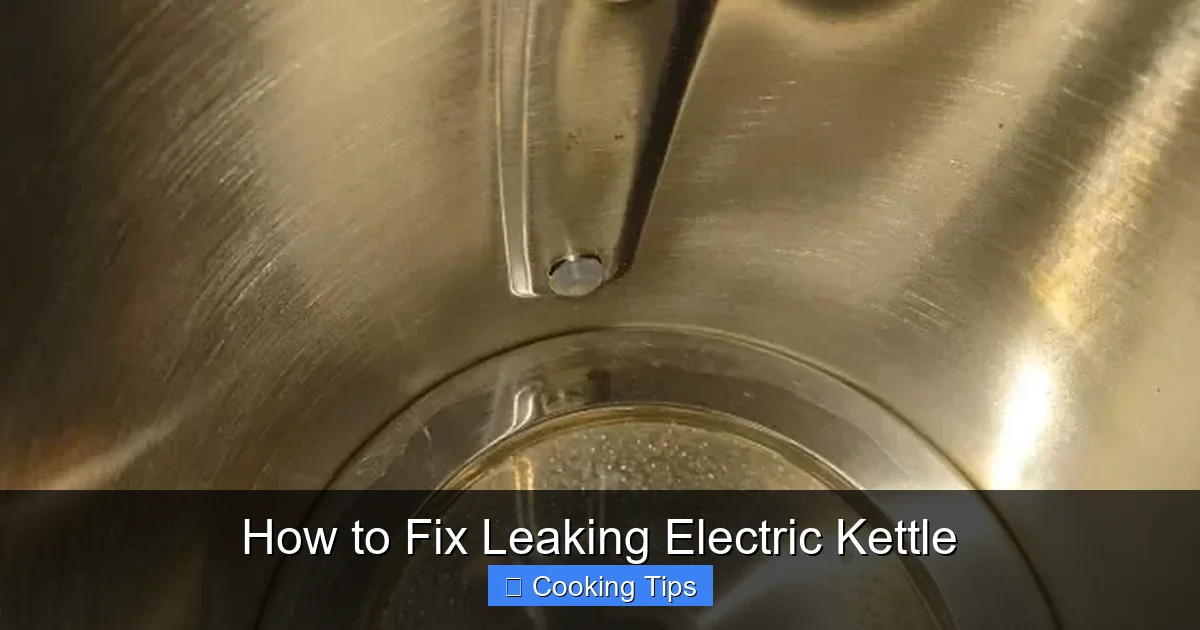
Visual guide about How to Fix Leaking Electric Kettle
Image source: irrorwxhiqijjr5q.ldycdn.com
1.1 Visual Inspection
Place the kettle on a dry surface. Carefully examine the exterior for any obvious signs of water. Pay close attention to the areas mentioned earlier: spout, lid, base, and any seams.
1.2 The Water Test
If you can’t see the leak immediately, fill the kettle with a small amount of water (don’t fill it to the maximum line yet). Place it on a dry towel or paper towels. Watch closely for drips. You might need to gently tilt the kettle slightly to see if water escapes from the spout or lid area.
1.3 Feel for Moisture
If the leak is very slow, you might need to carefully dry the exterior of the kettle and then gently feel around the suspected areas for dampness after filling it with a small amount of water.
Step 2: Address Leaks from the Spout
Leaks from the spout are often due to overfilling or a worn-out spout seal (if your kettle has one).
2.1 Check for Overfilling
The simplest solution is often the best. Ensure you are not filling the kettle beyond the ‘max’ fill line. Overfilling can cause water to surge out of the spout when boiling.
2.2 Inspect the Spout Seal (if applicable)
Some kettles have a small rubber or silicone seal around the base of the spout. If this seal is cracked, loose, or missing, it can cause leaks. If you can access it, try to clean it. If it’s damaged, you may need to find a replacement part. This can be tricky, and often, if the spout seal is the issue, it might be more economical to replace the kettle.
2.3 Minor Spout Leaks (Temporary Fix)
For very minor, slow drips from the very tip of the spout that aren’t related to overfilling, a high-temperature, food-grade silicone sealant can sometimes be used *on the exterior* of the spout where it joins the body of the kettle. Ensure the area is completely dry and clean. Apply a thin bead of sealant, let it cure fully according to the manufacturer’s instructions (usually 24 hours), and then test. Important: Never apply sealant inside the kettle where it will contact the water.
Step 3: Tackle Leaks from the Lid
Leaks from the lid are common, especially during the vigorous boiling process.
3.1 Clean the Lid and Seal
Often, mineral deposits or debris can prevent the lid from sealing properly. Remove the lid (if possible) and clean it thoroughly with warm, soapy water. Pay special attention to the gasket or seal around the edge of the lid. Use a soft brush or cloth to remove any build-up.
3.2 Inspect the Lid Gasket/Seal
The rubber or silicone gasket that sits between the lid and the kettle body is crucial for a good seal. Check it for signs of wear, cracking, or deformation. If the gasket is loose, try pressing it back into place. If it’s damaged, you might be able to purchase a replacement gasket for your specific kettle model. Many manufacturers sell spare parts.
3.3 Tighten the Lid Mechanism (if applicable)
Some lids have a mechanism to secure them. Ensure this is functioning correctly and the lid is closing snugly. If there are screws holding the lid assembly together, check if they are loose and tighten them carefully.
3.4 For Persistent Lid Leaks
If cleaning and inspection don’t solve the problem, and a replacement gasket isn’t feasible or doesn’t work, a very small amount of food-grade silicone sealant applied to the *exterior* edge of the lid where it meets the kettle body might offer a temporary solution. Again, ensure thorough drying, apply carefully, and allow ample curing time. Never seal the lid shut; you must be able to open it to fill and clean the kettle.
Step 4: Investigate Leaks from the Base
Leaks from the base of an electric kettle are often the most concerning and can be harder to fix, sometimes indicating a more serious internal issue.
4.1 Check for External Damage
Turn the kettle upside down (when unplugged and cool!). Inspect the underside of the base for any obvious cracks or damage to the plastic casing. If you find a crack, and it’s minor and not near electrical components, a strong, waterproof plastic repair epoxy or food-grade silicone sealant might be used on the exterior. However, be extremely cautious here.
4.2 Inspect the Heating Element Seal
The heating element is typically sealed to the bottom of the kettle’s interior. If this seal fails, water can leak out. This is usually a factory-sealed component and is very difficult for a DIYer to repair. If you suspect this is the problem, it’s often best to consider a replacement kettle.
4.3 Water Pooling vs. Leaking
Sometimes, condensation can form on the outside of the kettle, especially if it’s been stored in a cool place. This might appear like a leak. Ensure the outside is dry and observe if the water reappears after use. Also, check if water is simply dripping from condensation on the lid or spout after boiling, rather than actively leaking from the body.
4.4 Power Cord Entry Point
In some designs, water might seep out near where the power cord enters the base. Again, this can be difficult to repair and often points to internal issues. Be very wary of attempting repairs in this area due to the proximity of electrical components.
Step 5: Repairing Leaks from the Body or Seams
If your kettle has visible seams or cracks in its body, these can be repairable depending on the material and the severity.
5.1 For Plastic Kettles
If there’s a small crack in the plastic body, and it’s not near the heating element or electrical connections, you can try using a strong, waterproof plastic repair epoxy. Clean the area thoroughly, ensuring it’s completely dry. Follow the epoxy’s instructions for application and curing. Once cured, you can test for leaks. For minor seam leaks, a thin bead of food-grade silicone sealant applied to the *exterior* of the seam can also work.
5.2 For Stainless Steel or Glass Kettles
Leaks from the seams of stainless steel kettles are usually due to a faulty factory seal. These are very difficult to repair at home and often indicate the kettle has reached the end of its lifespan. Similarly, if a glass kettle has a crack, it should be replaced immediately for safety reasons.
Step 6: Testing Your Repair
Once you’ve applied any sealant or made repairs, it’s time to test.
6.1 Dry Thoroughly
Ensure the exterior of the kettle is completely dry before adding water and plugging it in.
6.2 Fill and Boil
Fill the kettle with a small amount of water (well below the max line) and plug it in. Bring it to a boil. Place it on a dry surface and observe closely for any signs of leakage.
6.3 Monitor
Let the kettle cool slightly and then check again for any residual moisture. If the leak has stopped, congratulations! If it persists, you may need to re-evaluate the source or consider professional help or replacement.
Troubleshooting Common Issues
Even after following these steps, you might encounter a few common problems:
- Leak Returns: If the leak returns after a short period, the sealant might not have adhered properly, or the underlying issue is more significant than initially thought.
- Smell of Sealant: If you notice a chemical smell from the kettle after repair, the sealant may not have cured fully or may not be food-grade. Discontinue use and air out the kettle thoroughly or replace it.
- Kettle Not Heating After Repair: If you’ve disassembled parts of the kettle and it stops heating, you may have dislodged a wire or connection. This can be a complex electrical issue.
When to Consider Replacing Your Electric Kettle
While many leaks are fixable, sometimes it’s time to let go of your old kettle. Consider replacing it if:
- The leak originates from the heating element seal or internal wiring.
- The body of the kettle (plastic or glass) has significant cracks or damage.
- Multiple repair attempts have failed.
- The cost of parts or potential professional repair exceeds the cost of a new kettle.
- The kettle is old and shows other signs of wear and tear.
Preventing Future Leaks
Keeping your electric kettle in good working order can prevent future leaks:
- Descale Regularly: Mineral deposits (limescale) can build up and damage seals over time. Clean your kettle regularly according to the manufacturer’s instructions.
- Avoid Overfilling: Always adhere to the ‘min’ and ‘max’ fill lines.
- Handle with Care: Avoid dropping or knocking your kettle, which can cause structural damage.
- Clean the Lid and Spout: Regularly clean these areas to prevent debris from interfering with seals.
- Store Properly: Ensure the kettle is completely dry before storing it.
Conclusion
Fixing a leaking electric kettle can save you money and prevent unnecessary waste. By carefully identifying the source of the leak and employing the right repair techniques – whether it’s a simple cleaning, applying food-grade sealant, or replacing a worn gasket – you can often bring your beloved appliance back to life. Remember to always prioritize safety by unplugging and cooling the kettle before you start. If, however, the leak proves too stubborn or indicates a more serious internal problem, don’t hesitate to invest in a new kettle. A well-maintained kettle is a safe and efficient addition to any kitchen.