
Discover how to achieve perfectly crispy and juicy fried chicken using your air fryer. This comprehensive guide walks you through each step, from selecting the best chicken cuts to achieving that golden-brown, satisfying crunch. Get ready to enjoy healthier, delicious fried chicken with minimal oil and maximum flavor.
How to Fry Chicken in Air Fryer
Craving that satisfying crunch of fried chicken but want to skip the deep-frying mess and extra oil? You’re in luck! The air fryer is a kitchen marvel that can deliver incredibly crispy and juicy fried chicken with a fraction of the fat. This guide will walk you through everything you need to know to become an air fryer fried chicken pro.
We’ll cover selecting the best chicken, creating that irresistible crispy coating, mastering the air fryer technique, and even offer some troubleshooting tips. Get ready to impress yourself and your loved ones with healthier, delicious fried chicken that tastes just as good, if not better, than the traditional oven-baked or deep-fried versions.
Key Takeaways
- Choose the Right Chicken Cuts: Boneless, skinless chicken breasts or thighs work best for even cooking and optimal crispiness in the air fryer. Bone-in pieces may require longer cooking times and can be trickier to manage.
- Master the Breading Technique: A classic three-step breading process (flour, egg wash, breadcrumbs) creates the signature crispy coating. Ensure each piece is fully coated for consistent results.
- Don’t Overcrowd the Air Fryer: Allow ample space between chicken pieces for hot air to circulate. Overcrowding leads to steaming, resulting in soggy chicken.
- Preheat Your Air Fryer: Just like a conventional oven, preheating ensures your chicken starts cooking immediately and develops a crispier exterior from the beginning.
- Flip for Even Browning: Midway through cooking, flip the chicken pieces to ensure they brown and crisp up evenly on all sides.
- Check for Doneness Accurately: Use a meat thermometer to confirm the internal temperature reaches 165°F (74°C) for safety and juiciness.
Why Air Fryer Fried Chicken?
Before we dive into the how-to, let’s talk about why this method is so fantastic. Traditional fried chicken involves submerging pieces in hot oil, which can be messy, use a lot of oil, and be difficult to manage at home. Air fryers, on the other hand, use hot circulating air to mimic the effects of deep frying, creating a crispy exterior with significantly less oil. This means you can enjoy that beloved fried chicken taste and texture with fewer calories and less guilt.
Ingredients and Equipment
Here’s what you’ll need for delicious air fryer fried chicken:
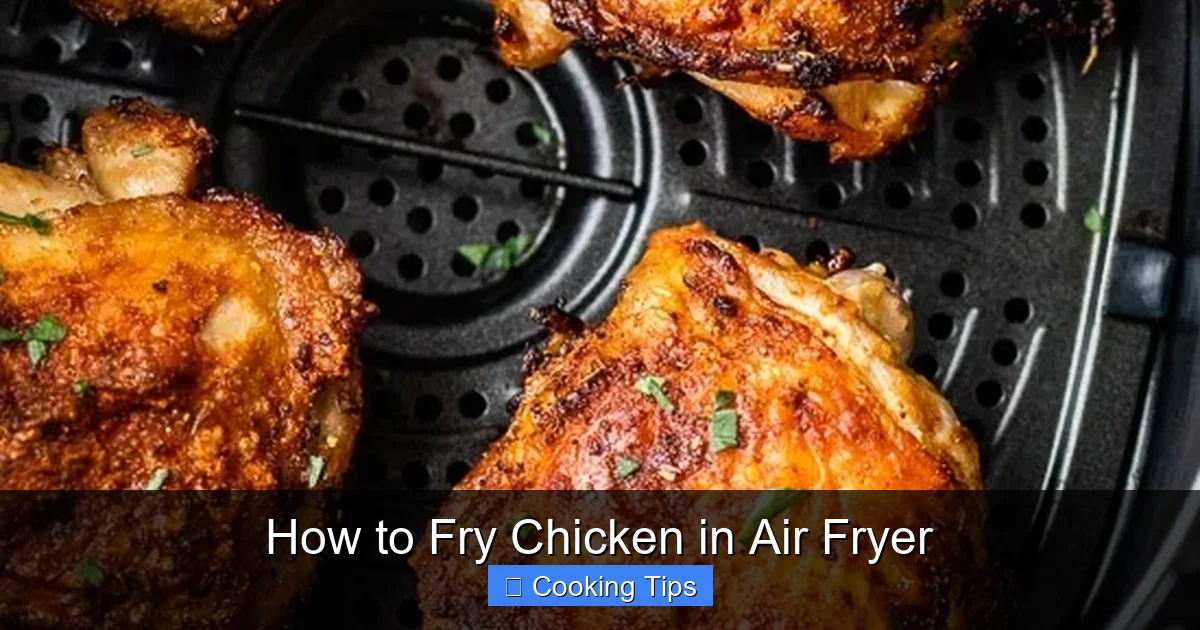
Visual guide about How to Fry Chicken in Air Fryer
Image source: skinnytaste.com
- Chicken: About 1.5-2 pounds of your preferred cuts (see below for recommendations).
- For Breading:
- 1-2 cups all-purpose flour
- 2-3 large eggs
- 1/4 cup milk or buttermilk
- 2-3 cups breadcrumbs (panko or regular)
- Seasonings: Salt, black pepper, paprika, garlic powder, onion powder, cayenne pepper (optional, for a kick)
- Oil: A light spray of cooking oil (like olive oil, avocado oil, or canola oil) is all you need.
- Air Fryer: Of course!
- Tongs: For safely handling the chicken.
- Wire Rack: Optional, for resting the chicken after cooking.
- Meat Thermometer: For ensuring the chicken is cooked through.
Choosing the Best Chicken Cuts
Not all chicken cuts are created equal when it comes to air frying. For the best results:
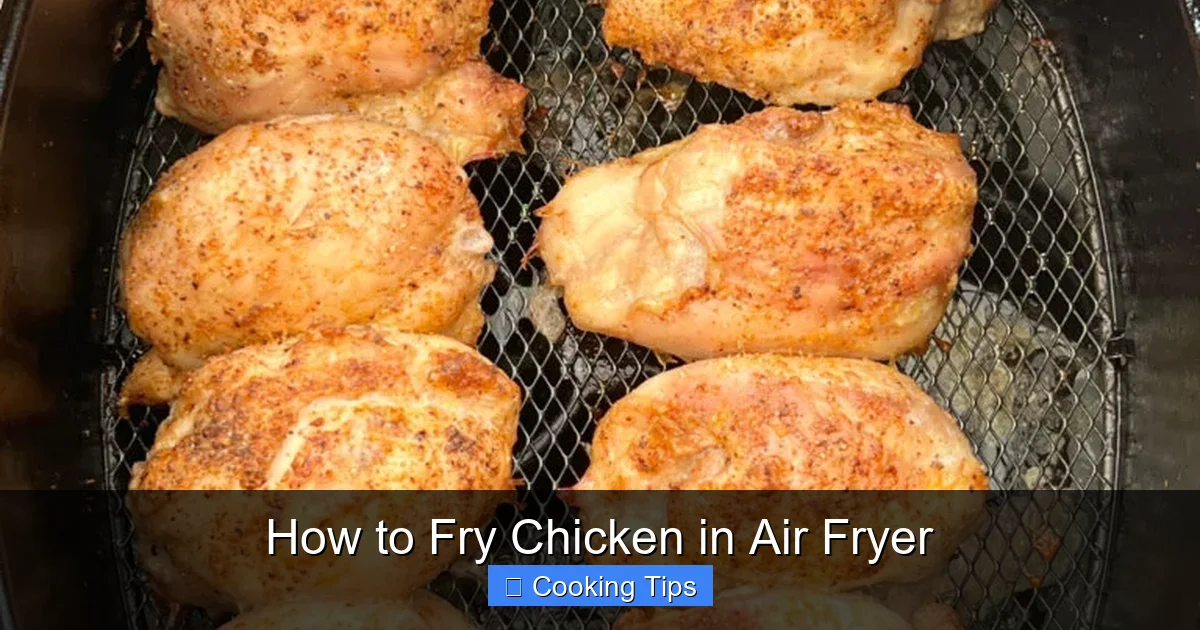
Visual guide about How to Fry Chicken in Air Fryer
Image source: recipethis.com
- Boneless, Skinless Chicken Breasts: These cook relatively quickly and absorb flavor well. Cut them into uniform pieces for even cooking. You can also pound them slightly to an even thickness.
- Boneless, Skinless Chicken Thighs: Thighs tend to stay moister and are more forgiving if you accidentally overcook them slightly. They also get wonderfully crispy.
- Bone-in, Skin-on Chicken Pieces: While possible, these require more attention. Bone-in pieces will take longer to cook, and the skin can sometimes burn before the meat is cooked through. If using, ensure you leave adequate space between pieces and adjust cooking times. For this guide, we’ll focus on boneless, skinless cuts for simplicity and optimal crispiness.
Step-by-Step Guide to Air Fryer Fried Chicken
Let’s get cooking!
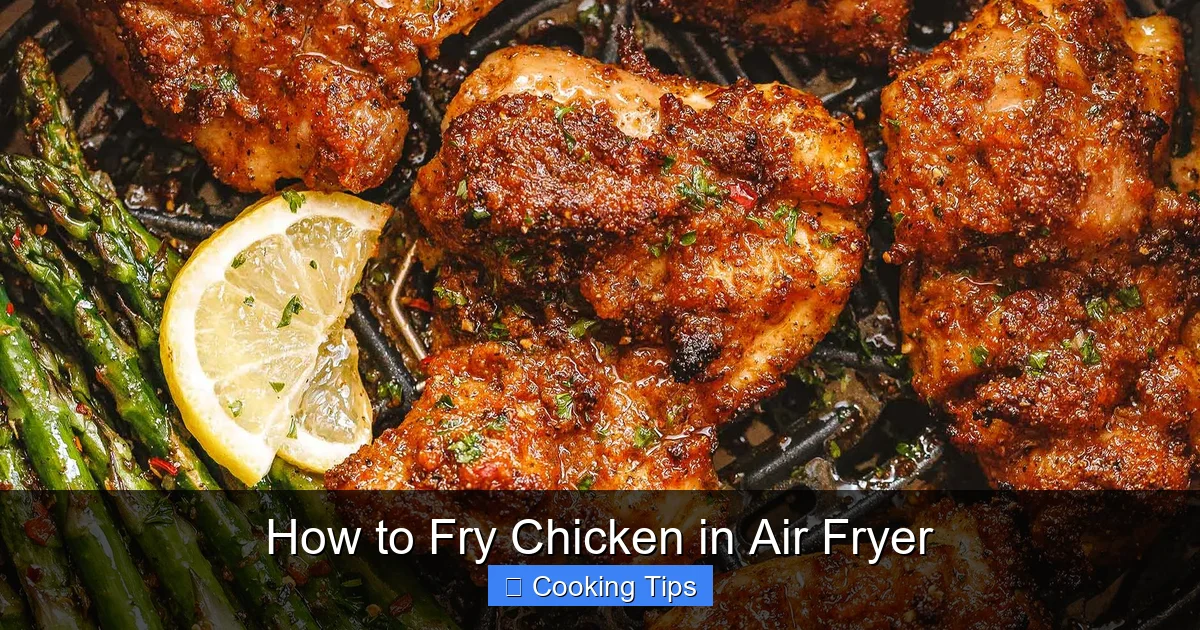
Visual guide about How to Fry Chicken in Air Fryer
Image source: eatwell101.com
Step 1: Prepare the Chicken
The first step is to get your chicken ready for its delicious coating.
Pat Dry Thoroughly
This is a crucial step often overlooked! Use paper towels to pat each piece of chicken completely dry. Moisture is the enemy of crispiness. The drier the chicken, the better the breading will adhere and the crispier it will become.
Cut Uniform Pieces (if applicable)
If you’re using chicken breasts, cut them into uniform, bite-sized pieces (about 1-1.5 inches) or into strips. If using thighs, you can leave them whole or cut them in half if they are very large. Uniformity ensures that all pieces cook at the same rate.
Step 2: Set Up Your Breading Station
A classic three-step breading process is key to achieving that signature fried chicken texture. Set up three shallow dishes or plates:
Dish 1: Flour Mixture
In the first dish, combine the flour with your chosen seasonings. A good starting point is: 1.5 cups flour, 1 teaspoon salt, 1/2 teaspoon black pepper, 1 teaspoon paprika, 1/2 teaspoon garlic powder, and 1/2 teaspoon onion powder. You can add a pinch of cayenne for heat if you like.
Dish 2: Egg Wash
In the second dish, whisk together the eggs and milk (or buttermilk). The milk helps to create a richer, more flavorful coating and allows the breadcrumbs to stick better.
Dish 3: Breadcrumbs
In the third dish, place your breadcrumbs. Panko breadcrumbs are highly recommended for air fryer fried chicken because they are lighter and create an exceptionally crispy coating. You can add a little extra seasoning to your breadcrumbs too, like a pinch of salt and pepper.
Step 3: Bread the Chicken
Now it’s time to coat each piece of chicken. Work in batches to avoid overcrowding your dishes.
First, Dredge in Flour
Take a piece of chicken and place it in the seasoned flour. Coat it thoroughly, shaking off any excess. This dry layer helps the egg wash adhere.
Second, Dip in Egg Wash
Next, dip the floured chicken piece into the egg wash, making sure it’s fully submerged. Let any excess drip back into the dish.
Finally, Coat with Breadcrumbs
Transfer the egg-washed chicken to the breadcrumbs. Press down gently to ensure the breadcrumbs stick well all over. Make sure each piece is generously coated.
Place the breaded chicken pieces onto a clean plate or baking sheet as you finish them. For an even crispier coating, you can let the breaded chicken rest in the refrigerator for about 15-30 minutes. This allows the coating to adhere better and dry out slightly, leading to superior crispiness.
Step 4: Preheat the Air Fryer
Preheating is vital for achieving that perfect golden-brown, crispy finish. Just like a conventional oven, an air fryer works best when it’s already hot when the food goes in.
Set the Temperature
Preheat your air fryer to 380°F (190°C). This temperature is generally ideal for chicken, ensuring it cooks through without burning the exterior.
Preheat Time
Allow it to preheat for about 3-5 minutes. You’ll usually hear a beep or see a light indicating it’s ready.
Step 5: Arrange Chicken in the Air Fryer Basket
This is where air circulation magic happens. Proper arrangement is key to crispy, even cooking.
Do Not Overcrowd
This is perhaps the most critical rule for air frying. Place the chicken pieces in a single layer in the air fryer basket. Leave a little space between each piece. If you have too much chicken, cook it in batches. Overcrowding leads to steaming instead of crisping, resulting in soggy chicken.
Spray with Oil
Lightly spray the top of the breaded chicken pieces with your cooking oil. This helps to enhance browning and creates an extra crispy finish. You don’t need to drench it, just a light mist will do.
Step 6: Air Fry the Chicken
Now it’s time for the main event!
Initial Cooking Time
Cook the chicken for about 10-12 minutes for boneless, skinless breasts or thighs. The exact time will depend on the thickness and size of your chicken pieces and the specific model of your air fryer.
Flip Halfway Through
After about 5-6 minutes, open the air fryer and carefully flip each piece of chicken using tongs. This ensures even browning and crispiness on both sides. You can spray the other side with a little oil too if you like.
Continue Cooking and Check for Doneness
Continue cooking for another 5-7 minutes, or until the chicken is golden brown, crispy, and cooked through. The best way to check for doneness is with a meat thermometer.
Internal Temperature Check
Insert the meat thermometer into the thickest part of a chicken piece, avoiding any bones (if used). The internal temperature should reach 165°F (74°C).
Step 7: Rest and Serve
Once cooked, remove the chicken from the air fryer.
Let It Rest
Place the cooked chicken on a wire rack for a few minutes. This allows the juices to redistribute, resulting in moister, more flavorful chicken. If you don’t let it rest, the juices will run out when you cut into it.
Serve Hot
Serve your delicious air fryer fried chicken immediately. It’s perfect with your favorite sides like mashed potatoes, coleslaw, or a fresh salad.
Tips for Extra Crispy Air Fryer Fried Chicken
Want to take your air fryer chicken to the next level?
- Use Panko Breadcrumbs: As mentioned, they are a game-changer for crispiness.
- Double Dredge: For an extra thick and crispy coating, repeat the flour-egg-breadcrumb process one more time.
- Don’t Skip the Rest: Letting the breaded chicken rest in the fridge before air frying makes a noticeable difference in coating adhesion.
- Use a Good Quality Oil Spray: A fine mist ensures even coating without excess oil.
- Experiment with Seasonings: Get creative with your spice blends! Smoked paprika, chili powder, or even a touch of curry powder can add unique flavors.
- Consider a Wire Rack in the Basket: Some air fryer accessories include a rack that fits inside the basket, which can help with air circulation and prevent the bottom from getting soggy.
Troubleshooting Common Air Fryer Fried Chicken Issues
Even with the best intentions, sometimes things don’t go perfectly. Here are some common issues and how to fix them:
Problem: Soggy Chicken
Cause: Overcrowding the air fryer basket, not preheating the air fryer, or the chicken was too wet before breading.
Solution: Cook in smaller batches, ensure your air fryer is preheated, and pat the chicken extra dry before breading.
Problem: Uneven Browning
Cause: Chicken pieces touching each other, not flipping the chicken halfway through.
Solution: Ensure a single layer with space between pieces and always flip halfway.
Problem: Coating Falling Off
Cause: Chicken was too wet, or the breading steps weren’t followed carefully.
Solution: Pat chicken very dry, ensure each step of the breading process is thorough, and consider letting breaded chicken rest.
Problem: Chicken is Dry
Cause: Overcooked, especially for lean chicken breasts. Air fryers can cook quickly!
Solution: Use a meat thermometer to avoid overcooking. Thighs are also more forgiving.
Conclusion
Mastering air fryer fried chicken is a rewarding culinary achievement. With this comprehensive guide, you’re equipped with the knowledge to create incredibly crispy, juicy, and flavorful chicken with ease. By following these steps, from proper preparation and breading to smart air fryer techniques, you can enjoy a healthier version of a beloved classic anytime you crave it. So go ahead, preheat your air fryer, and get ready to experience the joy of guilt-free, delicious fried chicken!