
Discover how easy it is to create fresh, delicious apple juice right in your own kitchen using just a blender! This comprehensive guide walks you through selecting the best apples, preparing them, blending them to perfection, and straining for a smooth, pulp-free drink. Enjoy homemade apple juice free from preservatives and added sugars, and learn tips for customization.
How to Make Apple Juice with a Blender
In today’s fast-paced world, finding time for healthy, homemade options can feel like a luxury. But what if you could whip up a batch of fresh, delicious apple juice in minutes, using an appliance you likely already have in your kitchen – your blender? In this comprehensive guide, we’ll show you exactly how to make apple juice with a blender, a process that’s surprisingly simple and incredibly rewarding. Forget those store-bought cartons filled with preservatives and excessive sugar; by making your own, you control the ingredients and the flavor. By the end of this guide, you’ll be a pro at transforming whole apples into pure, vibrant juice, perfect for a refreshing breakfast drink or a healthy afternoon pick-me-up.
Making apple juice with a blender isn’t just about convenience; it’s about embracing a healthier lifestyle. It’s a fantastic way to get more fruits into your diet, especially if you have picky eaters at home. Plus, it’s a great activity to do with kids, teaching them about where their food comes from and the joy of creating something delicious from scratch. We’ll cover everything from selecting the best apples to the final straining process, ensuring you get the best possible results every time.
Key Takeaways
- Choose the Right Apples: Opt for a mix of sweet and tart apples for a balanced flavor profile. Varieties like Gala, Fuji, Honeycrisp, and Granny Smith are excellent choices.
- Thorough Washing is Crucial: Always wash your apples thoroughly to remove any dirt, pesticides, or debris before juicing.
- Core and Cut, But Don’t Necessarily Peel: For blender juicing, coring is recommended, but peeling is optional and can add fiber and nutrients.
- Add Water for Easier Blending: A little bit of water is essential to help the blender process the apples smoothly and create a juice-like consistency.
- Strain for Smoothness: Use a fine-mesh sieve, cheesecloth, or nut milk bag to remove pulp and achieve a clear, smooth apple juice.
- Adjust Sweetness and Flavor: Taste your juice and add natural sweeteners like honey or maple syrup, or enhance it with spices like cinnamon or ginger.
- Storage Matters: Store your freshly made apple juice in an airtight container in the refrigerator for up to 3-4 days for optimal freshness.
Selecting the Best Apples for Juicing
The foundation of great apple juice is, of course, the apples themselves. The type of apple you choose will significantly impact the flavor, sweetness, and even the color of your juice. For the best blender apple juice, consider using a mix of apple varieties.
Sweet Apples
Sweet apples provide a natural sweetness that reduces the need for added sugars. Great options include:
- Gala: Mildly sweet with a floral aroma.
- Fuji: Very sweet and crisp, with a honey-like flavor.
- Honeycrisp: Exceptionally crisp and juicy, with a balanced sweet-tart taste.
- Red Delicious: Sweet but can sometimes be a bit mealy; best blended with other varieties.
Tart Apples
Tart apples add complexity and a refreshing tang to your juice. They balance out the sweetness and prevent the juice from being cloying. Consider:
- Granny Smith: Bright green with a distinctively sharp, sour flavor.
- McIntosh: Aromatic and slightly tart, with a tender flesh.
- Empire: A cross between McIntosh and Red Delicious, offering a good balance of sweetness and tartness.
A good starting point is to use a 50/50 ratio of sweet and tart apples. For instance, combine Honeycrisp with Granny Smith, or Gala with McIntosh. Experimenting with different combinations is part of the fun, allowing you to discover your perfect blend. Look for apples that are firm, unblemished, and have a pleasant aroma.
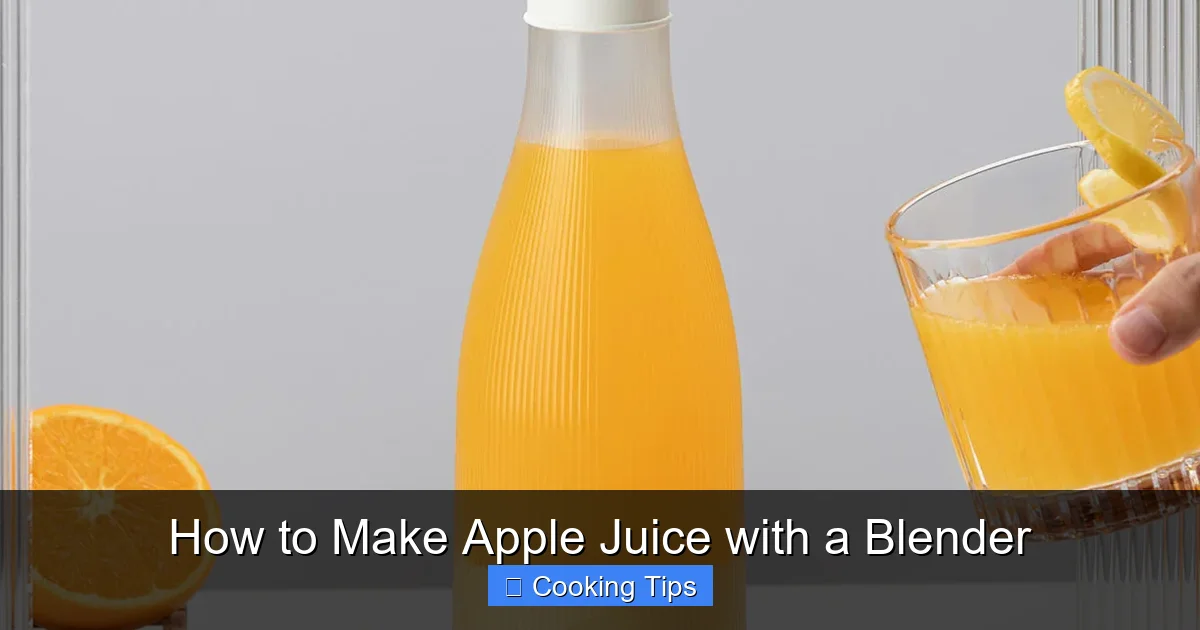
Preparation: Washing and Cutting
Once you have your apples, proper preparation is key. This ensures your juice is clean, safe, and easy to blend.
Visual guide about How to Make Apple Juice with a Blender
Image source: cdn.shopify.com
Washing the Apples
This step is non-negotiable. Apples are often treated with pesticides and can pick up dirt during harvesting and transport.
- Rinse your apples under cool running water.
- Gently scrub them with your hands or a soft vegetable brush to remove any stubborn dirt or wax coatings.
- If you’re concerned about pesticides, you can soak the apples in a solution of one part vinegar to three parts water for about 10-15 minutes, then rinse them thoroughly.
Corning and Cutting the Apples
For blender juicing, you’ll need to cut the apples into manageable pieces.
- Coring: While some blenders can handle seeds, it’s generally recommended to remove the core. The core contains seeds, which can impart a slightly bitter flavor. You can use an apple corer for this, or simply cut the apple into quarters and then cut away the core from each piece.
- Cutting: Cut the cored apples into chunks that will fit easily into your blender jar. Aim for pieces that are about 1-2 inches in size. The smaller you cut them, the easier your blender will work.
- Peeling: Peeling is optional. Leaving the skin on adds fiber and some extra nutrients to your juice. However, if you prefer a smoother juice or are concerned about the texture of the skin, you can peel the apples before cutting them. For a smoother final product, especially with tougher skins, peeling is a good idea.
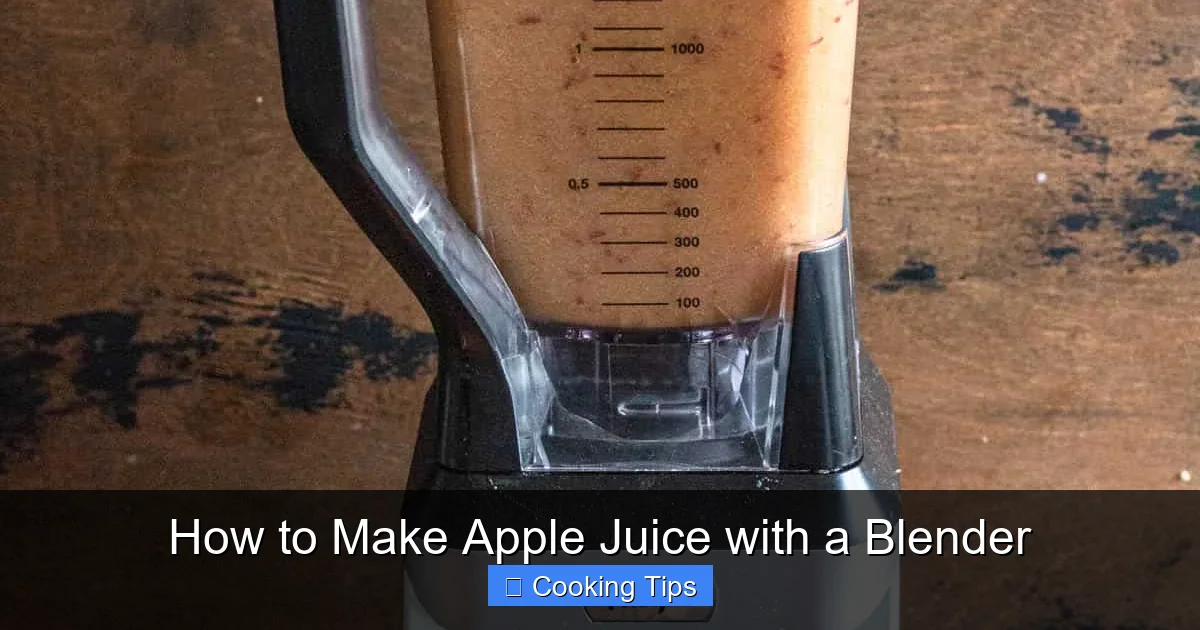
The Blending Process
This is where the magic happens! Your blender will break down the apples into a liquid form, ready to be strained.
Visual guide about How to Make Apple Juice with a Blender
Image source: i.pinimg.com
Adding Water
Apples are naturally juicy, but to get a good consistency for blender juice, you’ll need to add some liquid.
- Start by adding about 1/4 to 1/2 cup of cold water per pound of apples to your blender.
- The amount of water can be adjusted based on your desired consistency. More water will result in a thinner juice, while less will produce a thicker, more pulpy drink.
Blending Until Smooth
Now, it’s time to blend!
- Place the apple chunks and water into your blender jar.
- Secure the lid tightly.
- Start blending on a low speed, gradually increasing to high speed.
- Blend for 1-2 minutes, or until the apples are completely broken down into a smooth puree. You should not see any large chunks remaining.
- If your blender struggles, stop it, stir the contents, and add a little more water if necessary. High-powered blenders might achieve this more quickly than standard models.
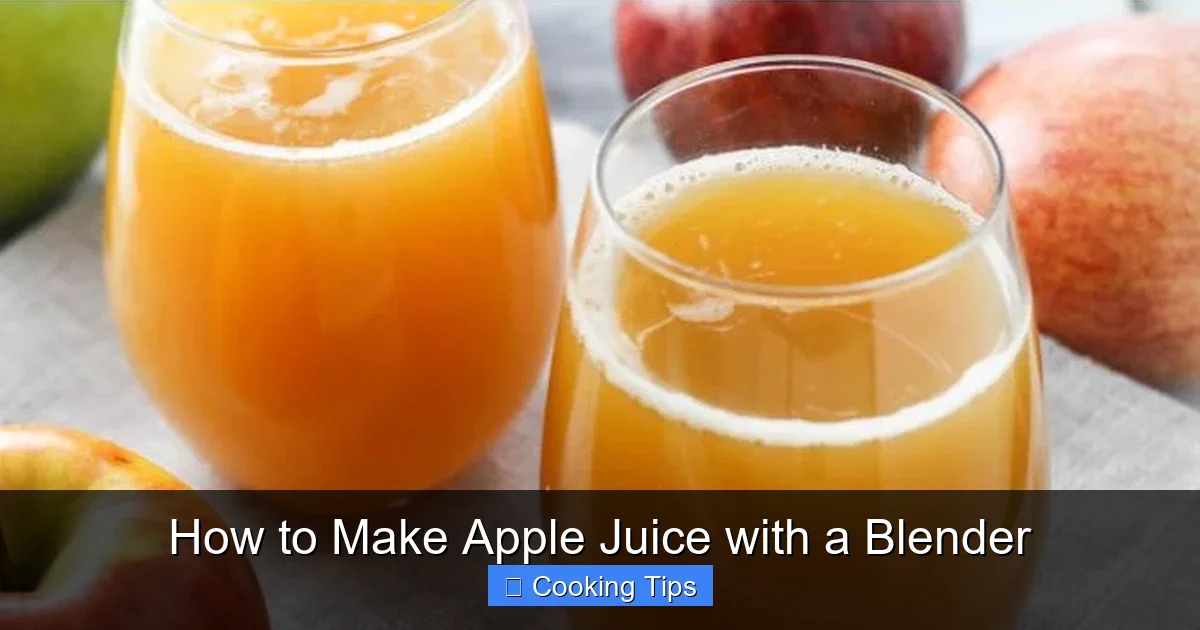
Straining for Smooth Apple Juice
The blended apple mixture will be thick and contain pulp. To achieve clear, drinkable apple juice, you need to strain it.
Visual guide about How to Make Apple Juice with a Blender
Image source: thebutterhalf.com
Choosing Your Straining Method
There are several effective ways to strain your apple juice:
- Fine-Mesh Sieve: This is the most common and readily available tool. Line the sieve with cheesecloth for an even finer strain.
- Cheesecloth: Fold several layers of cheesecloth and place it over a bowl or pitcher.
- Nut Milk Bag: These are specifically designed for straining liquids from solids and are highly effective for juice.
The Straining Technique
Here’s how to get a smooth juice:
- Place your chosen straining tool (sieve lined with cheesecloth, nut milk bag) over a large bowl or pitcher.
- Pour the blended apple mixture into the straining tool.
- For a Sieve: Use a spoon or spatula to press the pulp against the mesh, encouraging the juice to pass through. You may need to do this in batches.
- For Cheesecloth or Nut Milk Bag: Gather the edges of the cloth/bag and gently squeeze out the juice. Be patient, as this can take a few minutes. Don’t squeeze too hard initially, as this can push solids through.
- Continue until all the liquid has been extracted. The leftover pulp can be discarded or used in other recipes like muffins or smoothies.
Customizing Your Apple Juice
Once you have your basic apple juice, you can personalize it to your taste preferences. This is where you can truly make it your own!
Sweetening
Taste your juice. If it’s not sweet enough for you, consider adding natural sweeteners.
- Honey: Adds a rich sweetness and subtle floral notes.
- Maple Syrup: Provides a distinct caramel-like sweetness.
- Agave Nectar: A neutral sweetener that blends well.
Start with a small amount and add more to your liking. Remember, the sweetness of the apples themselves will vary.
Adding Flavor Enhancers
Elevate your apple juice with a touch of spice or other fruits.
- Cinnamon: A classic pairing with apple. Add a pinch of ground cinnamon or a cinnamon stick during blending.
- Ginger: For a zesty kick, add a small piece of fresh ginger (peeled) to the blender.
- Lemon Juice: A squeeze of fresh lemon juice can brighten the flavor and prevent browning.
- Other Fruits: Blend in a few berries, a slice of pear, or a chunk of pineapple for a unique juice blend.
Storage and Enjoyment
Freshly made apple juice is best enjoyed immediately, but it can be stored for a few days.
Refrigeration
Pour your strained apple juice into an airtight container, such as a glass jar or bottle.
- Store it in the refrigerator.
- Freshly made apple juice will typically stay fresh for 3-4 days.
- The flavor and color may change slightly over time.
Serving Suggestions
Serve your homemade apple juice chilled. It’s delicious on its own, or you can add ice cubes. For a festive touch, garnish with a slice of apple or a cinnamon stick. It’s a fantastic base for cocktails or mocktails as well!
Troubleshooting Common Issues
Even with the best intentions, you might run into a few snags. Here’s how to fix them:
Problem: The Juice is too thick.
Solution: Add more water, about 1/4 cup at a time, and blend again until you reach your desired consistency. You can also try blending the strained pulp with a little more water and re-straining, though this might dilute the flavor.
Problem: The Juice has too much pulp.
Solution: This usually means your straining method wasn’t fine enough. Try straining it again through a finer mesh sieve lined with more cheesecloth or a clean nut milk bag. Squeeze gently to extract more liquid.
Problem: The Juice tastes bitter.
Solution: This could be from the apple seeds if you didn’t core them properly, or from certain apple varieties. To counteract bitterness, add a touch of honey or maple syrup, or a squeeze of lemon juice to brighten the flavor.
Problem: The Blender is struggling.
Solution: Ensure you’ve cut the apples into small enough pieces. Don’t overload the blender. Add a little more water to help the blades move freely. If using a less powerful blender, you might need to blend in smaller batches.
Conclusion
Making apple juice with a blender is a straightforward and incredibly rewarding endeavor. You’ve learned how to select the perfect apples, prepare them efficiently, and extract every drop of deliciousness using your blender. From controlling the sweetness to adding unique flavor twists, the possibilities are endless. Embrace this simple technique to bring the fresh, wholesome taste of homemade apple juice into your life. It’s a healthy, delicious, and satisfying way to enjoy nature’s bounty, one glass at a time!