
Unlock the secret to perfectly crispy and incredibly juicy chicken wings using your air fryer. This comprehensive guide walks you through every step, from selecting the best wings and seasoning them to achieving that ideal crunch with minimal oil. Get ready to impress with restaurant-quality wings right from your kitchen!
How to Make Wings in the Air Fryer
Welcome to the ultimate guide for making sensational chicken wings in your air fryer! If you’ve ever dreamed of enjoying that perfect balance of crispy skin and tender, juicy meat, but dreaded the mess and oil of deep frying, then the air fryer is your new best friend. In 2026, air fryers are more popular than ever, and for good reason. They’ve revolutionized home cooking, especially for crowd-pleasing favorites like wings.
This guide is designed to take you from a wing novice to a kitchen hero. We’ll cover everything you need to know, from selecting the right kind of wings and preparing them for the air fryer, to mastering the cooking process and tossing them in your favorite sauce. Get ready to impress your friends and family with restaurant-quality wings that are healthier and easier to make than ever before!
Key Takeaways
- Air fryers deliver unmatched crispiness: The hot circulating air ensures wings are golden brown and shatteringly crisp without deep frying.
- Proper prep is crucial: Patting wings completely dry is the single most important step for achieving a crispy skin.
- Seasoning matters: A good dry rub or marinade will infuse flavor deep into the wings before they even hit the air fryer.
- Don’t overcrowd the basket: Cook wings in a single layer to allow air to circulate freely for even cooking and crisping.
- Temperature and time are key: Knowing the right settings for your air fryer will prevent undercooked or burnt wings.
- Saucing at the end locks in crispiness: Toss wings with sauce right before serving to maintain their texture.
Why Air Fryer Wings Are a Game Changer
Before we dive into the “how,” let’s talk about the “why.” Air fryers work by circulating hot air around your food at high speeds. This process mimics deep frying but uses significantly less oil, making your wings a lighter option without sacrificing flavor or texture. The result? Wings that are incredibly crispy on the outside and moist on the inside, all achieved with minimal fuss.
Choosing Your Wings
The foundation of great wings starts with the wings themselves. You have a few options:
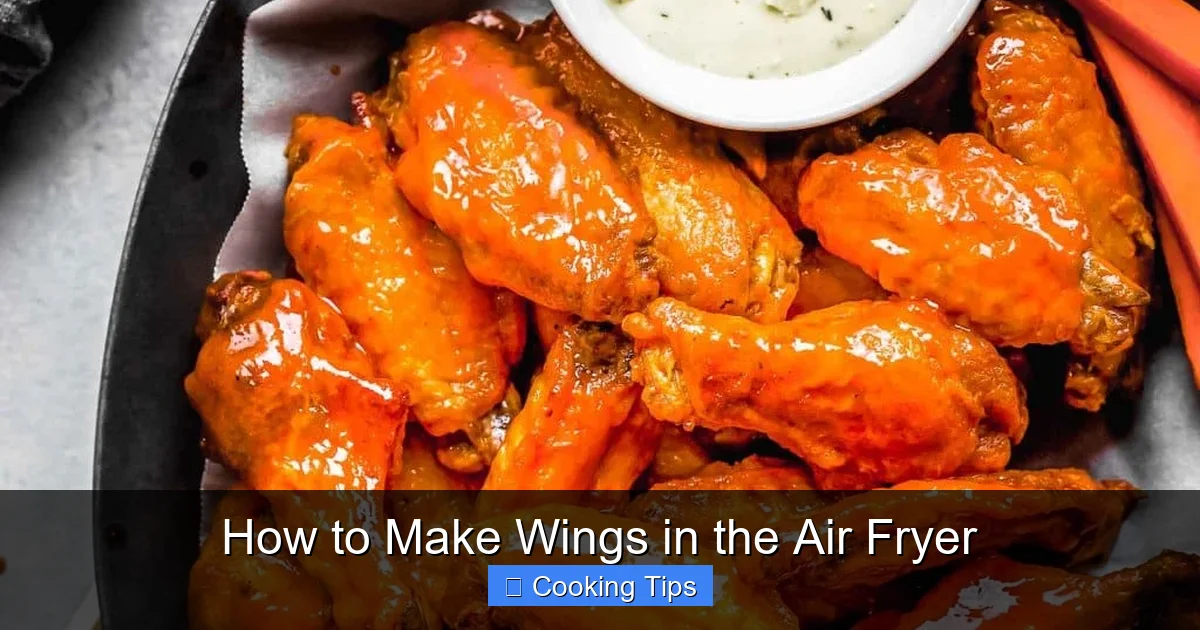
Visual guide about How to Make Wings in the Air Fryer
Image source: platingsandpairings.com
Types of Wings
- Whole Wings: These come with the drumette, flat, and tip all attached. You’ll need to separate them yourself.
- Party Wings (or Wing Sections): These are pre-cut into drumettes and flats. This is the most convenient option.
For the best results, opt for good quality chicken wings. Look for wings that have a good amount of meat on them. If you’re buying frozen wings, make sure to thaw them completely before you start.
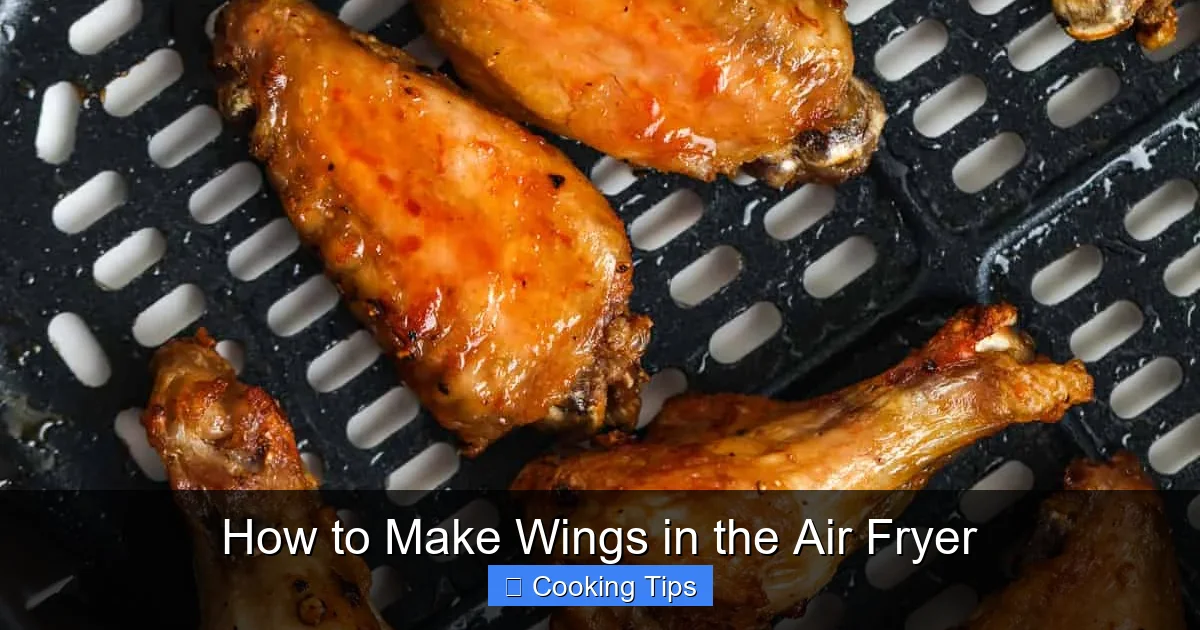
Visual guide about How to Make Wings in the Air Fryer
Image source: easylowcarb.com
The Art of Wing Preparation: Getting Them Crispy
This is, arguably, the most critical step in achieving truly crispy air fryer wings. Moisture is the enemy of crispiness.
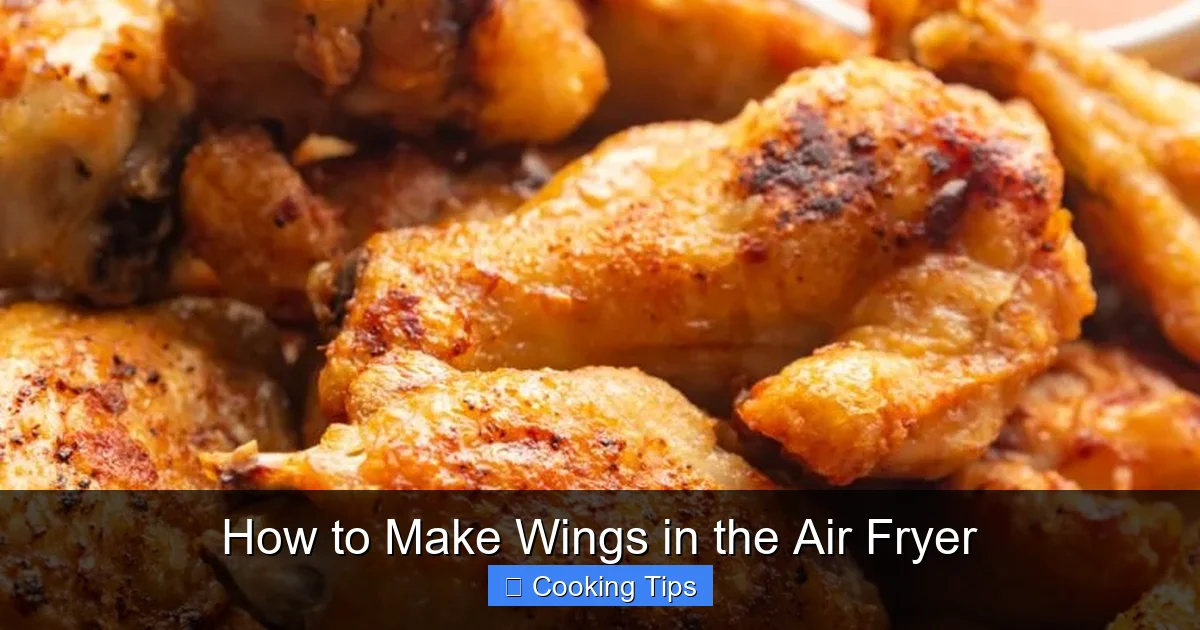
Visual guide about How to Make Wings in the Air Fryer
Image source: jz-eats.com
Step 1: Thaw and Pat Dry
If your wings are frozen, ensure they are fully thawed. The best way to do this is to place them in the refrigerator overnight. Once thawed, remove them from the package and pat them thoroughly dry with paper towels. I cannot stress this enough: pat them dry until there is no visible moisture. You want them to feel almost dry to the touch. This step allows the skin to crisp up properly instead of steaming.
Step 2: Separate if Necessary
If you bought whole wings, you’ll need to separate them. Locate the joint between the drumette and the flat, and the joint between the flat and the tip. You can often feel these joints. Use a sharp chef’s knife or kitchen shears to cut through the joints. Don’t worry too much about the wing tips; they often get a bit too crispy and aren’t as meaty, so some people discard them. You can save them for making chicken stock!
Step 3: Seasoning is Key
This is where you inject flavor! You have two main options: a dry rub or a marinade.
Dry Rub Method
A dry rub is incredibly simple and effective for air fryer wings. It also helps draw out a bit more moisture, further contributing to crispiness.
Basic Dry Rub Ingredients:
- 1 tablespoon paprika (smoked paprika is excellent)
- 1 teaspoon garlic powder
- 1 teaspoon onion powder
- 1/2 teaspoon black pepper
- 1/2 teaspoon salt
- Optional: cayenne pepper for heat, a pinch of brown sugar for caramelization
How to Apply: In a bowl, combine all your dry rub ingredients. Place the dried wings in a large bowl. Sprinkle the dry rub over the wings and toss them thoroughly with your hands until each piece is evenly coated. You can do this right before cooking, or for deeper flavor, let them sit in the refrigerator for at least 30 minutes (or up to a few hours) after rubbing.
Marinade Method
A marinade will infuse more moisture and flavor into the meat. If you choose this method, remember to pat the wings extra dry after marinating.
Simple Marinade Example:
- 1/4 cup soy sauce (or tamari for gluten-free)
- 2 tablespoons honey or maple syrup
- 1 tablespoon rice vinegar
- 1 teaspoon grated fresh ginger
- 1 clove garlic, minced
How to Apply: Combine all marinade ingredients in a bowl or a large zip-top bag. Add the dried wings and ensure they are fully submerged. Marinate in the refrigerator for at least 30 minutes, or up to 4 hours. *Crucially*, after marinating, remove the wings from the marinade and pat them *very* dry with paper towels before proceeding to the air frying step. This is vital to get them crispy.
Air Frying Your Wings: The Magic Happens Here
Now for the main event! The air fryer makes this process remarkably straightforward.
Step 4: Preheat Your Air Fryer
Preheating is just as important for air fryers as it is for conventional ovens. It ensures your wings start cooking immediately and evenly. Preheat your air fryer to 400°F (200°C) for about 3-5 minutes.
Step 5: Arrange Wings in the Basket
This is another crucial step for achieving maximum crispiness. Do not overcrowd the air fryer basket. Overcrowding will lead to steaming, not crisping, and your wings will end up soggy in the middle and unevenly cooked. Work in batches if necessary.
Arrange the seasoned wings in a single layer in the air fryer basket. Ensure there is some space between each wing. This allows the hot air to circulate freely around every piece.
Step 6: The Cooking Process
Cooking times can vary slightly depending on your air fryer model and the size of your wings. Here’s a general guideline:
Initial Cook: Air fry at 400°F (200°C) for 15 minutes.
Flip and Continue: After 15 minutes, open the air fryer and use tongs to flip each wing. This ensures even browning and crisping on all sides.
Second Cook: Continue air frying for another 10-15 minutes, or until the wings are golden brown, crispy, and cooked through. The internal temperature should reach 165°F (74°C).
Tip: If you want an extra crispy skin, you can give them a final blast at 400°F (200°C) for 2-3 minutes after flipping, but watch them closely to prevent burning.
Step 7: Sauce Them Up (or Don’t!)
Once your wings are perfectly cooked and crispy, it’s time for the grand finale: the sauce! The key here is to sauce them right before serving. If you sauce them too early, the steam will make them soggy.
Saucing Options:
- Classic Buffalo: Melted butter mixed with hot sauce (like Frank’s RedHot).
- BBQ: Your favorite store-bought or homemade BBQ sauce.
- Honey Garlic: A delightful sweet and savory blend.
- Lemon Pepper: Dry lemon pepper seasoning tossed with melted butter.
- Teriyaki: A sweet and savory glaze.
- Spicy Korean Gochujang: For a kick of sweet and spicy.
How to Sauce: In a clean, large bowl, pour your desired sauce. Add the hot, crispy wings directly from the air fryer. Toss gently with tongs until all wings are evenly coated. Serve immediately!
Troubleshooting Common Air Fryer Wing Issues
Even with the best instructions, you might run into a hiccup. Here are some common problems and how to fix them:
Problem: Wings are not crispy enough.
Solution: This almost always comes down to moisture. Ensure you patted the wings extremely dry before seasoning. Also, check if you overcrowded the basket; cook in a single layer. Finally, you might need to cook them for a few extra minutes, potentially at a slightly higher temperature for the last few minutes.
Problem: Wings are burnt on the outside but not cooked through.
Solution: This usually indicates the temperature was too high for too long, or the wings were too small for the cook time. Try reducing the temperature slightly (e.g., to 380°F or 190°C) and increase the cooking time. Always check the internal temperature with a meat thermometer.
Problem: Wings are sticking to the basket.
Solution: Lightly spraying the air fryer basket with a bit of cooking oil (like avocado or canola oil) before adding the wings can help prevent sticking. If using a dry rub, the salt content can sometimes cause slight sticking.
Problem: Wings are unevenly cooked.
Solution: This is almost always due to overcrowding. Make sure you have adequate space between each wing for proper air circulation. Flipping them halfway through also helps significantly.
Tips for Perfect Air Fryer Wings Every Time
Here are a few extra nuggets of wisdom to elevate your air fryer wing game:
- Use a Meat Thermometer: For guaranteed food safety and perfectly cooked wings, use an instant-read meat thermometer. Insert it into the thickest part of the wing without touching bone; it should read 165°F (74°C).
- Experiment with Seasonings: Don’t be afraid to get creative with your dry rubs. Think about combining spices like cumin, chili powder, smoked paprika, and a touch of sugar for different flavor profiles.
- Broiling Boost: For an even crispier exterior, once the wings are cooked, you can place them on a baking sheet under your broiler for 1-2 minutes, watching them constantly to prevent burning.
- Leftover Wings: Reheating air fryer wings is best done back in the air fryer at around 350°F (175°C) for 3-5 minutes to regain crispiness. Microwaving will make them soft again.
Conclusion
Congratulations, you’re now equipped to make some of the best chicken wings you’ve ever tasted, right in your own kitchen, using your air fryer! From the initial drying and seasoning to the precise air frying technique and the final saucing, each step plays a vital role in achieving that sought-after crispy, juicy perfection.
So go ahead, try out a classic Buffalo sauce, experiment with a sweet and spicy glaze, or keep it simple with a savory dry rub. Your air fryer is ready to deliver, and your taste buds will thank you. Enjoy!