
Don’t let a broken part stop your culinary creations! This comprehensive guide will walk you through identifying common compact food processor issues and replacing essential components. From dull blades to cracked bowls, learn how to quickly and safely get your appliance back in prime working condition, saving you money and reducing waste.
Is your trusty compact food processor suddenly not performing like it used to? Maybe the blades aren’t chopping as finely, or perhaps there’s a concerning crack in the work bowl. Don’t despair! Many common food processor problems are easily fixable by replacing a worn-out or damaged part. This guide will equip you with the knowledge and confidence to identify issues and successfully replace compact food processor parts, breathing new life into your kitchen workhorse. We’ll cover everything from identifying the problem to finding the right replacements and the simple steps to swap them out.
Key Takeaways
- Identify the Problem: Learn to diagnose common issues like dull blades, cracked bowls, or malfunctioning lids to determine which part needs replacing.
- Safety First: Always unplug your food processor and ensure all parts are clean and dry before beginning any replacement procedure.
- Locate Replacement Parts: Understand how to find the correct replacement parts for your specific compact food processor model, often through the manufacturer’s website or authorized retailers.
- Blade Replacement: Master the process of safely removing and installing new blades, ensuring they are properly seated for optimal performance.
- Bowl and Lid Integrity: Learn how to check for and replace cracked or damaged bowls and lids, which are crucial for safe and efficient operation.
- Seals and Gaskets: Understand the importance of seals and gaskets for preventing leaks and how to replace them if they become worn or damaged.
- Motor Base Issues: While less common for user replacement, this guide touches on when professional help might be needed for motor base malfunctions.
Understanding Your Compact Food Processor
Compact food processors are incredibly versatile kitchen tools. They can chop, dice, puree, shred, and more, all in a matter of seconds. But like any appliance, their parts can wear out or get damaged over time. The most common parts that might need replacing are the blades, the work bowl, the lid, and the seals or gaskets. Understanding these components is the first step to effective troubleshooting and repair.
Step 1: Diagnosing the Problem
Visual guide about How to Replace Compact Food Processor Parts
Image source: i.ytimg.com
Before you can replace a part, you need to know which part is the culprit. Here are some common issues and what they might indicate:
Dull or Damaged Blades
If your food processor struggles to chop ingredients, leaves large uneven chunks, or if you notice visible nicks or bends in the blades, it’s likely time for a replacement. Dull blades strain the motor and produce poor results.
Cracked or Chipped Work Bowl
A cracked or chipped work bowl is a safety hazard and can also lead to leaks. If you see any fissures, especially near the base or where the blade assembly sits, the bowl needs to be replaced.
Worn or Loose Seals and Gaskets
Food processors rely on seals and gaskets around the lid and base of the work bowl to prevent liquids and small ingredients from leaking out. If you notice seepage during operation, even with tightly fitted parts, the seals may be worn or have come loose.
Damaged Lid or Locking Mechanism
The lid often houses safety interlocks that prevent the processor from running if it’s not properly secured. If the lid is cracked, a piece is missing, or the locking tabs are broken, it will need replacement.
Motor Base Malfunctions (Less Common for User Replacement)
While most user-replaceable parts are external, sometimes the issue might stem from the motor base itself (e.g., strange noises, not powering on). In such cases, it’s often best to consult the manufacturer or a professional repair service, as these are not typically user-serviceable parts.
Step 2: Safety First!
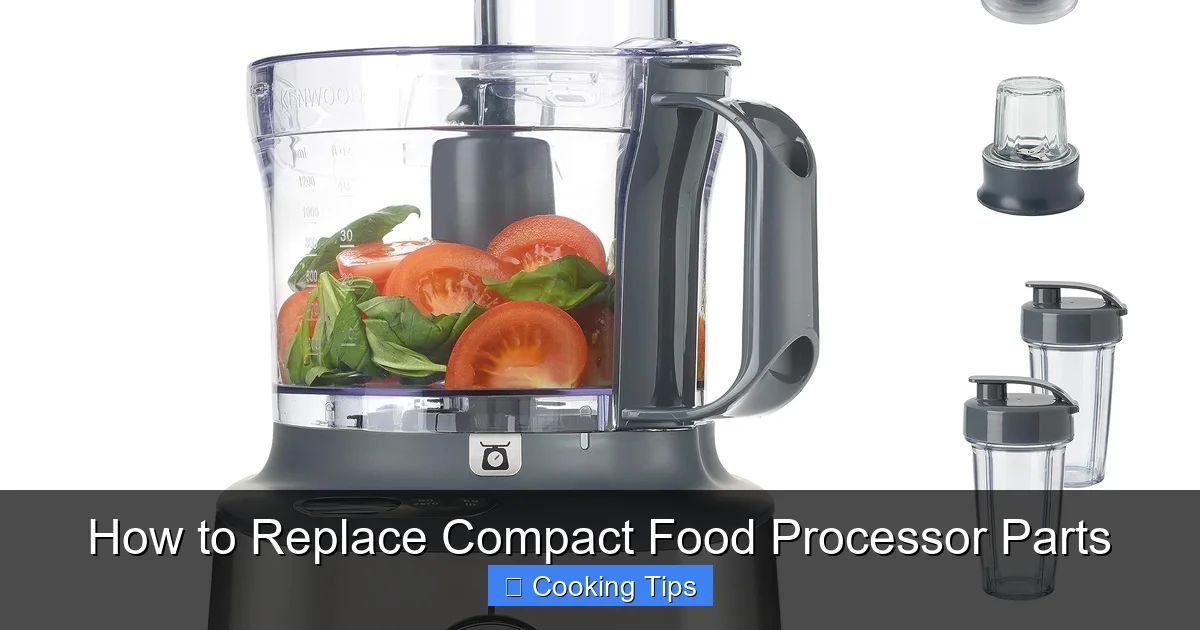
Visual guide about How to Replace Compact Food Processor Parts
Image source: m.media-amazon.com
Before you even think about touching any parts, safety is paramount.
Unplug the Appliance
This is the most crucial step. Always ensure your compact food processor is unplugged from the electrical outlet before attempting any disassembly or part replacement.
Ensure Parts are Clean and Dry
Work with clean hands and make sure all parts you are handling are dry. This prevents slipping and potential contamination of food.
Familiarize Yourself with the Manual
If you still have your compact food processor’s user manual, it’s an excellent resource. It often details how to safely disassemble and reassemble the unit, and may even have diagrams of the parts.
Step 3: Locating Replacement Parts

Visual guide about How to Replace Compact Food Processor Parts
Image source: houseappliancespro.co.uk
Finding the correct replacement part for your specific model is key to a successful repair.
Identify Your Model Number
This is usually found on a sticker on the bottom or back of the motor base. Having this number handy will make your search much easier.
Check the Manufacturer’s Website
Most appliance manufacturers have a dedicated section on their website for replacement parts. You can often search by model number and find genuine parts directly from the source. This is often the most reliable way to get the exact part you need.
Authorized Retailers and Online Marketplaces
Some larger appliance retailers or online marketplaces (like Amazon, eBay, or specialized appliance parts stores) also carry replacement parts for various brands and models. Be sure to verify the seller’s reputation and check product reviews if purchasing from a less familiar source.
When in Doubt, Contact Customer Support
If you’re struggling to find the right part, don’t hesitate to contact the manufacturer’s customer support. They can often guide you to the correct part number or even sell it to you directly.
Step 4: Replacing the Blades
The blades are arguably the most used part of your food processor, and therefore, the most likely to need replacement.
Removing the Old Blades
Compact food processors typically have a blade assembly that locks onto the motor shaft inside the work bowl.
Detaching the Blade Assembly
Carefully lift the blade assembly out of the work bowl. Some models might have a mechanism where the blade assembly can be taken apart, while others are a single unit. Pay close attention to any locking mechanisms or how the blade is seated.
Handling the Blades Safely
Blades are sharp! Always hold the blade assembly by the central hub, away from the cutting edges. If you’re concerned about sharpness, you can wear protective gloves.
Installing the New Blades
Aligning the New Blade Assembly
Take your new blade assembly and carefully align it with the motor shaft or the designated slot in the work bowl. Ensure it sits correctly.
Securing the Blades
Gently press down on the blade assembly to ensure it is firmly seated. You might hear or feel a click as it locks into place. Refer to your manual if you’re unsure about the locking mechanism.
Test the Fit
Before reassembling the rest of the processor, place the lid on and ensure it closes properly. The blades should fit without obstruction.
Step 5: Replacing the Work Bowl
A cracked or damaged work bowl compromises safety and functionality.
Removing the Old Work Bowl
Emptying and Detaching
Ensure the work bowl is completely empty. Then, simply lift it off the motor base. In some designs, the bowl might twist or lock into place.
Inspecting the Base Area
Once removed, check the area where the bowl connects to the motor base for any debris or damage to the sealing surfaces.
Installing the New Work Bowl
Properly Seating the New Bowl
Take your new work bowl and align it with the motor base. Many bowls have a groove or a specific orientation that needs to match the base.
Securing the Bowl
Gently twist or press the bowl into place until it’s securely locked. Again, refer to your manual if you’re unsure about the specific mechanism for your model.
Checking for Stability
Once in place, give the bowl a gentle wiggle to ensure it’s stable and properly connected.
Step 6: Replacing Seals and Gaskets
These small parts play a big role in preventing leaks.
Locating and Removing Old Seals
Identifying Seal Locations
Seals are typically found around the rim of the work bowl where the lid attaches, and sometimes at the base of the bowl where it connects to the motor.
Careful Removal
Use a small, non-metallic tool (like a plastic spatula or a blunt toothpick) to gently pry out the old seal. Be careful not to scratch the plastic.
Note the Orientation
Pay attention to how the old seal was positioned before you remove it. Some seals have a specific side that faces up or out.
Installing New Seals
Cleaning the Sealing Surface
Before installing the new seal, ensure the area where it will sit is clean and free of any food residue or old adhesive.
Pressing the New Seal into Place
Carefully align the new seal and press it firmly into its designated groove. Start from one end and work your way around. Ensure it’s seated evenly and snugly.
Testing for Fit
Place the lid on the work bowl to ensure the new seal allows for a tight closure without excessive force.
Step 7: Replacing the Lid
A damaged lid, especially one with a broken locking mechanism, can render your food processor unusable for safety reasons.
Removing the Old Lid
Detaching the Lid
Most lids simply lift off or twist to unlock from the work bowl. If your lid has a food chute, ensure that’s removed first if it’s a separate piece.
Inspecting the Locking Mechanism
Examine the lid’s locking tabs and any corresponding slots on the work bowl to understand how they interact.
Installing the New Lid
Aligning the New Lid
Position the new lid over the work bowl, aligning any tabs or notches with their counterparts on the bowl.
Securing the Lid
Gently press down and twist (if applicable) until the lid clicks or locks securely into place.
Testing the Safety Interlock
Crucially, test the lid’s safety interlock. With the lid properly secured, try to pulse the machine briefly. It should only operate when the lid is fully locked.
Troubleshooting Common Issues After Replacement
You’ve replaced a part, but your food processor is still acting up? Here are a few things to check:
* **Food Processor Won’t Turn On:** Double-check that it’s plugged in and that the lid and bowl are correctly and securely locked in place. Many food processors have safety interlocks that prevent operation if these aren’t properly engaged.
* **Leaking Still Occurs:** Ensure the seals and gaskets are correctly installed and that the work bowl and lid are properly seated. Sometimes, a new seal needs a little time to settle.
* **Unusual Noises:** This could indicate that a blade isn’t properly seated, or potentially a more serious issue with the motor. Re-seat the blade assembly and ensure everything is aligned correctly. If the noise persists, contact the manufacturer.
* **Inconsistent Chopping:** Make sure the blades are the correct ones for your model and are fully seated. Dullness might return over time, requiring another replacement.
Conclusion
Replacing compact food processor parts is a straightforward process that can save you money and extend the life of your appliance. By following these steps, you can confidently tackle common issues like dull blades, cracked bowls, and leaky seals. Remember to prioritize safety, identify your model correctly, and always use the right replacement parts. With a little effort, your compact food processor will be back to efficiently tackling all your culinary tasks in no time, proving that a little bit of maintenance can go a long way in the kitchen.