
This guide offers a comprehensive walkthrough on how to replace food processor attachments. Learn to safely remove worn-out or damaged parts and confidently install new ones, ensuring your appliance remains in top working condition. Proper maintenance and replacement are key to extending the life of your food processor and achieving perfect results in the kitchen.
How to Replace Food Processor Attachments
Your food processor is a kitchen workhorse, capable of slicing, dicing, pureeing, and so much more. But like any tool, its attachments can wear out, get damaged, or simply become less effective over time. Knowing how to replace these essential parts is crucial for keeping your appliance running smoothly and efficiently. Whether it’s a dull blade, a cracked bowl, or a missing lid, this guide will walk you through the process of replacing your food processor attachments with confidence.
This comprehensive guide will cover everything you need to know, from identifying when an attachment needs replacing to safely removing old parts and correctly installing new ones. We’ll explore common attachment types, provide step-by-step instructions, offer practical tips, and even touch on troubleshooting common issues. By the end of this guide, you’ll be equipped to handle any food processor attachment replacement task, ensuring your culinary creations are as effortless as they are delicious.
Key Takeaways
- Identify the Need for Replacement: Recognize signs of wear and tear or damage on your food processor attachments to know when it’s time for a change.
- Consult Your Manual: Always refer to your food processor’s user manual for specific instructions, as designs vary between brands and models.
- Safety First: Ensure the appliance is unplugged and all parts are cool before attempting to remove or install any attachments.
- Proper Removal Techniques: Learn the correct way to detach various attachments, such as blades, discs, and bowls, to avoid damaging the unit.
- Selecting Replacement Parts: Understand how to find compatible replacement attachments that match your specific food processor model.
- Correct Installation Process: Follow step-by-step instructions for securely fitting new attachments, guaranteeing they function as intended.
- Cleaning and Maintenance: Incorporate cleaning and proper storage of attachments into your routine to prolong their lifespan and prevent future issues.
Understanding Your Food Processor Attachments
Before you can replace an attachment, it’s helpful to understand the different components of your food processor and their functions. Most food processors come with a base unit (which houses the motor) and a work bowl. Inside or attached to the work bowl, you’ll find various blades and discs.
Common attachments include:
- S-Blade (or Chopping Blade): This is the most common attachment, used for chopping, mincing, pureeing, and mixing. It’s typically a metal blade with curved edges.
- Dicing Disc: This disc is designed to cut ingredients into uniform cubes.
- Slicing Disc: Used for creating even slices of fruits, vegetables, and more. These often have adjustable thickness settings.
- Shredding Disc: Similar to a slicing disc but with holes to shred ingredients like cheese or carrots.
- Dough Blade: A plastic or duller metal blade designed for kneading dough.
- Emulsifying/Whipping Disc: A plastic attachment used for whipping cream or emulsifying sauces.
- Work Bowl: The main container where food is processed.
- Lid: Seals the work bowl and usually has a feed tube and pusher.
Each of these attachments plays a vital role in the overall performance of your food processor. When one of them isn’t functioning correctly, it can impact your cooking results.
When to Replace Food Processor Attachments
Several signs indicate that it’s time to consider replacing one or more of your food processor attachments. Proactive replacement can prevent further damage to your appliance and ensure optimal performance.
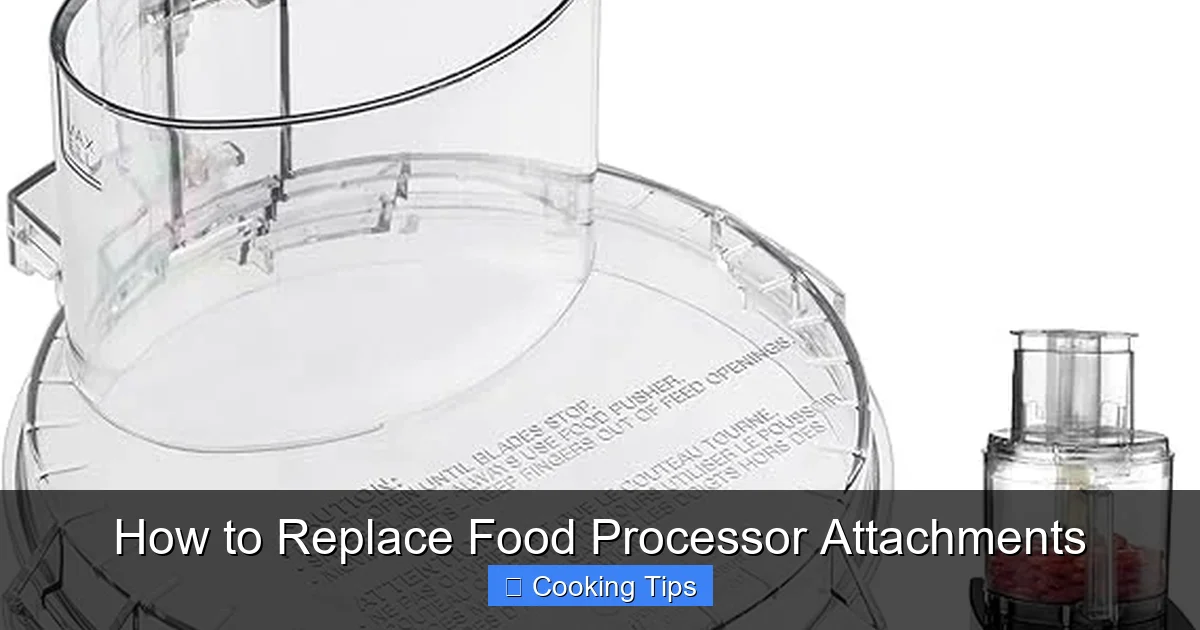
Visual guide about How to Replace Food Processor Attachments
Image source: m.media-amazon.com
Signs of Wear and Tear
- Dull Blades: If your S-blade is no longer chopping effectively, leaving chunky pieces, or requiring multiple pulses to achieve a desired consistency, it’s likely dull. Dull blades put more strain on the motor.
- Cracks or Chips: Inspect all plastic components, including the work bowl, lid, and pusher. Any cracks, chips, or significant scratches can compromise safety and functionality.
- Bent or Warped Parts: Metal discs or blades that appear bent or warped may not fit correctly or operate safely, leading to uneven processing or potential damage to the motor shaft.
- Loose Components: If any part of an attachment feels loose or doesn’t secure properly, it’s a safety hazard and needs replacement.
- Rust or Corrosion: While less common with stainless steel blades, excessive rust or corrosion on metal parts can affect food safety and performance.
- Inconsistent Results: If you’re consistently getting poor or inconsistent results that you didn’t have before, it’s a strong indicator that an attachment may be worn out.
When an Attachment is Lost or Broken
Accidents happen! If you’ve misplaced a crucial part like the lid or pusher, or if an attachment has broken beyond repair, it’s essential to replace it promptly to continue using your food processor safely.
Preparing for Replacement
Before you start any removal or installation process, a little preparation goes a long way. This ensures your safety and protects your appliance.
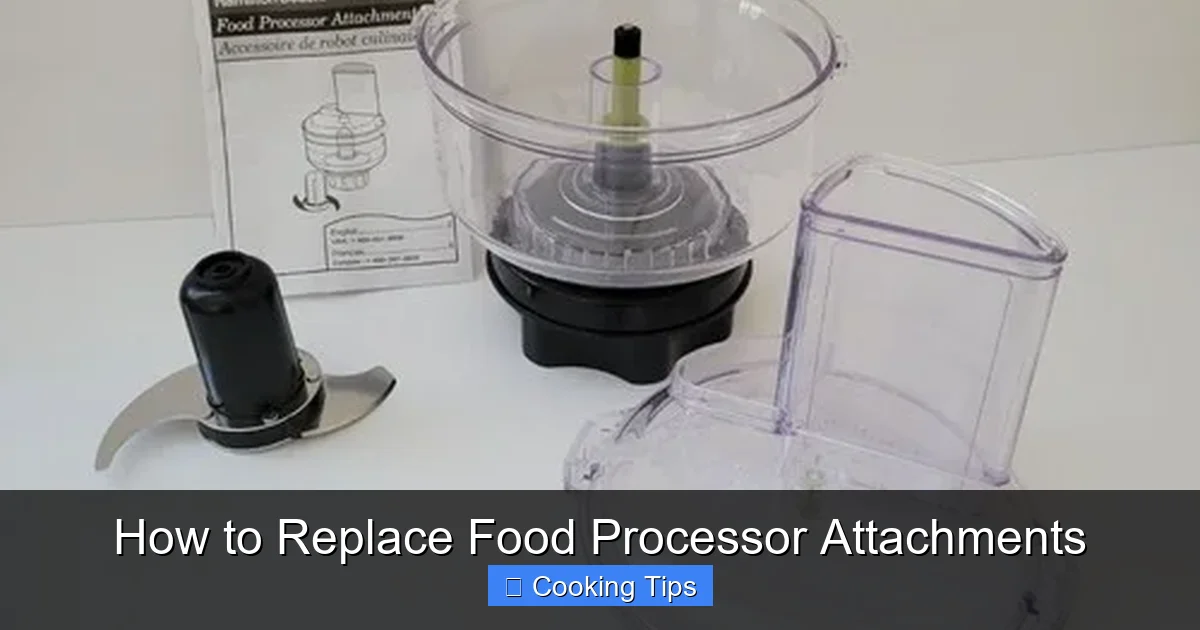
Visual guide about How to Replace Food Processor Attachments
Image source: i.ebayimg.com
Gather Your Supplies
While not always necessary, having a few basic items on hand can make the process smoother:
- Your Food Processor’s Manual: This is your most important resource. It will have specific diagrams and instructions for your model.
- Replacement Part: Ensure you have the correct, compatible replacement attachment.
- Mild Dish Soap and Water: For cleaning new parts if needed.
- Soft Cloth: For drying.
- Small Screwdriver (Optional): Some older models might have parts secured with screws, though this is rare for attachments themselves.
Safety Precautions
Safety is paramount when working with any kitchen appliance, especially one with sharp blades.
- Unplug the Food Processor: This is the MOST IMPORTANT step. Never attempt to remove or install attachments while the appliance is plugged into an electrical outlet.
- Allow Parts to Cool: If you’ve just used the food processor, allow the work bowl and any attachments to cool down completely before handling them. Blades can be extremely sharp and hot.
- Handle Blades with Care: Always hold blades by their central hub or plastic handle, away from the sharp edges. It’s often recommended to use a towel or gloves when handling sharp blades.
Step-by-Step: How to Remove Food Processor Attachments
The method for removing attachments varies slightly depending on the specific part and the design of your food processor. Always refer to your manual first, but here are general guidelines.
Visual guide about How to Replace Food Processor Attachments
Image source: wearychef.com
Removing the S-Blade (Chopping Blade)
The S-blade is usually the most frequently used and, therefore, most likely to need attention. It typically sits inside the work bowl.
- Ensure the Unit is Unplugged.
- Lift the Work Bowl from the Base.
- Carefully Grasp the Blade. Hold the blade by its central hub (the part that sits over the motor shaft) or its top rim. Avoid touching the sharp edges.
- Lift the Blade Straight Up. In most designs, the blade simply lifts off the motor shaft. Some blades might have a locking mechanism; check your manual if it doesn’t lift freely.
- Place the Blade Safely. Immediately place the removed blade in a safe place, preferably in the work bowl, away from your hands, or on a protective surface.
Removing Dicing Discs, Slicing Discs, and Shredding Discs
These discs typically sit on top of the blade or directly on the motor shaft, depending on the model.
- Ensure the Unit is Unplugged.
- Remove the Work Bowl and Lid.
- Identify the Disc’s Position. Discs usually rest on a spindle or directly on the motor shaft. If there’s an S-blade in the bowl, you might need to remove that first (as described above) to access the disc spindle.
- Lift the Disc Carefully. Grasp the disc by its rim or central opening.
- Lift Straight Up. Most discs will lift straight off the spindle or shaft.
- Set Aside Safely. Place the disc on a protected surface.
Removing Other Attachments (Dough Blade, Whipping Disc)
These attachments often have unique fitting mechanisms.
- Ensure the Unit is Unplugged.
- Remove the Work Bowl and Lid.
- Examine the Attachment. Look for how it connects to the motor shaft or spindle. Dough blades often have a specific way they attach to the central hub. Whipping discs might clip on or slide into place.
- Follow Specific Removal Steps. This might involve twisting, lifting, or pressing a release tab. Again, your manual is your best friend here.
Removing the Work Bowl and Lid
These are usually straightforward but important to detach for full access or cleaning.
- Ensure the Unit is Unplugged.
- Lift the Work Bowl from the Base. It typically sits loosely on the motor base and can be lifted off.
- Remove the Lid. The lid usually has tabs that lock into place on the work bowl. You’ll likely need to press or lift these tabs to release the lid and then lift it off.
Step-by-Step: How to Install New Food Processor Attachments
Installing new attachments is the reverse of removing the old ones, but with added attention to ensuring a secure fit.
Installing the S-Blade (Chopping Blade)
- Ensure the Unit is Unplugged.
- Hold the New Blade by the Hub. Again, keep your fingers away from the sharp edges.
- Align the Blade with the Motor Shaft. Look for the central opening in the blade and the motor shaft extending from the base of the work bowl.
- Lower the Blade onto the Shaft. Gently push the blade down until it sits securely on the shaft. You might feel it ‘click’ into place, or it should feel stable.
- Twist Gently to Check Fit. Lightly twist the blade to ensure it’s firmly seated and not wobbling.
Installing Dicing Discs, Slicing Discs, and Shredding Discs
- Ensure the Unit is Unplugged.
- Position the Work Bowl. If you removed the S-blade, you may need to reinsert it at this stage if your model requires it for the discs to sit properly. Refer to your manual.
- Align the Disc with the Spindle or Shaft. The central hole of the disc should fit over the spindle or motor shaft.
- Lower the Disc into Place. Gently push the disc down until it sits flush.
- Check for Stability. The disc should sit level and not spin freely on its own.
Installing Other Attachments (Dough Blade, Whipping Disc)
- Ensure the Unit is Unplugged.
- Position the Work Bowl.
- Align the Attachment with the Shaft. Match the attachment’s connector to the motor shaft or hub.
- Secure the Attachment. This might involve pushing, twisting, or a locking mechanism. Listen for a click or ensure it feels firmly attached.
Reassembling the Work Bowl, Lid, and Base
- Place the Work Bowl on the Base. Ensure it sits securely and locks into place if your model has a locking mechanism.
- Attach the Lid. Align the lid with the work bowl, ensuring any tabs or locks are in the correct position.
- Secure the Lid. Press down on the lid or engage the locking tabs. The food processor usually will not operate unless the lid is properly secured.
Finding and Purchasing Replacement Parts
Getting the correct replacement part is crucial for compatibility and safety. Here’s how to find them:
Check Your Manual
Your food processor’s manual is the best place to start. It will often list part numbers or provide descriptions of the attachments. Many manufacturers include diagrams that clearly label each component.
Contact the Manufacturer
The most reliable way to get genuine, compatible parts is to contact the manufacturer directly. You can usually find their contact information (phone number or website) in your manual or on their official website. Be ready to provide the model number of your food processor. You can often find the model number on a sticker on the bottom or back of the base unit.
Online Retailers and Specialty Stores
Many online retailers that sell kitchen appliances also offer replacement parts. Search for your food processor’s brand and model number along with the specific attachment you need (e.g., “KitchenAid KFP1333 S-blade replacement”). Specialty kitchenware stores, both online and brick-and-mortar, can also be a good resource.
Consider Aftermarket Parts (with Caution)
Some companies produce aftermarket parts that are designed to be compatible with various brands. While these can sometimes be more affordable, it’s essential to buy from reputable sources and ensure they explicitly state compatibility with your specific model. Aftermarket parts may not always offer the same quality or fit as genuine manufacturer parts.
Troubleshooting Common Issues
Even with careful replacement, you might encounter minor issues.
Attachment Won’t Fit
- Check Compatibility: Double-check that you have the correct part for your specific food processor model. Model numbers are critical here.
- Alignment: Ensure you are aligning the attachment correctly with the motor shaft or spindle. Sometimes a slight angle is needed.
- Obstructions: Make sure there are no food particles or debris preventing a proper fit.
- Bent Shaft/Spindle: If the motor shaft or spindle on the base unit appears bent or damaged, this is a more serious issue that might require professional repair or replacement of the base unit itself.
Attachment Feels Loose
- Ensure it’s Fully Seated: Push the attachment down firmly until you hear a click or feel it lock into place.
- Check for Wear on the Base Unit: If the shaft or spindle on the base unit is worn down, it might not create a tight fit with new attachments.
- Damaged Attachment Hub: Inspect the central hub of the attachment for any damage that might prevent a secure connection.
Food Processor Won’t Turn On After Replacement
- Safety Interlocks: Most food processors have safety mechanisms that prevent operation if the work bowl or lid is not properly secured. Ensure both are locked into place correctly.
- Blade/Attachment Position: Some units require the blade or a specific attachment to be in place before they will operate. Check your manual.
- Unplugged: It sounds simple, but always double-check that the unit is indeed plugged into a working outlet.
Maintaining Your New Attachments
Once you’ve replaced your attachments, proper care will help them last longer and perform better.
- Clean After Each Use: Wash all attachments by hand with warm, soapy water. While some might be dishwasher safe (check your manual), handwashing often prolongs their life and maintains sharpness.
- Dry Thoroughly: Moisture can lead to rust or mildew, especially on metal parts. Dry all attachments completely before storing them.
- Store Safely: Keep sharp blades in a way that protects both the blade and you. Many bowls have designated storage areas for attachments within them.
- Avoid Harsh Cleaners: Do not use abrasive cleaners or scouring pads, as they can scratch or damage the surfaces of your attachments.
Conclusion
Replacing food processor attachments might seem daunting at first, but with a little knowledge and careful execution, it’s a straightforward process. By understanding when an attachment needs replacing, prioritizing safety, and following the correct removal and installation steps, you can easily restore your food processor to its full working potential. Investing in genuine replacement parts and maintaining them properly will ensure your appliance serves you well for many culinary adventures to come. So, don’t let a dull blade or a cracked bowl stop you from enjoying the convenience and versatility of your food processor. With this guide, you’re ready to tackle any attachment replacement!