
This guide provides a step-by-step process for replacing a food processor motor, a task that can save you significant money compared to buying a new appliance. We cover everything from identifying the problem to safely disconnecting the old motor and installing the new one. With detailed instructions and practical tips, you’ll be able to revive your food processor and enjoy its functions once again.
How to Replace Food Processor Motor
Is your trusty food processor suddenly silent? Does it hum weakly or not at all when you expect it to be whirring away, chopping, blending, or pureeing? Don’t despair! Before you relegate your appliance to the scrap heap or shell out for a new one, consider this: the most common culprit for a non-functional food processor is often its motor. Replacing a food processor motor might sound daunting, but with a little patience, the right tools, and this comprehensive guide, you can successfully bring your kitchen workhorse back to life.
In this guide, we’ll walk you through the entire process of replacing your food processor motor. We’ll start by helping you confirm that the motor is indeed the problem. Then, we’ll guide you through the disassembly, removal of the old motor, installation of the new one, and reassembly of your food processor. We’ll also include practical tips and a troubleshooting section to help you navigate any bumps along the way. So, grab your toolkit, and let’s get started on this rewarding DIY repair!
Key Takeaways
- Diagnose the problem: Confirm that the motor is indeed the issue before proceeding with a replacement.
- Safety first: Always unplug the food processor and take appropriate safety precautions before starting any repairs.
- Gather your tools: Have all necessary tools and the correct replacement motor ready before you begin disassembly.
- Document the process: Take photos or notes as you disassemble to aid in reassembly.
- Gentle disassembly: Work carefully and avoid forcing parts to prevent damage to the appliance.
- Proper reassembly: Ensure all connections are secure and components are aligned correctly for optimal performance.
- Testing and troubleshooting: Test the food processor after reassembly and know how to address common issues.
Step 1: Diagnose the Problem
Before you embark on a motor replacement, it’s crucial to be absolutely certain that the motor is the source of your food processor’s woes. Sometimes, simpler issues can mimic motor failure, saving you time and money.
Check the Power Source
- Ensure it’s plugged in: This might sound obvious, but double-check that the power cord is firmly seated in the wall outlet and in the appliance itself.
- Test the outlet: Try plugging in another small appliance or a lamp into the same outlet to confirm it’s receiving power.
- Inspect the power cord: Look for any visible damage, cuts, or fraying on the power cord. If the cord is damaged, it might be the issue, and replacing the cord is a simpler repair than the motor.
Test Safety Interlocks
Most food processors have safety features that prevent them from operating unless all components are correctly assembled. These are usually interlock switches or mechanisms. If these aren’t engaged properly, the motor won’t run.
- Lid security: Ensure the lid is securely locked in place. Many models have a switch or tab that needs to be pressed by the lid for the unit to function.
- Bowl placement: Verify that the food processor bowl is correctly seated on the base. Some units have a switch that’s activated by the bowl.
- Accessory attachment: For some models, certain accessories might need to be in place or properly aligned.
Listen for Unusual Sounds
If the food processor attempts to start but makes odd noises, it can offer clues.
- Humming but no movement: A persistent hum without any blade rotation could indicate a seized motor or a blockage, but if the hum is weak or absent, the motor might be completely dead.
- Grinding or clicking: These noises could point to issues with the drive shaft or gears, which might be related to the motor but not the motor itself.
Consider Overheating Protection
Many motors have thermal overload protectors that shut them off to prevent damage from overheating. If your food processor stopped working mid-use, it might simply need to cool down.
- Allow it to rest: Leave the unit unplugged for at least 30-60 minutes, then try again.
If after all these checks, your food processor remains unresponsive, it’s highly probable that the motor needs replacement.
Step 2: Gather Your Tools and New Motor
Having everything you need before you begin will make the process smoother and less frustrating. Precision and the correct parts are key.
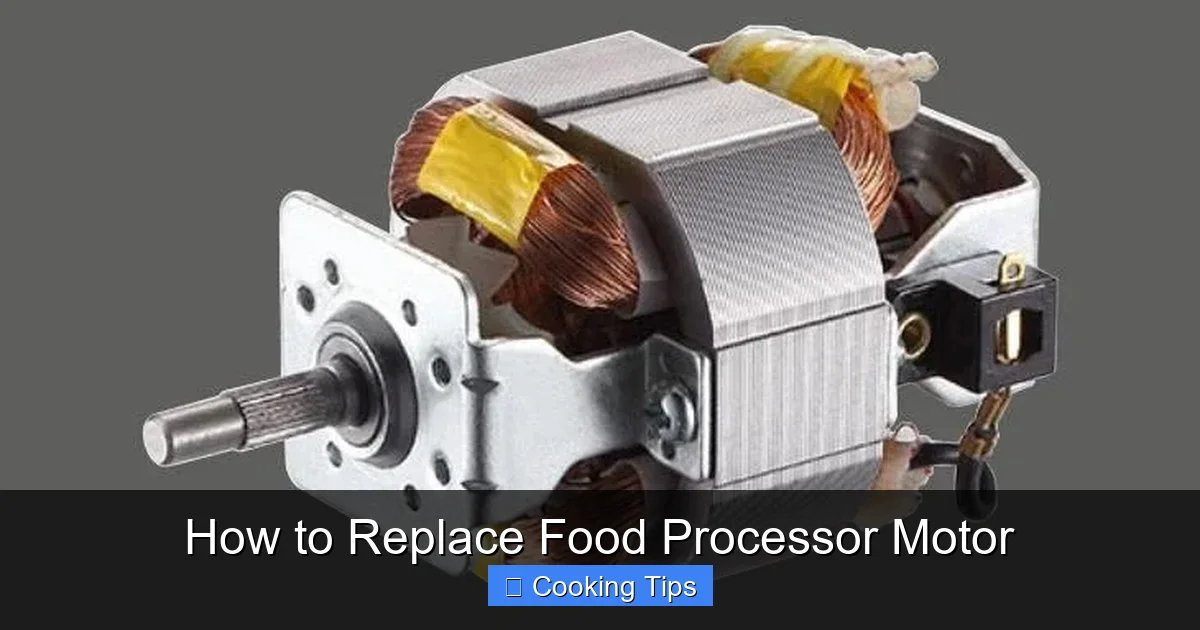
Visual guide about How to Replace Food Processor Motor
Image source: tw-motor.com
Essential Tools
- Screwdrivers: You’ll likely need a Phillips head screwdriver and potentially a flathead screwdriver. A set with various sizes is recommended.
- Pliers: Needle-nose pliers are useful for gripping small wires and connectors. Regular pliers might also be needed.
- Wire stripper/cutter: For disconnecting and reconnecting wires.
- Electrical tape or wire nuts: To secure electrical connections.
- Small container or tray: To keep screws and small parts organized. Labeling these containers can be very helpful.
- Camera or smartphone: To take pictures as you disassemble. This is invaluable for reassembly.
- Gloves (optional): To keep your hands clean.
- Safety glasses: Always a good idea when working with tools and electronics.
Obtain the Correct Replacement Motor
This is a critical step. You need to find a replacement motor that is specifically designed for your food processor model.
- Identify your model number: This is usually found on a sticker on the bottom of the food processor base.
- Search online: Use the model number to search for replacement parts on manufacturer websites, appliance parts retailers (like RepairClinic, eReplacementParts, or AppliancePartsPros), or even reputable eBay sellers.
- Match specifications: Ensure the replacement motor has the same voltage, wattage, and connector types as your original motor. Refer to your appliance’s manual if you still have it.
- Consider used parts cautiously: If buying a used motor, ensure it comes from a reputable seller and ideally has a warranty. New is generally preferred for longevity.
Step 3: Disassemble the Food Processor Base
This is where your photo-documentation skills come into play. Work slowly and methodically.
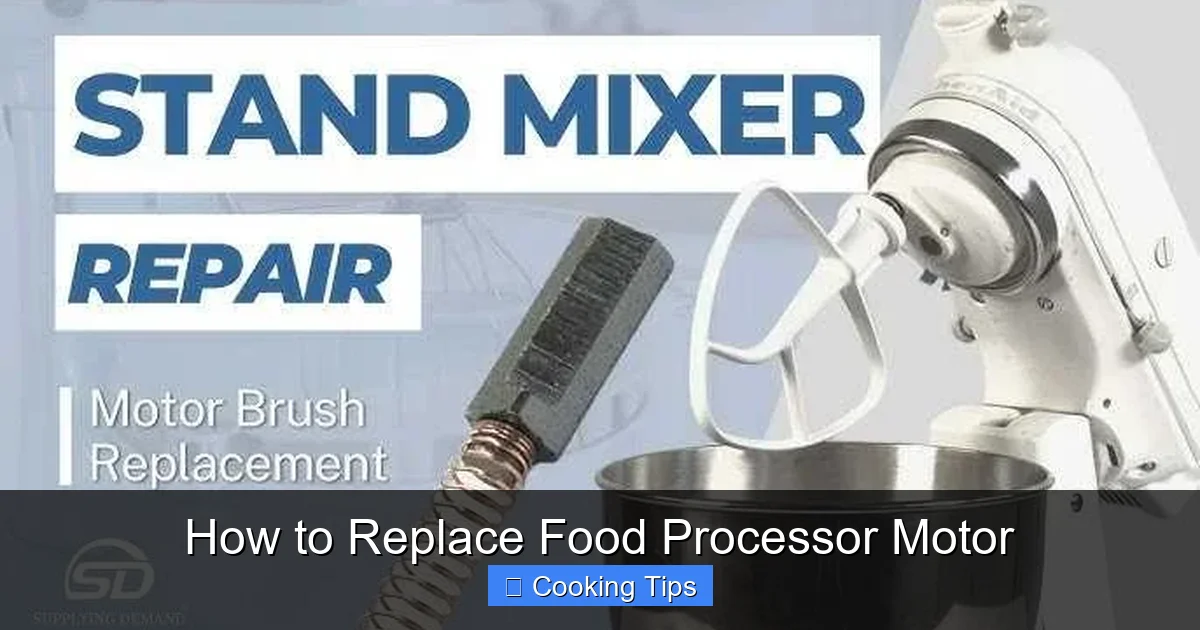
Visual guide about How to Replace Food Processor Motor
Image source: kitchenadvising.com
Unplug and Prepare
Safety is paramount here.
- Unplug the unit: Ensure the food processor is completely disconnected from the power source.
- Clean the base: Wipe down the exterior of the base to remove any food residue. It’s much easier to work with a clean appliance.
Accessing the Motor Compartment
The motor is housed within the base of the food processor. You’ll need to remove the outer casing to get to it.
H3: Removing the Base Casing
- Locate screws: Most food processor bases are held together by screws, often located on the underside. Some might be hidden under rubber feet or stickers. Gently pry these up if necessary to reveal the screws.
- Remove screws: Use the appropriate screwdriver to remove all the screws. Keep them in your organized container and note where each screw came from if they differ in size.
- Gently pry apart: Once the screws are removed, the casing might still be held together by plastic clips. Carefully use a flathead screwdriver or a plastic trim removal tool to gently pry the sections of the casing apart. Work your way around the seam, being careful not to force it, as you could crack the plastic.
Documenting Internal Components
As you remove the casing, take clear photos of the internal layout. Pay attention to wire routing, connections, and the placement of any circuit boards or other components.
Step 4: Remove the Old Motor
Once the motor is exposed, you’ll need to disconnect it from the power supply and any mounting hardware.
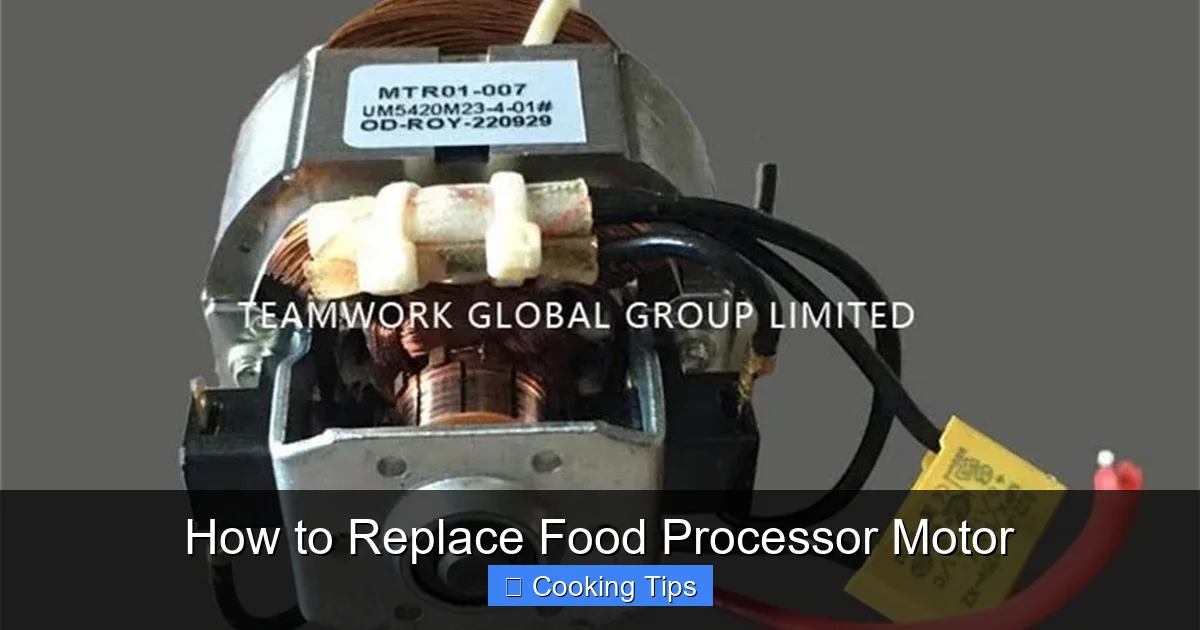
Visual guide about How to Replace Food Processor Motor
Image source: tw-motor.com
Disconnect Electrical Connections
The motor will be connected to the appliance’s power cord and possibly a control board via wires.
- Identify wires: Note the color and position of each wire connected to the motor terminals. This is where your photos are essential.
- Disconnect wires: Wires may be attached with spade connectors that can be gently pulled off with pliers, or they might be permanently attached. If they are permanently attached, you may need to cut them, leaving enough of the wire attached to the motor to identify where they connect on the new motor. If you cut wires, make sure to leave enough length to work with.
- Use wire strippers if necessary: If there are any wires that need to be cut or if you need to expose more wire for reconnection, use your wire stripper/cutter carefully.
Detach the Motor from its Mounts
The motor is typically secured to the base with screws or mounting brackets.
- Locate mounting screws/brackets: Identify the screws or clamps holding the motor in place.
- Remove mounting hardware: Unscrew any mounting screws or loosen any clamps.
- Lift out the motor: Carefully lift the old motor out of the base. It might be a snug fit, so gentle wiggling might be required. Be careful not to strain any wires still connected to other components.
Step 5: Install the New Motor
With the old motor out, it’s time to put the new one in its place.
Position the New Motor
- Align correctly: Carefully place the new motor into the base, aligning it with the mounting points. Ensure the drive shaft is oriented correctly to connect to the appliance’s drive mechanism.
- Secure the motor: Reinstall the mounting screws or brackets, tightening them firmly but without over-tightening, which could strip the threads or crack plastic.
Connect Electrical Wires
This is where your meticulous documentation from Step 4 becomes critical.
- Refer to your photos/notes: Match the wires from the appliance to the corresponding terminals on the new motor. If the original wires were cut, you’ll need to strip a small portion of insulation from the ends of the appliance wires and the new motor wires (if not pre-stripped) to make a good connection.
- Make secure connections:
- Spade connectors: If your new motor uses spade connectors, push them firmly onto the motor terminals. Ensure they are snug and won’t easily pull off.
- Wire nuts: If you had to cut wires and are using wire nuts, twist the stripped ends of the appliance wire and the motor wire together clockwise into a wire nut until they are securely fastened.
- Soldering (advanced): For a more permanent and robust connection, you can solder the wires together and then cover the joint with heat-shrink tubing. This is generally not necessary for most food processors unless specified by the motor manufacturer.
- Insulate connections: If you’re not using wire nuts or heat shrink tubing, wrap each connection thoroughly with electrical tape to prevent short circuits.
- Tidy up wiring: Ensure all wires are routed neatly and are not likely to snag on moving parts when the appliance is reassembled.
Step 6: Reassemble the Food Processor
Putting your food processor back together is essentially the reverse of disassembly.
Reattach the Casing
- Align the halves: Carefully bring the two halves of the base casing back together. Ensure any internal clips or tabs align correctly before you try to snap them into place.
- Press to secure: Gently press the casing sections together. You should hear and feel them click into place as the clips engage.
- Reinstall screws: Replace all the screws you removed in Step 3. Make sure to use the correct screw in each location. Tighten them until snug.
Replace Rubber Feet/Stickers
If you removed rubber feet or stickers that hid screws, reattach them now.
Step 7: Test the Food Processor
The moment of truth! It’s time to see if your hard work has paid off.
Initial Power-Up
- Plug it in: Connect the food processor to the power outlet.
- Turn it on: With no attachments or food inside, press the power button.
Listen and Observe
You should hear the motor hum to life, and the drive shaft (if visible) should spin smoothly.
Test with Attachments
If the initial test is successful, try using a basic attachment like the blade or disc. Process a small amount of something simple like water or a few ice cubes to ensure everything is functioning as expected.
Troubleshooting
Even with careful work, issues can arise. Here are a few common problems and their solutions:
- Food processor still doesn’t turn on:
- Check power connections again: Ensure the plug is secure and the outlet is live.
- Verify internal wiring: Open the base again and double-check all electrical connections. A loose wire is a common culprit.
- Safety interlocks: Make sure the lid and bowl are seated correctly, engaging the safety switches.
- Faulty new motor: Though rare, the new motor could be defective. Contact your supplier.
- Motor runs but sounds strange or struggles:
- Drive shaft alignment: Ensure the motor’s drive shaft is perfectly aligned with the appliance’s drive mechanism.
- Obstruction: Check for any debris or foreign objects that might be preventing smooth operation.
- Loose mounting: The new motor might not be secured tightly enough.
- Smell of burning:
- Immediate unplug: If you smell burning, unplug the unit immediately.
- Wiring issue: This often indicates a short circuit or a faulty connection. Carefully inspect all wiring.
- Defective motor: The new motor might be faulty.
Conclusion
Replacing a food processor motor is a rewarding DIY project that can significantly extend the life of your beloved kitchen appliance. By following these detailed steps, taking your time, and prioritizing safety, you can successfully tackle this repair. Remember to document your disassembly process with photos, use the right tools, and ensure you have the correct replacement motor for your specific model. Don’t let a silent motor lead to a costly replacement of the entire unit. With a little effort, your food processor can be back to making delicious meals and treats in no time!