
Is your food processor’s shaft damaged or worn? This comprehensive guide will walk you through the process of replacing your food processor shaft step-by-step. We’ll cover identifying the problem, gathering necessary tools, safely disassembling your appliance, and reassembling it with a new shaft. Follow these instructions carefully for a successful repair and to extend the life of your food processor.
How to Replace Food Processor Shaft
Your food processor is a kitchen workhorse, tackling everything from chopping onions to pureeing soups. But what happens when its crucial component, the shaft, starts acting up? A worn or broken food processor shaft can render your appliance useless, leading to wobbling blades, strange noises, or even a complete failure to spin. Don’t despair! Replacing a food processor shaft is a manageable DIY task that can save you money and keep your beloved appliance in action.
This comprehensive guide will equip you with the knowledge and step-by-step instructions needed to successfully replace your food processor shaft. We’ll cover everything from identifying the problem to safely disassembling your appliance, installing the new part, and putting it all back together. By the end of this guide, you’ll be well-prepared to tackle this repair with confidence.
Key Takeaways
- Identify the Problem: Learn to recognize common signs of a damaged food processor shaft, such as unusual noises, wobbling blades, or complete failure to spin.
- Gather Your Tools: Essential tools for replacing a food processor shaft typically include screwdrivers, pliers, a bowl for parts, and a replacement shaft.
- Safety First: Always unplug your food processor before beginning any disassembly to prevent electric shock.
- Careful Disassembly: Follow the step-by-step instructions to safely take apart your food processor, keeping track of all screws and small parts.
- Installation of the New Shaft: Learn how to properly align and secure the new food processor shaft to ensure it functions correctly.
- Reassembly and Testing: Put your food processor back together, ensuring all parts are fitted correctly, and test its functionality.
- Troubleshooting Common Issues: Understand how to address potential problems that might arise during or after the replacement process.
Understanding the Food Processor Shaft
Before we dive into the replacement process, let’s briefly understand what the food processor shaft is and why it’s so important. The shaft is the central spindle that extends from the motor base through the processing bowl. It’s responsible for rotating the blades or discs at high speeds, allowing your food processor to perform its various functions. The shaft typically connects to a motor gear and is designed to be durable, but over time and with heavy use, it can wear out or even break.
Signs You Might Need to Replace Your Food Processor Shaft
Several indicators suggest that your food processor shaft might be failing. Being aware of these signs can help you catch a problem early and prevent further damage:
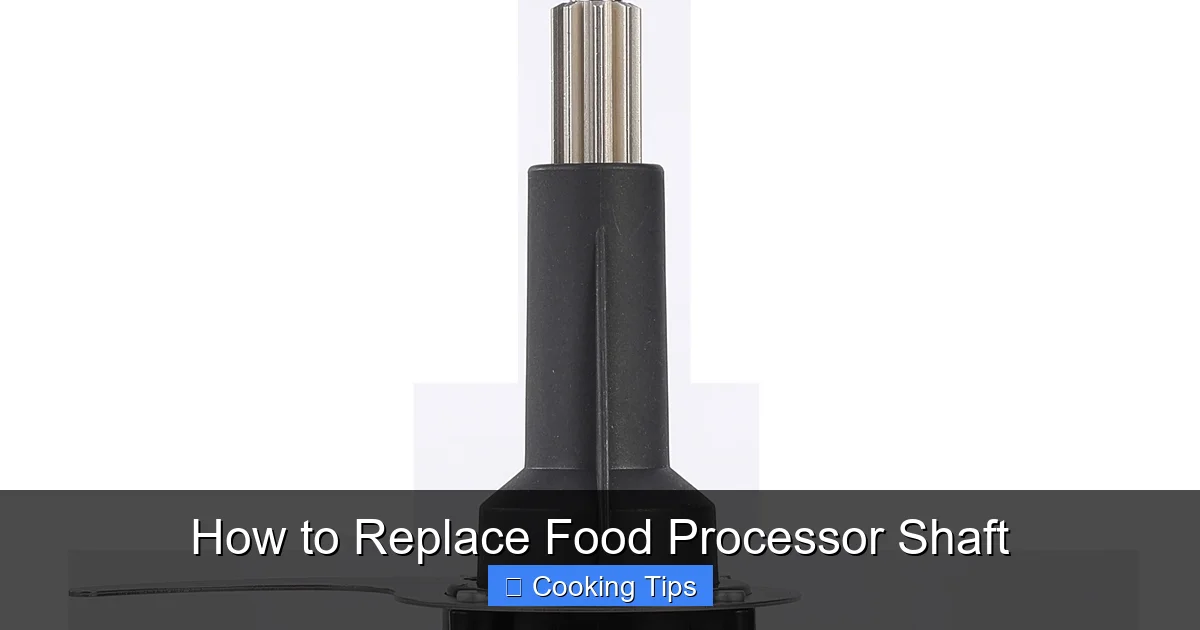
Visual guide about How to Replace Food Processor Shaft
Image source: magiccos.co
- Unusual Noises: Grinding, rattling, or clicking sounds coming from the base of the food processor during operation are strong indicators of a damaged shaft or its bearings.
- Wobbling Blades: If the blades seem loose, wobble excessively, or don’t spin smoothly, the shaft might be bent or the connection between the shaft and the blade adapter is compromised.
- Inconsistent Performance: Your food processor might struggle to chop or blend ingredients evenly, or it might stop intermittently.
- Difficulty Attaching/Detaching Accessories: If blades, discs, or other attachments don’t fit snugly onto the shaft or are difficult to remove, it could be due to a worn or damaged shaft.
- Visible Damage: In some cases, you might be able to see cracks, bends, or significant wear on the shaft itself, especially if you’ve had a severe accident with your appliance.
- Motor Runs, Blades Don’t: If you can hear the motor running but the blades aren’t moving at all, the connection between the motor and the shaft has likely been severed or the shaft itself has failed internally.
If you’re experiencing one or more of these symptoms, it’s time to consider replacing your food processor shaft.
Step 1: Gather Your Tools and Materials
Before you begin, ensure you have all the necessary tools and materials at hand. This will make the process smoother and prevent you from having to stop midway.
Visual guide about How to Replace Food Processor Shaft
Image source: res.cloudinary.com
Essential Tools:
- Screwdriver Set: You’ll likely need a few different sizes of Phillips head and possibly flathead screwdrivers. Some food processors use Torx screws, so a Torx bit set might also be necessary.
- Pliers: Needle-nose pliers can be helpful for gripping small parts and removing stubborn screws or clips.
- Small Bowl or Container: This is crucial for keeping all the screws, clips, and small parts organized as you disassemble your food processor.
- Replacement Food Processor Shaft: This is the most important part! Ensure you order the correct replacement shaft for your specific food processor model. Refer to your owner’s manual or the manufacturer’s website for the part number.
- Gloves (Optional but Recommended): To keep your hands clean and provide a better grip.
- Soft Cloth or Paper Towels: For cleaning parts as you go.
- Owner’s Manual: Keep your food processor’s owner’s manual handy, as it might have specific disassembly or reassembly diagrams.
Finding the Right Replacement Shaft:
This is a critical step. You cannot use a generic shaft; it must be an exact match for your food processor model. Here’s how to find the right one:
- Check Your Owner’s Manual: Most manuals list part numbers for components.
- Manufacturer’s Website: Visit the official website of your food processor’s brand. They often have a “Parts” or “Support” section where you can search by model number.
- Appliance Parts Retailers: Online retailers specializing in appliance parts are excellent resources. Input your model number to find compatible parts.
- Contact Customer Support: If you’re unsure, reach out to the manufacturer’s customer support. They can help you identify the correct part number.
Tip: Take a clear photo of your food processor’s model number (usually found on the bottom or back of the base) before you start searching for parts.
Step 2: Safety First – Unplug Your Food Processor
This cannot be stressed enough: always unplug your food processor from the power outlet before you begin any disassembly. Working with an appliance that is plugged in is extremely dangerous and can lead to severe electric shock. Ensure the power cord is completely detached from the wall socket.
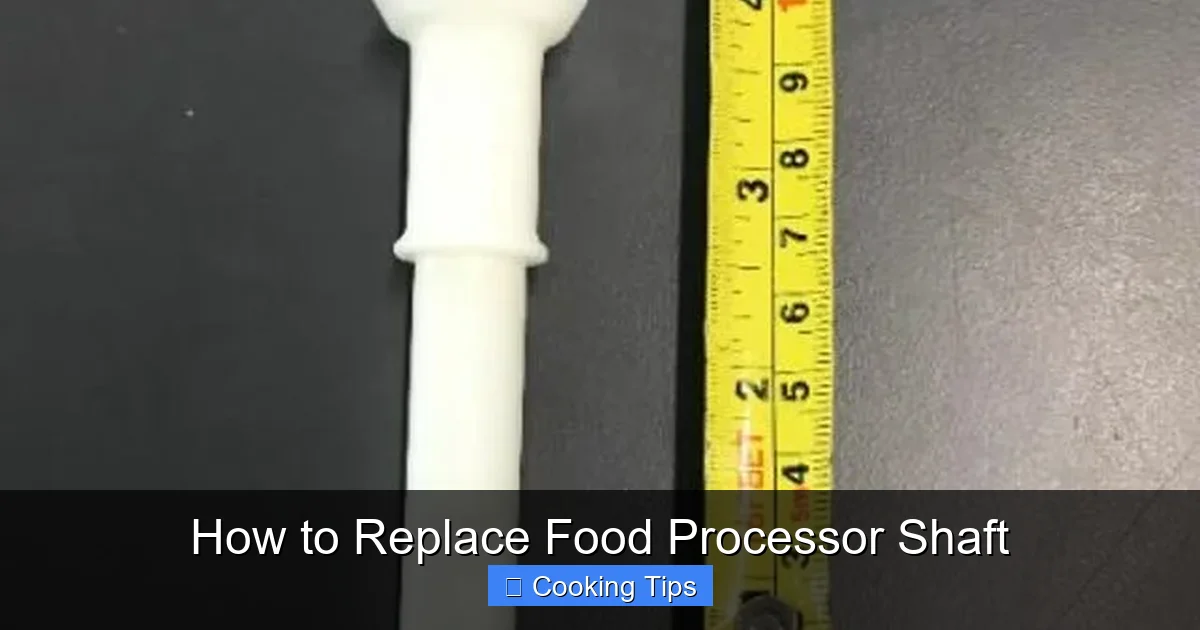
Visual guide about How to Replace Food Processor Shaft
Image source: foodequipment.co.nz
Step 3: Disassembling Your Food Processor
This is where you’ll need patience and a systematic approach. The exact disassembly process will vary slightly depending on your food processor’s make and model, but the general principles are the same. Keep your organized bowl of parts close by.
H3: Accessing the Base Unit
Most food processor shafts are housed within the motor base. You’ll need to remove the outer casing of the base to access the internal components.
- Flip the Unit: Carefully turn your food processor upside down.
- Locate Screws: Look for screws on the bottom of the base unit. These are often Phillips head screws. Some manufacturers hide these screws under rubber feet or stickers. Gently pry these covers off if necessary to reveal the screws.
- Remove Screws: Using the appropriate screwdriver, carefully remove all the screws holding the bottom casing in place. Place these screws in your organized bowl.
- Gently Separate Casing: Once all screws are removed, you should be able to gently pull apart the bottom casing from the main unit. Sometimes, there might be clips holding it in place, so if it doesn’t come apart easily, don’t force it. Look for any remaining attachment points.
H3: Identifying and Removing the Old Shaft
With the base casing removed, you should now see the internal workings of your food processor, including the motor and the shaft assembly.
- Locate the Shaft: The shaft will be the central metal spindle extending upwards from the motor. You’ll likely see gears connected to the motor that drive the shaft.
- Examine the Connection: Observe how the shaft is connected to the motor’s drive mechanism. It might be directly attached to a gear, or there might be a separate coupling.
- Remove Securing Mechanisms: Depending on the model, the shaft might be held in place by screws, a retaining clip, or a snap ring. You might need pliers or a screwdriver to carefully remove these.
- Gently Detach the Shaft: Once any securing mechanisms are removed, you should be able to carefully pull the old shaft upwards and out of the base. It might require a slight wiggle. If it’s stuck, do not force it, as you could damage other internal components. Sometimes, a bit of gentle prying with a flathead screwdriver from the underside might help, but be very careful.
- Inspect Surrounding Parts: While you have the unit disassembled, take a moment to inspect the motor gear and any other components around the shaft for wear or damage.
Practical Tip: Take photos or short videos as you disassemble. This can be incredibly helpful when you’re putting everything back together, especially if you get stuck!
Step 4: Installing the New Food Processor Shaft
Now it’s time to install the shiny new food processor shaft. This process should generally be the reverse of removal.
- Align the New Shaft: Carefully position the new shaft into its place within the base. Ensure it’s oriented correctly to connect with the motor’s drive gear.
- Ensure Proper Seating: Gently push the shaft down until it’s fully seated and aligned with the motor’s drive mechanism. You should feel it connect smoothly.
- Secure the Shaft: Reinstall any screws, clips, or retaining rings that you removed in the previous step. Make sure these are tightened or secured properly but do not overtighten, especially if dealing with plastic components.
- Check for Smooth Rotation: Before reassembling the casing, gently try to rotate the shaft by hand to ensure it moves freely and without any resistance or strange noises.
Step 5: Reassembling Your Food Processor
Once the new shaft is securely in place and you’ve confirmed it rotates smoothly, it’s time to put your food processor back together.
- Reattach the Casing: Carefully align the bottom casing with the main unit. Ensure no wires are pinched between the two parts.
- Replace Screws: Reinsert all the screws you removed in Step 3. Tighten them securely, but again, avoid overtightening, especially if the casing is plastic.
- Reattach Any Covers or Feet: If you removed any rubber feet or protective covers, reattach them now.
- Final Check: Ensure all parts are flush and secure.
Step 6: Testing Your Repaired Food Processor
The moment of truth! It’s time to test your newly repaired food processor.
- Plug It In: Connect the power cord back to the wall outlet.
- Test Without Load: First, turn on the food processor without any accessories or food in the bowl. Listen for any unusual noises and observe if the shaft spins smoothly.
- Test with Light Load: Then, attach the blade or a disc and process a small amount of soft food, like a banana or some cooked vegetables. Observe how it performs.
- Test with Heavier Load: Finally, try processing something a bit more challenging to ensure the repair was successful.
Troubleshooting Common Issues
Even with careful work, you might encounter a few hiccups. Here are some common issues and how to address them:
- Problem: Food processor still not working or making noise.
- Possible Cause: Shaft not seated correctly, motor gear not engaging properly, or another internal component is damaged.
- Solution: Unplug the unit again and carefully re-examine the shaft installation. Ensure the motor gear is meshing correctly with the shaft. If the problem persists, there might be damage to the motor itself, and professional repair or replacement might be needed.
- Problem: Blades still wobble.
- Possible Cause: The new shaft is slightly bent, or the blade adapter itself is damaged.
- Solution: Double-check the new shaft for any visible bends. If it appears straight, try a different blade or disc assembly to see if the wobble persists. If it does, the issue might be with the connection point on the main shaft.
- Problem: Unit feels unstable or vibrates excessively.
- Possible Cause: Casing not reassembled properly, or the shaft is not balanced.
- Solution: Ensure all casing screws are tightened evenly. If the vibration is significant and the shaft appears to be spinning true, the shaft itself might be slightly unbalanced, though this is less common with genuine replacement parts.
- Problem: Screws stripped or won’t tighten.
- Possible Cause: Over-tightening or using the wrong screwdriver size.
- Solution: For stripped screws, you might need a screw extractor kit. If screws aren’t tightening, ensure you’re using the correct size and type of screw. If the hole is damaged, you might need to use a slightly larger screw or a plastic repair epoxy if possible, but this is a more advanced fix.
Conclusion
Replacing a food processor shaft might seem daunting at first, but by following these detailed steps, you can successfully bring your kitchen appliance back to life. Remember to prioritize safety, work systematically, and be patient. With a little effort and the right replacement part, you can avoid the cost of buying a new food processor and continue to enjoy its convenience for years to come. Happy processing!