
Don’t let a dull serrated knife frustrate you in the kitchen! This comprehensive guide, updated for 2026, will teach you exactly how to sharpen a serrated kitchen knife effectively. We’ll cover the best tools and techniques, from manual sharpening rods to electric sharpeners, ensuring your knife regains its cutting power. Follow our easy steps and enjoy a sharper, more efficient culinary experience.
How to Sharpen a Serrated Kitchen Knife
Welcome to your definitive guide on how to sharpen a serrated kitchen knife! In the fast-paced world of culinary arts, especially as we navigate 2026, a sharp knife isn’t just a convenience; it’s a necessity. While many home cooks shy away from sharpening their serrated knives, fearing they’ll ruin them, the truth is that with the right techniques and tools, you can restore that signature “sawing” efficiency to your bread knife, steak knives, and even some utility knives.
Straight-edged knives are relatively straightforward to sharpen. You glide them along a whetstone or a sharpening steel, maintaining a consistent angle across the entire blade. Serrated knives, however, present a unique challenge. Their toothed edges require a more nuanced approach. Each tiny peak and valley on a serrated blade needs individual attention. But don’t worry, this guide will break down the process into simple, manageable steps, empowering you to tackle this task with confidence.
By the end of this guide, you’ll understand:
- Why serrated knives need a different sharpening method.
- The best tools for the job.
- The precise technique for sharpening each serration.
- How to test your results safely.
- Tips for maintaining your newly sharpened edge.
Let’s dive in and bring your serrated knives back to their prime!
Key Takeaways
- Understanding Serrations: Serrations work like tiny saws, requiring a different sharpening approach than straight-edged blades. You’ll focus on sharpening each individual “valley” and “peak.”
- Choosing the Right Tool: Select a sharpening tool that matches the angle and size of your knife’s serrations. Sharpening rods, specialized diamond files, and some electric sharpeners are excellent choices.
- Proper Angle is Crucial: Maintaining the correct angle on each serration is vital for an effective sharpen. This typically means holding the sharpening tool at a consistent angle relative to the blade’s edge.
- Sharpening Direction Matters: Always sharpen from the heel of the blade towards the tip, following the curve of each serration. This prevents damage and ensures an even edge.
- Consistent Pressure is Key: Apply firm but gentle, consistent pressure throughout the sharpening process. Too much pressure can damage the serrations, while too little won’t achieve a sharp edge.
- Checking for Sharpness: Learn how to safely test your knife’s sharpness after sharpening without cutting yourself. A clean slice through paper is a good indicator.
- Maintenance for Longevity: Proper cleaning and storage after sharpening will help your serrated knife maintain its edge for longer.
Understanding the Serrated Edge
Before we begin sharpening, it’s crucial to understand how serrated blades work. Think of them as miniature saws. Each “peak” or tooth on the blade acts as a point, while the “valleys” between them create small air pockets. When you cut with a serrated knife, these teeth bite into the material, and the air pockets reduce friction. This design is particularly effective for cutting through tough exteriors and soft interiors, like crusty bread, ripe tomatoes, or even fibrous meats.
Because of this saw-like action, you don’t sharpen a serrated knife the same way you would a straight-edged blade. Instead of creating a single bevel along the entire edge, you’ll be sharpening the angled sides of each individual tooth. This means your focus shifts from the broad sweep of a whetstone to the precise application of an abrasive material to each tiny point.
Choosing Your Sharpening Tool
The key to successfully sharpening a serrated knife lies in using the right tool. This tool needs to be small enough to fit into the valleys of your serrations and have an abrasive surface that can hone the edge of each tooth. Here are the most common and effective options:
Visual guide about How to Sharpen a Serrated Kitchen Knife
Image source: knivesacademy.com
Sharpening Rods (Conical or Tapered)
These are the most traditional and often the most effective tools for serrated knives. They are typically made of ceramic, diamond-impregnated steel, or hardened steel. Their tapered or conical shape allows you to match the angle of the serrations more easily. Diamond rods are excellent because they are very hard and durable, offering a consistent sharpening surface.
Specialized Ceramic or Diamond Files
Some companies offer small, narrow ceramic or diamond files specifically designed for sharpening serrations. These can be very precise and easy to control, especially for smaller or more intricate serrations.
Electric Sharpeners with Serration Slots
In 2026, electric sharpeners have become increasingly sophisticated. Many high-quality electric sharpeners now feature specific slots designed for serrated knives. These are often the quickest option, but it’s crucial to use one specifically designed for serrations to avoid damaging your blade. Always follow the manufacturer’s instructions carefully with electric sharpeners.
What to Avoid
Standard Whetstones: Unless you have a very fine-grit whetstone and the skill to meticulously sharpen each serration individually, a standard whetstone is not ideal for serrated knives. It’s difficult to maintain the correct angle and can result in an uneven edge.
Pull-Through Sharpeners: Most basic pull-through sharpeners are designed for straight edges and can chew up and damage the delicate teeth of a serrated knife.
Step-by-Step Sharpening Guide
Once you have your chosen sharpening tool, it’s time to get to work. We’ll focus on the most common method: using a sharpening rod. The principles apply to specialized files as well.
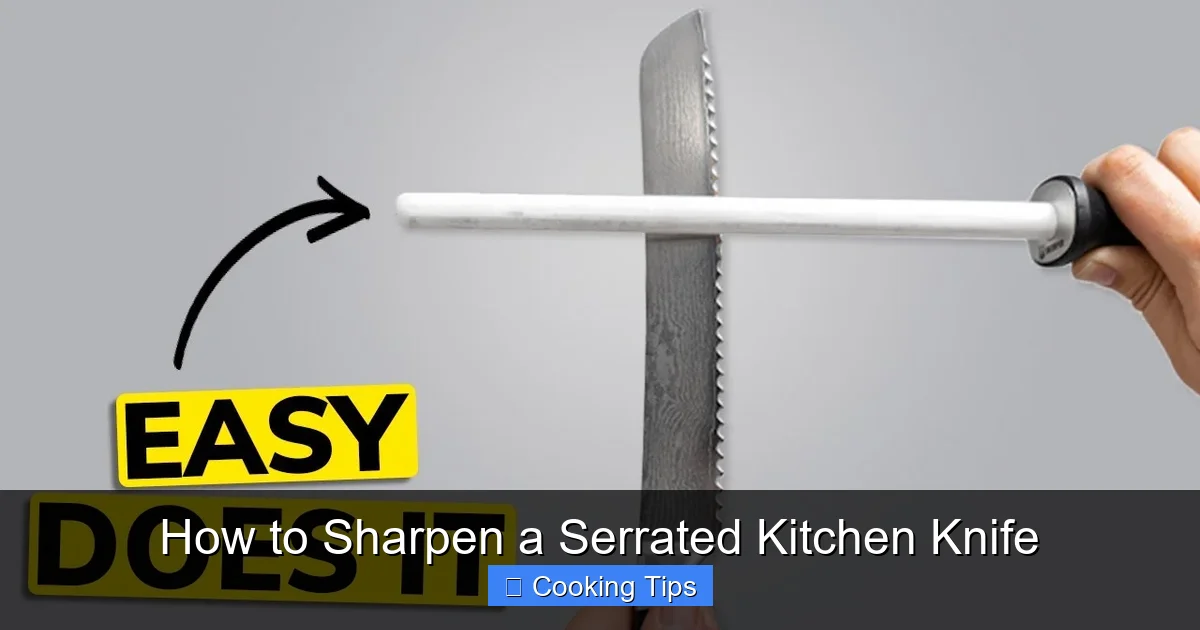
Visual guide about How to Sharpen a Serrated Kitchen Knife
Image source: i.ytimg.com
Step 1: Prepare Your Workspace and Knife
Find a stable, well-lit surface to work on. Ensure you have good control over your movements. Wipe your serrated knife clean with a damp cloth and dry it thoroughly. You don’t want any food residue interfering with the sharpening process.
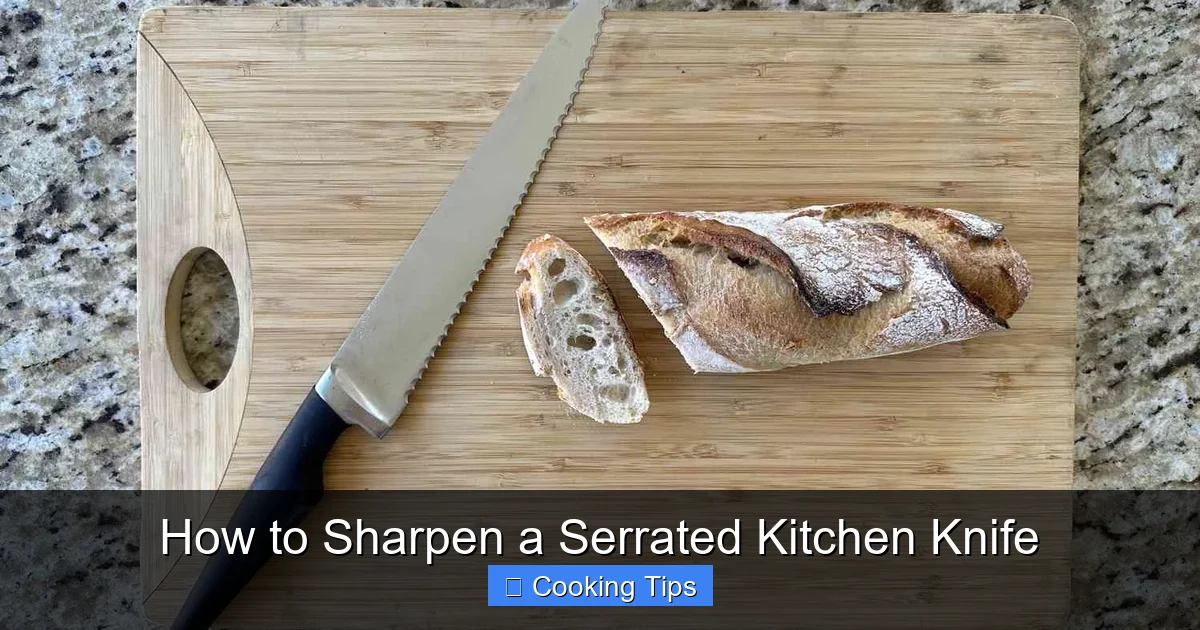
Visual guide about How to Sharpen a Serrated Kitchen Knife
Image source: foodandwine.com
Step 2: Secure Your Knife
For safety and control, it’s best to secure your knife. You can do this by:
- Placing it on a non-slip mat: A damp kitchen towel can also work to prevent it from sliding.
- Holding the handle firmly: Make sure your grip is secure but not tense.
Step 3: Identify the Sharpening Angle
This is the most critical step. Look closely at your serrated knife. You’ll notice that each tooth has two angled edges. The goal is to sharpen these edges. Most serrated knives have a relatively shallow angle, often between 15-20 degrees per side. For many common kitchen serrated knives, the angle of the sharpening rod should align with the angle of the serration’s edge. Imagine you’re trying to match the angle of the rod to the angle of one of the teeth.
Tip: If you’re unsure, look at how the original bevel is ground on your knife. The angle of your sharpening rod should mimic that angle.
Step 4: Begin Sharpening the First Side
Start at the heel of the blade (the part closest to the handle) and work your way towards the tip.
- Position the rod: Place the tip of your sharpening rod into the first valley, aligning it with the angled edge of the tooth.
- Maintain the angle: Hold the rod at the correct angle, consistently matching the angle of the serration.
- Sharpening motion: Apply gentle, consistent pressure as you draw the rod outwards, away from the blade, in a single, smooth stroke. Think of it as following the curve of the serration. You’re not sawing back and forth like you would with a straight edge; it’s a single pull from heel to tip.
- Move to the next serration: Lift the rod slightly, move it to the next valley, and repeat the stroke.
- Work across the blade: Continue this process, moving down the entire length of the blade, sharpening each serration on that side.
How many strokes? Aim for 5-10 strokes per serration on the first side. It’s better to do a few light strokes on each serration than a few heavy strokes on just one. You can always add more later.
Step 5: Sharpen the Second Side
Now, you’ll repeat the process on the other side of the blade. This is where things can get a little trickier, as you’ll be sharpening the opposite bevel of each tooth.
- Adjust the angle: You may need to slightly adjust the angle of your rod to match the bevel on the second side. Again, aim to mirror the original grind of the knife.
- Maintain consistency: Just like the first side, use a consistent pressure and angle for each stroke.
- Heel to tip: Work from the heel to the tip, single strokes for each serration.
- Number of strokes: Use the same number of strokes as you did on the first side, or slightly fewer, as you are refining the edge.
Important Note: Some serrated knives only have a bevel on one side of each tooth. Examine your knife carefully. If this is the case, you’ll only need to sharpen one side of each serration. Most common kitchen serrated knives have bevels on both sides.
Step 6: Deburr the Blade
After sharpening both sides, there might be tiny metal burrs along the edge. To remove these, you’ll use very light strokes.
- One light stroke per serration: On each side of the blade, make one extremely light “finishing” stroke with the rod on each serration. The pressure should be so light you’re barely touching the blade. This helps to align and remove any lingering burrs.
Step 7: Test for Sharpness
Safety first! Never test sharpness by running your finger along the blade.
- The Paper Test: The best way to test is to hold a sheet of paper (like printer paper) vertically and try to slice through it with your knife. A sharp serrated knife should slice cleanly through the paper with minimal effort and no tearing.
- Observe the cut: If the paper tears or requires significant force, your knife still needs more sharpening. If it glides through, you’ve done a great job!
Step 8: Clean and Store
Wipe your knife clean with a damp cloth to remove any metal filings. Dry it thoroughly. Store your knife safely in a knife block, magnetic strip, or blade guard to protect the newly sharpened edge.
Troubleshooting Common Issues
My knife still feels dull.
Cause: You might not have sharpened every serration sufficiently, or the angle might have been incorrect. Or, the sharpening tool might be worn out.
Solution: Go back and carefully re-sharpen each serration, focusing on maintaining a consistent angle. Ensure you’re using enough strokes (5-10 per serration on each side). If using a diamond rod, check if it feels smooth; it might be worn out and need replacement. If using an electric sharpener, ensure you followed the correct slot and technique.
The edge looks uneven.
Cause: Inconsistent angle or pressure during sharpening, or the sharpening tool might be too large for the serrations.
Solution: Practice maintaining a steady angle. If using a rod, try to feel the angle of the serration. For very fine serrations, a specialized narrow file might be a better choice than a thick rod.
I feel like I’m damaging the teeth.
Cause: Applying too much pressure or using the wrong sharpening tool.
Solution: Use lighter pressure. The goal is to hone the existing edge, not to grind away large amounts of metal. Ensure your sharpening tool is appropriate for the size of your serrations.
Maintaining Your Sharpened Serrated Knife
Sharpening is only part of the equation. Proper care will ensure your knife stays sharp longer:
- Clean Immediately After Use: Wash your serrated knife by hand with warm, soapy water as soon as possible after using it. Avoid the dishwasher, as the high heat and harsh detergents can dull the edge and damage the handle.
- Dry Thoroughly: Always dry your knife completely after washing. Rust and corrosion are enemies of a sharp edge.
- Use the Right Cutting Surface: Always use a wooden or bamboo cutting board. Plastic and glass boards are too hard and will dull your knife quickly.
- Store Properly: As mentioned, use a knife block, magnetic strip, or sheath. Never toss it loose into a drawer where it can bang against other utensils.
- Honing vs. Sharpening: For serrated knives, “honing” (realignment of the edge) is very difficult and often not recommended for home users. You are primarily sharpening them.
Conclusion
Sharpening a serrated kitchen knife might seem daunting, but with the right knowledge and tools, it’s a manageable and rewarding skill. By understanding the unique nature of the serrated edge and following these step-by-step instructions, you can transform a dull, frustrating blade into a precision cutting instrument once again. Remember to choose the right tool, maintain a consistent angle, and work with patience and care. Regularly sharpening your serrated knives not only makes your cooking easier and more enjoyable but also ensures the longevity of your valuable kitchen tools. Happy sharpening!