
Don’t let dull fabric scissors ruin your sewing projects! You can easily sharpen them using a common kitchen knife sharpener, saving you money and frustration. This guide provides step-by-step instructions for achieving a sharp, precise edge that will make fabric cutting a breeze again.
- Sharpening fabric scissors with a kitchen knife sharpener is a viable and cost-effective solution for restoring their cutting ability.
- Proper preparation is crucial, ensuring your scissors are clean and that you have a stable workspace.
- Understanding your knife sharpener’s mechanism (slot type, angle) is key to matching it to your scissors.
- Gentle, consistent strokes are more effective than aggressive sawing motions to avoid damaging the scissor blades.
- Testing the sharpness after each stage helps you know when to stop and prevents over-sharpening.
- Regular cleaning and proper storage will help maintain the sharpness of your scissors long-term.
How to Sharpen Fabric Scissors with Kitchen Knife Sharpener
Are your favorite fabric scissors starting to feel a bit… sluggish? Do they chew and snag your beautiful fabrics instead of gliding through them with a satisfying snip? You’re not alone! Many crafters and home sewers face this common problem. The good news is, you don’t always need specialized tools or a trip to a professional sharpener to bring those dull blades back to life. In fact, that trusty kitchen knife sharpener you have in your drawer might just be the hero your fabric scissors need. In this guide, we’ll walk you through exactly how to sharpen your fabric scissors using a kitchen knife sharpener, ensuring your sewing projects are a joy from start to finish, even in 2026!
We’ll cover everything from preparing your scissors to the actual sharpening process, and even offer some tips to keep them in top condition. Get ready to experience the joy of perfectly clean cuts again!
Why Sharpen Your Fabric Scissors?
Fabric scissors are designed with a specific, fine edge meant for precision cutting. Over time, this edge can become dull due to regular use. Tiny nicks and abrasions form on the blade, making it harder for them to slice cleanly through material. Using dull scissors not only makes sewing more frustrating but can also damage your fabric, leading to fraying and uneven seams. Sharpening them restores that crisp, clean cutting action.
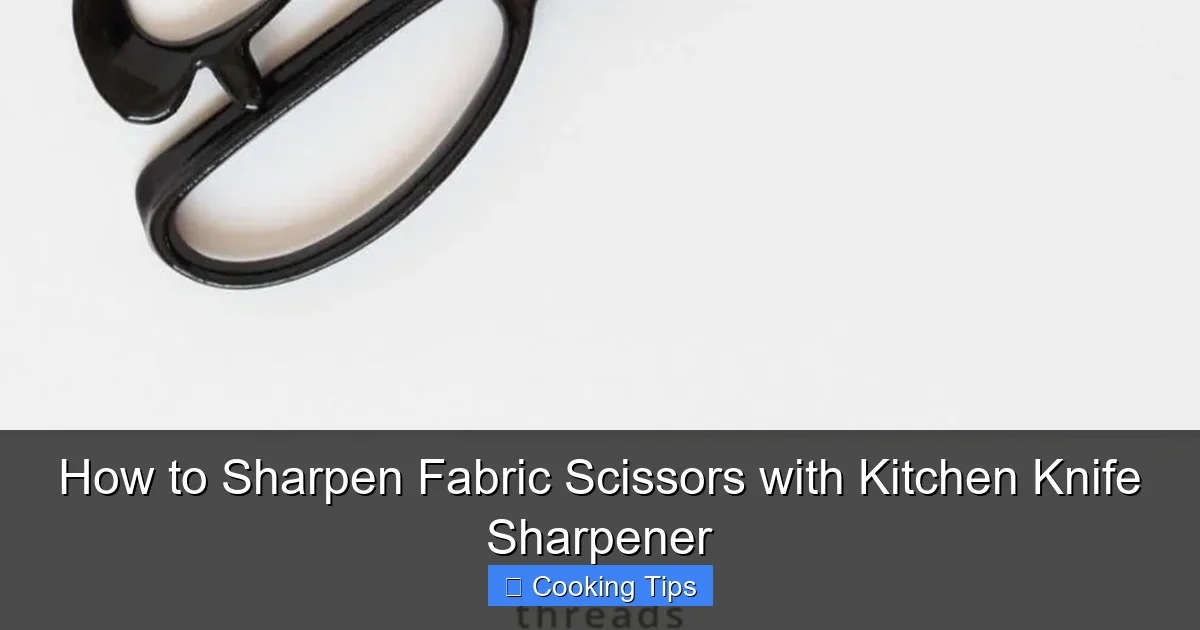
Visual guide about How to Sharpen Fabric Scissors with Kitchen Knife Sharpener
Image source: i.pinimg.com
Understanding Your Kitchen Knife Sharpener
Most modern kitchen knife sharpeners have multiple slots designed for different stages of sharpening and honing. These often include a coarse slot for repairing chips and a fine slot for refining the edge. The angle at which the blade is pulled through these slots is pre-set, which is why they are generally easy to use. For fabric scissors, which have a similar blade angle to kitchen knives, this pre-set angle is often perfect.
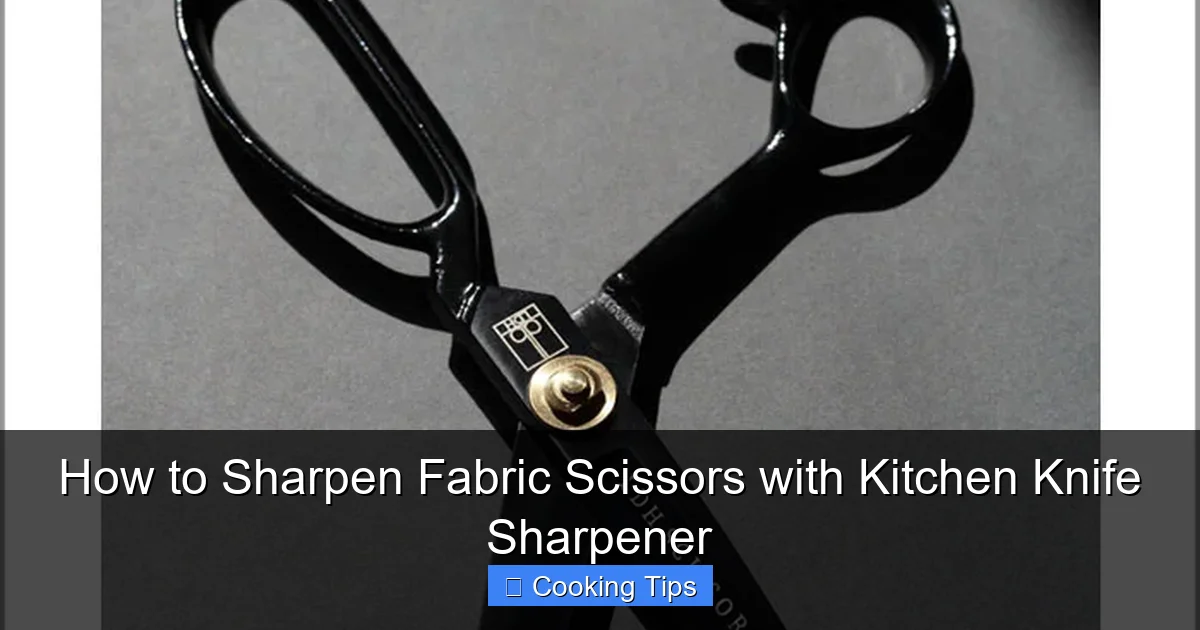
Visual guide about How to Sharpen Fabric Scissors with Kitchen Knife Sharpener
Image source: threadsmonthly.com
Step-by-Step Guide to Sharpening Fabric Scissors
Let’s get started on bringing your fabric scissors back to their former glory. Remember, patience and a gentle touch are key.
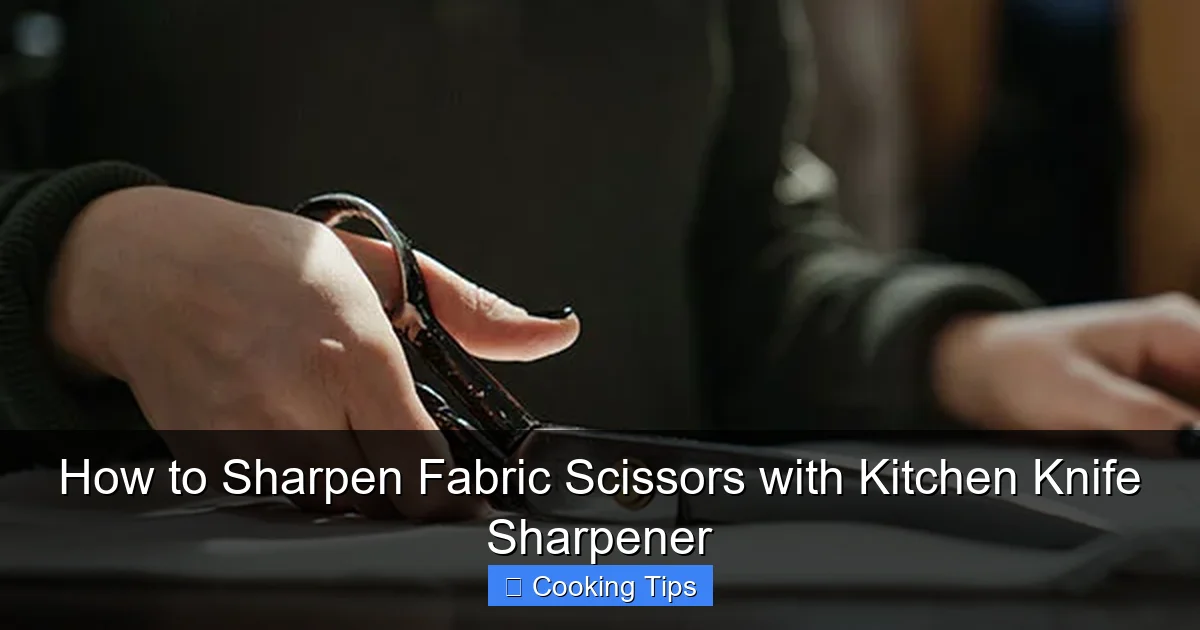
Visual guide about How to Sharpen Fabric Scissors with Kitchen Knife Sharpener
Image source: threadsmonthly.com
Step 1: Gather Your Supplies
Before you begin, make sure you have everything you need:
- Your dull fabric scissors
- A clean kitchen knife sharpener (preferably a manual, multi-stage one)
- A soft cloth or paper towels for cleaning
- Optional: A small amount of mild soap and water for cleaning scissors
Step 2: Clean Your Scissors
Dirt, lint, and thread residue can interfere with the sharpening process and even dull the sharpener. Give your scissors a thorough cleaning.
H3: Wash and Dry
If your scissors are visibly dirty, wash them with mild soap and warm water. Rinse them well and dry them completely with a soft cloth. Ensure no moisture remains, as this can lead to rust.
H3: Wipe Down Blades
Even if they don’t look dirty, give each blade a good wipe down with a dry cloth to remove any dust or oil.
Step 3: Prepare Your Workspace
You need a stable surface to work on. Make sure your knife sharpener is placed on a flat, non-slip area. If your sharpener doesn’t have a non-slip base, you might want to place a damp cloth underneath it to prevent it from sliding while you work.
Step 4: Identify the Sharpening Slots
Most kitchen knife sharpeners have at least two slots: a coarser one (often labeled 1 or Coarse) and a finer one (often labeled 2 or Fine). The coarse slot is for reshaping the blade edge, and the fine slot is for honing and polishing it to a keen sharpness. For fabric scissors, you’ll likely want to start with the coarse slot if they are very dull, and then move to the fine slot.
Step 5: Sharpening the First Blade
Now for the main event! We’ll tackle one blade at a time.
H3: Align the Scissors
Open your fabric scissors so the blades are at roughly a 90-degree angle. You’ll be sharpening one blade at a time.
H3: Insert and Pull Through Coarse Slot (If Needed)
Start with the coarse slot if your scissors are significantly dull or have small imperfections. Carefully insert the edge of one scissor blade into the designated coarse slot. Hold the handle of the scissors firmly but gently. Pull the scissor blade through the slot with a steady, even pressure. Imagine you are slicing a very thin piece of material. Do not saw back and forth; a single, smooth pull is best.
Tip: Aim for a consistent angle as you pull. Most kitchen knife sharpeners are designed for a specific angle (usually around 20 degrees), so just follow the natural path of the slot.
H3: Repeat for Consistency
Repeat this pulling motion 3-5 times on the coarse slot for the first blade. Make sure to pull from the heel of the blade (closest to the pivot) to the tip.
H3: Move to the Fine Slot
Once you’ve used the coarse slot, move to the fine slot. Insert the same scissor blade into the fine slot. Perform another 3-5 smooth, consistent pulls from heel to tip.
Step 6: Sharpening the Second Blade
Now, repeat the entire process for the other scissor blade. Ensure you use the same number of strokes in each slot for consistency.
H3: Insert and Pull Through Coarse Slot (If Needed)
Insert the second blade into the coarse slot (if you used it for the first blade). Perform 3-5 consistent pulls.
H3: Move to the Fine Slot
Insert the second blade into the fine slot. Perform another 3-5 smooth pulls.
Step 7: Test the Sharpness
It’s time to see if your efforts have paid off! Do this carefully.
H3: The Paper Test
Find a scrap piece of thin paper (like tissue paper or a coffee filter). Hold the paper taut and try to snip a small piece off the edge. If the scissors cut cleanly with no snagging or tearing, they are sharp!
H3: If Still Dull
If the paper test indicates they are still not sharp enough, repeat Steps 5 and 6, but use fewer strokes (e.g., 2-3 passes) in each slot to avoid over-sharpening.
Step 8: Clean Up
Wipe down the scissor blades again with a clean, dry cloth to remove any metal filings. Clean your knife sharpener according to its manufacturer’s instructions.
Troubleshooting Common Issues
Even with clear instructions, you might encounter a few hiccups. Here’s how to address them:
What if my scissors are still not cutting well?
You might need a few more passes on the fine grit. Ensure you are using consistent pressure and angle. If your sharpener has a ceramic honing rod, you can also try a few gentle passes on that after the fine slot. If they remain dull, the damage might be too severe for a kitchen sharpener, and professional sharpening might be necessary.
What if I feel like I’m damaging my scissors?
You might be using too much force. Remember, the sharpener’s grooves are doing the work. Use gentle, steady pressure. Also, ensure you are only pulling the blade through, not sawing. If you’re still concerned, try sharpening a less expensive pair of scissors first.
Can I use this on pinking shears or other specialty scissors?
It’s generally not recommended for pinking shears or very specialized cutting tools. Pinking shears have a unique serrated edge that requires specific sharpening techniques. For fabric scissors with straight blades, a kitchen knife sharpener is usually effective.
Maintaining Your Sharpened Scissors
Once your fabric scissors are sharp again, take steps to keep them that way:
- Dedicated Use: Always use your fabric scissors only for cutting fabric. Never use them for paper, cardboard, or anything else that can dull the blades quickly.
- Regular Cleaning: After each use, wipe down the blades to remove lint and thread.
- Proper Storage: Store your scissors in a dry place where they won’t be exposed to moisture. A scissor case or a drawer dedicated to sewing tools is ideal.
- Occasional Honing: If you notice a slight loss of sharpness between sharpenings, a few passes through the fine slot of your kitchen sharpener can often refresh the edge.
Conclusion
Sharpening your fabric scissors with a kitchen knife sharpener is a practical and effective way to maintain your sewing tools. By following these simple steps, you can extend the life of your scissors, save money, and enjoy the satisfaction of clean, precise cuts on all your fabric projects. Don’t let dull blades hold back your creativity; give your scissors a new lease on life today!