
Achieve a razor-sharp edge on your kitchen knives with this comprehensive whetstone sharpening guide. Learn the essential steps, from preparing your stone to honing your blade, ensuring safer and more efficient cooking. Mastering knife sharpening with a whetstone is a skill that pays dividends in the kitchen.
Welcome to your ultimate guide on how to sharpen kitchen knives with a whetstone! In 2026, a sharp knife isn’t just a convenience; it’s a necessity for safe and efficient cooking. Dull knives are frustrating and dangerous, often leading to slips and uneven cuts. Fortunately, learning to sharpen your own knives with a whetstone is an achievable skill that will transform your kitchen experience. This guide will walk you through every step, from choosing the right whetstone to achieving a razor-sharp edge that will make your cooking a joy.
Key Takeaways
- Understanding Whetstones: Differentiate between oil stones and water stones, and grasp the importance of grit progression from coarse to fine for effective sharpening.
- Proper Stone Preparation: Learn how to soak water stones or lubricate oil stones correctly before you begin sharpening to prevent damage and ensure optimal performance.
- Grip and Angle: Master the correct way to hold both the knife and the whetstone, and consistently maintain the ideal sharpening angle (typically 15-20 degrees) for your knife.
- Sharpening Strokes: Understand the fundamental techniques for creating a burr on both sides of the blade, progressing from coarse to fine grits for a polished edge.
- Stropping and Honing: Discover the importance of stropping for refining the edge and removing any remaining burr, leading to a truly sharp and durable blade.
- Maintenance and Safety: Learn how to clean and store your whetstone properly, and always prioritize safety during the sharpening process to avoid injuries.
Why Sharpen Your Knives?
Before we dive into the “how,” let’s quickly touch on the “why.” A sharp knife cuts with less force, reducing the risk of it slipping off food and onto your hand. It also makes prep work faster and more enjoyable, as you glide through ingredients rather than hacking at them. Over time, even the best knives lose their edge through regular use. Sharpening them yourself with a whetstone is a rewarding and cost-effective way to maintain their performance.
Choosing Your Whetstone
The world of whetstones can seem daunting, but it boils down to a few key factors. The most common types are water stones and oil stones.
Water Stones
Water stones are made from a softer material that wears down as you sharpen, creating a slurry that aids in the cutting process. They are generally faster cutting than oil stones and offer a keen edge. Most home cooks find water stones to be the best choice. You’ll need to soak most water stones in water for a period before use, typically 5-15 minutes, until they stop releasing bubbles.
Oil Stones
Oil stones require oil as a lubricant instead of water. They are more durable and less prone to clogging, but they tend to cut slower. While still effective, they are less common for home kitchens nowadays.
Grit Progression
Whetstones come in various grits, which refer to the coarseness of the abrasive particles. You’ll typically use a combination of grits for optimal sharpening:
- Coarse Grit (200-800): For repairing significant chips or reshaping a very dull blade. Use this sparingly.
- Medium Grit (1000-3000): The workhorse for general sharpening and establishing a good edge. Most of your sharpening will happen here.
- Fine Grit (4000-8000+): For refining and polishing the edge, making it incredibly sharp and smooth.
For a home cook, a combination stone with a medium grit on one side (e.g., 1000) and a fine grit on the other (e.g., 6000) is an excellent starting point.
Setting Up Your Sharpening Station
Preparation is key to a successful sharpening session. Gather your supplies and set up a stable workspace.
Gather Your Tools
You’ll need:
- Your chosen whetstone(s)
- A stable surface (like a countertop)
- A damp cloth or non-slip mat to prevent the stone from moving
- Your kitchen knife
- Water (for water stones) or honing oil (for oil stones)
- A towel to wipe down your knife and hands
Prepare Your Whetstone
This is a crucial step. For water stones:
- Fill a shallow dish or sink with cool water.
- Submerge the whetstone completely.
- Let it soak until it no longer releases air bubbles. This usually takes between 5 and 15 minutes, depending on the stone. Some stones are “splash-and-go” and only need a quick spritz of water. Check your stone’s instructions.
- Once fully saturated, place the stone on your non-slip surface. Ensure it’s stable and won’t move during sharpening.
For oil stones:
- Apply a thin layer of honing oil to the surface of the stone.
- Spread it evenly with your finger or a cloth.
- Place the stone on your non-slip surface.
The Sharpening Process: Step-by-Step
Now for the main event! We’ll start with the medium grit to establish the edge, then move to the fine grit to refine it.
Step 1: Find the Right Angle
Maintaining a consistent angle is the most important part of sharpening. Most Western-style kitchen knives benefit from an angle of 15-20 degrees per side. Japanese knives often use a sharper angle, around 10-15 degrees. If you’re unsure, a good rule of thumb is to imagine the angle of your index finger lying flat on the stone next to the blade.
Visualizing the Angle
A simple trick is to place the knife on the stone at roughly the desired angle. Then, tilt the spine of the knife up slightly until it’s about as high as the thickness of two quarters stacked together. This often approximates the correct angle.
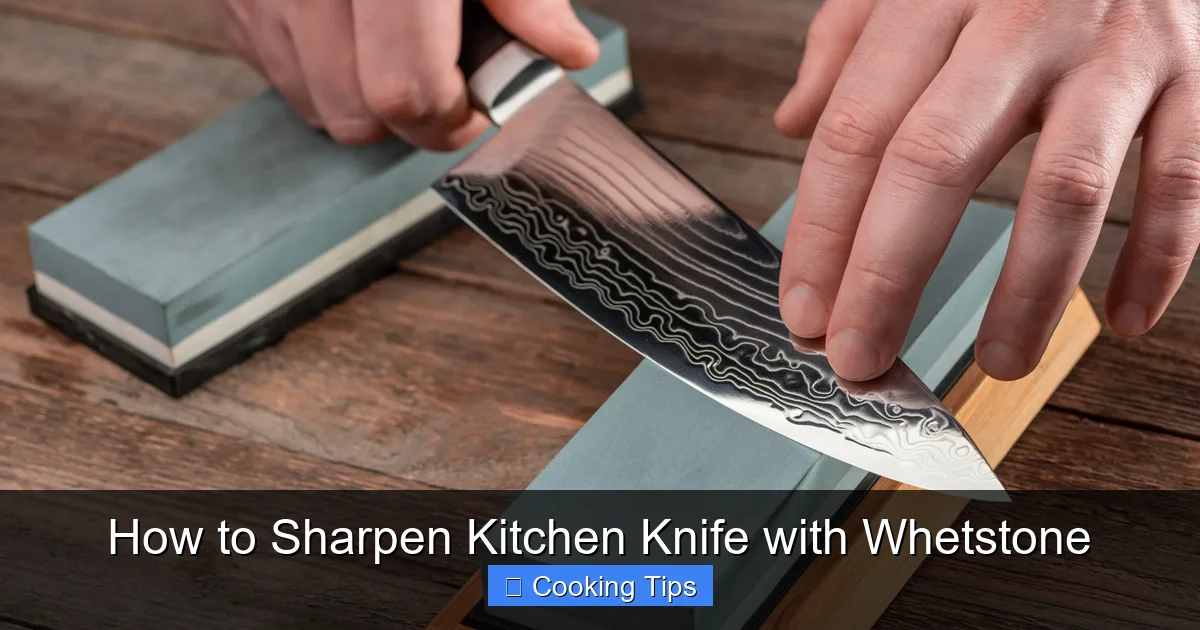
Visual guide about How to Sharpen Kitchen Knife with Whetstone
Image source: msbutcherequipment.co.uk
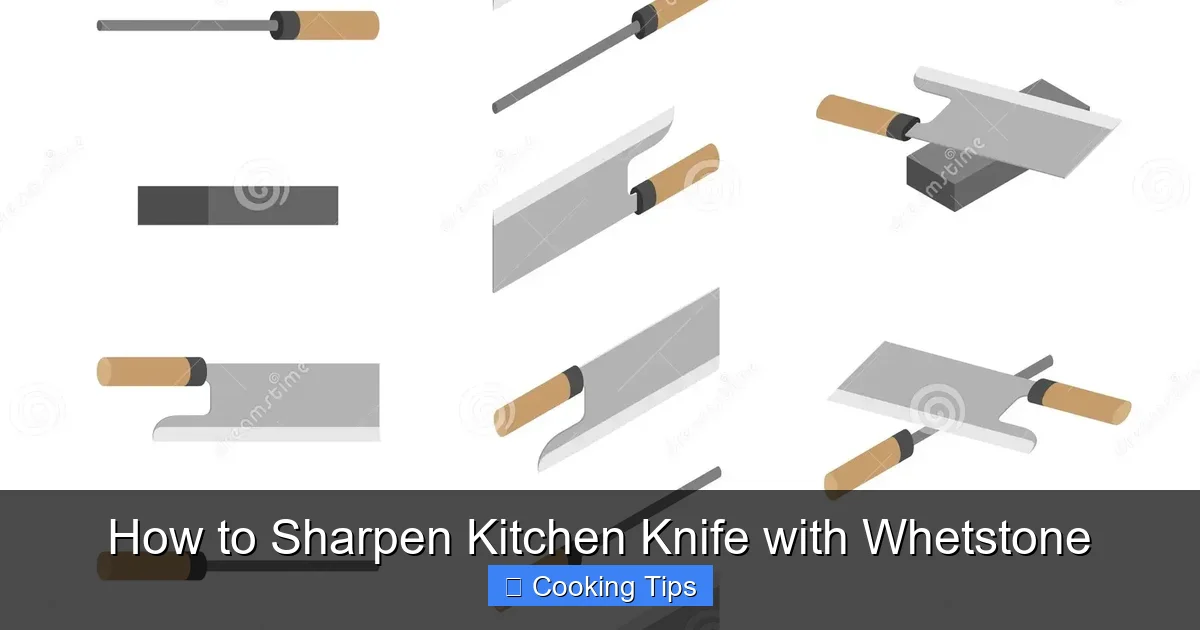
Visual guide about How to Sharpen Kitchen Knife with Whetstone
Image source: thumbs.dreamstime.com
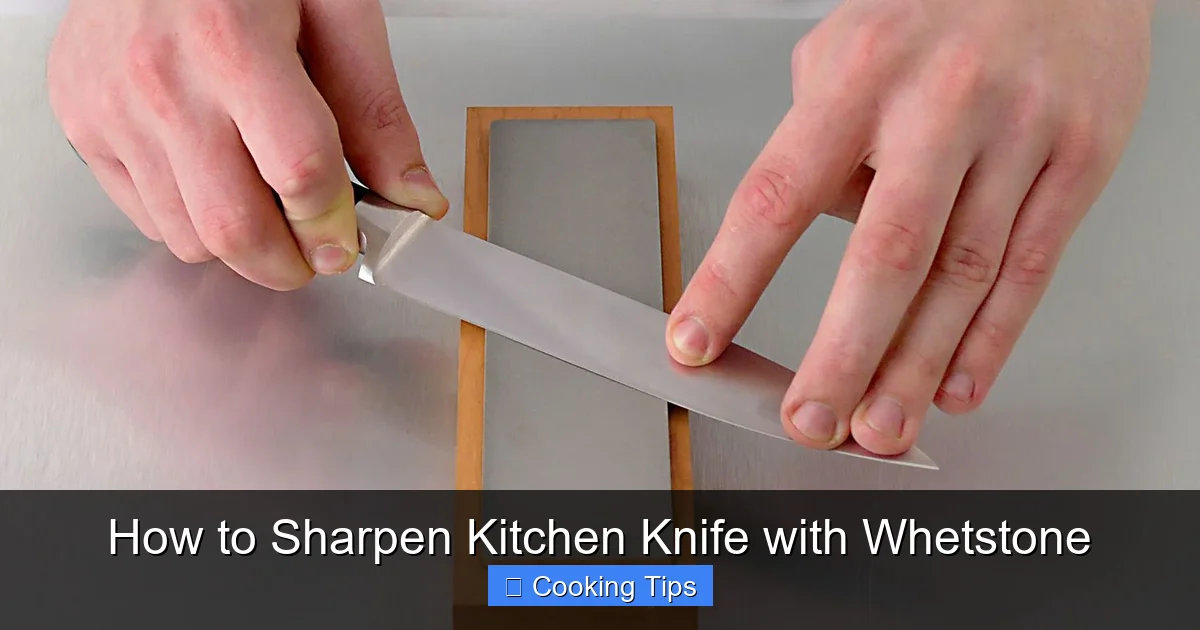
Visual guide about How to Sharpen Kitchen Knife with Whetstone
Image source: thespruceeats.com
Step 2: Sharpening the First Side (Medium Grit)
This is where we begin to create or restore the edge.
Creating the Burr
The goal here is to remove a small amount of metal from the edge to form a new, sharp edge. You do this by pushing the blade across the stone at your chosen angle.
- Hold the knife firmly by the handle, placing your index finger and thumb on the spine near the heel of the blade.
- Position the knife on the whetstone at your chosen angle, with the heel of the blade making contact first.
- Apply gentle, even pressure. Imagine you’re trying to shave a thin layer off the stone.
- Push the blade forward, moving it across the stone in a smooth, sweeping motion from heel to tip. As you move, maintain the angle and ensure the entire edge makes contact.
- Lift the knife and return it to the starting position. Repeat this stroke.
- Sharpen one side of the blade for several strokes. You’ll know you’re progressing when you feel a slight “wire edge” or burr forming on the opposite side of the blade. You can feel for this by carefully running your fingertip from the spine towards the edge (never along the edge!). It will feel like a tiny, rough lip.
- Flip the knife over and repeat the same process on the other side of the blade. Aim for the same number of strokes to ensure even sharpening.
- Continue alternating sides until you feel a consistent burr along the entire length of the blade.
Tip: Don’t use excessive force. Let the stone do the work. Too much pressure can damage the stone and the blade.
Step 3: Progress to the Fine Grit
Once you have a consistent burr, it’s time to refine the edge on your finer grit stone.
Refining the Edge
- If using a combination stone, flip it over to the finer grit side. If using separate stones, switch to your fine grit stone that has been prepared (soaked or oiled).
- Repeat the sharpening strokes as you did on the medium grit stone. However, use lighter pressure now. The goal is to polish the edge and remove the burr that was created.
- Sharpen each side for a set number of strokes, gradually reducing the pressure with each pass.
- After several passes, try alternating strokes, doing one stroke on one side, then one stroke on the other, with very light pressure. This helps to “equalize” the edge and remove the last remnants of the burr.
Example: Start with 20 strokes per side on the medium grit, then switch to the fine grit and do 15 strokes per side with lighter pressure, then 10, then 5, finishing with a few alternating light passes.
Step 4: Stropping (Optional but Recommended)
Stropping is an excellent way to align the microscopic teeth of the edge and remove any lingering burr, leading to a truly polished and keen blade. You can use a leather strop or even the smooth side of a cardboard box if you don’t have a strop.
The Stropping Motion
- Hold the strop taut.
- Place the knife on the strop at your chosen sharpening angle, with the spine leading (you are moving away from the edge).
- Draw the blade back across the strop, using very light pressure.
- Flip the knife over and repeat on the other side, again spine leading.
- Continue alternating sides for about 10-20 passes per side.
Note: Stropping is about alignment, not abrasion. Use extremely light pressure.
Step 5: Testing Your Sharpness
The moment of truth! How do you know if your knife is sharp?
The Paper Test
- Get a sheet of standard printer paper.
- Hold the paper upright by one edge.
- Attempt to slice through the paper with your knife, starting from the edge of the paper.
A sharp knife should slice cleanly through the paper with little to no resistance. If it tears or crunches, it needs more sharpening or stropping.
The Tomato Test
- Grab a ripe tomato.
- Hold the tomato firmly.
- Try to slice the tomato with a light, downward motion.
A sharp knife will slice through the skin effortlessly, creating a clean cut without squishing the tomato.
Honing vs. Sharpening
It’s important to distinguish between honing and sharpening. Sharpening removes metal to create a new edge. Honing (or steeling) realigns the microscopic teeth on the existing edge, keeping it sharper for longer between sharpenings. You should hone your knife regularly, perhaps after every few uses, while sharpening is done less frequently, only when honing no longer brings the edge back.
Knife Care After Sharpening
After all your hard work, treat your newly sharp knife with care.
Cleaning and Drying
Always hand-wash your knives and dry them immediately after sharpening. Avoid putting them in the dishwasher, as the heat, detergents, and jostling can dull the edge and damage the handle.
Storage
Store your sharp knives properly to protect the edge. Knife blocks, magnetic strips, or blade guards are excellent options.
Troubleshooting Common Sharpening Issues
Even with practice, you might encounter some problems.
Issue: Still Dull After Sharpening
Possible Causes:
- Not enough strokes were made to create a burr.
- The sharpening angle was inconsistent.
- The burr wasn’t fully removed.
- The stone is worn out or clogged.
Solutions: Go back to the medium grit, ensure a consistent angle, and spend more time on both sides until a burr is definitely formed. Then, focus on removing it on the fine grit and stropping.
Issue: Uneven Edge
Possible Causes:
- Uneven pressure applied during sharpening.
- Not sharpening the entire length of the blade consistently.
Solutions: Pay close attention to your strokes, ensuring the entire edge from heel to tip makes contact with the stone on every pass. Try to be more mindful of pressure distribution.
Issue: Stone Moving During Sharpening
Possible Causes:
- Surface is not stable or wet enough.
- Stone is too dry.
Solutions: Ensure your non-slip mat or damp cloth is working effectively. For water stones, ensure the stone is adequately wet. For oil stones, ensure enough oil is used.
Maintaining Your Whetstone
Your whetstone is an essential tool, so take care of it.
Flattening
Over time, especially with water stones, the surface can become dished or uneven. A flattening stone or silicon carbide sandpaper on a flat surface (like a piece of glass) can be used to restore a flat surface. A flat stone is crucial for consistent sharpening angles.
Cleaning and Storage
After each use, rinse your water stone thoroughly to remove any slurry and grit. Let it air dry completely before storing it in a dry place. For oil stones, wipe off excess oil and store them in a dry area.
Conclusion
Congratulations! You’ve learned how to sharpen kitchen knives with a whetstone. This skill is incredibly rewarding, saving you money and significantly improving your cooking experience. Remember, consistency and patience are your best friends. Start with less expensive knives to practice, and soon you’ll be achieving professional-level sharpness in your own kitchen. Embrace the process, and enjoy the unparalleled performance of a truly sharp knife!