
Tired of dull knives? This guide will walk you through the essential steps of using a kitchen knife sharpener to restore your blades to razor-sharp perfection. We cover different sharpener types and offer practical tips for achieving professional results. With a properly sharpened knife, you’ll enjoy safer, more efficient cooking and achieve cleaner, more precise cuts every time.
Key Takeaways
- Different Sharpeners, Different Approaches: Understand that electric, manual pull-through, and sharpening stones require distinct techniques for optimal results.
- Grit Matters: Select the appropriate grit levels on sharpening stones or the correct slots on pull-through sharpeners for coarse sharpening, fine honing, and polishing.
- Consistent Angle is Crucial: Maintaining a steady angle throughout the sharpening process is the single most important factor for achieving a sharp edge.
- Safety First: Always prioritize safety by securing your sharpener and knife, and being mindful of your fingers and the blade’s edge.
- Less is Often More: Avoid excessive pressure and over-sharpening; a few passes are usually sufficient to achieve a sharp edge.
- Regular Maintenance is Key: Consistent sharpening and honing will keep your knives in excellent condition and prevent them from becoming dangerously dull.
How to Use Kitchen Knife Sharpener
Welcome to the ultimate guide on transforming your dull kitchen knives into precision cutting tools! A sharp knife isn’t just a convenience; it’s a safety essential. Dull knives are far more prone to slipping, increasing the risk of accidents. Plus, imagine effortlessly slicing through tomatoes or dicing onions with ease – that’s the power of a sharp knife! In this comprehensive guide, we’ll demystify the process of using various kitchen knife sharpeners. Whether you’re a seasoned chef or just starting your culinary journey, you’ll learn everything you need to know to achieve that satisfying, razor-sharp edge.
We’ll cover:
- Understanding different types of kitchen knife sharpeners.
- Step-by-step instructions for using manual pull-through sharpeners.
- A detailed guide to using electric knife sharpeners.
- The art and science of sharpening with whetstones (sharpening stones).
- Essential maintenance and safety tips.
By the end of this guide, you’ll feel confident in your ability to keep your kitchen knives in peak condition, making your cooking experience more enjoyable and efficient. Let’s get started on the path to perfectly sharp knives!
Understanding Your Knife Sharpener
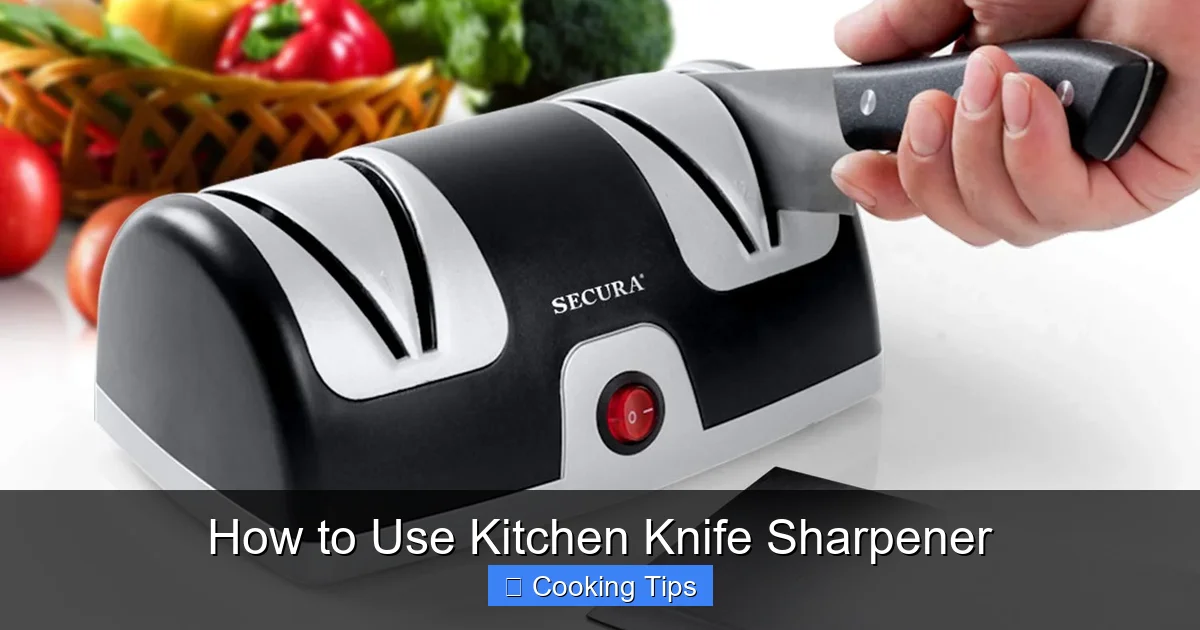
Visual guide about How to Use Kitchen Knife Sharpener
Image source: thesecura.com
Before you can sharpen your knives, it’s crucial to understand the tools you’re working with. There are three main types of kitchen knife sharpeners commonly found in homes:
1. Manual Pull-Through Sharpeners
These are often the simplest and most budget-friendly options. They typically feature slots with abrasive materials (like carbide, ceramic, or diamond particles) set at specific angles. You simply pull the knife blade through these slots. They are great for quick touch-ups and for those who prefer a no-fuss approach.
2. Electric Knife Sharpeners
Electric sharpeners automate the sharpening process. They have powered abrasive wheels or belts that move against the blade as you pull the knife through. They offer speed and consistency, often with multiple stages for sharpening and honing.
3. Sharpening Stones (Whetstones)
These are traditional sharpening tools beloved by many culinary professionals. They are flat blocks of abrasive material (natural or synthetic) with varying grit sizes. Using a sharpening stone requires more technique and practice but offers the most control and the best potential for a truly refined edge.
How to Use a Manual Pull-Through Knife Sharpener
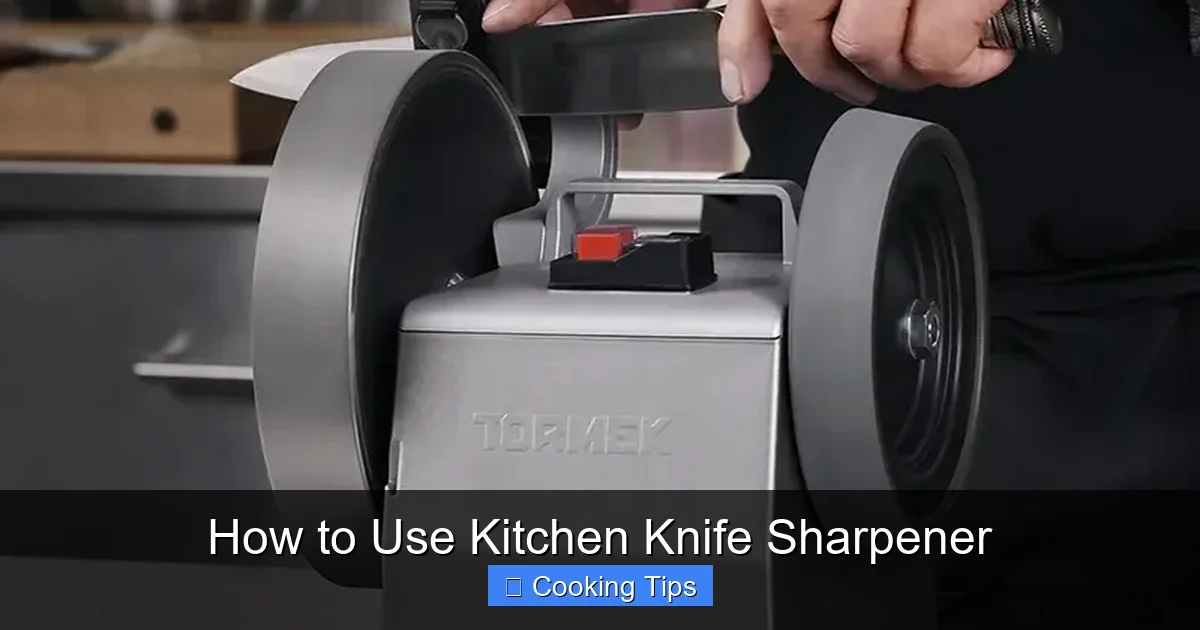
Visual guide about How to Use Kitchen Knife Sharpener
Image source: tormek.com
Manual pull-through sharpeners are fantastic for beginners or for when you need to quickly bring a dull knife back to life. They are designed to be user-friendly and require minimal skill.
Step 1: Prepare Your Sharpening Station
Find a stable, flat surface for your sharpener. Many pull-through sharpeners have non-slip bases. If yours doesn’t, you can place a damp cloth underneath it to prevent it from sliding. Ensure you have good lighting so you can see what you’re doing.
Step 2: Identify the Sharpening Stages
Most pull-through sharpeners have at least two slots:
- Coarse Slot (often labeled “1” or “Coarse”): This slot typically contains carbide or diamond abrasives and is used for re-sharpening a significantly dull or nicked blade. Use this sparingly, as it removes metal quickly.
- Fine Slot (often labeled “2” or “Fine”): This slot usually has ceramic or finer abrasive materials. It’s used for honing the edge after using the coarse slot or for regular maintenance of a moderately dull knife.
Some advanced models may have a third slot for polishing or honing.
Step 3: Sharpening the Blade
Using the Coarse Slot (if needed)
- Hold the sharpener firmly with one hand.
- Place the heel of your knife blade (the part closest to the handle) into the coarse slot at the correct angle. Most sharpeners are designed for a standard 20-degree angle per side. Look for visual cues on the sharpener.
- Gently pull the knife towards you, applying light, even pressure. You should feel the blade being drawn through the abrasive.
- Repeat this pulling motion 3-5 times. Avoid sawing back and forth.
Using the Fine Slot
- Once you’ve used the coarse slot (or if your knife isn’t very dull), move to the fine slot.
- Place the heel of the blade into the fine slot.
- Gently pull the knife towards you, again with light, even pressure.
- Repeat this motion 5-10 times. This step refines the edge, making it sharper and smoother.
Step 4: Test the Sharpness
After sharpening, carefully test the blade. A common method is the paper test: hold a piece of paper vertically and try to slice through it with the knife. A sharp knife will slice through cleanly with minimal effort. Be cautious when testing; the goal is to feel the sharpness, not to cut yourself.
Step 5: Clean Up
Wipe your knife with a damp cloth to remove any metal filings. Clean the sharpener according to the manufacturer’s instructions, usually by brushing out debris.
How to Use an Electric Knife Sharpener

Visual guide about How to Use Kitchen Knife Sharpener
Image source: kitchenadvisor.net
Electric knife sharpeners are a popular choice for their speed and ease of use. They take much of the guesswork out of achieving a sharp edge.
Step 1: Set Up Your Electric Sharpener
Place the electric sharpener on a stable, flat surface. Ensure it’s plugged into a power outlet. Most electric sharpeners have a non-slip base for added stability.
Step 2: Understand the Stages (Slots)
Electric sharpeners typically have multiple stages, usually marked with numbers or descriptions:
- Stage 1 (Sharpening): This stage uses coarser abrasive wheels to grind a new edge on the blade. It’s for dull or damaged knives.
- Stage 2 (Honing): This stage uses finer abrasive wheels to refine the edge, removing any burrs and making it sharper.
- Stage 3 (Polishing/Finishing): Some models include a final stage with even finer materials to polish the edge to a razor-sharp finish.
Consult your sharpener’s manual to understand the specific stages and their purpose.
Step 3: Sharpening Your Knife
For Dull or Damaged Knives (Using Stage 1 and subsequent stages):
- Turn on the electric sharpener.
- Take your knife and locate the first sharpening slot (Stage 1).
- Gently insert the heel of the blade into the slot. The sharpener is designed to guide the knife at the correct angle.
- Pull the knife towards you slowly and steadily. Let the motor do the work; don’t force the blade.
- Pull the knife through the slot about 3-5 times. Lift the knife out, and then repeat the process on the other side of the blade if the slot sharpens both sides simultaneously, or move to the other slot for the other side.
- Move to the next stage (Stage 2 for honing) and repeat the pulling process 5-10 times per side.
- If your sharpener has a polishing stage, use it for a few passes on each side to achieve maximum sharpness.
For Regularly Maintained Knives (Using only Stage 2 and subsequent stages):
If your knife is only moderately dull, you might be able to skip Stage 1 and start with Stage 2 (honing) to avoid removing too much metal. Follow the same pulling motion as above.
Step 4: Test the Sharpness
Perform the paper test as described for manual sharpeners. A sharp knife should slice through paper effortlessly.
Step 5: Clean Up
Turn off and unplug the electric sharpener. Most models have a small compartment to collect metal shavings; empty this as needed. Wipe your knife clean.
How to Use a Sharpening Stone (Whetstone)
Sharpening stones offer the ultimate control and the ability to achieve the keenest edges, but they require practice and patience.
Step 1: Prepare Your Sharpening Stone
Most sharpening stones need to be soaked in water before use. Check your stone’s instructions.
- Soaking: Submerge the stone in a bowl of water until it stops releasing air bubbles (usually 5-15 minutes).
- Setting Up: Place the wet stone on a non-slip surface, such as a damp cloth or a special stone holder. Ensure the stone is stable and won’t move during sharpening.
Step 2: Understand Grit Levels
Sharpening stones come in various grit sizes, affecting how much metal they remove and how finely they polish:
- Coarse Grit (e.g., 200-600): For repairing chipped or very dull knives. Removes metal quickly.
- Medium Grit (e.g., 800-1500): For general sharpening and edge maintenance.
- Fine Grit (e.g., 3000-8000+): For refining, honing, and polishing the edge to a razor-sharp finish.
You might use multiple stones or stones with different grit sides. Start with a coarser grit and progress to finer grits.
Step 3: Find the Correct Angle
This is the most crucial part of using a sharpening stone. Most Western-style knives benefit from a 15-20 degree angle per side. Japanese knives often use a sharper angle, typically 10-15 degrees.
- Visualizing the Angle: Imagine you’re trying to match the angle of a matchbook cover held against the stone, or think of cutting a very thin slice off the stone.
- Angle Guides: You can purchase angle guides that clip onto your knife blade to help you maintain consistency.
Step 4: Sharpening the Blade
- Start with the coarsest grit stone you need.
- Hold the knife with one hand, placing your index finger just behind the edge to apply light, consistent pressure.
- Place the heel of the blade on the stone at the desired angle.
- Push the blade across the stone as if you were trying to shave off a thin layer from the stone, moving from the heel to the tip. Apply light, even pressure.
- Lift the knife, then reposition it to sharpen the other side of the blade at the same angle.
- Repeat the process, alternating sides, for about 5-10 strokes per side, or until you feel a burr.
Step 5: Detect and Remove the Burr
A burr is a tiny ridge of metal that forms on the opposite side of the edge you are sharpening. You can feel it by lightly running your fingertip (carefully!) from the spine of the blade towards the edge.
- Once you feel a burr along the entire length of the edge, it’s time to switch to the next finer grit stone.
- On the finer stone, repeat the sharpening process, using lighter pressure and fewer strokes (e.g., 3-5 per side). This will refine the edge and remove the burr.
- You can also remove the burr by performing very light alternating strokes on the finest grit stone, or by using a honing steel.
Step 6: Hone and Polish
Progress through your finer grit stones, repeating the sharpening and burr-removal process with lighter pressure and fewer strokes. The final stone (often 3000 grit or higher) is for polishing and achieving that mirror-like, razor-sharp finish.
Step 7: Test and Clean Up
Test the sharpness using the paper test. Once satisfied, clean your knife thoroughly with a damp cloth. Rinse and dry your sharpening stones and store them properly to prevent damage.
Essential Maintenance and Safety Tips
Sharpening is just one part of knife care. Here are some crucial tips to ensure your knives stay sharp and your kitchen remains a safe place.
Safety First!
- Secure Your Sharpening Tool: Always ensure your sharpener (pull-through, electric, or stone) is stable and won’t slip.
- Mind Your Fingers: Keep your fingers away from the blade’s path. Never try to catch a falling knife.
- Cut Away From Yourself: Always cut in a direction away from your body.
- Use the Right Knife for the Job: Don’t use a chef’s knife to pry open cans, for example.
Honing vs. Sharpening
It’s important to distinguish between honing and sharpening.
- Sharpening removes metal to create a new edge. This is done less frequently.
- Honing realigns a bent or slightly out-of-place edge. This can be done much more frequently, even daily, with a honing steel or fine sharpening stone. A sharp knife is a honed knife!
Regular Cleaning and Drying
- Wash knives by hand with warm, soapy water immediately after use.
- Dry them thoroughly with a clean towel. Leaving knives wet can lead to rust and dullness.
- Never put good quality kitchen knives in the dishwasher, as the high heat and harsh detergents can damage the blade and handle.
Proper Storage
- Store knives in a knife block, magnetic strip, or blade guards to protect the edges and prevent accidents.
- Avoid tossing them loosely into a drawer where they can bang against other utensils.
When to Seek Professional Help
If your knives have significant damage, such as deep chips or bends, or if you’re uncomfortable sharpening them yourself, consider taking them to a professional knife sharpener.
Conclusion
Mastering the art of knife sharpening is an investment in your kitchen, your cooking, and your safety. You’ve learned about the different types of sharpeners available and how to use each one effectively, from the simple pull-through to the traditional whetstone. Remember that the key to a sharp knife lies in consistent angle, moderate pressure, and regular maintenance.
Don’t be discouraged if your first few attempts aren’t perfect. Like any skill, knife sharpening improves with practice. Start with your least favorite knife and work your way up. Soon, you’ll be experiencing the joy of effortless slicing and dicing, transforming your everyday cooking into a more precise and enjoyable experience. Keep your blades sharp, and happy cooking!