
Choosing between the Keurig Mini and Keurig Mini Plus can be tricky, but this guide makes it easy. We’ll break down their differences, highlight key features, and provide step-by-step instructions for brewing delicious coffee with either model. By the end, you’ll know exactly which single-serve coffee maker is the perfect fit for your kitchen and your lifestyle.
Keurig Mini Vs Keurig Mini Plus: Your Ultimate Buying Guide
Are you in the market for a new coffee maker and find yourself staring at two very similar-looking options: the Keurig Mini and the Keurig Mini Plus? You’re not alone! These compact single-serve coffee makers are incredibly popular for their convenience and small footprint. But what exactly sets them apart? This guide is here to demystify the differences between the Keurig Mini and the Keurig Mini Plus, helping you make an informed decision that perfectly suits your coffee-drinking habits and kitchen space.
We’ll dive deep into their features, explore their unique capabilities, and walk you through the simple steps of brewing your favorite beverages with each. Whether you’re a student in a dorm, a busy professional with limited counter space, or just someone who enjoys a fresh cup of coffee without the fuss, understanding these subtle distinctions will ensure you choose the right Keurig for you. Get ready to brew smarter!
Key Takeaways
- Distinct Brewing Options: The Keurig Mini Plus offers more versatility, including the ability to brew iced beverages, a feature absent in the standard Mini.
- Size and Portability: Both are compact and designed for small spaces, but minor dimensional differences exist, making one potentially more suitable for ultra-tight spots.
- Carafe Brewing Capability: The Mini Plus can brew a small carafe, which is a significant advantage for households or offices needing more than a single cup at a time.
- Water Reservoir Size: While both are small, the Mini Plus may offer a slightly larger or more accessible reservoir in some iterations.
- Brew Strength Control: Some versions of the Mini Plus include brew strength options, allowing for a bolder cup of coffee.
- Ease of Use Remains High: Both models are incredibly user-friendly, with simple, intuitive operation for quick coffee brewing.
Understanding the Keurig Mini Lineup
Keurig’s “Mini” line is all about offering a compact, efficient, and easy-to-use single-serve brewing experience. These machines are designed for speed and simplicity, perfect for those who want a hot cup of coffee, tea, or hot chocolate in just minutes. They use K-Cup pods, a vast and varied selection of pre-portioned coffee grounds, teas, and other beverages.
The core promise of any Keurig Mini is its ability to deliver a single serving of your chosen beverage with the press of a few buttons. They are incredibly popular for their minimal counter space requirements and straightforward operation. However, within this popular line, Keurig often introduces slightly enhanced models, leading to the “Mini” and “Mini Plus” distinction.
Keurig Mini: The Compact Classic
The standard Keurig Mini, sometimes referred to by its specific model numbers like K15, is the quintessential compact brewer. It’s designed for ultimate simplicity and is perfect for those who primarily want a straightforward coffee-brewing experience.
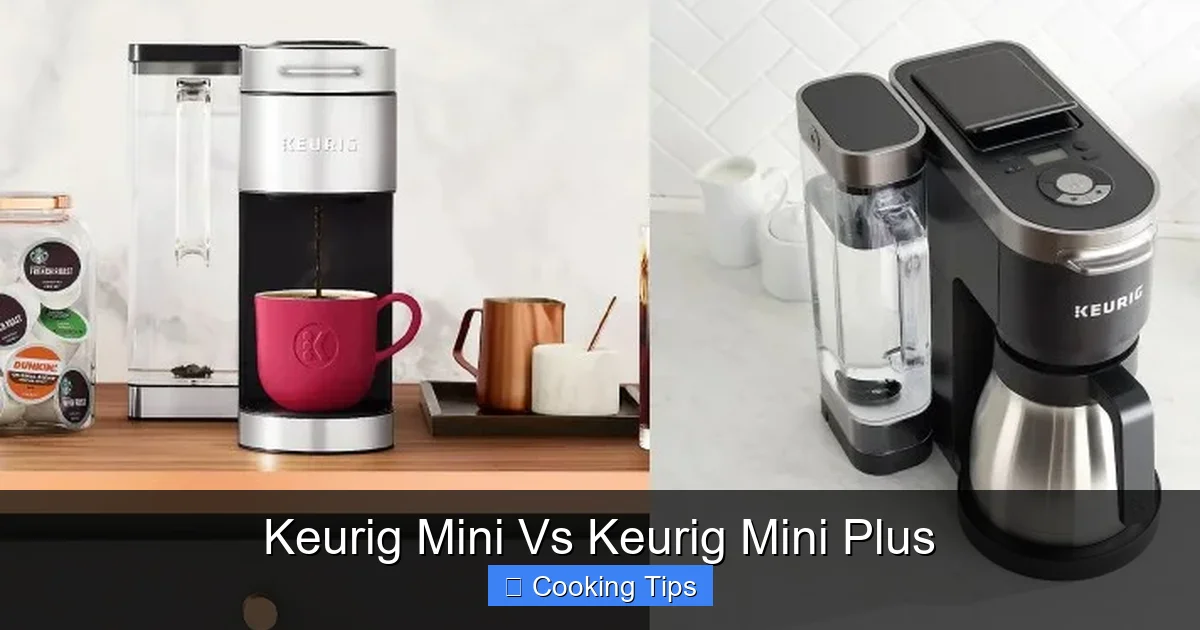
Visual guide about Keurig Mini Vs Keurig Mini Plus
Image source: minikeurig.com
Key Features of the Keurig Mini
- Brew Size Options: Typically offers a few fixed brew sizes, usually around 6 oz, 8 oz, and 10 oz.
- Removable Drip Tray: Allows for the use of taller travel mugs, though it might require careful placement.
- Simple Controls: Features a few buttons for power, brew size selection, and starting the brew cycle.
- Compact Design: Its primary selling point is its small footprint, making it ideal for tight spaces.
- Hot Beverage Only: Primarily designed for brewing hot beverages.
How to Brew with the Keurig Mini
Brewing with the Keurig Mini is a breeze. Follow these simple steps to enjoy your perfect cup:
Step 1: Fill the Water Reservoir
Open the lid and pour fresh, cold water into the water reservoir. The reservoir size is typically small, meaning you might need to refill it for each cup or a few cups. Avoid using hot water, as it can damage the machine.
Step 2: Power On and Heat Up
Plug in your Keurig Mini and press the power button. The power indicator light will illuminate. Allow the machine to heat up. This usually takes a minute or two. The brew button will illuminate when the water is hot and ready.
Step 3: Insert a K-Cup Pod
Lift the handle to open the K-Cup pod holder. Place your chosen K-Cup pod inside, ensuring it sits flat. Close the handle firmly. Do not remove the foil lid from the K-Cup pod.
Step 4: Select Your Brew Size
Choose your desired brew size by pressing the corresponding button (e.g., 6 oz, 8 oz, 10 oz). The selected brew size indicator will light up.
Step 5: Brew Your Beverage
Press the “Brew” button. The Keurig Mini will begin brewing your beverage directly into your mug. Ensure your mug is placed securely on the drip tray.
Step 6: Enjoy Your Drink!
Once the brewing cycle is complete, carefully remove your mug and enjoy your freshly brewed beverage. Eject the used K-Cup pod by lifting the handle again and dispose of it.
Keurig Mini Plus: Enhanced Versatility
The Keurig Mini Plus, often identified by model numbers like K155 or similar variations, takes the convenience of the Mini and adds a layer of enhanced functionality. This model is for those who want a little more from their single-serve brewer, such as the ability to brew different types of beverages or brew larger quantities.
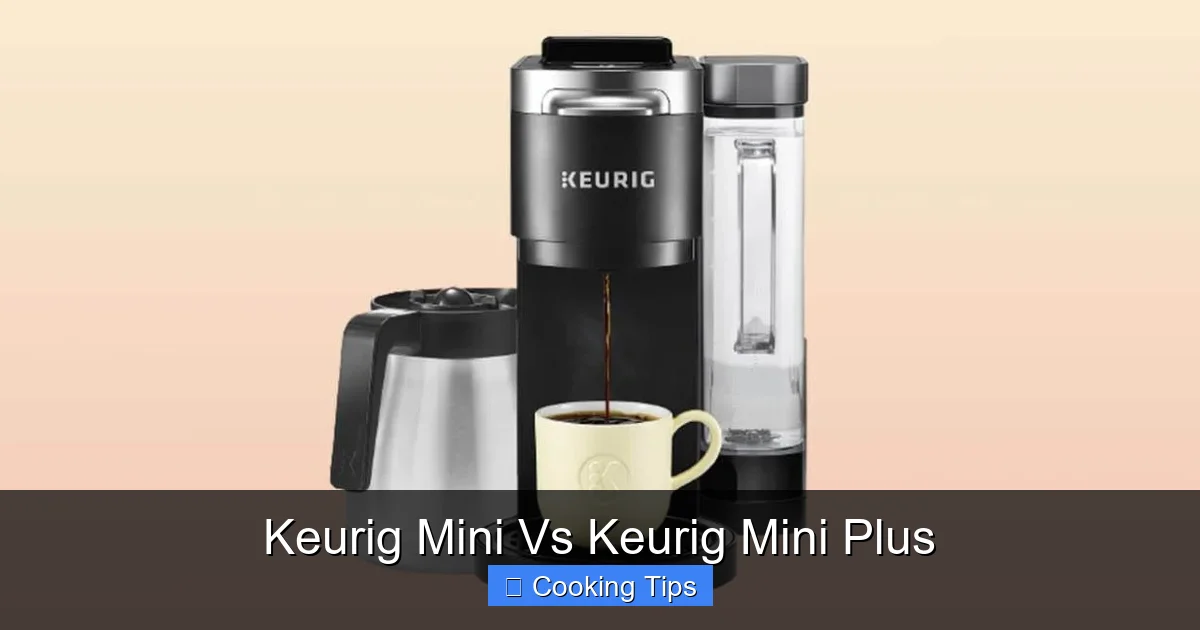
Visual guide about Keurig Mini Vs Keurig Mini Plus
Image source: minikeurig.com
Key Features of the Keurig Mini Plus
- Multiple Brew Size Options: Often includes more brew size options than the standard Mini, sometimes allowing for a smaller brew size (e.g., 4 oz for stronger coffee) and larger ones.
- Iced Beverage Setting: A standout feature of many Mini Plus models is the ability to brew iced beverages. This setting brews a concentrated amount of coffee at a lower temperature, perfect for pouring over ice without dilution.
- Carafe Brewing Capability: Some Mini Plus models have the ability to brew a small carafe (often around 4 cups), making it a good option for small households or when you have a guest. This is a significant upgrade from the single-serve-only nature of the standard Mini.
- Brew Strength Control: Select Mini Plus versions may offer a “Strong” or “Bold” brew option, allowing you to customize the intensity of your coffee.
- Larger or More Accessible Water Reservoir: While still compact, some Mini Plus models might have a slightly larger water reservoir or a more easily accessible one for refilling.
- Sleeker Design Elements: Often incorporates slightly more modern or premium design finishes.
How to Brew with the Keurig Mini Plus
The brewing process for the Keurig Mini Plus is very similar to the standard Mini, but with added options. Here’s how to use its enhanced features:
Step 1: Fill the Water Reservoir
As with the Mini, fill the water reservoir with fresh, cold water. Check the machine’s indicator for the maximum fill line.
Step 2: Power On and Heat Up
Plug in the machine and press the power button. Wait for the heating element to reach the optimal brewing temperature. The brew button will become active.
Step 3: Insert a K-Cup Pod
Lift the handle, place your K-Cup pod in the holder, and close the handle firmly.
Step 4: Select Your Brew Size and Strength (if applicable)
Choose your desired brew size from the available options. If your Mini Plus has a brew strength feature, you might be able to select “Strong” or “Bold” at this stage.
Step 5: Select Beverage Type (if applicable)
This is where the Mini Plus shines. If you want to brew an iced beverage, look for an “Iced” setting or a specific button that indicates this function. Select it before brewing.
Step 6: Brew Your Beverage
Press the “Brew” button. The machine will start brewing. For iced beverages, place a large cup filled with ice under the dispenser before brewing.
Step 7: Brew a Carafe (if applicable)
If your model supports carafe brewing, follow the specific instructions for attaching the carafe and selecting the carafe brew size. This usually involves placing the carafe and selecting the appropriate brew size button.
Step 8: Enjoy Your Drink!
Remove your mug or carafe and enjoy. Dispose of the used K-Cup pod.
Direct Comparison: Mini vs. Mini Plus
Let’s break down the head-to-head differences to help you decide:
Brewing Versatility
Keurig Mini: Primarily for hot beverages with limited brew size options.
Keurig Mini Plus: Offers more brew sizes, the ability to brew iced beverages, and potentially carafe brewing, making it significantly more versatile.
Carafe Brewing
Keurig Mini: Cannot brew a carafe. Strictly single-serve.
Keurig Mini Plus: Many models can brew a small carafe, a huge advantage for multiple servings.
Iced Beverages
Keurig Mini: Does not have a dedicated iced beverage setting. You can technically brew over ice, but it’s not optimized and may result in a diluted drink.
Keurig Mini Plus: Features a dedicated iced beverage setting for perfectly concentrated, non-diluted iced drinks.
Brew Strength Control
Keurig Mini: Typically lacks brew strength control.
Keurig Mini Plus: Some models include a “Strong” or “Bold” brew option for a more intense flavor.
Size and Aesthetics
Both are designed to be compact. Minor differences in dimensions might exist, but they are generally very similar. The Mini Plus might have slightly more premium finishes or design elements in some iterations.
Price Point
The Keurig Mini Plus, due to its added features, generally comes with a slightly higher price tag than the standard Keurig Mini.
Which One Is Right for You?
The choice between the Keurig Mini and Keurig Mini Plus hinges on your personal beverage preferences and how you plan to use the machine.
Choose the Keurig Mini if:
- You are primarily a coffee drinker and rarely, if ever, want iced beverages.
- You only need to brew one cup at a time and don’t anticipate needing to make multiple servings for guests or family.
- You are on a tighter budget and want the most affordable entry into the Keurig ecosystem.
- You have extremely limited counter space and the absolute smallest footprint is your priority.
Choose the Keurig Mini Plus if:
- You enjoy iced coffee or iced tea and want a dedicated setting for it.
- You sometimes need to brew more than one cup at a time (e.g., for a partner, a guest, or yourself over a short period) and the carafe feature would be beneficial.
- You like to have options, such as a stronger brew for your coffee.
- You don’t mind spending a little extra for added versatility and features.
Troubleshooting Common Issues
Both Keurig Mini and Mini Plus models are generally reliable, but like any appliance, you might encounter minor issues. Here are a few common ones:
Coffee Not Brewing
Possible Causes: No water in the reservoir, K-Cup pod not inserted correctly, machine not powered on or heated up, clog in the needle.
Solutions: Ensure the water reservoir is filled. Re-insert the K-Cup pod, ensuring the handle is closed firmly. Check that the machine is plugged in and the power light is on. If you suspect a clog, try running a cycle with just water or using a descaling solution according to your manual’s instructions.
Weak Coffee
Possible Causes: Incorrect brew size selected, K-Cup pod is old or faulty, need for descaling.
Solutions: Select a smaller brew size for a stronger cup. Try a different K-Cup pod. If you haven’t descaled your machine recently, mineral buildup can affect water flow and extraction. Follow the descaling instructions in your owner’s manual.
Leaking Water
Possible Causes: Reservoir not seated properly, K-Cup pod inserted incorrectly, crack in the reservoir or machine.
Solutions: Ensure the water reservoir is fully and correctly seated. Check the K-Cup pod and its holder for any obstructions. If you see a crack, contact Keurig customer support.
Conclusion
The Keurig Mini and Keurig Mini Plus are both excellent choices for anyone seeking a convenient, single-serve brewing experience. The standard Keurig Mini excels in its simplicity and ultra-compact design, making it a fantastic option for basic, hot beverage needs in small spaces. However, the Keurig Mini Plus truly shines with its added versatility. The ability to brew iced beverages, potentially brew a small carafe, and offer strength control significantly expands its utility for a wider range of users and occasions.
When making your decision, consider your daily routine, your taste preferences, and how often you might want to branch out from a standard hot cup of coffee. By understanding the features and benefits of each model, you can confidently select the Keurig that will be your perfect brewing companion for years to come.