
Low heat cooks gently and slowly; medium heat cooks faster and browns foods for texture.
I’ve taught home cooks and tested recipes for years, so I know how small heat changes can make or break a dish. This guide on low heat vs medium heat cooking explains when to use each, why the results differ, and how to get steady, repeatable results every time. Read on for clear rules, practical tests, and real tips from my kitchen to yours.
Understanding heat levels and what they mean
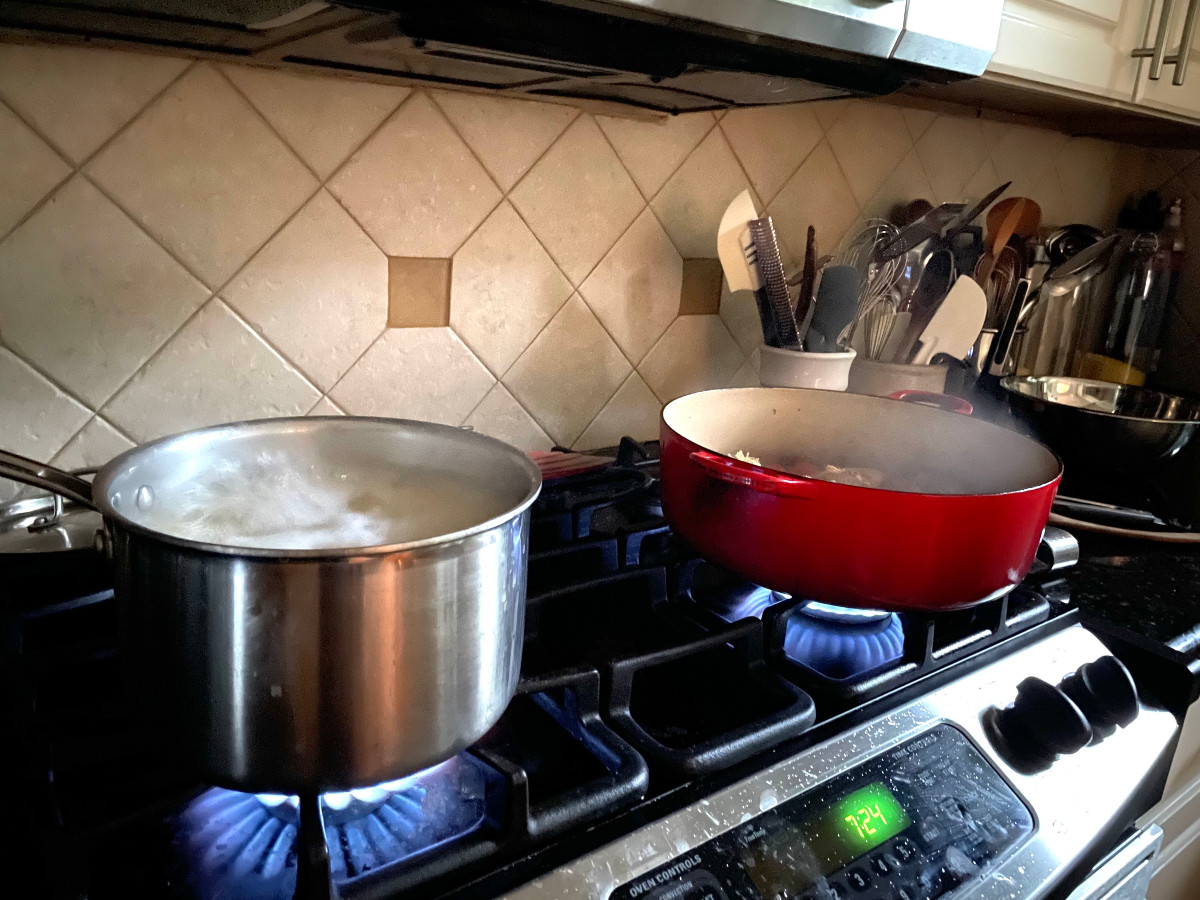
Low heat and medium heat refer to how much thermal energy you apply to food. On a stovetop, low heat means a small, steady flame or low electric setting. Medium heat sits in the middle. It gives more energy and creates a light sizzle or steady simmer.
Approximate temperature guides help you aim right:
- Low heat: roughly 200–250°F (gentle simmer, no vigorous bubbles).
- Medium heat: roughly 300–375°F (steady simmer, light sizzle on contact).
These ranges vary by stove, pan, and cookware. The same setting on two burners can act very differently. Learn to read the pan, not just the dial. Using the phrase low heat vs medium heat cooking helps you think in terms of method, not just numbers.

How heat changes food chemistry
Heat changes food in three main ways: moisture loss, protein and starch transformations, and surface reactions like the Maillard reaction. Low heat keeps moisture and allows slow protein setting. Medium heat speeds water loss and triggers browning.
Key points:
- Moisture: Low heat keeps juices in. Medium heat drives moisture out faster.
- Proteins: Gentle denaturation on low heat creates tender textures. Rapid denaturation on medium heat can tighten proteins and firm meat.
- Browning: Medium heat promotes Maillard reactions. Low heat rarely browns.
These effects are why low heat vs medium heat cooking yields such different textures and flavors.
:max_bytes(150000):strip_icc()/Best-Way-to-Caramelize-Onions-FT-RECIPE01125-group-09f1d875ead74d5e89e95991423ee42b.jpg)
When to use low heat: best uses and examples
Low heat shines when you want tenderness and gentle cooking without color. Use it for:
- Braising tough cuts until fork-tender.
- Simmering soups and stocks to extract flavor without clouding.
- Melting chocolate or butter slowly to prevent seizing.
- Making custards, curds, and delicate sauces to avoid curdling.
- Cooking grains and legumes gently so they cook through without splitting.
Personal tip: I once ruined a béchamel by rushing the milk at medium heat. Switching to low heat saved the sauce. Low heat vs medium heat cooking taught me to be patient with custards and sauces.
When to use medium heat: best uses and examples
Medium heat is the go-to for quick cooking with some browning. Use it for:
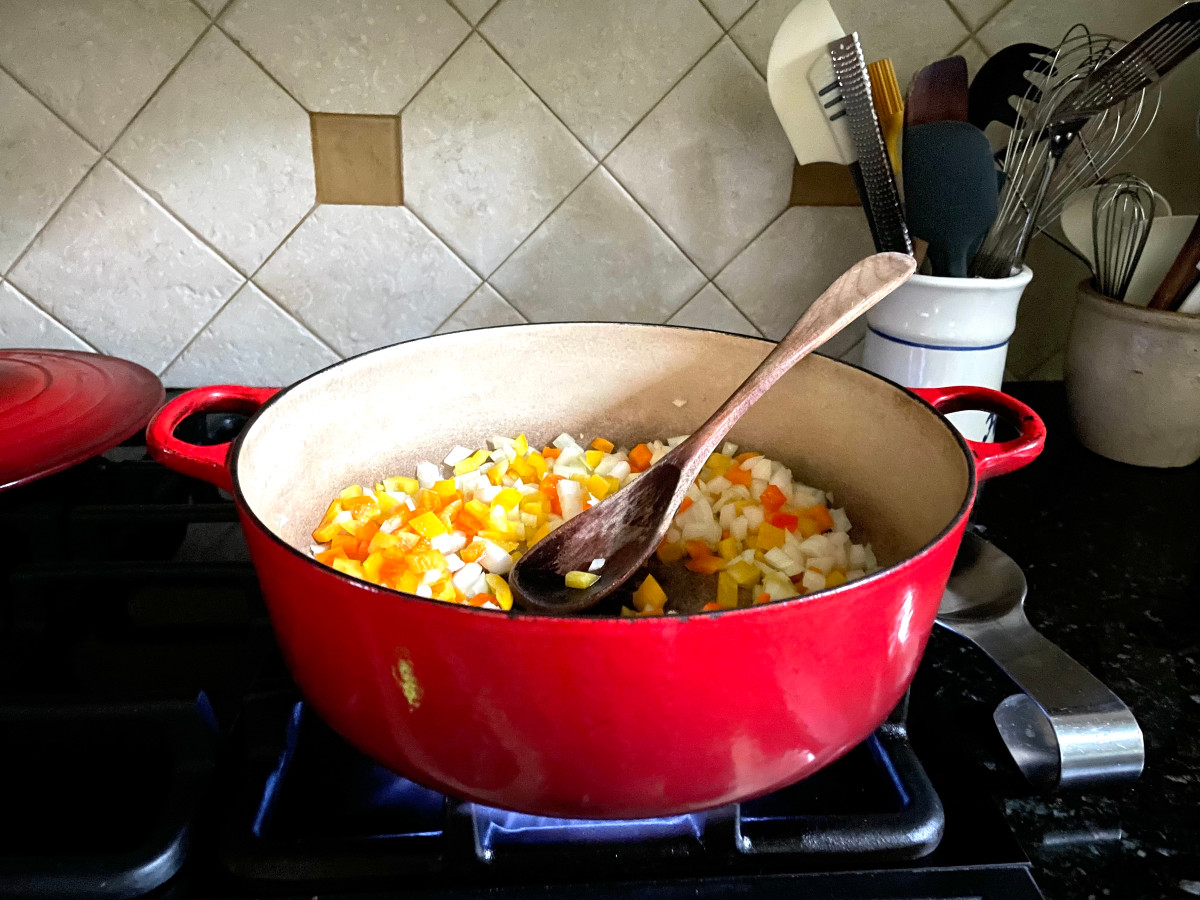
- Sautéing vegetables so they cook through with a little color.
- Pan-frying fish or thin cuts of meat to get a crust while staying juicy.
- Reducing sauces to concentrate flavor.
- Stir-frying for timed, consistent cooking of small pieces.
- Pancakes and crepes for even browning without burning.
Practical note: On medium heat, watch oil closely. When it shimmers or a drop of water sizzles and evaporates, it’s usually ready.
Easy tests to judge low heat vs medium heat on your stove
Rather than trust numbers, use simple pan tests. These are fast and reliable:
- Water droplet test: A few bubbles that slowly rise = low. A steady sizzle = medium.
- Oil shimmer: Oil that barely moves = low; oil that ripples and shimmers = medium.
- Touch test for cast iron: Warm to the back of your hand (no burn) = low; too hot to hold near = medium-high.
- Thermometer: Use an infrared or probe for repeatable results; aim for the temp ranges above.
Practice these. I keep a small infrared thermometer in my drawer. It saved many trial-and-error burns.
Cookware and tools that make both heat levels easier
The right tools smooth out heat differences. They help you use low heat vs medium heat cooking with confidence.
- Heavy-bottomed pans: Distribute heat evenly and reduce hot spots.
- Cast iron: Holds heat well for steady medium sears or maintain low simmer when needed.
- Nonstick pans: Good for low-fat, low heat tasks like eggs and crepes.
- Digital thermometer: Confirms internal temps for meats and sauces.
- Heat diffuser: Useful on thin-bottomed stoves to keep true low heat.
I learned to stop moving food too fast. Good pans give you control to use the right heat.

Common mistakes and how to fix them
Even experienced cooks slip up. Here are frequent errors and quick fixes:
- Burning at medium heat: Lower the heat and remove pan from burner briefly to cool.
- No browning at low heat: Switch to medium for a few minutes, then reduce.
- Rubberiness from high heat: Cook slower on low heat next time and rest the meat.
- Sauces that break: Lower heat and whisk in cold butter or a bit of starch to re-emulsify.
These fixes reflect lessons I learned the hard way. They keep dishes salvageable when heat goes wrong.

Simple recipes showing low heat vs medium heat cooking
Try these quick examples to feel the difference:
- Braised chicken thighs (low heat): Brown briefly on medium, then cover and simmer low for 45–60 minutes until tender.
- Sautéed green beans (medium heat): Heat oil to shimmer, add beans, toss 5–7 minutes for crisp-tender with light browning.
- Custard (low heat): Whisk eggs and warm milk over low heat, stirring constantly until thickened.
- Stir-fry (medium heat): Preheat pan until hot, add oil and ingredients in order, cook fast and keep moving.
These recipes show how low heat vs medium heat cooking changes time and texture.

Tips to switch between low heat and medium heat smoothly
Switching heat levels is a skill. Follow these steps:
- Preheat the pan: Start medium when you need browning, then reduce to low for gentle finish.
- Adjust oil: Add a splash when raising heat to prevent sticking.
- Use lids: Trap heat and moisture on low simmer; remove lid to reduce and concentrate.
- Rest after cooking: Meats benefit from a short rest to reabsorb juices.
- Taste and test often: Small checks prevent overcooking and let you fine-tune.
My rule: when in doubt, err toward lower heat for longer. It’s safer and more forgiving.
Frequently Asked Questions of low heat vs medium heat cooking
What is the main difference between low heat and medium heat?
Low heat cooks slowly and preserves moisture while preventing browning. Medium heat cooks faster and encourages browning and surface texture.
Can I cook rice on medium heat instead of low heat?
You can bring rice to a boil on medium, but reduce to low for the final simmer to avoid sticking and uneven cooking. Low heat yields fluffier grains.
Is medium heat better for searing meat than high heat?
Medium heat gives controlled browning, but true sear often needs higher heat briefly. Use medium for thin cuts and finish thicker cuts with a short high-heat sear.
Will sauces break if stirred on medium heat?
Sauces can break if overheated or if fats separate quickly. Lower the heat and whisk gently or add a stabilizer like a bit of cream to bring it back.
How do I prevent eggs from getting rubbery?
Cook eggs over low to medium-low heat and remove them just before they look fully set; residual heat finishes them. Gentle heat keeps them tender.
Can I reduce cooking time by using medium heat instead of low heat?
You can shorten time, but texture and moisture will change. Some foods become tough or dry if cooked too fast, so choose heat by desired result.
Conclusion
Low heat and medium heat are tools in your cooking kit. Use low heat for tenderness, gentle melting, and delicate sauces. Use medium heat for browning, quick cooking, and texture. Practice simple pan tests and invest in good pans to make the switch smooth. Try one low-heat and one medium-heat recipe this week to feel the difference.
Take action: pick a dish you usually rush and try it low and slow, then compare. Share your results or ask a question below — I’d love to hear what you cook next.