
Unlock the secret to healthier, more flavorful cooking with oil spray bottles! This guide explains how to choose the right bottle, fill it with your favorite oils, and achieve a light and even application every time. Say goodbye to over-oiling and hello to perfectly coated dishes.
Are you tired of that moment when you pour oil into a pan, only to end up with a shimmering pool at the bottom? Or perhaps you find yourself struggling to coat delicate vegetables evenly for roasting, resulting in some pieces being dry and others swimming in oil? If this sounds familiar, then it’s time to discover the magic of oil spray bottles for light and even oil application.
In this comprehensive guide, we’ll walk you through everything you need to know about these handy kitchen gadgets. You’ll learn what makes them so effective, how to choose the perfect one for your kitchen, and step-by-step instructions on how to fill, use, and maintain them. Get ready to transform your cooking, making it healthier, more flavorful, and undeniably easier!
Key Takeaways
- Effortless Control: Oil spray bottles offer precise control, preventing over-application and reducing oil waste.
- Healthier Cooking: Achieve a light, even coating with significantly less oil compared to traditional pouring methods.
- Versatile Use: Ideal for greasing pans, seasoning salads, roasting vegetables, and even basting.
- Choosing the Right Bottle: Consider material (glass vs. plastic), spray mechanism, and capacity for your needs.
- Filling and Refilling: Simple steps to fill with your preferred oils, ensuring a smooth spraying experience.
- Cleaning and Maintenance: Regular cleaning prevents clogs and ensures long-lasting performance of your oil spray bottle.
Why Use an Oil Spray Bottle?
Traditional methods of oil application, like pouring directly from the bottle, often lead to an uneven distribution of oil. This can result in several undesirable outcomes:
- Over-Oiling: Too much oil can make food greasy and unhealthy, masking the natural flavors of your ingredients.
- Under-Oiling: Insufficient oil can lead to sticking, burning, and dry, unappetizing results.
- Wasted Oil: Excess oil that pools at the bottom of pans or bowls is simply wasted.
Oil spray bottles, on the other hand, are designed to deliver a fine, consistent mist of oil. This allows for a light and even coating on virtually any surface.
Benefits of Light and Even Oil Application
The advantages of using an oil spray bottle for light and even oil application are numerous:
- Healthier Cooking: By controlling the amount of oil used, you can significantly reduce calorie and fat intake without sacrificing flavor or texture.
- Enhanced Flavor: An even coating ensures that seasonings adhere beautifully and flavors are distributed uniformly throughout the dish.
- Improved Texture: Whether you’re searing, roasting, or baking, an even layer of oil helps achieve that perfect crispy exterior or moist interior.
- Non-Stick Performance: A light mist is often all you need to prevent food from sticking to pans, baking sheets, and even air fryer baskets.
- Cost-Effective: Using less oil means your cooking oils last longer, saving you money in the long run.
- Versatility: From salads and vegetables to baked goods and grilling, the applications are endless.
Choosing the Right Oil Spray Bottle
With a variety of oil spray bottles on the market, selecting the best one for your needs is important. Here are key factors to consider:
Material
Glass Oil Spray Bottles
Glass bottles are an excellent choice for several reasons. They are non-reactive, meaning they won’t impart any flavors to your oil. They are also durable and easy to clean. Many people prefer glass for its aesthetic appeal and because it’s eco-friendly. Some glass bottles come with a protective silicone sleeve for added grip and fall protection.
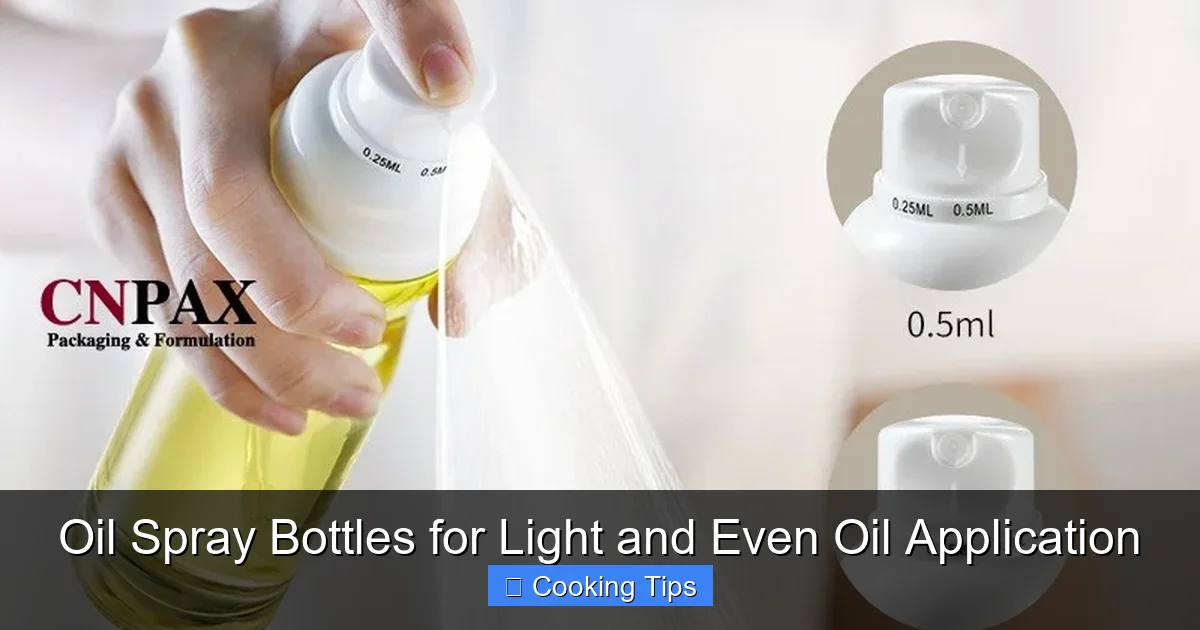
Visual guide about Oil Spray Bottles for Light and Even Oil Application
Image source: cangnuopack.com
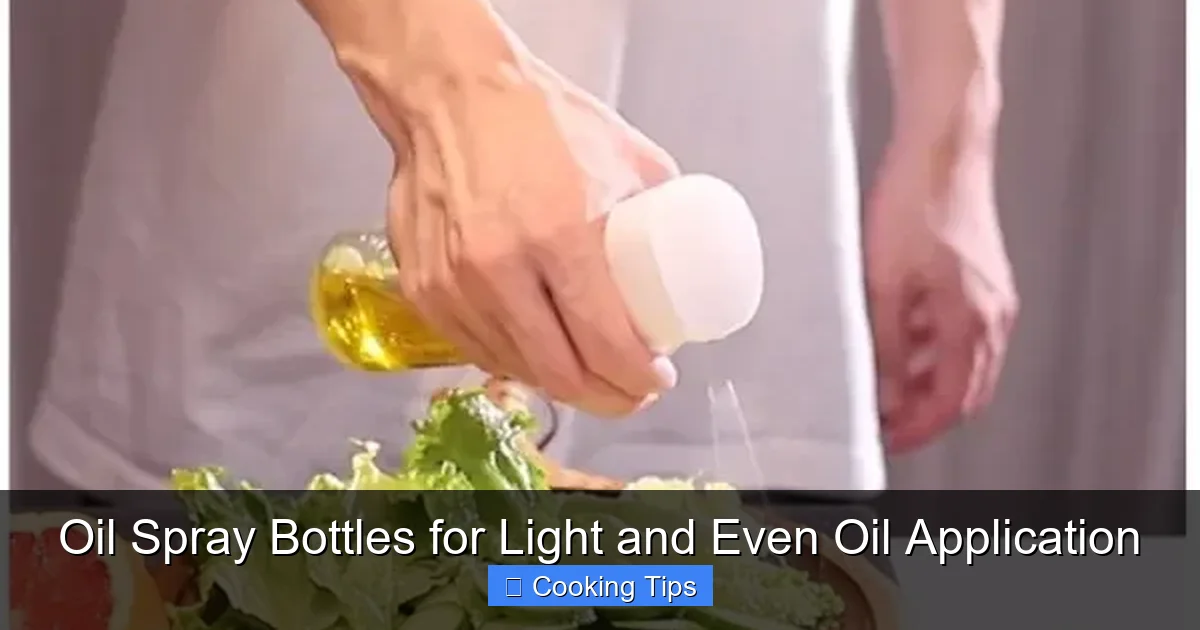
Visual guide about Oil Spray Bottles for Light and Even Oil Application
Image source: cdn.globalso.com
Plastic Oil Spray Bottles
Plastic oil spray bottles are generally lighter and less prone to breakage than glass ones. However, it’s crucial to choose BPA-free plastic to avoid potential chemical leaching into your oil, especially when exposed to heat. Look for food-grade plastic options for safe use in the kitchen.
Spray Mechanism
Pump Sprayers
These bottles often require you to manually pump the top to create pressure and dispense the oil. They can offer a more powerful and consistent spray but may require more effort for continuous spraying.
Trigger Sprayers
Similar to cleaning spray bottles, trigger sprayers offer an easy-to-use mechanism. A simple squeeze of the trigger releases a fine mist. They are convenient for quick applications.
Aerosol Sprayers
While convenient, true aerosol oil sprayers typically use propellants, which can sometimes affect the purity of the oil. If you’re aiming for a natural approach, non-aerosol options are generally preferred.
Capacity and Design
Consider how much oil you typically use and how often you’ll be refilling. Smaller bottles are great for portability or specific oils, while larger ones are more economical for everyday use. Look for a design that is comfortable to hold and has a wide enough opening for easy refilling.
How to Fill Your Oil Spray Bottle
Filling your oil spray bottle is a straightforward process. Here’s how to do it right:
Step 1: Choose Your Oil
You can use a wide variety of cooking oils in your spray bottle. Popular choices include:
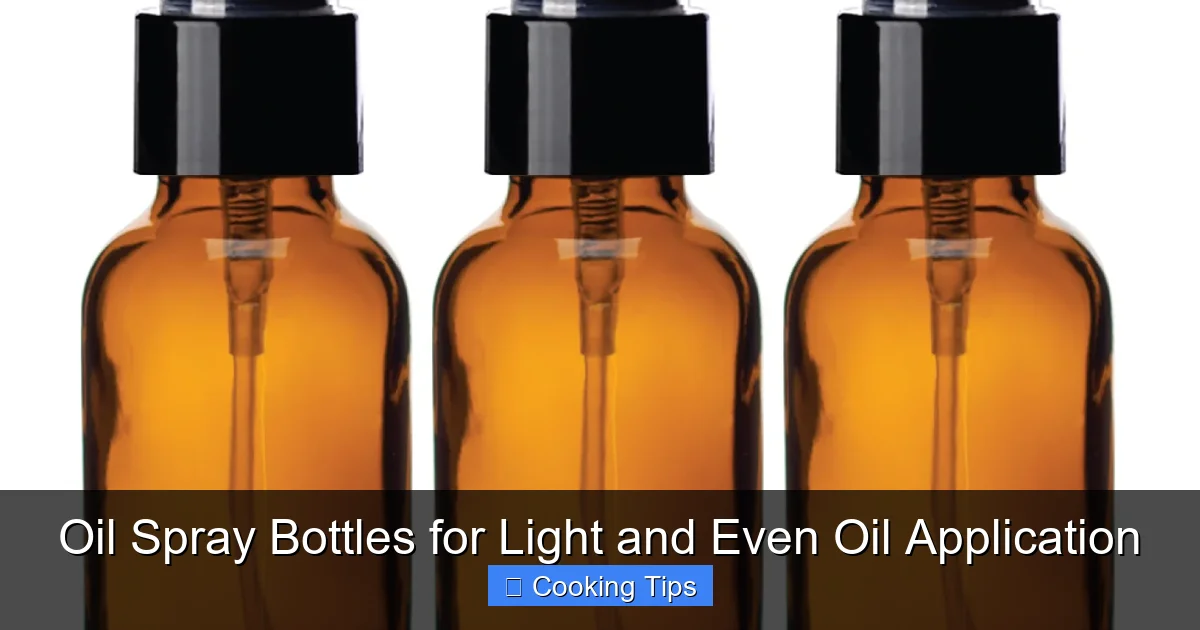
Visual guide about Oil Spray Bottles for Light and Even Oil Application
Image source: revive-eo.com
- Olive Oil: Extra virgin for flavor, regular for higher heat cooking.
- Canola Oil: Neutral flavor and good for high-heat applications.
- Avocado Oil: Excellent for high-heat cooking due to its high smoke point.
- Vegetable Oil: A versatile and cost-effective option.
- Coconut Oil (melted): Adds a subtle sweetness and is great for baking.
- Flavored Oils: Infuse your own with herbs and spices for an extra kick.
Tip: Avoid using oils with a very low smoke point or those that can solidify at room temperature unless you intend to use them immediately after melting.
Step 2: Prepare the Bottle
Ensure your oil spray bottle is clean and dry before filling. If it’s a new bottle, rinse it thoroughly. If you’re refilling, make sure to clean out any residue from the previous oil.
Step 3: Fill the Bottle
Unscrew the spray nozzle or pump mechanism. Using a funnel can make this process much easier and prevent spills. Slowly pour your chosen oil into the bottle until it reaches the desired level, usually leaving a little space at the top.
Important: Do not fill the bottle completely to the brim, as this can interfere with the spraying mechanism.
Step 4: Reassemble and Test
Screw the spray nozzle or pump back onto the bottle securely. Before using it on your food, point the nozzle away from yourself and any surfaces, and give it a few test sprays. This ensures the mechanism is working correctly and the oil is atomizing properly.
How to Use Your Oil Spray Bottle for Light and Even Application
Now that your oil spray bottle is filled and ready, let’s explore how to use it effectively for light and even oil application.
For Greasing Pans and Baking Sheets
Hold the spray bottle a few inches away from the surface of your pan or baking sheet. Press the trigger or pump to dispense a light mist. Move the bottle in a sweeping motion, covering the entire surface with a thin, even layer of oil. You may need a few passes to ensure full coverage, but resist the urge to spray heavily.
For Roasting Vegetables
Place your chopped vegetables in a large bowl. Lightly spray them with oil from your spray bottle, then toss to coat. Continue spraying and tossing until each piece has a fine, even coating. This ensures consistent cooking and prevents sticking.
For Salads and Dressings
Instead of pouring dressing directly onto your salad, try lightly misting your greens with a neutral oil first. Then, toss gently. This provides a base for your dressing to adhere to without making the salad soggy. You can also mist your finished salad with a touch of flavored oil for an extra burst of taste.
For Air Fryers and Grills
Lightly spray the basket of your air fryer or the grates of your grill before adding food. This prevents sticking and helps achieve a nice sear or crispiness. For food items like chicken wings or fries, you can also spray them directly for an even coating before cooking.
For Searing and Sautéing
Heat your pan over medium-high heat. Once hot, give it a quick spray of oil. This provides just enough oil for searing without excess. Add your ingredients and cook as usual.
Tips for Optimal Performance
- Angle Matters: Experiment with holding the bottle at different angles and distances to achieve the desired spray pattern.
- Multiple Light Sprays: It’s better to apply several light mists than one heavy one.
- Shake Gently: If using oils that separate (like some infused oils), give the bottle a gentle shake before spraying.
- Experiment with Oils: Try different oils to see how they affect flavor and cooking results.
- Consider a “Spritz” Setting: Some bottles offer a continuous spray or a wider mist, which can be very convenient.
Cleaning and Maintenance
Proper cleaning is essential to keep your oil spray bottle working efficiently and to prevent clogs.
Regular Cleaning
After each use, or at least once a week, it’s a good practice to clean your oil spray bottle. Fill it with warm water and a drop of dish soap. Spray the soapy water through the nozzle several times to flush out any oil residue. Rinse thoroughly with clean water.
Deep Cleaning
If you notice the spray becoming weak or clogged, a deeper clean might be necessary. Disassemble the nozzle and pump mechanism if possible. Soak the parts in warm, soapy water. You can use a small brush or a toothpick to gently clear any blockages in the nozzle. Always rinse all parts thoroughly before reassembling.
Drying
Ensure all parts are completely dry before refilling with oil. Moisture can affect the quality of the oil and potentially lead to clogs over time.
Troubleshooting Common Issues
While oil spray bottles are generally reliable, you might encounter a few common issues.
Problem: The spray is weak or inconsistent.
Solution: Check if the nozzle is clogged. Clean it thoroughly as described above. Ensure there is enough oil in the bottle; some mechanisms need a certain oil level to function properly. The pump might also need to be primed by spraying a few times.
Problem: Oil is leaking from the nozzle or cap.
Solution: Make sure the cap or nozzle is screwed on tightly. If the seal is damaged, you may need to replace the bottle or the nozzle component.
Problem: The oil smells rancid.
Solution: This indicates the oil itself has gone bad. Discard the oil and clean the bottle thoroughly. Store your oil spray bottle in a cool, dark place to prolong the life of the oil.
Conclusion
Incorporating an oil spray bottle into your kitchen routine is a simple yet incredibly effective way to elevate your cooking. By providing a light and even application of oil, you’ll not only make your meals healthier and more flavorful but also reduce waste and save money. From choosing the right bottle to mastering its use and maintenance, this guide has equipped you with all the knowledge you need. So, go ahead, grab your favorite oil, fill up your spray bottle, and start enjoying the benefits of perfectly coated, deliciously cooked food! Happy spraying!