
Extend the life and efficiency of your kitchen appliances by learning how to replace worn-out gaskets and filters. This guide provides step-by-step instructions for common items like refrigerators, coffee makers, and blenders. Regular maintenance is key to preventing costly repairs and ensuring optimal performance. Save time and money by tackling these simple replacements yourself.
Welcome to your ultimate guide on replacing worn-out parts like gaskets and filters in your kitchen appliances! In 2026, we’re all looking for ways to be more resourceful and save money. One of the smartest ways to do this is by performing simple maintenance on your kitchen gadgets. Often, a faulty gasket or a clogged filter is the culprit behind an appliance not performing as it should. Ignoring these issues can lead to decreased efficiency, poor results, and even premature appliance failure.
But don’t worry! You don’t need to be a certified technician to handle these common replacements. This guide will walk you through the process step-by-step, making it easy and accessible for everyone. We’ll cover why these parts fail, how to identify when they need replacing, and the best way to swap them out. Get ready to breathe new life into your appliances and keep your kitchen running like a well-oiled machine!
Key Takeaways
- Regularly inspect appliance seals (gaskets) for cracks, tears, or stiffness to identify potential issues before they cause problems.
- Understand the role of filters in appliances like coffee makers and refrigerators; a clean filter ensures better taste and performance.
- Always disconnect power before attempting any repair or replacement to ensure your safety.
- Gather the correct replacement parts beforehand; measure or identify your appliance model to ensure a perfect fit.
- Follow manufacturer instructions for specific models, as procedures can vary slightly.
- Cleaning surrounding areas during replacement can prevent future buildup and make future maintenance easier.
Why Replace Gaskets and Filters?
Gaskets are the seals found on appliance doors, like refrigerators and ovens. Their primary job is to create an airtight seal, preventing temperature loss (in fridges) or heat escape (in ovens). Over time, these rubber or silicone seals can become brittle, cracked, or lose their elasticity due to constant opening and closing, temperature fluctuations, and general wear and tear. A compromised gasket means your appliance works harder to maintain its set temperature, leading to higher energy bills and potential spoilage of food.
Filters, on the other hand, are designed to remove impurities. Think of the water filter in your refrigerator, the air filter in a range hood, or the filter in your coffee maker. They capture sediment, minerals, odors, and other unwanted particles. As they do their job, they become saturated and clogged, reducing water flow, affecting taste, and potentially hindering the appliance’s performance. Replacing them regularly ensures optimal function and the best possible results.
When to Replace
Knowing when to replace these parts is crucial. Here are some tell-tale signs:

Visual guide about Replace Worn Out Parts Like Gaskets and Filters
Image source: kitchenadvising.com
- For Gaskets:
- Visible cracks, tears, or signs of degradation on the seal.
- The door doesn’t feel firmly sealed or closes too easily.
- Condensation or frost buildup around the door edges.
- Your refrigerator is constantly running or struggling to maintain temperature.
- Food in the refrigerator section is not staying cold enough.
- For Filters:
- Reduced water flow from your refrigerator’s ice maker or water dispenser.
- Unpleasant odors or tastes in your coffee.
- Your range hood or air purifier seems less effective at removing smoke or odors.
- The appliance manual specifies a replacement schedule (e.g., every 6 months for water filters).
How to Replace Refrigerator Door Gaskets
Refrigerator gaskets are one of the most common replacements. A failing gasket can be a real energy drain.
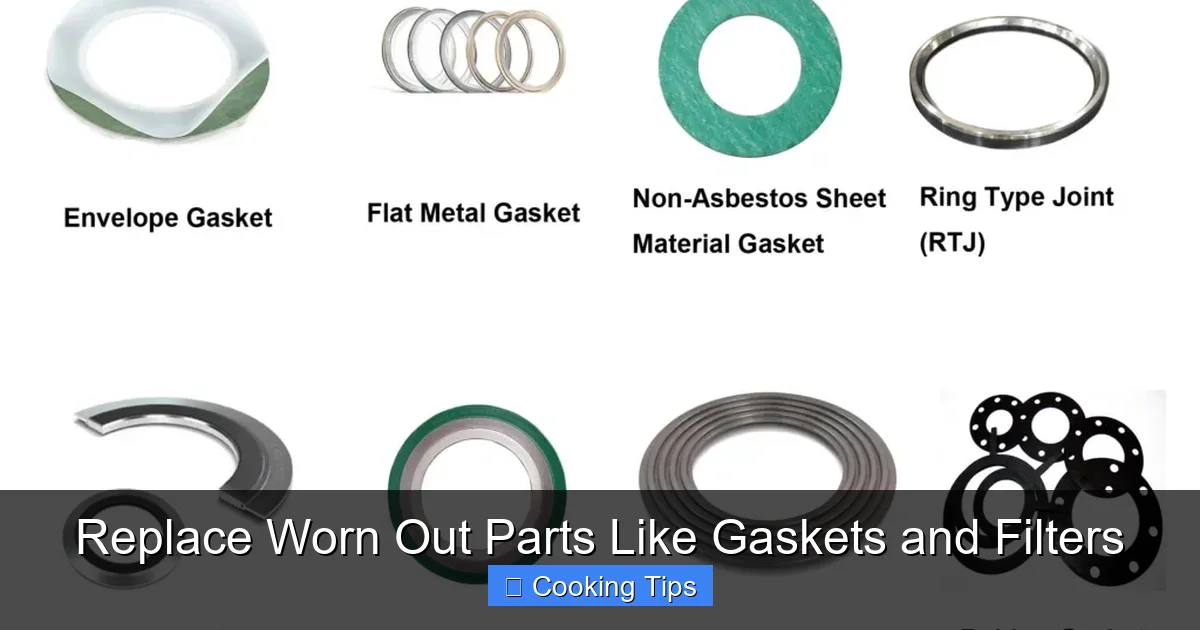
Visual guide about Replace Worn Out Parts Like Gaskets and Filters
Image source: x-plasticparts.com
Step 1: Safety First – Unplug the Refrigerator
Before you do anything, always disconnect the power to your refrigerator. Unplug it from the wall outlet. This is the most important step to ensure your safety.
Step 2: Identify and Order the Correct Gasket
You’ll need to find the exact gasket for your refrigerator model. Check your appliance’s manual or look for a model number sticker, usually found inside the refrigerator compartment on a side wall or near the crisper drawers. You can then search online retailers or appliance parts stores using your model number. Make sure you order the correct gasket for your specific refrigerator and door (e.g., freezer door vs. refrigerator door).
Step 3: Remove the Old Gasket
Most refrigerator gaskets are held in place by screws or are simply press-fitted into a channel.
- If screwed in: Locate the screws around the perimeter of the door and carefully remove them using a screwdriver. Keep the screws in a safe place.
- If press-fitted: Gently pull the old gasket away from the door frame. You might need a flat-head screwdriver or a putty knife to help pry it loose without damaging the door. Work your way around the entire perimeter.
Step 4: Clean the Area
With the old gasket removed, clean the channel or mounting surface thoroughly. Use a damp cloth with mild soap to remove any food debris, grime, or old adhesive. A clean surface ensures the new gasket will seal properly.
Step 5: Install the New Gasket
Carefully align the new gasket with the door frame.
- If screwed in: Position the gasket and reinsert and tighten the screws. Don’t overtighten.
- If press-fitted: Start at one corner and press the gasket firmly into the channel. Work your way around, ensuring it’s seated snugly in the groove.
Step 6: Test the Seal
Once the new gasket is in place, close the refrigerator door. You can test the seal by trying to slide a piece of paper between the gasket and the frame. If you can easily pull the paper out, the seal isn’t tight enough. Adjust the gasket as needed. You can also check for any gaps where air might escape.
Step 7: Reconnect Power
Plug your refrigerator back in and monitor it to ensure it’s running efficiently and maintaining the correct temperature.
How to Replace Coffee Maker Filters
Coffee makers often have either reusable mesh filters or disposable paper filters. Disposable ones don’t need replacing, but if you have a reusable filter, keeping it clean is key.

Visual guide about Replace Worn Out Parts Like Gaskets and Filters
Image source: img.wonderhowto.com
Step 1: Disconnect Power and Let Cool
Ensure the coffee maker is unplugged and has cooled down completely, especially if you’ve recently used it.
Step 2: Remove the Old Filter and Grounds
Open the filter basket and carefully remove the old filter, along with the used coffee grounds. Dispose of them properly.
Step 3: Clean the Filter Basket
Wash the filter basket with warm, soapy water. Rinse it thoroughly and dry it completely. This prevents any lingering coffee oils from affecting the taste of your next brew.
Step 4: Install the New Filter
If you’re using a reusable filter, ensure it’s clean and dry before placing it back in the basket. If you’re replacing a worn-out reusable filter, install the new one. For coffee makers that use disposable paper filters, place a fresh one in the basket.
Step 5: Brew Your Coffee
Proceed with brewing your coffee as usual. You should notice a cleaner taste and better flow.
How to Replace Blender Jar Seals/Gaskets
Leaky blender jars are annoying and can make a mess!
Step 1: Safety and Disassembly
Unplug the blender. Carefully remove the blender jar from the base. Most blender jars have a blade assembly that unscrews from the bottom. You might need to hold the jar steady to unscrew it.
Step 2: Inspect and Remove the Old Seal
The seal is usually a rubber or silicone ring located between the blade assembly and the jar. Carefully pry it out. It might be brittle or stuck.
Step 3: Clean the Jar and Blade Assembly
Wash both the jar and the blade assembly thoroughly with soap and water. Make sure all food residue is removed. Let them dry completely.
Step 4: Install the New Seal
Place the new seal onto the blade assembly or into the groove on the jar. Ensure it sits flat and is properly seated. Some seals are designed to fit snugly; you might need to stretch it slightly.
Step 5: Reassemble the Blender Jar
Screw the blade assembly back onto the jar. Tighten it firmly, but don’t overtighten, as you could damage the threads or the new seal.
Step 6: Test for Leaks
Fill the jar with a small amount of water and run the blender on a low setting. Check for any leaks around the blade assembly. If it leaks, you may need to disassemble and reseat the seal or check if you have the correct replacement part.
Troubleshooting Common Issues
Problem: The new refrigerator gasket still doesn’t seal properly.
Solution: Ensure you have the correct gasket model. Double-check that it’s fully seated in the channel. Sometimes, allowing the gasket to sit in warm water for a few minutes before installation can make it more pliable and easier to seal. Also, check if there’s any debris preventing a full seal.
Problem: My coffee tastes metallic after changing the reusable filter.
Solution: Make sure the new filter is made of food-grade material. If it’s a metal filter, ensure it’s clean. Sometimes, a new filter might impart a slight taste initially, which should dissipate after a few uses. Ensure you’re using the correct type of filter for your coffee maker.
Problem: The blender jar continues to leak after replacing the seal.
Solution: Verify that the seal is the correct size and type for your blender model. Ensure the blade assembly is screwed on tightly and the threads are not damaged. Sometimes, the jar itself might have a hairline crack.
Conclusion
Replacing worn-out gaskets and filters on your kitchen appliances might seem like a chore, but it’s a straightforward task that offers significant rewards. By dedicating a little time to this simple maintenance, you’ll improve your appliances’ efficiency, reduce energy consumption, enhance performance, and ultimately save yourself money on repair bills and premature replacements. So, next time you notice a drip, a leak, or a performance dip, don’t hesitate to roll up your sleeves. You’ve got this!