
Unlock the secrets to delicate grinding with this comprehensive guide. Learn precisely when and how to employ your grinder’s low speed setting to achieve optimal texture for a variety of ingredients. From herbs to spices and delicate baked goods, discover how this simple technique can elevate your culinary creations.
Run the Grinder on Low Speed for Delicate Grinding
Welcome to the ultimate guide on mastering the art of delicate grinding! Many of us think of grinders as powerful machines designed for pulverizing tough ingredients into fine powders. While they excel at that, did you know that your grinder, even the most robust ones, can also be your best friend for handling more sensitive ingredients? The key lies in one simple, often overlooked setting: **low speed**.
In this guide, we’ll demystify the process of running your grinder on low speed. You’ll learn exactly why this technique is so beneficial, which ingredients it’s perfect for, and the step-by-step process to achieve fantastic results. Get ready to elevate your cooking and baking with perfectly processed ingredients, without sacrificing their delicate flavors and textures!
Key Takeaways
- Understand the “Why”: Grinding on low speed prevents excessive heat and preserves delicate flavors and aromas in ingredients.
- Identify Suitable Ingredients: Low speed is ideal for fresh herbs, dried spices, nuts, seeds, and even breaking down some dry baked goods.
- Master the Technique: Proper pulsing and gradual feeding of ingredients are crucial for controlled, delicate grinding.
- Know Your Grinder: Familiarize yourself with your grinder’s specific low-speed settings and capabilities.
- Avoid Over-Processing: Pay close attention to the desired texture to prevent turning delicate ingredients into paste or powder.
- Cleanliness is Key: Regularly clean your grinder to prevent flavor cross-contamination and maintain optimal performance.
Why Use Low Speed for Delicate Grinding?
You might be wondering, “Why would I use a lower speed when I want to grind something?” The answer is simple: control and preservation. Grinding is essentially a process of breaking down food. When you use high speeds, especially for extended periods, a few things happen:
- Friction and Heat: High-speed rotation creates significant friction. This friction generates heat, which can actually cook or scald delicate ingredients. For instance, grinding fresh herbs at high speed can release their volatile oils too quickly, leading to a loss of fresh, vibrant flavor and aroma. Similarly, grinding nuts at high speed can release their oils, turning them into a paste prematurely.
- Over-Processing: High speeds are designed for efficiency and can easily take an ingredient from perfectly ground to an undesirable paste or mush. This is especially true for ingredients with higher moisture content or softer structures.
- Loss of Texture: Delicate ingredients often have specific textural qualities that are desirable in a dish. High-speed grinding can obliterate these textures, leaving you with something completely different from what you intended.
By using a low speed, you dramatically reduce friction and heat build-up. This allows for a much gentler, more controlled breakdown of your ingredients. You can achieve the perfect consistency without compromising their natural qualities. It’s about working with the ingredient, not against it.
What Ingredients Benefit from Low-Speed Grinding?
The beauty of the low-speed grinding technique is its versatility. Here are some common categories of ingredients that will thank you for the gentle treatment:

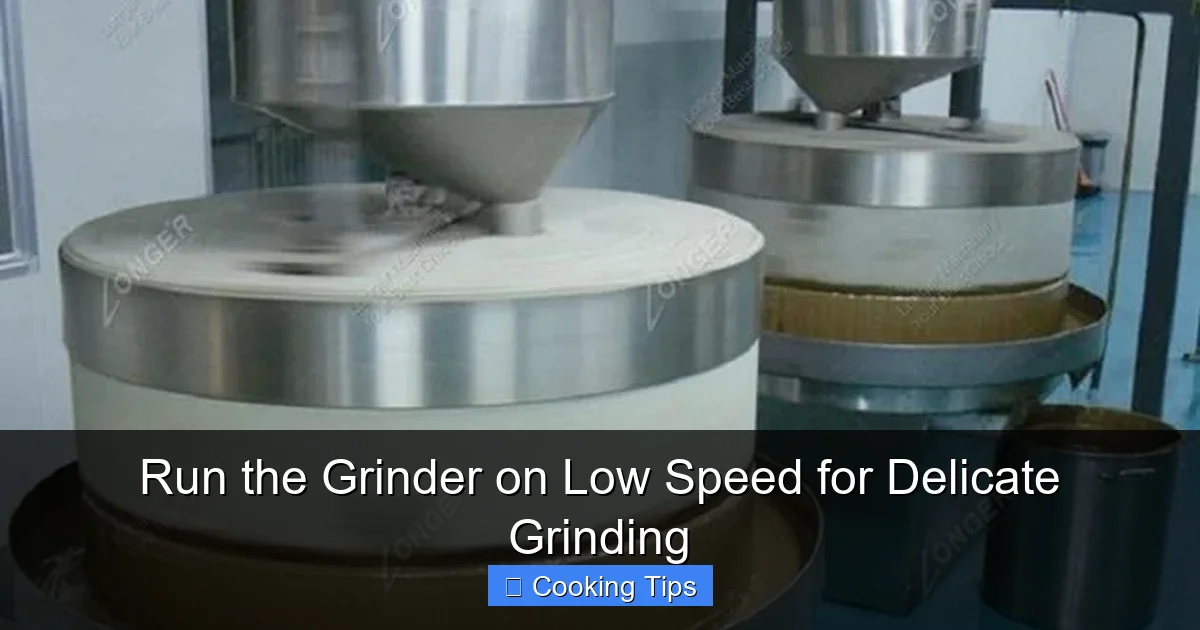
Visual guide about Run the Grinder on Low Speed for Delicate Grinding
Image source: images.nexusapp.co
- Fresh Herbs: Think basil, cilantro, parsley, mint. Grinding these on low speed, often with a pulse function, can chop them finely for pestos, sauces, or garnishes without turning them into a bruised, watery mess.
- Dried Spices: While many whole spices are ground on higher settings, some delicate ones, like delicate pepper berries or even some softer seeds, can benefit from a gentler approach to preserve their nuanced aromatics.
- Nuts and Seeds: For recipes that call for finely chopped or lightly ground nuts (like for a delicate cake topping or a salad garnish), low speed prevents them from turning into nut butter. You can achieve a perfect chop or a slightly coarser meal.
- Delicate Baked Goods: Need to process stale bread for fine breadcrumbs, or perhaps break down cookies for a crust? Low speed helps you control the texture, avoiding a flour-like consistency when you want coarse crumbs, or a paste when you want a crumbly base.
- Certain Vegetables and Fruits: For recipes requiring finely minced garlic, ginger, or even some soft fruits for a sauce base, low speed can offer more control than a high-speed blitz.
How to Run Your Grinder on Low Speed: A Step-by-Step Guide
Ready to put theory into practice? Here’s how to effectively use your grinder on its low-speed setting:
Visual guide about Run the Grinder on Low Speed for Delicate Grinding
Image source: pbuttermachine.com
Step 1: Understand Your Grinder
Before you begin, take a moment to familiarize yourself with your specific grinder. Most electric grinders will have at least two speed settings: high and low. Some may also have a “pulse” function, which is incredibly useful for delicate grinding.

Visual guide about Run the Grinder on Low Speed for Delicate Grinding
Image source: down-my.img.susercontent.com
Identify the Low-Speed Setting
Locate the button or dial that controls the speed. Ensure you are selecting the lowest available setting. If your grinder has a “pulse” option, this is often your best friend for delicate work. It allows for short bursts of power, giving you maximum control.
Check the Manual
If you’re unsure about your grinder’s settings or capabilities, consult its user manual. It will provide specific instructions on operating different speed modes.
Step 2: Prepare Your Ingredients
Proper preparation is crucial for successful grinding, regardless of the speed you use. This is especially true for delicate ingredients.
Clean and Dry
Ensure your ingredients are clean and, most importantly, dry. Excess moisture can lead to clumping and a less desirable texture, even on low speed.
Cut into Appropriate Sizes
For most grinding tasks, it’s best to cut your ingredients into smaller, uniform pieces. This helps the grinder process them more evenly. For delicate herbs, you might just need to give them a rough chop.
Measure Accurately
Don’t overload your grinder. Grinding smaller batches allows for better control and prevents the motor from overheating, even on low speed.
Step 3: The Grinding Process
This is where the magic happens. Patience and observation are key here.
Add Ingredients to the Grinder
Place your prepared ingredients into the grinder’s container. Ensure the lid is securely fastened.
Select Low Speed and Pulse
If your grinder has a dedicated low-speed button, select it. If not, and you have a pulse function, this is where you’ll use it. Start with short pulses.
Pulse and Observe
Begin with very short pulses – just a second or two at a time. After each pulse, stop the grinder and check the consistency of your ingredients. This is the most critical part of delicate grinding. You are looking for visual cues.
Gradual Feeding (If Necessary)
If you are grinding a larger quantity or an ingredient that tends to clump, you can try a technique of gradually feeding more ingredients in while the grinder is running on low speed. This is more advanced and depends on your grinder’s design, but it can offer a very fine control over texture.
Adjust Based on Desired Texture
Continue pulsing and checking until you reach your desired consistency. Remember, with delicate ingredients, it’s often better to under-grind and then pulse a bit more than to over-grind and ruin your batch.
Step 4: Assess and Finish
Once you believe you’ve reached your goal, it’s time for a final check.
Scrape Down the Sides
Use a spatula to scrape down any ingredients that may have stuck to the sides of the grinder. Pulse briefly a couple more times to incorporate them.
Final Texture Check
Remove the ground ingredients and examine them. Do they have the texture you were aiming for? Are the flavors still vibrant? If not, you might need to adjust your technique for the next batch.
Practical Tips for Delicate Grinding
- Don’t Be Afraid to Stop and Check: This cannot be stressed enough. The best results come from frequent checks.
- Work in Small Batches: It’s always better to grind in smaller quantities for more control.
- Listen to Your Grinder: If your grinder sounds strained, it might be overloaded or the ingredient is too hard for the low-speed setting.
- Consider the Ingredient’s Oil Content: Ingredients high in oil (like nuts) will turn into a paste faster. Be extra vigilant with these.
- Freshness Matters: Fresh ingredients will grind differently than dried ones. Adjust your approach accordingly.
Troubleshooting Common Issues
Even with the best intentions, you might encounter a few hiccups. Here’s how to address them:
Issue: Ingredients are too chunky.
Solution: Continue pulsing in short bursts. Ensure you are not overloading the grinder. Check if your ingredients were cut into uniform sizes.
Issue: Ingredients have turned into a paste.
Solution: This means you’ve likely processed for too long or at too high a speed. For future attempts, use shorter pulses and stop more frequently. Unfortunately, a paste cannot be easily turned back into a ground ingredient, so it might be best to repurpose it if possible.
Issue: Flavors are muted or dull.
Solution: This is often due to excessive heat generated during grinding. Ensure you are using the lowest speed possible and pulsing very briefly. Try cooling your ingredients slightly before grinding.
Issue: Grinder is not processing ingredients evenly.
Solution: Make sure your ingredients are cut into similar sizes. You may need to stop, scrape down the sides, and give it another pulse or two to ensure everything is being caught by the blades.
Conclusion
Mastering the art of running your grinder on low speed for delicate grinding opens up a world of culinary possibilities. It’s a simple adjustment that yields significant improvements in texture, flavor, and aroma for a wide range of ingredients. By understanding the principles behind low-speed grinding, preparing your ingredients correctly, and employing a patient, observant approach, you can achieve perfect results every time.
So, the next time you reach for your grinder, remember the power of subtlety. Embrace the low-speed setting, experiment with pulsing, and savor the difference it makes in your favorite dishes. Happy grinding!