
Discover the crucial step of ensuring your blender lid is *securely fastened* before operation. This guide will walk you through why this simple action is vital for preventing spills, protecting your kitchen from messes, and ensuring your safety. Learn to secure the lid tightly before starting the blender for smooth, worry-free blending experiences every time.
Secure the Lid Tightly Before Starting the Blender
Welcome to your ultimate guide on blender safety, specifically focusing on one of the most fundamental yet often overlooked steps: how to secure the lid tightly before starting the blender. In our fast-paced lives, especially as we head further into 2026, efficiency and speed are key. However, when it comes to kitchen appliances, speed should never come at the expense of safety. A blender is a powerful tool, and like any powerful tool, it demands respect and proper handling.
Many of us have experienced the dreaded blender explosion – ingredients splattering everywhere, coating cabinets, countertops, and ourselves in a sticky, unsavory mess. This usually happens because the lid wasn’t secured properly. This guide is designed to empower you with the knowledge and confidence to prevent these kitchen calamities. You’ll learn why securing the lid is so important, how to do it correctly for various blender types, and what to do if you encounter issues. Let’s dive in and make your blending experiences safe and smooth!
- The most critical safety step: Always confirm the blender lid is locked in place before powering on the appliance.
- Preventing kitchen chaos: A loose lid is a recipe for splattered ingredients, creating a significant and messy cleanup.
- Personal safety first: A properly secured lid protects you from sudden blasts of hot liquids or flying food particles.
- Ensuring optimal blending: A tight seal allows the blender to work efficiently, creating smoother results without leakage.
- Understanding your blender: Familiarize yourself with your specific blender’s lid locking mechanism for reliable use.
- Beyond the basic seal: Check for any obstructions or damage to the lid or jar that might prevent a secure fit.
- Building good habits: Make securing the lid a non-negotiable part of your blending routine for consistent safety.
Why Securing the Lid is Non-Negotiable
Before we get into the ‘how-to,’ let’s talk about the ‘why.’ Understanding the reasons behind this simple step will reinforce its importance in your mind and make it an automatic part of your routine.
The Mess Factor
The most immediate consequence of a loose blender lid is, of course, a mess. Blenders operate at high speeds, creating intense pressure and movement within the jar. If the lid is not sealed tightly, this pressure will find the easiest escape route – through any gaps. This means your smoothie ingredients, sauces, or soups can violently erupt from the blender jar, coating your entire kitchen in a sticky, often vibrant, concoction. Cleaning up after a blender explosion is time-consuming, frustrating, and frankly, a chore no one enjoys.
Personal Safety is Paramount
Beyond the mess, there’s a genuine safety risk. Blenders can pulverize ingredients, sometimes creating hot liquids or fine particles. If the lid is loose, these substances can be propelled outwards with force. Imagine hot soup or a boiling liquid being sprayed onto your skin, eyes, or even a nearby pet. This can lead to burns, eye irritation, or other injuries. A securely fastened lid acts as a protective barrier, keeping you and your loved ones safe from unexpected projectiles.
Optimal Blending Performance
For your blender to perform at its best, it needs to create a contained environment. A tight seal ensures that the ingredients are properly circulated and pulverized by the blades. If the lid is loose, air can escape, and ingredients might not be mixed as effectively, potentially leading to uneven blending and requiring you to blend for longer periods. This not only wastes energy but can also compromise the texture of your desired outcome.
How to Secure the Lid Tightly: A Step-by-Step Approach
The exact method for securing your blender lid will vary slightly depending on the type of blender you own. However, the core principles remain the same.
Step 1: Assemble Your Blender Correctly
Before even thinking about the lid, ensure all other parts of your blender are assembled correctly. This typically involves placing the blender jar securely onto the motor base. You should hear a click or feel it settle firmly into place. Never attempt to operate a blender with the jar loosely attached to the base.
Step 2: Prepare Your Ingredients
Add your ingredients to the blender jar. Don’t overfill it, as this can also contribute to leaks and strain the motor. Most blender jars have a “max fill” line – pay attention to it.
Step 3: Position the Lid
This is where the magic happens, and it requires a bit of attention.
- For most standard blenders: The lid usually has a rim that fits over the top of the blender jar. Align the lid with the jar opening, ensuring it sits flush all the way around.
- Look for alignment indicators: Many lids have small notches or arrows that should line up with corresponding markings on the jar. This helps you orient the lid correctly.
Step 4: Engage the Locking Mechanism
This is the critical step. How you “lock” the lid depends on your blender’s design.
- Twist-and-Lock Lids: Some lids are designed to twist into place after being positioned on the jar. You might need to apply firm, steady pressure and turn the lid clockwise until you feel or hear it click securely into its locked position. Continue twisting until it feels absolutely stable and there’s no wobbling.
- Clamp-Down Lids: Certain blenders feature lids with tabs or clips that snap down over the rim of the jar. Once the lid is in place, press down firmly on these tabs or clamps until they audibly click or visibly secure the lid against the jar. Ensure all tabs are engaged.
- Push-Down Lids: Simpler models might just have a lid that you push down firmly onto the jar. You should feel it create a tight seal. While these might not have a distinct ‘click,’ you should feel significant resistance and see no visible gaps when you press down.
- Lids with Removable Center Caps: Many blender lids have a central cap that is removed to add ingredients. Ensure this center cap is also securely in place after you’ve finished adding ingredients. These often screw in or push down to lock. Double-check that it’s fully seated.
Step 5: The “Wiggle Test” (Gentle!)
Once you believe the lid is secured, give it a *gentle* wiggle. Don’t yank on it, but apply slight pressure in different directions. If you feel any looseness, wobble, or if the lid seems to shift, it’s not secured properly. Remove it and re-seat it, paying close attention to the alignment and locking mechanism.
Step 6: Ensure the Lid is Fully Sealed
Visually inspect the rim where the lid meets the jar. There should be no visible gaps. If you see any opening, even a small one, re-secure the lid.
Troubleshooting Common Lid Issues
Sometimes, even with the best intentions, you might encounter problems. Here’s how to address them:
Issue: The Lid Feels Loose No Matter What
Possible Causes:
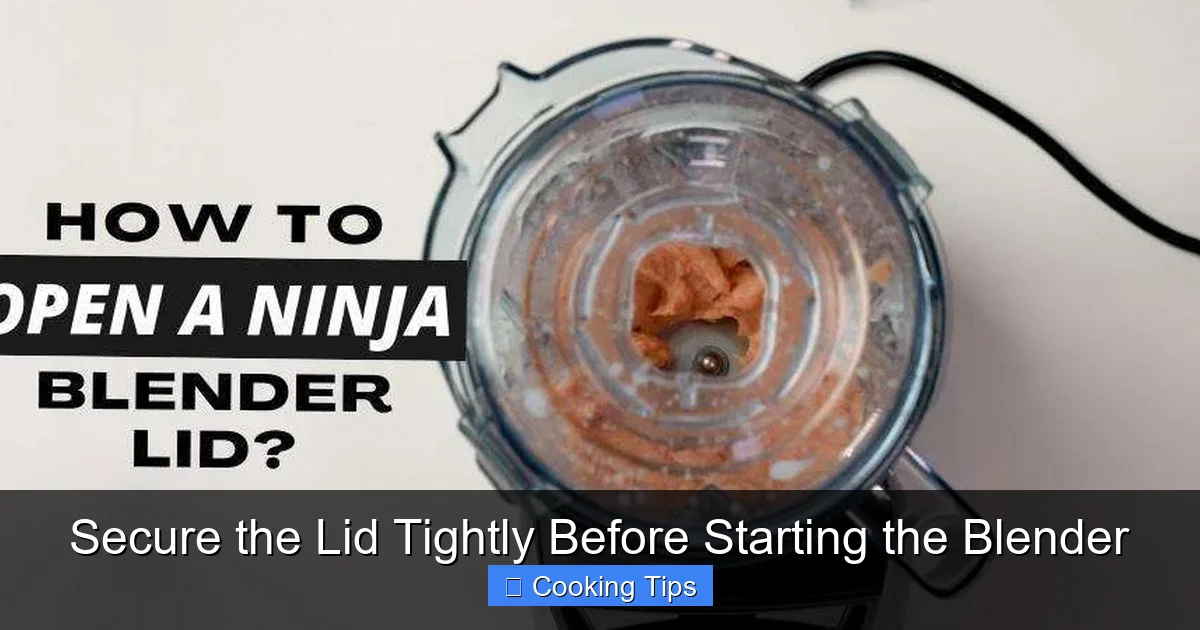
Visual guide about Secure the Lid Tightly Before Starting the Blender
Image source: indoorguider.com
Visual guide about Secure the Lid Tightly Before Starting the Blender
Image source: thumbs.dreamstime.com
- Damaged Lid or Jar Rim: Inspect both the lid and the rim of the blender jar for any nicks, cracks, or warping. Even a slight imperfection can prevent a secure seal.
- Worn Gasket or Seal: If your lid has a rubber or silicone gasket, it might be worn out, cracked, or displaced. Ensure it’s properly seated and in good condition.
- Debris: Small bits of food or dried residue on the rim or lid can prevent a proper seal. Clean both thoroughly.
Solutions:
- Clean the lid and jar rim thoroughly with warm, soapy water.
- Ensure any gaskets are properly aligned.
- If damage is evident, you may need to replace the lid or jar. Check your blender’s manufacturer for replacement parts.
Issue: The Lid is Difficult to Lock or Remove
Possible Causes:
- Misalignment: The lid might not be positioned perfectly on the jar before you attempt to lock it.
- Pressure Build-up (While trying to remove): If you’ve just finished blending something hot, pressure can make the lid difficult to remove.
- Dried-on Residue: Gunk around the rim can make locking or unlocking sticky.
Solutions:
- Always ensure the lid is aligned correctly before trying to lock.
- For hot liquids, let the blender cool for a few minutes. You can also try gently twisting the lid back and forth to break the seal.
- Clean the lid and jar rim regularly.
Issue: The Center Cap is Stuck or Loose
Possible Causes:
- Dried Ingredients: Sugary or sticky ingredients can dry and “glue” the cap in place.
- Improper Seating: The cap wasn’t fully screwed in or pushed down.
Solutions:
- Soak the lid in warm, soapy water to loosen dried residue.
- Ensure the cap is twisted or pushed firmly into its designated spot.
Making it a Habit: Best Practices for Blender Use
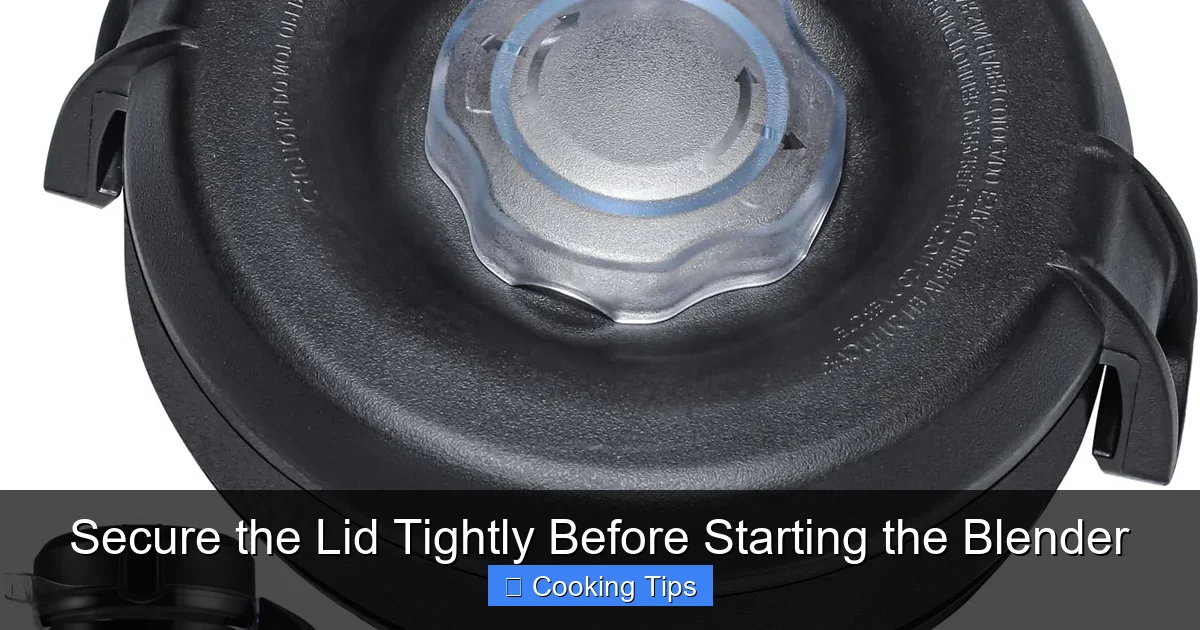
Visual guide about Secure the Lid Tightly Before Starting the Blender
Image source: m.media-amazon.com
Securing the lid tightly is more than just a step; it’s part of a good blending habit.
Read Your Blender’s Manual
While this guide covers general principles, your specific blender model might have unique features or instructions. Always refer to your owner’s manual for the most accurate guidance on assembly and lid operation.
Regular Cleaning is Key
A clean blender is a safe blender. Regularly wash your blender jar and lid, paying attention to the rim and any sealing mechanisms. This prevents residue build-up that can compromise the seal.
Inspect Before Each Use
Take a few seconds before each blending session to visually inspect the lid and jar for any signs of damage or wear. It’s a quick check that can prevent a major mishap.
When in Doubt, Don’t Blend
If you are unsure whether your lid is secured properly, or if you notice any issues with the fit, do not proceed with blending. It’s better to be safe than sorry.
Conclusion
Mastering the simple act of how to secure the lid tightly before starting the blender is fundamental to safe and effective kitchen operations in 2026 and beyond. It’s a small effort that yields significant rewards: preventing messy kitchen disasters, protecting yourself and your family from potential injuries, and ensuring your blender performs its job beautifully. By understanding the ‘why’ and diligently following the steps, you’ll build a confident and safe blending routine. So, the next time you reach for your blender, remember this crucial step – secure the lid tightly. Happy blending!