
Discover the art of skipping oven preheating when your recipe calls for it, saving precious time without sacrificing quality. This guide will walk you through identifying suitable recipes, adjusting cooking times, and troubleshooting potential pitfalls. Unlock a faster, more spontaneous cooking experience by understanding when and how to deviate from the preheating norm, leading to delicious outcomes with less waiting.
- Understand the “Why”: Preheating ensures even cooking and proper texture development. Skipping it is sometimes an option, but understanding its purpose is crucial.
- Identify “Safe-to-Skip” Recipes: Certain dishes, like quick breads, muffins, or cookies that spread, are more forgiving than others.
- Adjust Cooking Time: Expect longer cooking times when skipping preheating. Keep a close eye on your food.
- Consider Temperature Adjustments: Sometimes, a slight temperature increase can compensate for the lack of preheating.
- Visual Cues are Key: Learn to rely on the appearance and aroma of your food, not just the clock.
- Troubleshoot Common Issues: Address potential problems like uneven cooking or a denser texture.
- Embrace Spontaneity: Skipping preheating allows for more flexible meal planning and last-minute baking.
Skipping Preheating When the Recipe Requires It
Welcome, home cooks of 2026! In our fast-paced lives, every minute counts. And if you’re anything like me, you’ve probably stared at a recipe, oven still cold, and wondered, “Can I *really* skip this preheating step?” The short answer? Sometimes, yes! This comprehensive guide will empower you to make that decision with confidence. We’ll explore which recipes are good candidates for skipping preheating, how to adjust your cooking strategy, and what to watch out for to ensure your culinary creations still turn out wonderfully. Let’s dive in and unlock a more spontaneous and efficient way to cook!
Why Recipes Call for Preheating in the First Place
Before we start bending the rules, it’s important to understand why recipes emphasize preheating the oven. Ovens work by surrounding food with hot air. When you preheat, you’re ensuring that the moment your food enters the oven, it’s met with consistent, high heat. This is crucial for several reasons:
- Even Cooking: A preheated oven provides a stable temperature from the start, allowing food to cook evenly throughout. This is especially important for delicate baked goods where temperature fluctuations can lead to an uneven crumb or burnt edges and a raw center.
- Texture Development: For many baked goods, especially those relying on leavening agents like baking powder or baking soda, the initial blast of heat is essential for a quick rise and a tender, airy texture. Think of a fluffy cake or light, crisp cookies.
- Browning and Crust Formation: The high initial heat helps to quickly set the exterior of foods, leading to that desirable golden-brown color and crisp crust, whether it’s on bread, pastries, or roasted vegetables.
- Moisture Control: For certain items, like meringues or delicate custards, precise temperature control from the outset prevents them from weeping or becoming rubbery.
So, when a recipe *specifically* calls for preheating, it’s usually for a good reason related to the desired outcome of the dish. However, life happens, and sometimes we need to be a little flexible in the kitchen.
When is it Okay to Skip Preheating?
Not all recipes are created equal when it comes to the importance of preheating. Some are far more forgiving than others. Here’s a breakdown of when you might consider skipping this step:
Recipes That Benefit from a Gradual Heat-Up
Believe it or not, some dishes actually *benefit* from entering a cooler oven that gradually heats up. This is often the case for:
- Certain Casseroles and Gratins: Dishes with a lot of liquid or dairy, like a lasagna or a rich gratin, can sometimes crack or separate if they are subjected to extreme heat right away. A gentler start can help them cook through more evenly and prevent a rubbery texture.
- Some Custard-Based Desserts: Think about dishes like crème brûlée. While often baked in a water bath in a preheated oven, the goal is a gentle, even cook. If you’re not aiming for a perfectly set, delicate custard, you might find success with a slightly less intense start.
In these cases, the gradual increase in temperature allows the ingredients to meld and cook through without shocking the delicate components.
Dishes Where Texture is Less Critical or Easily Adjusted
For some items, the absolute perfect, airy crumb or incredibly crisp crust isn’t the primary goal, or the recipe offers some built-in flexibility.
- Quick Breads and Muffins: These are often prime candidates for skipping preheating. While a preheated oven will give you the best rise and texture, muffins and quick breads are generally quite forgiving. They will still cook through; they might just be a little denser.
- Cookies that Spread: If you’re making a cookie that is meant to spread quite a bit, entering a slightly cooler oven might actually lead to a thinner, crispier cookie. However, this can also lead to uneven browning.
- Sheet Pan Dinners (with caveats): If you’re roasting vegetables and a protein on a sheet pan, and you’re not hyper-focused on achieving the absolute crispiest edges on your veggies, you might be able to get away with it. However, you’ll likely need to increase the cooking time significantly and potentially the temperature later on.
Recipes Where Time is of the Essence and Slight Imperfections are Acceptable
Sometimes, you just need dinner on the table, and you don’t have 20 minutes to wait for the oven to preheat.
- Weeknight Casseroles: If you’re making a hearty, everyday casserole and the exact texture isn’t paramount, skipping preheating can shave off valuable time.
- Frozen Foods (with caution): Many frozen convenience foods are designed to go directly into the oven. While they often specify preheating, some can be cooked from frozen in a cooler oven, though cooking times will be extended. Always check the packaging.
How to Skip Preheating: A Step-by-Step Approach
If you’ve decided that your recipe is a good candidate for skipping preheating, here’s how to do it smartly:
Step 1: Assess Your Recipe Critically
Before you even think about putting your dish in the oven, take a moment to re-read the recipe. Ask yourself:
- What is the primary goal of this dish? Is it texture, appearance, or flavor?
- Are there any delicate ingredients that might suffer from a slow start?
- Does the recipe rely heavily on a specific rise or crispness?
If the answer to any of these points suggests that preheating is absolutely critical for the success of the dish, it might be best to wait.
Step 2: Adjust Your Expectations for Cooking Time
This is the most important adjustment. Food placed in a cold oven will take longer to cook. How much longer depends on several factors, including the temperature you’re aiming for and the density of your food.
General Rule of Thumb: Expect cooking times to increase by at least 10-25% (and sometimes more). You will need to rely much more on visual cues and temperature checks than on the timer alone.
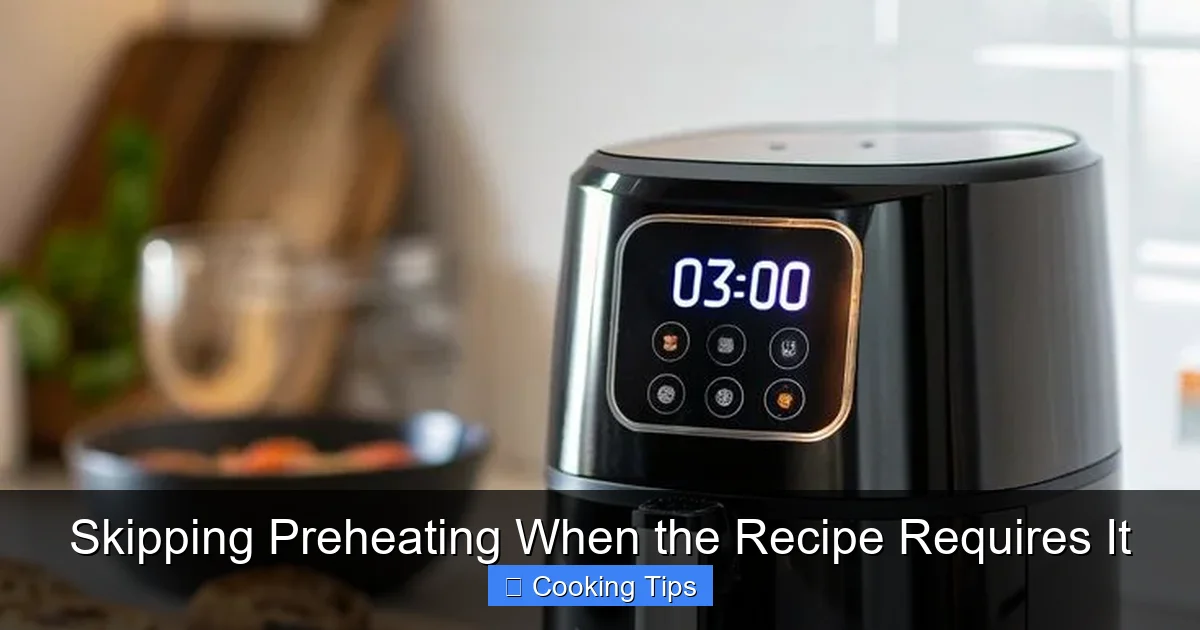
Visual guide about Skipping Preheating When the Recipe Requires It
Image source: i.pinimg.com
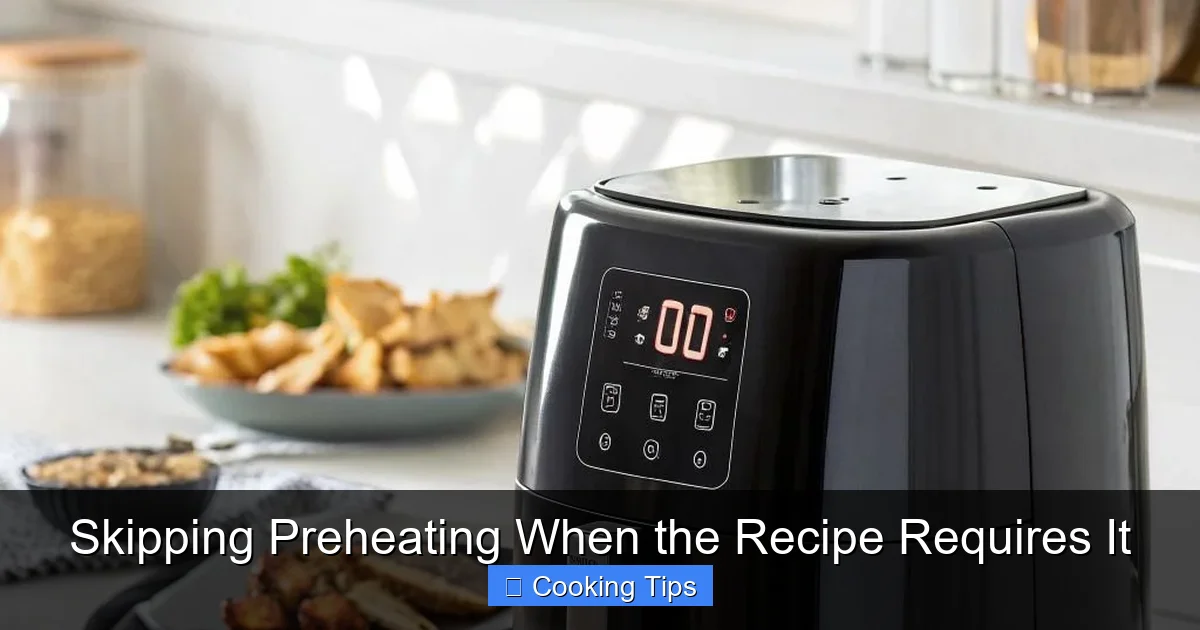
Visual guide about Skipping Preheating When the Recipe Requires It
Image source: i.pinimg.com
Step 3: Consider a Temperature Adjustment
Depending on the recipe, you might choose to compensate for the lack of preheating by slightly increasing the oven temperature.
For example: If the recipe calls for 350°F (175°C) preheated, you might start at 375°F (190°C) in a cold oven. However, this is a delicate balance.
- Too High: An oven that’s too hot at the start can lead to burning on the outside before the inside is cooked, especially if you’re not preheating.
- Too Low: If the temperature isn’t high enough, even with the added time, you might not achieve the desired browning or texture.
Recommendation: For most recipes where you’re skipping preheating, it’s often safer to start with the recipe’s recommended temperature and increase it later if needed, rather than starting significantly higher.
Step 4: Place Your Food in the Oven Strategically
Now, it’s time to get your food into that oven.
- Ensure Even Placement: Make sure your baking sheet or dish is centered in the oven to promote even cooking.
- Leave Enough Space: Don’t overcrowd the oven, especially if you’re baking multiple items. Good air circulation is key.
Step 5: Monitor Closely – Your Senses are Your Best Tools
This is where your intuition and observation skills come into play. Since you can’t rely solely on the recipe’s timing, you’ll need to become a master observer.
- Visual Cues: Look for browning, bubbling, and the overall cooked appearance. For baked goods, check for a golden-brown top and edges. For savory dishes, look for melting cheese, bubbling sauces, or well-cooked proteins.
- Aroma: Your nose is a powerful tool! A delicious, cooked aroma is a great indicator that your food is nearing readiness.
- Touch and Firmness: For cakes and muffins, gently press the top. It should spring back. For meat, use a thermometer.
- Internal Temperature: This is the most reliable method for proteins and many baked goods. Invest in a good instant-read thermometer.
Be prepared to adjust: If you see that the outside is browning too quickly, you may need to loosely tent the item with foil. If it’s not browning enough, you might need to increase the temperature towards the end of the cooking process.
Step 6: Extend Cooking Time as Needed
As mentioned, be patient. The cooking time will be longer. Don’t be tempted to open the oven door too frequently, as this lets out precious heat and can further prolong cooking.
Tip: If you’re baking something that has a very precise outcome, like a delicate soufflé, skipping preheating is generally not recommended. Stick to the recipe’s instructions for those.
Practical Tips and Examples
Let’s put this into practice with a couple of common scenarios:
Example 1: Chocolate Chip Cookies
Many cookie recipes are designed for a hot oven to get that perfect crisp edge and chewy center. However, if you’re in a pinch:
- Assess: Chocolate chip cookies are relatively forgiving. A slightly denser cookie or one that spreads a bit more evenly is usually acceptable for a weeknight treat.
- Skip Preheating: Place your cookie dough balls onto a baking sheet and put them into a *cold* oven.
- Set Temperature: Turn the oven to the recipe’s recommended temperature (e.g., 375°F / 190°C).
- Adjust Time: Instead of the usual 10-12 minutes, start checking around 15-18 minutes. Look for edges that are golden brown and centers that look set, not wet. They will continue to cook slightly on the hot baking sheet after removal.
- Outcome: You might end up with cookies that are a little softer and chewier throughout, or perhaps slightly less spread. Still delicious!
Example 2: Blueberry Muffins
Muffins rely on a good rise. Skipping preheating can affect this, but it’s often manageable.
- Assess: Muffins are generally robust. While a super-domed top might be harder to achieve, a well-cooked muffin is still a win.
- Skip Preheating: Place your filled muffin liners into a *cold* oven.
- Set Temperature: Turn the oven to the recipe’s recommended temperature (e.g., 400°F / 200°C).
- Adjust Time: Expect them to take longer, perhaps 25-30 minutes instead of 20-22. Test for doneness by inserting a toothpick into the center of a muffin; it should come out clean.
- Outcome: The muffins might be slightly less tall and have a denser crumb, but they will still be moist and flavorful.
Troubleshooting When You Skip Preheating
Even with the best intentions, things can go awry. Here are common issues and how to fix them:
Problem: Uneven Browning
Cause: The oven temperature might have been too low initially, or the placement of the food wasn’t ideal for even heat circulation.
Visual guide about Skipping Preheating When the Recipe Requires It
Image source: i.pinimg.com
Solution: Rotate the baking sheet or dish halfway through the extended cooking time. If one part is browning too quickly, you can loosely tent it with foil.
Problem: Denser Texture Than Expected
Cause: This is a common consequence of skipping preheating, especially for baked goods. The leavening agents didn’t get that initial burst of heat to create maximum lift.
Solution: Unfortunately, this is difficult to reverse once baked. Your best bet for future attempts is to follow the preheating instructions or accept that a slightly denser texture is part of the trade-off. Ensure you’re not overmixing your batter, which can also contribute to a dense crumb.
Problem: Food is Cooked on the Outside but Raw Inside
Cause: This usually happens if you’ve set the oven temperature too high when skipping preheating, or if your oven has hot spots and you haven’t rotated the food.
Solution: Immediately reduce the oven temperature. Loosely tent the item with foil to protect the outside from further browning while allowing the inside to cook. You might need to use a thermometer to verify the internal temperature is safe and cooked through.
Problem: Food Isn’t Browning Nicely
Cause: The oven temperature might have been too low, or you simply need more time.
Solution: Increase the oven temperature by 25°F (15°C) for the last 5-10 minutes of cooking. Keep a close eye on it to prevent burning.
Conclusion
Skipping preheating when a recipe calls for it isn’t always the ideal culinary choice, but it can be a valuable technique in your kitchen arsenal. By understanding *why* preheating is important, identifying recipes that are more forgiving, and adjusting your cooking strategy with careful observation and patience, you can successfully shave time off your cooking without sacrificing delicious results. Remember to trust your senses, use a thermometer when necessary, and don’t be afraid to adapt. Happy cooking, and may your meals be swift and satisfying!