
Tackle those tricky areas in your kitchen with a simple yet effective tool: a soft brush! This guide will show you how to use a soft brush to clean tight spots and vents, ensuring every nook and cranny of your kitchen gleams. Learn how to banish dust, grease, and grime from often-overlooked areas, making your cooking space more hygienic and enjoyable. Mastering these simple techniques will elevate your cleaning routine and leave your kitchen looking and feeling its best.
Key Takeaways
- Gentle Yet Effective Cleaning: A soft brush is ideal for delicate surfaces and tight crevices where larger tools can’t reach, preventing damage while removing stubborn dirt.
- Versatile Applications: This technique is perfect for cleaning kitchen vents, appliance crevices, spice racks, sink drains, and even intricate decorative items.
- Improved Kitchen Hygiene: Regularly cleaning vents and tight spots with a soft brush helps reduce the buildup of grease, dust, and food particles, leading to a healthier cooking environment.
- Extending Appliance Lifespan: Keeping vents and internal components of appliances clean can improve their efficiency and longevity.
- Simple and Affordable: Using a soft brush is a low-cost, easy-to-implement cleaning method that requires minimal specialized equipment.
- Preventing Pest Infestations: Removing food debris from hard-to-reach areas discourages pests that can be attracted to hidden grime.
Soft Brush for Tight Spots and Vents
Welcome to a comprehensive guide designed to revolutionize your kitchen cleaning routine! We all love a sparkling clean kitchen, but let’s be honest – some areas are just plain difficult to reach. Think about the nooks and crannies around your oven knobs, the dusty vents above your stove, or the tight gaps between your refrigerator and the wall. These spots often become magnets for dust, grease, and grime, creating an unhygienic environment and making your kitchen feel less than perfect.
This guide is here to empower you with a simple, yet incredibly effective, cleaning solution: the humble soft brush. You might be surprised at how much difference a soft brush can make. We’ll walk you through exactly how to leverage this versatile tool to tackle those frustratingly tight spots and dusty vents, ensuring your entire kitchen shines. Get ready to discover practical tips and step-by-step instructions that will leave you with a cleaner, healthier, and more beautiful cooking space.
Why a Soft Brush is Your Kitchen’s Best Friend
Before we dive into the how-to, let’s understand *why* a soft brush is the perfect tool for these challenging areas. Unlike harsh scrub brushes or abrasive cloths, a soft brush offers a gentle yet effective way to dislodge dirt. Its flexible bristles can bend and reach into tiny spaces without scratching or damaging delicate surfaces. This is crucial in a kitchen, where many appliances and fixtures have intricate designs or sensitive finishes. Using the right tool means you can clean thoroughly without worrying about causing damage.
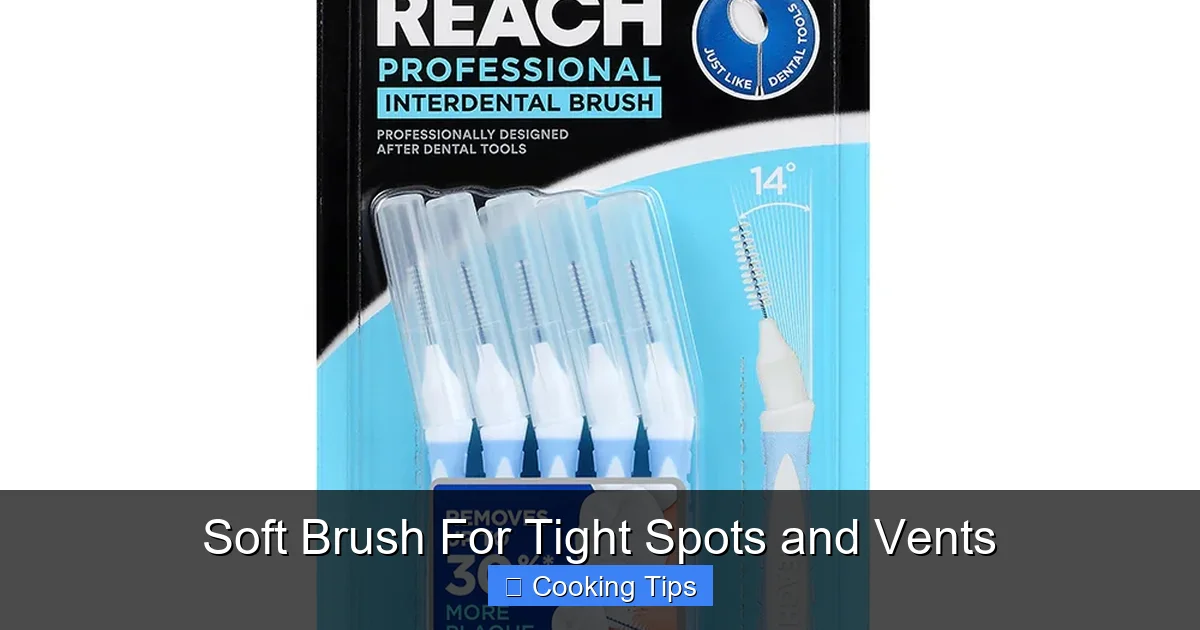
Choosing the Right Soft Brush
Not all soft brushes are created equal. For kitchen cleaning, you’ll want to select brushes with the following characteristics:
* Bristle Material: Look for brushes with nylon or natural boar bristles. These are soft enough to be gentle but firm enough to sweep away debris. Avoid stiff, abrasive bristles that could scratch.
* Handle Length and Shape: Consider brushes with long, thin handles for reaching deep into vents or behind appliances. Angled heads can also be very helpful for accessing awkward spots.
* Size: Having a variety of sizes is beneficial. A small detail brush is perfect for appliance buttons, while a slightly larger, flatter brush can be great for wider vent slats.
* Material Safety: Ensure the brush is made from food-safe materials if you plan to use it on or around food preparation surfaces.
You can often find suitable soft brushes in the cleaning aisle of your local supermarket, hardware store, or even online. Many are marketed as detail brushes, toothbrush-style brushes, or even specialized vent cleaning brushes.
Cleaning Kitchen Vents: A Step-by-Step Approach

Visual guide about Soft Brush For Tight Spots and Vents
Image source: img.lazcdn.com
Kitchen vents are notorious dust and grease traps. They work hard to remove smoke and odors from your cooking, but in the process, they accumulate a sticky layer of residue that can be hard to clean. A soft brush is your secret weapon here.
Step 1: Safety First – Turn Off Power!
Before you begin cleaning any electrical appliance, including vent fans, always ensure the power is turned off. Locate the circuit breaker that controls your kitchen fan and switch it off. If you’re unsure, it’s better to err on the side of caution.
Step 2: Prepare Your Cleaning Solution
You won’t need harsh chemicals for most vent cleaning tasks. A simple solution of warm water with a few drops of mild dish soap is usually sufficient. For tougher grease buildup, you can add a tablespoon of white vinegar to the water.
Step 3: Remove Vent Covers (If Possible)
Many kitchen vents have removable covers. Gently detach these according to your appliance’s manual. This will give you much better access to the fan blades and the interior of the vent housing.
Step 4: Dry Brush the Loosest Debris
Using your chosen soft brush, start by dry-brushing away any loose dust or cobwebs from the vent cover and the accessible fan blades. Work from the outside in to avoid pushing debris further into the fan mechanism.
Step 5: Damp Cleaning the Vent Cover
If you removed the vent cover, you can now wash it more thoroughly. Dip your soft brush into your cleaning solution and gently scrub the cover. Pay attention to the slats and corners. Rinse the cover thoroughly with clean water and set it aside to dry completely.
Step 6: Cleaning the Interior Vent Area
Now, it’s time to tackle the inside of the vent. Dip your soft brush into the cleaning solution, but make sure it’s not dripping wet – a slightly damp brush is best. Carefully insert the brush into the vent and gently scrub the fan blades, housing, and any accessible ductwork.
* For Fan Blades: Use your soft brush to wipe away accumulated grease and dust from each blade. Rotate the fan manually (while the power is still off) to reach all sides.
* For Housing and Ducts: Gently sweep the bristles along the interior surfaces. If the bristles are long and thin, they can reach into tighter corners.
Step 7: Rinse and Dry
After brushing, you can use a clean, damp cloth (also only slightly damp) to wipe away any remaining residue. For the fan blades, a dry cloth can be used to remove excess moisture. Ensure everything is completely dry before reassembling and turning the power back on.
Step 8: Reassemble and Test
Once all parts are dry, reattach the vent cover. Turn the power back on at the circuit breaker and test the fan to ensure it’s working correctly and quietly.
Tackling Tight Spots Around Appliances
Visual guide about Soft Brush For Tight Spots and Vents
Image source: lghnh.co.uk
Appliances are often where the most stubborn grime hides. The gaps around ovens, refrigerators, and dishwashers can become repositories for spilled food, crumbs, and grease splatters. A soft brush is perfect for gently sweeping these out.
Cleaning Around Oven Knobs and Control Panels
Oven knobs can get surprisingly dirty, with residue building up around their bases.
* Remove Knobs (If Possible): Many oven knobs can be pulled straight off. If yours do, this is the easiest way to clean underneath.
* Use a Small Soft Brush: For the area around the knobs, use a small detail brush or an old, clean toothbrush. Dip it lightly in your mild dish soap solution and gently scrub around the base of the knobs and any crevices in the control panel.
* Wipe and Dry: Use a damp cloth to wipe away loosened grime and then a dry cloth to ensure the area is completely dry.
Gaps Between Appliances and Countertops/Walls
These narrow spaces are easily overlooked but can harbor a significant amount of debris.
* Measure Your Gap: Determine how narrow the gap is. This will help you choose the right brush.
* Long, Thin Brush is Key: A brush with a long, thin handle is ideal for sliding into these gaps. You might need to try a few passes.
* Gentle Sweeping Motion: Use a sweeping motion to coax crumbs, dust, and small debris out from the gap. You may want to place a towel or newspaper on the floor to catch what you sweep out.
* Vacuum Cleaner Attachment: For stubborn debris that won’t brush out, a crevice tool attachment for your vacuum cleaner can be used in conjunction with the brush. Brush the debris towards the vacuum.
Refrigerator Coils and Underside
While often considered a more involved task, a soft brush can help maintain the areas around your refrigerator.
* Access the Area: Depending on your refrigerator model, you may have access panels at the front or back. Consult your manual.
* Gentle Dusting: Use a soft brush to gently sweep dust and debris away from the coils and the underside of the fridge. This can improve efficiency. Be very careful not to bend or damage the coils.
* Vacuum with Caution: If using a vacuum cleaner, use a soft brush attachment and be extremely gentle around the coils.
Dishwasher Racks and Seals
The nooks and crannies within your dishwasher racks and the rubber seals around the door can trap food particles.
* Rack Cleaning: Use a soft brush to dislodge any trapped food bits from the tines and corners of the dishwasher racks.
* Seal Maintenance: Gently wipe down the rubber seals with a damp cloth. For any trapped debris, a soft brush can help dislodge it before you wipe clean.
Other Tricky Kitchen Spots for Soft Brushes

Visual guide about Soft Brush For Tight Spots and Vents
Image source: img.lazcdn.com
The utility of a soft brush extends beyond just vents and appliances. Consider these other areas:
Spice Racks and Shelving
The often-cluttered shelves of spice racks can accumulate a layer of dust. A soft brush can gently sweep this away without disturbing the spice jars.
Sink Drains and Strainers
Food particles can get lodged in sink strainers and around the edges of the drain. A soft brush can help dislodge these before you do a more thorough cleaning.
Decorative Items and Utensil Holders
Intricate decorative items or utensil holders with many small parts can be difficult to dust. A soft brush is perfect for gently removing dust from these surfaces without causing damage.
Corners of Cabinets and Drawers
Even inside your cabinets and drawers, dust can settle in the corners. A soft brush is ideal for a quick clean-up.
Troubleshooting Common Issues
* Brush Bristles Too Soft: If you find the bristles aren’t strong enough to dislodge stubborn grime, try a brush with slightly firmer (but still soft) nylon bristles, or use a bit more elbow grease with a circular motion.
* Brush Bristles Too Stiff: If you notice any scratching or concern about damage, switch to a brush with even softer bristles, like a fine detailing brush or a makeup brush (dedicated for cleaning, of course!).
* Stubborn Grease Buildup: For very thick, stubborn grease on vents, you might need to repeat the damp cleaning process. Allowing the warm, soapy water to sit for a minute or two can also help break down the grease before brushing.
* Access is Extremely Limited: In some cases, a brush might still not reach. Consider specialized tools like vent cleaning kits or even flexible grabbers in conjunction with your brush to maneuver debris out.
Conclusion: A Cleaner Kitchen Awaits!
Embracing the power of a soft brush for cleaning tight spots and vents is a simple yet profound way to enhance your kitchen’s cleanliness and hygiene. It’s a gentle, effective, and affordable method that can transform those hard-to-reach areas from forgotten grime traps into sparkling clean surfaces. By incorporating these techniques into your regular cleaning routine, you’ll not only improve the appearance of your kitchen but also contribute to a healthier cooking environment. So, grab a soft brush, and get ready to discover the joy of a truly spotless kitchen!