Food sticks to stainless steel pans because proteins bond to hot metal surfaces when moisture and oil are mismanaged.
I have cooked on stainless steel for years and taught others how to master it. This article explains why food sticks to stainless steel pan in simple terms. You will learn the science, common causes, and easy fixes. Read on to stop frustration and cook with confidence.

What really happens when food sticks to stainless steel pan
When food touches a hot stainless surface, its proteins and sugars change. These molecules form bonds with tiny surface peaks. If the pan is not at the right temperature or lacks proper oil, the bond becomes strong. This is the core reason why food sticks to stainless steel pan.
- Proteins tighten and cling as they denature.
- Moisture creates steam and causes uneven contact.
- Oil forms a temporary barrier when used correctly.
Heat, oil, and proteins: the main culprits
Temperature controls the moment food will release or stick. Heat too low and meat will cling; heat too high and it may burn. Oil acts as a spacer between food and metal. If oil breaks down, the food can stick. Knowing how heat, oil, and proteins interact answers why food sticks to stainless steel pan.
- Proteins coagulate at certain temperatures and bind firmly.
- Oil needs to be heated to the right shimmer, not smoking.
- Water on the surface forces direct contact and binding.
Surface texture and pan condition matter
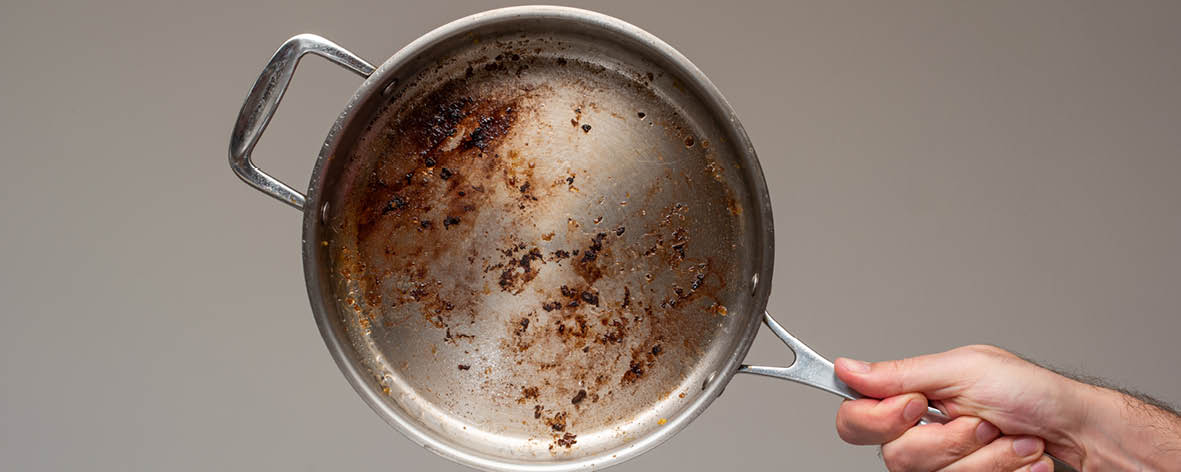
Stainless steel is not perfectly smooth under a microscope. Tiny peaks and valleys exist. Food particles can lodge in these rough spots and stick. Scratches, residue, or a thin burned film make sticking worse. This explains part of why food sticks to stainless steel pan.
- New pans and old pans behave differently.
- A well-cleaned smooth pan performs best.
- Burned-on bits increase adhesion and hotspots.

How to prevent sticking: step-by-step method
A simple routine cuts sticking by a lot. Follow these clear steps when you cook.
- Preheat the pan fully so heat spreads evenly.
- Add oil and heat it until it moves and shimmers.
- Pat food dry to remove surface moisture.
- Place food and avoid moving it too soon; let a crust form.
- Use proper utensils and moderate heat to finish.
Doing this reduces the chance you will ask why food sticks to stainless steel pan again.

Cooking technique examples that work
Here are practical examples I use most often in my kitchen.
- Searing steak: preheat, add oil, then steak. Wait for a crust before flipping. This prevents meat from tearing and sticking.
- Cooking eggs: heat, add a generous splash of oil or butter, and keep heat moderate. Use a thin spatula for gentle release.
- Pan-roasting vegetables: dry and oil the pieces, spread them in one layer, and stir rarely. This builds browning without sticking.
These tactics show why food sticks to stainless steel pan and how to avoid it.

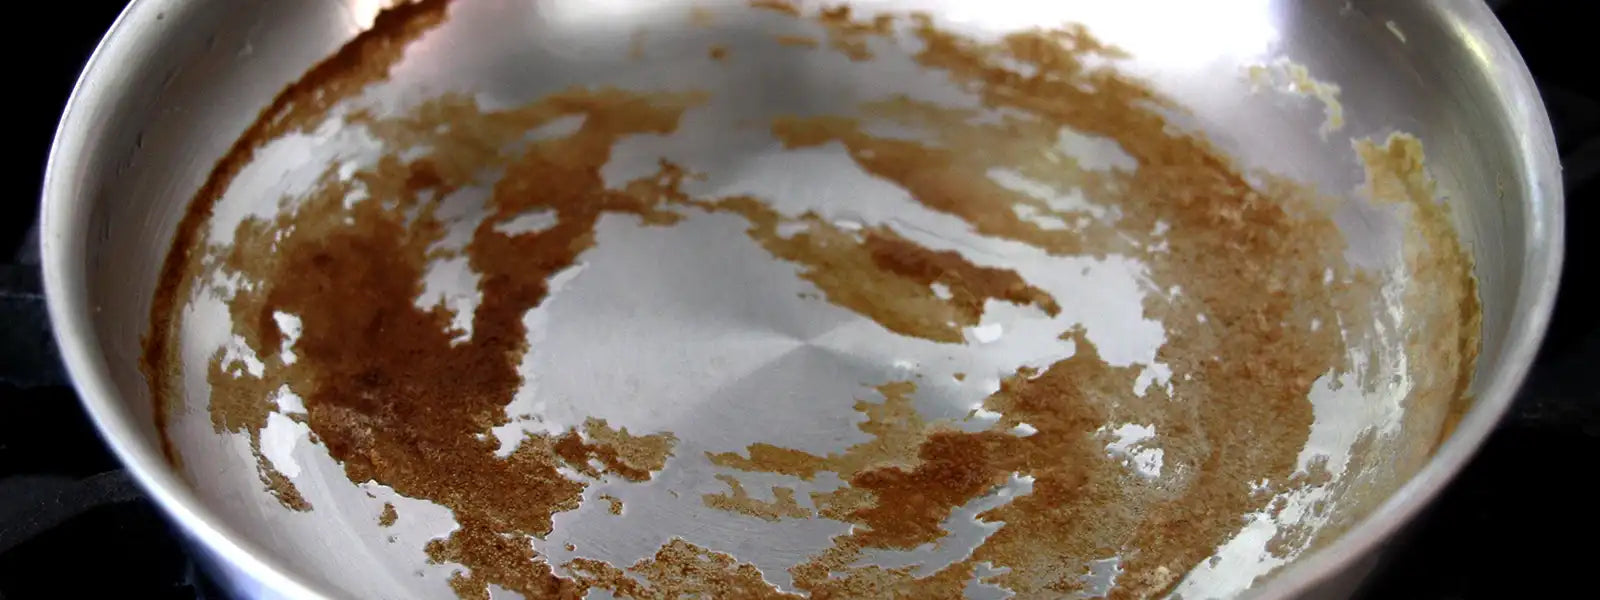
Cleaning and maintenance to reduce sticking
How you care for a pan affects future sticking. Clean pans well to remove films. Avoid abrasive scrubbing that roughens the metal. Periodic deep cleaning restores an even surface. Good maintenance lowers why food sticks to stainless steel pan issues over time.
- Use warm soapy water and a soft sponge.
- For stuck bits, simmer water with baking soda to lift residue.
- Dry and store pans properly to avoid rust spots and deposits.

Common myths about stainless sticking
Many home cooks believe stainless steel is impossible to use. That is not true. The real reasons are temperature and technique. Knowing facts helps you stop repeating mistakes that make you ask why food sticks to stainless steel pan.
- Myth: All nonstick pans are better for everything. Reality: stainless sears and browns better.
- Myth: You must use a lot of oil. Reality: correct heat and a thin film suffice.
- Myth: Seasoning like cast iron fixes it. Reality: seasoning helps but does not make stainless nonstick.

My hands-on lessons and experiments
I once tried to sear salmon with a cold pan and lots of oil. It stuck badly. Later I preheated, dried the fish, and used a thin oil sheen. The skin released easily and I got a clean sear. That experience taught me why food sticks to stainless steel pan and how small changes make a big difference.
- Lesson: Pat food dry every time.
- Lesson: Let the pan reach the right temperature.
- Lesson: Trust the technique and be patient.

Quick troubleshooting and tips
If food sticks mid-cook, try these fixes.
- Add a small splash of water to lift stuck bits and deglaze the pan.
- Lower the heat and let the food loosen naturally.
- Use a metal spatula to gently work under the food once a crust forms.
These quick actions can save a dish and show why food sticks to stainless steel pan less often.
Frequently Asked Questions of why food sticks to stainless steel pan
Why does meat stick to my stainless pan even with oil?
Meat can stick if the pan is not hot enough or the meat is wet. Proteins cling until a proper sear forms, so preheat and pat dry first.
Can I make stainless steel nonstick like cast iron?
You can build a partial polymerized oil layer, but stainless will not become truly nonstick like a well-seasoned cast iron. Good technique gives similar release for many foods.
Is stainless steel bad for eggs?
Stainless steel is fine for eggs if you control heat and use enough fat. Low and slow heat with a thin oil or butter layer helps eggs release cleanly.
How do I fix a pan that always sticks?
Deep clean the pan to remove burned films and avoid abrasive damage. Then practice the preheat-oil-dry-food method to reduce sticking.
Will higher heat prevent food from sticking?
Higher heat helps form a crust, but too high heat can burn oil and food. Use medium-high heat and heat the oil properly for best results.
Conclusion
Sticking happens because of heat, protein chemistry, surface texture, and technique. Once you know why food sticks to stainless steel pan, you can fix the problem with a few clear steps. Start by preheating, using the right amount of oil, drying food, and practicing patience. Try the methods here and share what works for you. Leave a comment, subscribe for more tips, or test these steps in your kitchen and report back.