
Discover the surprisingly simple and efficient method for boiling eggs in an electric kettle. This guide provides a step-by-step process for achieving perfectly cooked eggs, from soft-boiled to hard-boiled, using an appliance many already own. Learn how to avoid common pitfalls and enjoy hassle-free egg boiling for quick breakfasts or meal prep.
- Perfectly Cooked Eggs: Learn the precise timings for achieving your desired egg consistency, from runny yolks to fully set ones.
- Efficiency and Speed: Electric kettles heat water rapidly, making this a faster alternative to stovetop methods.
- Simplicity and Convenience: This method requires minimal equipment and is incredibly easy to follow, even for beginners.
- Consistent Results: Once you master the technique, you can rely on your electric kettle for consistently boiled eggs.
- Space-Saving: Ideal for small kitchens or dorm rooms, as it utilizes an existing appliance and requires no extra stovetop space.
- Easy Cleanup: The process is generally very clean, with minimal mess to manage afterward.
- Safety First: Understand the simple safety precautions to ensure a smooth and safe boiling experience.
How to Boil Eggs in Electric Kettle
Are you looking for a quick and effortless way to boil eggs? In 2026, kitchens are all about efficiency and smart solutions. While you might typically associate boiling water with a stovetop, your trusty electric kettle can actually be a surprisingly effective tool for cooking perfect eggs! Many of us have an electric kettle for our morning tea or coffee, and with a few simple steps, you can transform it into an egg-boiling powerhouse.
This guide will walk you through everything you need to know to successfully boil eggs in your electric kettle. We’ll cover the basics, provide precise timings for different levels of doneness, offer practical tips, and even address common issues. Get ready to master a new, incredibly convenient cooking method!
Why Use an Electric Kettle to Boil Eggs?
You might be wondering why you would bother using an electric kettle when you have a perfectly good stove. The answer lies in convenience, speed, and consistency. Electric kettles are designed to heat water very quickly, often faster than a stovetop. This means less waiting time. Furthermore, they offer a controlled heating environment, which can lead to more consistent results. For those in smaller living spaces like dorm rooms or studio apartments, an electric kettle is a space-saving marvel that doesn’t require a stovetop burner.
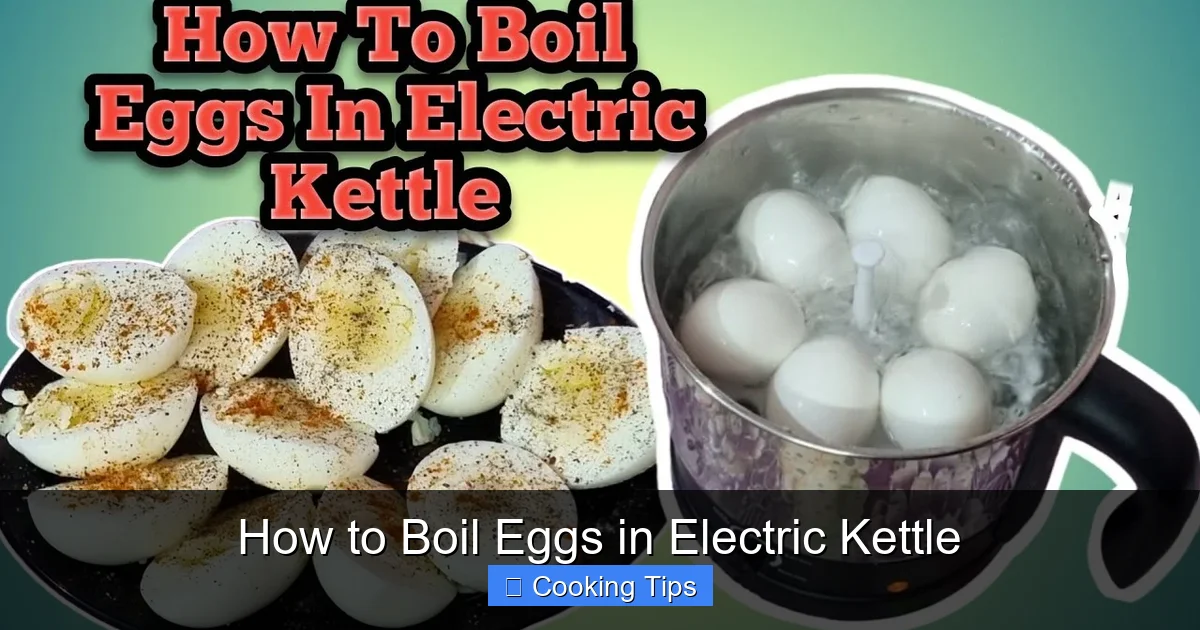
Visual guide about How to Boil Eggs in Electric Kettle
Image source: i.ytimg.com
What You’ll Need
The beauty of this method is its simplicity. You don’t need much:
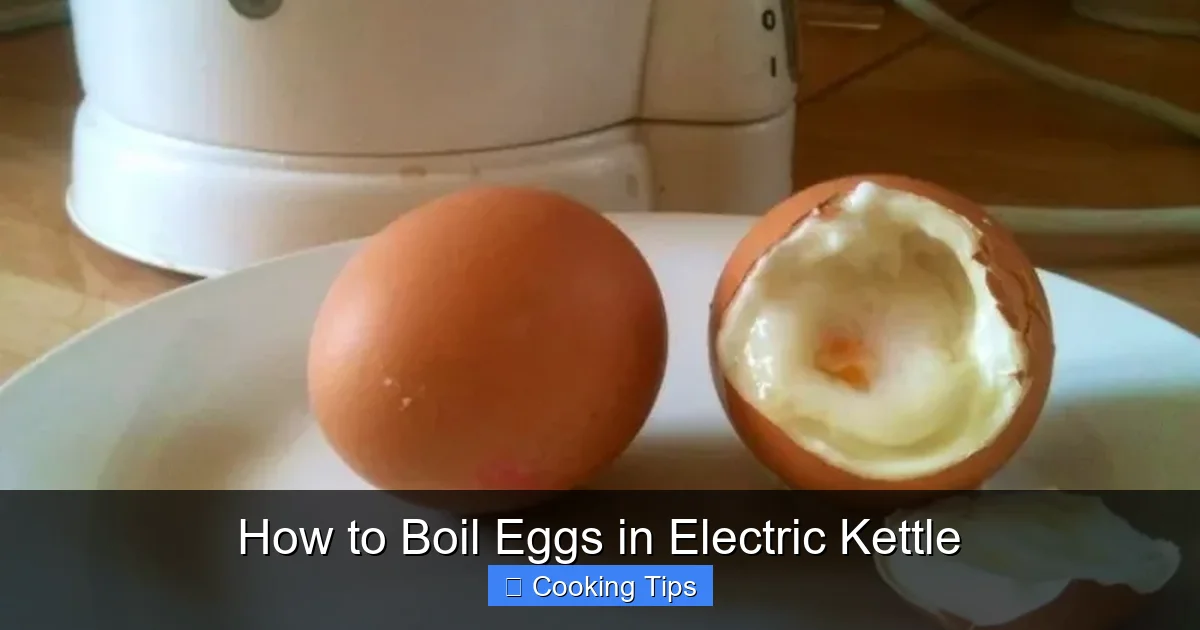
Visual guide about How to Boil Eggs in Electric Kettle
Image source: irrorwxhiqijjr5q.ldycdn.com
- An electric kettle
- Fresh eggs
- Water
- A slotted spoon or tongs
- A bowl for an ice bath (optional, but recommended for easy peeling)
Step-by-Step Guide to Boiling Eggs in Your Electric Kettle
Follow these simple steps for perfectly boiled eggs:
Visual guide about How to Boil Eggs in Electric Kettle
Image source: irrorwxhiqijjr5q.ldycdn.com
Step 1: Prepare Your Eggs
Before you even reach for the kettle, there are a couple of things you can do to ensure your eggs boil beautifully.
Choose Fresh Eggs
While you can boil eggs of any age, slightly older eggs (about a week old) tend to peel more easily than very fresh ones. This is because as an egg ages, the air pocket inside expands, and the membrane pulls away from the shell slightly, making separation easier.
Gentle Handling
Eggs are fragile! Handle them with care to avoid cracks before they even hit the water. If your eggs are at room temperature, you might find they are less likely to crack when introduced to hot water. You can achieve this by taking them out of the refrigerator about 30 minutes before you plan to boil them.
Step 2: Add Water to Your Electric Kettle
This is where the magic begins. The amount of water you use is important for proper cooking.
Fill to the Minimum Line (or slightly more)
Pour enough water into your electric kettle to cover the heating element. For most kettles, this means filling it to at least the minimum fill line. You want enough water to submerge the eggs completely, but you don’t need to fill it to the brim.
Consider the Eggs’ Placement
It’s best to place the eggs into the kettle *before* adding water, or very carefully add them after the water is in. This helps prevent them from knocking against each other and cracking.
Step 3: Add the Eggs to the Kettle
Now it’s time to carefully introduce your eggs to their hot water bath.
Careful Placement
Gently place the eggs into the bottom of the empty electric kettle. If you’ve already added water, use a spoon to carefully lower each egg into the water, trying not to drop them. You want them to sit comfortably without being stacked too high.
Submerging the Eggs
Ensure the water level is sufficient to cover the eggs entirely by at least an inch. If your kettle is a bit small and the eggs are close to the top, you might need to adjust the water level. Some kettles have a maximum fill line that you should adhere to for safety.
Step 4: Turn On and Time Your Kettle
This is the crucial cooking phase. The timing here will determine the doneness of your eggs.
Start the Kettle
Close the lid of your electric kettle and switch it on. The kettle will begin to heat the water.
Boiling and Timing
Once the water reaches a rolling boil, the kettle will likely switch itself off automatically. This is the point at which you need to start your timer precisely. The residual heat in the water will continue to cook the eggs.
Timing Guide for Doneness (Starting from when the kettle switches off):
- Soft-Boiled Eggs (Runny Yolk): 4-6 minutes. The whites will be set, but the yolk will be liquid and warm.
- Medium-Boiled Eggs (Jammy Yolk): 7-9 minutes. The whites will be firm, and the yolk will be soft and slightly gooey in the center.
- Hard-Boiled Eggs (Fully Set Yolk): 10-12 minutes. The whites and yolks will be completely firm and cooked through.
Pro Tip: The exact timing can vary slightly depending on the size of your eggs, the starting temperature of the eggs and water, and the specific wattage of your electric kettle. It’s best to experiment with one or two eggs initially to find your perfect timing.
Step 5: Cool the Eggs
Once your timer goes off, it’s essential to stop the cooking process immediately. This is key for achieving the desired consistency and making the eggs easier to peel.
Prepare an Ice Bath
While your eggs are cooking, prepare a bowl filled with cold water and ice cubes. This is called an ice bath.
Transfer the Eggs
Carefully remove the eggs from the hot water using a slotted spoon or tongs. Immediately plunge them into the ice bath. Let them sit in the ice bath for at least 5-10 minutes.
Why an ice bath? The sudden temperature change shocks the eggs, causing the egg white to contract away from the shell. This makes peeling much easier. It also stops the cooking process, preventing the yolks from developing that undesirable greyish-green ring that can occur with overcooked hard-boiled eggs.
Step 6: Peel and Enjoy!
Your perfectly boiled eggs are ready!
Peeling Tips
Gently tap the egg on a hard surface to crackle the shell all over. Then, start peeling from the wider end of the egg, where the air pocket is. The shell should slip off relatively easily, especially if you used an ice bath.
Enjoy your perfectly boiled eggs as they are, or use them in your favorite recipes for salads, sandwiches, or snacks. The convenience of having them ready without using your stovetop is a game-changer!
Practical Tips for Success
To ensure you get the best results every time you boil eggs in your electric kettle, keep these tips in mind:
- Don’t Overcrowd the Kettle: Avoid piling too many eggs on top of each other. This can lead to uneven cooking. Stick to a single layer as much as possible.
- Use Room Temperature Eggs: As mentioned, room temperature eggs are less likely to crack than cold ones.
- Adjust for Egg Size: Larger eggs will take slightly longer to cook than smaller ones. You may need to add or subtract a minute from the timings above based on your egg size.
- Know Your Kettle: Different electric kettles have varying wattages and heating speeds. If your kettle boils water extremely quickly, you might need to experiment with slightly shorter cooking times.
- The Salt Trick (Debatable but Popular): Some people add a pinch of salt or a splash of vinegar to the water. The theory is that this can help prevent eggs from cracking and make them easier to peel if they do crack. While the science is debated, it’s a common practice and can’t hurt to try.
- Cleanliness is Key: Always ensure your electric kettle is clean before use. This not only ensures hygiene but also proper function.
Troubleshooting Common Issues
Even with the best intentions, you might encounter a hiccup or two. Here’s how to troubleshoot:
Eggs are Cracking
Cause: Eggs are too cold, dropped too roughly into the water, or the water boiled too vigorously before the eggs were fully submerged.
Solution: Use room temperature eggs. Lower eggs gently into the kettle. If your kettle boils very aggressively, you might want to monitor it initially and potentially turn it off briefly to reduce vigorous boiling before starting your timed cooking period.
Eggs are Difficult to Peel
Cause: Eggs are too fresh, or the cooking process wasn’t stopped promptly.
Solution: Try using slightly older eggs. Always use an ice bath immediately after cooking to shock the eggs and aid in peeling. Ensure you crack the shell all over before peeling.
Yolks are Overcooked (Greyish-Green Ring)
Cause: Eggs have been cooked for too long, or the cooling process was too slow.
Solution: Adhere to the timing guide. Ensure you plunge the eggs into an ice bath immediately after cooking. Reduce the cooking time by a minute if you find your eggs are consistently overcooked.
Eggs are Under-Cooked
Cause: Not enough cooking time or insufficient residual heat.
Solution: Increase the cooking time by 1-2 minutes. Ensure the kettle switches off with a robust boil before you start timing.
Conclusion: Effortless Eggs at Your Fingertips
Boiling eggs in an electric kettle is a fantastic, underutilized technique that offers incredible convenience, speed, and consistently delicious results. Whether you need a quick breakfast, a healthy snack, or ingredients for your next meal, this method proves that you don’t always need a stovetop to achieve perfectly cooked eggs.
By following the simple steps outlined in this guide and experimenting slightly with your specific kettle and egg preferences, you’ll soon be a pro at boiling eggs in your electric kettle. So, the next time you crave a perfectly boiled egg, bypass the stove and reach for your kettle. Happy boiling!