
Unsure whether to brew a cappuccino or a latte on your Keurig K Cafe? This guide breaks down the key differences in milk texture and espresso ratio, empowering you to make the perfect cup every time. Learn how to customize your coffeehouse favorites with simple, step-by-step instructions and practical tips for achieving that ideal frothy delight at home.
Keurig K Cafe Cappuccino Vs Latte: Your Ultimate How-To Guide
Are you a coffee lover who enjoys the rich, comforting embrace of a creamy latte or the bold, airy delight of a frothy cappuccino? If you own a Keurig K Cafe, you’re already halfway to enjoying these coffeehouse classics in the comfort of your own kitchen. But what exactly sets these two beloved beverages apart, and how can you master their creation with your K Cafe machine?
This comprehensive guide is designed to demystify the difference between a cappuccino and a latte, specifically for the Keurig K Cafe. We’ll walk you through the fundamental distinctions, provide clear, step-by-step instructions for brewing each drink, and offer practical tips to elevate your homemade coffee experience. Get ready to transform your mornings (or afternoons!) into a personal coffee oasis.
Key Takeaways
- Cappuccinos have equal parts espresso, steamed milk, and foam. This creates a strong coffee flavor with a distinct airy topping.
- Lattes feature more steamed milk and less foam than cappuccinos. This results in a creamier, milkier drink with a subtle coffee taste.
- The K Cafe’s frother is crucial for both drinks. Mastering its use is essential for achieving the correct milk texture for each beverage.
- Espresso shot size impacts flavor intensity. Smaller shots in cappuccinos highlight the coffee, while larger shots in lattes blend with the milk.
- Customization is key. You can adjust milk-to-espresso ratios and add sweeteners or flavorings to personalize your K Cafe cappuccino or latte.
- Practice makes perfect. Don’t be discouraged if your first attempt isn’t barista-quality; experimentation will lead to your ideal brew.
Understanding the Core Differences: Cappuccino vs. Latte
Before we dive into the brewing process, it’s essential to understand what makes a cappuccino a cappuccino and a latte a latte. While both are espresso-based drinks made with milk, the key differentiators lie in the ratio of ingredients and the texture of the milk.
Cappuccino: The Trifecta of Coffee, Milk, and Foam
A traditional cappuccino is celebrated for its balanced harmony of three equal parts:
- Espresso: The strong, concentrated coffee base.
- Steamed Milk: Heated milk that is smooth and velvety.
- Milk Foam: A thick, airy layer of microfoam on top.
The resulting drink offers a more pronounced coffee flavor, with the foam providing a light, almost cloud-like texture that contrasts beautifully with the liquid below. Think of it as a robust coffee experience with a delightful cap of froth.
Latte: The Creamy, Milky Embrace
A latte, short for “caffè latte,” leans heavily on the milk component. It’s characterized by a higher proportion of steamed milk and a thinner, lighter layer of foam compared to a cappuccino. The typical ratio looks more like this:
- Espresso: The coffee base, often in a similar amount as a cappuccino, but its flavor is more subdued due to the increased milk.
- Steamed Milk: The dominant ingredient, making the drink much creamier and smoother.
- Milk Foam: A thin, delicate layer that often serves as a canvas for latte art, but is not the star of the show.
The latte is a milder, milkier beverage. Its smooth texture and subtle coffee undertones make it a popular choice for those who prefer a less intense coffee flavor.
Brewing Your Perfect Keurig K Cafe Cappuccino
The Keurig K Cafe is equipped with a built-in milk frother, which is your secret weapon for creating delicious cappuccinos at home. The key here is achieving that signature thick, airy foam.
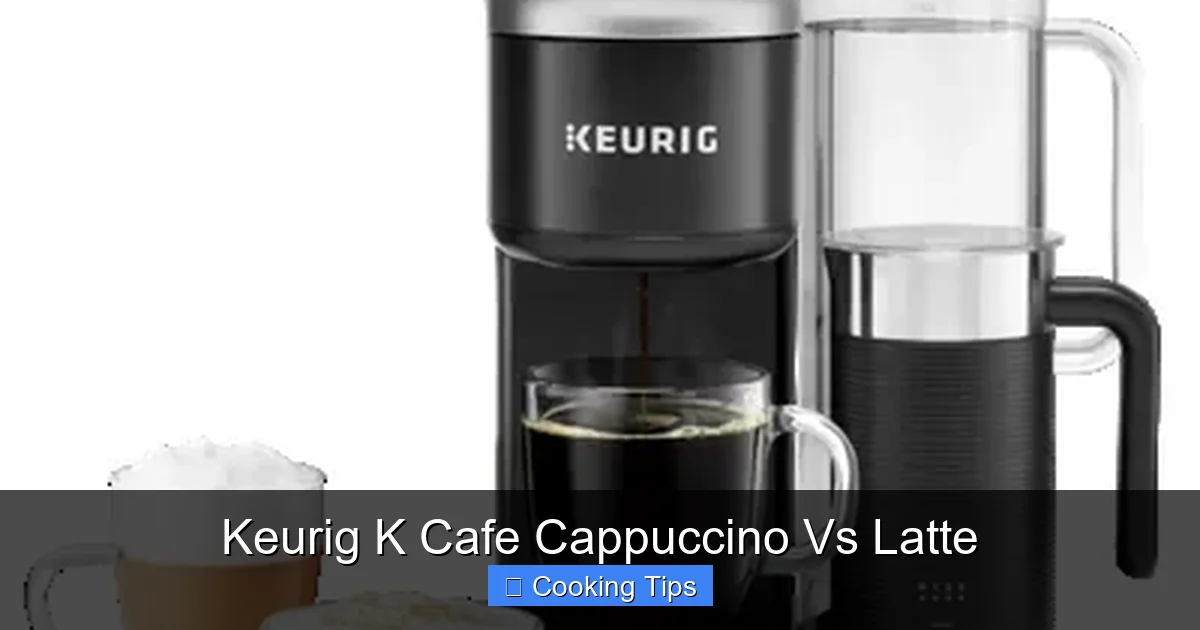
Visual guide about Keurig K Cafe Cappuccino Vs Latte
Image source: images.keurig.com
Step 1: Prepare Your Espresso Shot
Start by brewing your espresso shot directly into your mug.
Choose Your K-Cup and Brew Size
Select your favorite coffee K-Cup. For a classic cappuccino, a darker roast or an espresso roast K-Cup will yield the most authentic flavor. Select the smallest brew size available on your K Cafe (typically 6 ounces). This will create a concentrated espresso shot, essential for the cappuccino’s flavor profile. Make sure to place your mug on the drip tray, ensuring it’s centered under the brew spout.
Brew the Espresso
Insert your chosen K-Cup into the K Cafe. Close the handle firmly. Press the brew button and select the smallest cup size. Allow the machine to complete the brew cycle. Your mug should now contain a strong shot of espresso.
Step 2: Froth Your Milk
This is where the magic happens for your cappuccino’s topping!
Fill the Frothing Pitcher
Open the lid of the K Cafe’s integrated frother. Pour cold milk into the frothing pitcher. For the best results, use whole milk, as its fat content creates the richest, most stable foam. However, you can also use 2% milk. Fill the pitcher to the “Cappuccino” line indicated inside. Do not overfill, as the milk will expand as it froths.
Select Cappuccino Froth Setting
Place the frothing pitcher securely back into its housing on the K Cafe. Ensure it’s seated correctly. Select the “Cappuccino” froth setting on your machine. This setting is designed to incorporate more air into the milk, creating a thicker, drier foam.
Start the Frothing Cycle
Press the start button for the frothing cycle. The machine will begin to heat and aerate the milk. You’ll notice the milk increasing in volume and developing a foamy texture. This process typically takes about 1-2 minutes.
Step 3: Combine and Serve
Now it’s time to assemble your cappuccino.
Pour the Frothed Milk
Once the frothing cycle is complete, carefully remove the frothing pitcher. The milk should be hot and topped with a generous layer of foam. Gently tilt the pitcher and pour the steamed milk into your mug containing the espresso. Aim to pour the liquid milk first, then hold back the foam with a spoon for a moment. This allows the steamed milk to blend with the espresso, creating a cohesive base.
Top with Foam
Once most of the steamed milk has been poured, use your spoon to scoop the thick foam from the pitcher and generously top your cappuccino. The goal is to have a substantial layer of airy foam sitting atop the espresso and milk mixture.
Customize (Optional)
If you like, you can sprinkle a little cocoa powder or cinnamon on top of the foam for an extra touch of flavor and visual appeal.
Brewing Your Delicious Keurig K Cafe Latte
Lattes require a different milk texture – less foam, more smooth, velvety steamed milk. The K Cafe’s frother can handle this too!
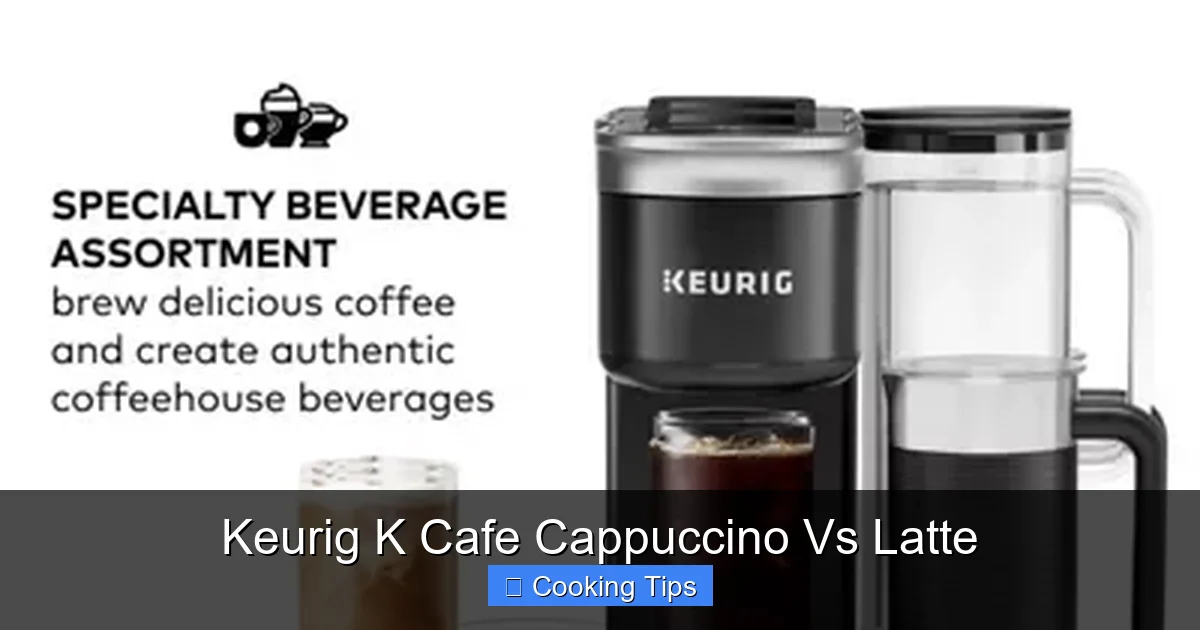
Visual guide about Keurig K Cafe Cappuccino Vs Latte
Image source: images.keurig.com
Step 1: Prepare Your Espresso Shot
Similar to the cappuccino, you’ll start with your espresso base.
Choose Your K-Cup and Brew Size
Select your preferred coffee K-Cup. For a latte, you can use a medium or dark roast. Again, choose the smallest brew size (6 ounces) to ensure a concentrated espresso flavor that can stand up to the milk.
Brew the Espresso
Insert your K-Cup, close the handle, select the smallest brew size, and press brew. Allow the espresso to drip directly into your mug.
Step 2: Froth Your Milk for a Latte
This step is crucial for achieving the latte’s signature creamy texture.
Fill the Frothing Pitcher
Open the frother lid and pour cold milk into the pitcher. For a latte, the “Latte” line on the frothing pitcher is your guide. This is usually slightly higher than the “Cappuccino” line, as you’ll want more liquid milk and less foam. Again, whole milk or 2% milk works best.
Select Latte Froth Setting
Place the frothing pitcher back into the K Cafe. Select the “Latte” froth setting on your machine. This setting heats the milk with less aeration, resulting in a smoother, creamier texture with a thinner layer of microfoam.
Start the Frothing Cycle
Press the start button for the frothing cycle. The machine will heat and gently agitate the milk. This process is similar in duration to the cappuccino setting, but the output will be noticeably different – less bubbly and more uniformly smooth.
Step 3: Combine and Serve Your Latte
Now, assemble your creamy latte.
Pour the Steamed Milk
Once the frothing is complete, carefully remove the pitcher. You’ll notice a distinct difference from the cappuccino froth – this is primarily smooth, hot milk with just a whisper of foam. Gently pour the steamed milk into your mug with the espresso. You can pour directly from the pitcher, allowing the milk to mix with the espresso as you pour. The aim is for the milk to dominate the drink’s texture.
Add a Thin Layer of Foam
As you finish pouring, you might get a small amount of microfoam from the pitcher. This is ideal for a latte. If you want to try your hand at latte art, this is the foam to use!
Customize (Optional)
Lattes are a perfect base for sweeteners, syrups (like vanilla, caramel, or hazelnut), or a drizzle of chocolate sauce. Add your preferred additions to the mug before or after pouring the milk and espresso.
Practical Tips for Keurig K Cafe Coffeehouse Drinks
Elevating your K Cafe creations is all about attention to detail and a little experimentation.
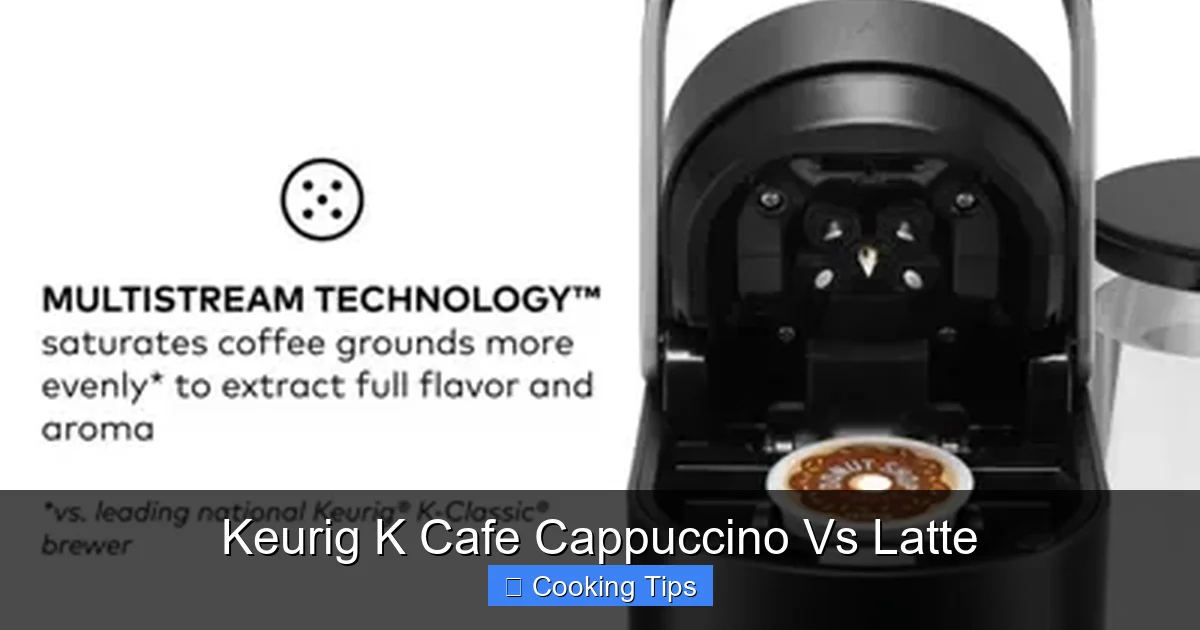
Visual guide about Keurig K Cafe Cappuccino Vs Latte
Image source: images.keurig.com
- Milk Matters: While whole milk provides the richest foam, skim or almond milk can be used. However, be aware that they will produce less stable and voluminous foam.
- Temperature is Key: Always use cold milk for frothing. This gives the frother more time to heat and aerate the milk effectively.
- Cleanliness is Crucial: After each use, rinse the frothing pitcher and lid immediately. This prevents milk residue from drying and becoming difficult to remove, ensuring the best taste for your next drink.
- Espresso Strength: If you prefer a bolder coffee flavor in your latte, consider using a K-Cup labeled for espresso or a darker roast. You can also brew a second shot of espresso using a different K-Cup or by re-brewing the same one (though this can sometimes result in a bitter taste).
- Experiment with Ratios: The “Cappuccino” and “Latte” lines are guides. Feel free to adjust them slightly to find your perfect balance of milk and foam. If your cappuccino foam isn’t thick enough, try adding a little less milk next time and selecting the “Cappuccino” setting. For a creamier latte, ensure you’re filling to the “Latte” line or slightly below.
- Pre-warm Your Mug: For an even more enjoyable experience, pre-warm your mug by filling it with hot water for a minute or two before brewing your espresso. This keeps your beverage hotter for longer.
Troubleshooting Common Keurig K Cafe Issues
Even with the best intentions, you might encounter a few bumps in the road.
My milk isn’t frothing properly.
Possible causes: Using milk that is not cold enough, overfilling the frothing pitcher, or a dirty frother.
Solutions: Ensure you are using cold milk straight from the refrigerator. Do not fill the pitcher beyond the indicated lines. Clean the frothing pitcher and lid thoroughly after each use, paying attention to the aeration holes in the lid.
My cappuccino foam is too thin or disappears quickly.
Possible causes: Milk type, incorrect frothing setting, or not enough milk incorporated.
Solutions: Try using whole milk for richer foam. Double-check that you have selected the “Cappuccino” froth setting. Ensure you are filling the pitcher to the “Cappuccino” line, which is designed to maximize foam creation.
My latte is too foamy or not creamy enough.
Possible causes: Incorrect frothing setting, too much milk incorporated, or using the wrong milk.
Solutions: Make sure you have selected the “Latte” froth setting. Fill the pitcher to the “Latte” line to ensure a higher proportion of liquid steamed milk. Whole milk or 2% milk are ideal for creaminess.
The machine is making unusual noises.
Possible causes: Blockage in the frother, or the machine needs descaling.
Solutions: Ensure the frothing lid is properly attached and the aeration holes are clear. Run a descaling cycle according to your Keurig K Cafe’s manual. Regular descaling maintains optimal machine performance.
Conclusion
The Keurig K Cafe makes it remarkably simple to enjoy a delicious cappuccino or a creamy latte at home. By understanding the fundamental differences – the equal parts of a cappuccino versus the milk-forward nature of a latte – and by mastering the K Cafe’s frothing capabilities, you’re well on your way to becoming a home barista.
Remember, practice makes perfect. Don’t be afraid to experiment with different K-Cups, milk types, and slight adjustments to the milk ratios until you discover your personal ideal brew. With a little patience and these handy tips, you’ll be crafting your favorite coffeehouse beverages with confidence and enjoying every delicious sip.