

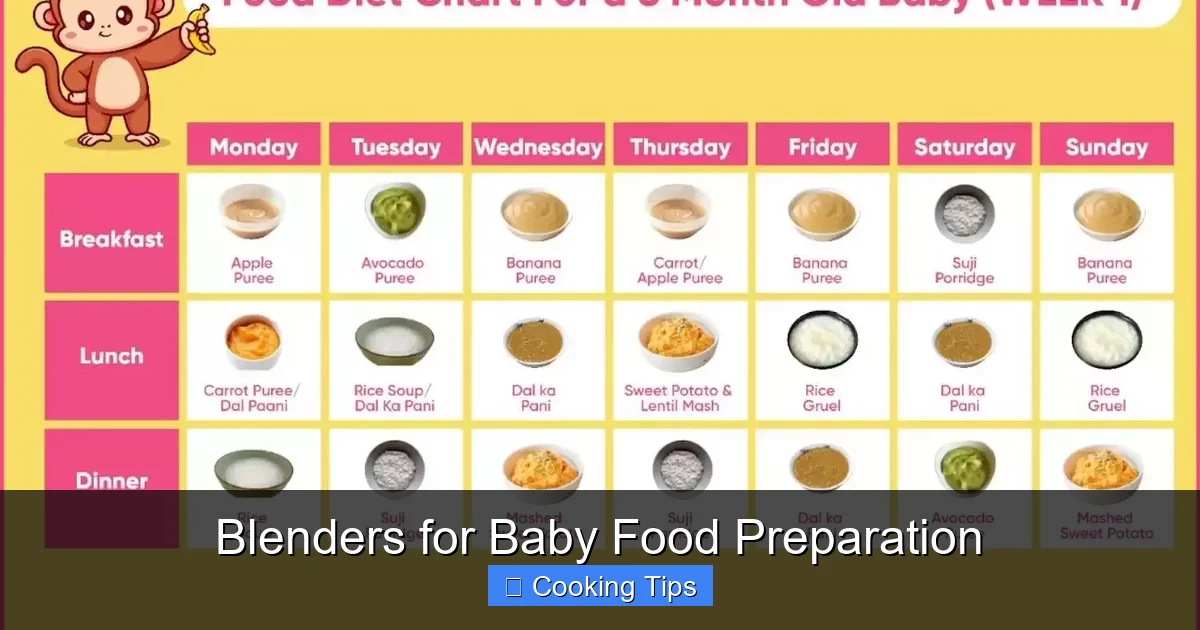
Preparing homemade baby food is simpler than you think with the right blender! This guide will walk you through choosing the ideal blender for your needs, from single-serve to powerful food processors. Learn step-by-step instructions for creating smooth, nutritious purees your baby will love, ensuring they get the best start.
Key Takeaways
- Choosing the Right Blender is Key: Consider your budget, counter space, and the volume of baby food you plan to make.
- Essential Features to Look For: Prioritize BPA-free materials, powerful motors for smooth purees, and easy-to-clean components.
- Simple Blending Process: Cook your ingredients until soft, then blend in stages for the perfect consistency.
- Portioning and Storage: Freeze individual portions in ice cube trays or specialized baby food containers for convenience.
- Safety First: Always ensure baby food is cooled to a safe temperature before serving.
- Cleaning is Crucial: Regular and thorough cleaning prevents bacteria buildup and keeps your blender in good condition.
- Experiment with Flavors: Gradually introduce a variety of fruits, vegetables, and grains to expand your baby’s palate.
Blenders for Baby Food Preparation: Your Ultimate Guide to Homemade Purees
Welcome to the wonderful world of homemade baby food! As your little one embarks on their culinary journey, the thought of preparing their meals might seem daunting. But fear not! With the right tools, especially a reliable blender, you can create delicious, nutritious, and budget-friendly purees right in your own kitchen. This guide is designed to demystify the process, from selecting the perfect blender to mastering the art of baby food creation. We’ll cover everything you need to know to make feeding time a healthy and happy experience for both you and your baby.
So, what will you learn here? We’ll guide you through the different types of blenders suitable for baby food, highlight the essential features to consider, and provide a clear, step-by-step process for making a variety of purees. We’ll also share practical tips for storage, troubleshooting common issues, and ensuring your baby’s food is always safe and wholesome. Get ready to become a baby food blending pro!
Understanding Your Blender Options
When it comes to blending baby food, not all blenders are created equal. The best blender for you will depend on your lifestyle, budget, and how often you plan to make baby food. Let’s explore the most common types:
Immersion Blenders (Handheld Blenders)
Immersion blenders are fantastic for their versatility and compact size. They consist of a motor unit with a detachable blending wand that you immerse directly into the cooking pot or container. This means less washing up!
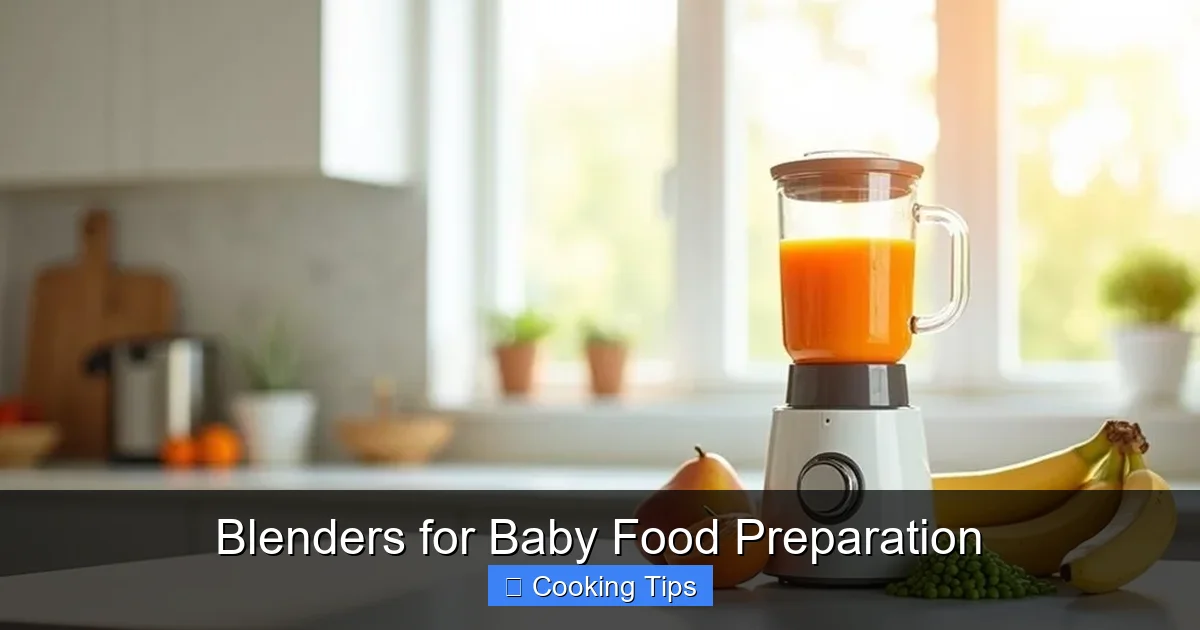
Visual guide about Blenders for Baby Food Preparation
Image source: blenderjunkie.com
- Pros: Easy to use, minimal cleanup, good for small batches, can blend directly in pots, often more affordable.
- Cons: Can be messier if not used carefully, might struggle with very fibrous ingredients, less powerful than countertop blenders for very smooth textures.
When to choose: Ideal for parents who want a simple, space-saving option and plan to make smaller batches of baby food. They’re great for pureeing cooked vegetables and fruits directly in their cooking liquid.
Countertop Blenders
These are the classic blenders most people have in their kitchens. They have a base with a motor and a jar that sits on top. They come in various power levels and capacities.
- Pros: Powerful motors can create incredibly smooth purees, larger capacities are great for batch cooking, versatile for other kitchen tasks beyond baby food.
- Cons: Take up more counter space, can be more expensive, might be overkill for just small amounts of baby food, cleaning can be more involved.
When to choose: If you plan to make large batches of baby food regularly or want a blender that can handle tougher ingredients and deliver super-smooth textures. They are also a good investment if you entertain or use a blender for other recipes like smoothies or soups.
Personal Blenders (Bullet Blenders)
Similar to countertop blenders, but with smaller, single-serve cups that double as blending jars and to-go cups. You blend directly in the cup, then detach the blade base and screw on a lid.
- Pros: Compact, quick for small portions, easy to clean, less waste as you blend exactly what you need.
- Cons: Limited capacity, may not be powerful enough for very tough ingredients or large batches.
When to choose: Perfect for busy parents who want to whip up single servings of baby food quickly and easily. They are also great for parents who are also looking for a blender for their own smoothies.
Baby Food Makers (All-in-One Units)
These are specialized appliances designed specifically for baby food preparation. They often combine steaming and blending functions into one unit.
- Pros: All-in-one convenience (steam and blend), often very user-friendly, designed for baby food consistency.
- Cons: Can be more expensive, often have limited capacity, may not be as powerful for general blending tasks, can be a single-purpose appliance.
When to choose: If you want the ultimate convenience and don’t mind the specialized nature and potentially higher cost. They simplify the entire process from cooking to pureeing.
Essential Features to Consider
Once you’ve narrowed down the type of blender, here are some key features to look for that will make your baby food journey smoother:
Material Safety (BPA-Free)
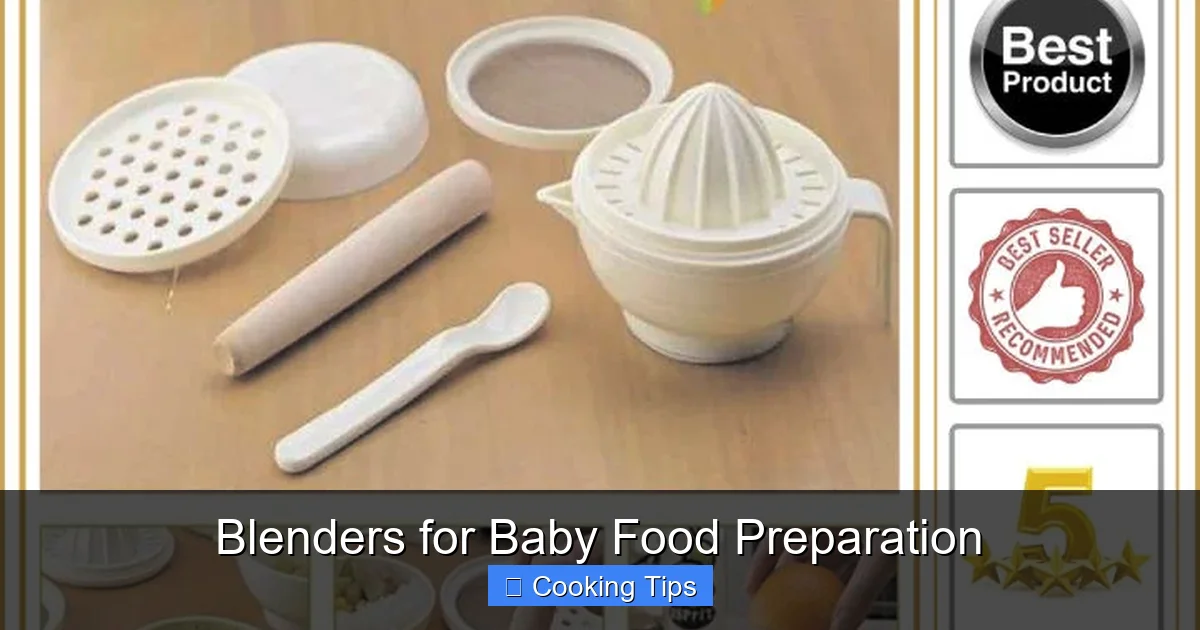
This is non-negotiable. Ensure all parts that come into contact with food are made from BPA-free (Bisphenol A) plastic or high-quality stainless steel. BPA is a chemical that can leach into food and is a concern for infant health.
Visual guide about Blenders for Baby Food Preparation
Image source: img.drz.lazcdn.com
Motor Power and Blade Quality
For smooth purees, especially with fibrous vegetables like kale or green beans, a powerful motor is essential. Look for blenders with at least 300-500 watts for personal blenders and 700+ watts for countertop models. Sharp, durable stainless steel blades will ensure efficient blending.
Ease of Cleaning
You’ll be using your blender frequently, so make sure it’s easy to clean. Dishwasher-safe parts are a huge bonus. Detachable blades and simple designs will save you time and hassle.
Container Size and Capacity
Consider how much baby food you plan to make at once. If you’re batch cooking, a larger countertop blender jar is ideal. For single servings or occasional use, a personal blender or immersion blender might suffice.
Consistency Control
Some blenders offer different speed settings or pulse functions, allowing you to control the texture of your baby food. This is important as your baby transitions from smooth purees to chunkier textures.
Durability and Brand Reputation
Investing in a well-known brand with good reviews often means a more durable appliance that will last. Read user reviews specifically mentioning baby food preparation to gauge performance.
Step-by-Step Guide to Blending Baby Food
Now for the fun part! Here’s a simple process for making delicious purees for your baby.
Step 1: Choose Your Ingredients
Start with simple, single-ingredient foods. Good first foods include:
- Fruits: Apples, pears, bananas, avocado, peaches, berries (cooked first for very young babies).
- Vegetables: Sweet potatoes, carrots, peas, green beans, butternut squash, zucchini.
- Grains: Oatmeal, rice cereal (cooked according to package directions).
Always ensure your ingredients are fresh and washed thoroughly.
Visual guide about Blenders for Baby Food Preparation
Image source: blenderjunkie.com
Step 2: Prepare Your Ingredients for Blending
This step involves cooking the ingredients to a soft, easily blendable consistency.
- Steaming: This is the healthiest method as it preserves nutrients. Place chopped fruits or vegetables in a steamer basket over boiling water. Cover and steam until fork-tender.
- Boiling: You can also boil ingredients in a small amount of water until soft.
- Baking: For root vegetables like sweet potatoes or squash, baking can bring out their natural sweetness.
- No Cooking Required: Ripe bananas and avocados can often be blended raw.
Ensure you reserve some of the cooking liquid (water or breast milk/formula) for blending.
Step 3: Let Ingredients Cool Slightly
Before blending, allow the cooked ingredients to cool down for a few minutes. They should be warm, but not hot, to avoid damaging your blender’s motor or causing a steam explosion in a sealed blender jar. For raw fruits like bananas, this step is not needed.
Step 4: Blend Away!
This is where your blender shines.
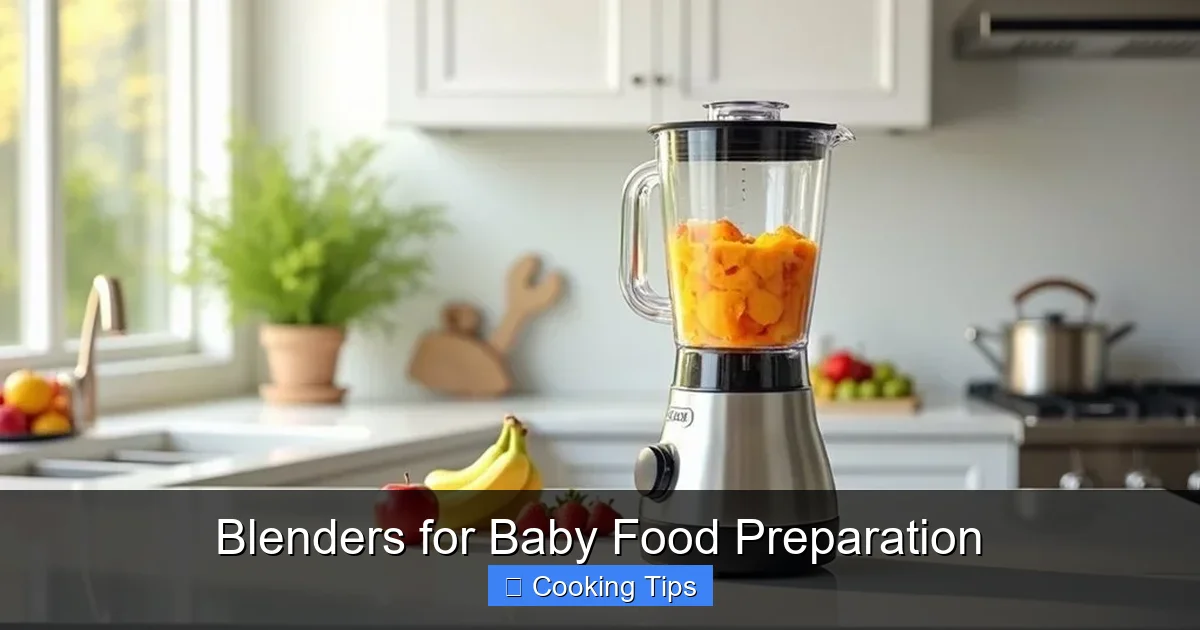
- Add Ingredients: Place the cooked and slightly cooled ingredients into your blender cup or jar.
- Add Liquid: Start by adding a small amount of the reserved cooking liquid, breast milk, or formula. You can always add more to achieve the desired consistency.
- Blend Until Smooth: Begin blending on a low setting, gradually increasing the speed. For very smooth purees, blend for 30-60 seconds, or until you reach the desired texture. Use the pulse function if your blender has one to get a smoother result.
- Check Consistency: If the puree is too thick, add a little more liquid and blend again. If it’s too thin, you can try adding a bit more of the cooked ingredient (if you have any left) or a small amount of infant cereal to thicken it.
For immersion blenders, simply place the wand into your pot or container, add liquid, and blend until smooth, moving the blender around to ensure all ingredients are incorporated.
Step 5: Check Texture and Taste (Optional)
Once blended, you can check the consistency. It should be smooth and free of lumps for a first food. You can taste it yourself to ensure it’s palatable, though your baby will likely enjoy the natural flavors!
Step 6: Portion and Store
This is a crucial step for convenience and food safety.
- Cool Down: Let the pureed food cool completely before storing.
- Portioning: Spoon the baby food into ice cube trays for small, single servings. Once frozen, pop out the cubes and transfer them to a freezer-safe bag or container. You can also use specialized baby food storage containers.
- Refrigeration: Purees can be stored in an airtight container in the refrigerator for 1-2 days.
- Freezing: Properly stored baby food can last in the freezer for 1-2 months.
Always label your containers with the date and contents.
Serving and Reheating
When it’s time to feed your little one:
- From Refrigerator: Spoon out a portion and warm it gently. You can do this in a small saucepan over low heat, stirring constantly, or by placing the container in a bowl of warm water. Never microwave baby food, as it can create hot spots.
- From Freezer: Thaw a frozen cube or portion in the refrigerator overnight, or warm it gently as described above.
- Temperature Check: Always test the temperature of the food on your wrist before giving it to your baby. It should be lukewarm.
Practical Tips for Success
* Start Simple: Introduce one new food every 2-3 days to watch for any potential allergies or sensitivities.
* Batch Cook: Prepare a large batch of a few different purees on a day when you have more time. This saves you effort during busy weekdays.
* Don’t Over-Blend: For older babies, you can leave a little texture. For younger babies, aim for very smooth.
* Mix and Match: Once your baby has tried several single ingredients, you can start combining them for new flavors – think apple and cinnamon, or sweet potato and peas.
* Add Healthy Fats: A tiny amount of olive oil, avocado oil, or unsalted butter can be blended into savory purees for added calories and healthy fats.
* Don’t Be Afraid of “Weird” Combinations: Babies have developing palates and might enjoy flavors you wouldn’t expect.
Troubleshooting Common Blending Issues
* Puree is too thick: Add more liquid (water, breast milk, formula) a tablespoon at a time and blend again until you reach the desired consistency.
* Puree is too thin: This is trickier. You can try adding a small amount of infant cereal or a tiny bit of a starchy vegetable like cooked potato or rice.
* Ingredients aren’t blending smoothly: Ensure your ingredients were cooked until very tender. If using a less powerful blender, you might need to blend for longer or in smaller batches.
* Blender smells burnt or is struggling: You might be overloading the blender or trying to blend too much at once. Let it cool down, and try blending smaller portions. If the issue persists, your blender might not be powerful enough for the task.
* Food is gritty or lumpy: This often happens with fibrous vegetables like green beans. Ensure they are cooked extremely well and blend for longer. Some blenders are just not designed to achieve a completely lump-free texture for certain foods.
Conclusion
Using a blender to prepare baby food is a rewarding and straightforward process. By understanding the different types of blenders, their essential features, and following these simple steps, you can confidently create a diverse range of nutritious purees for your baby. Homemade baby food not only allows you to control exactly what your baby eats, but it’s also a wonderful way to introduce them to a world of healthy flavors right from the start. So, grab your blender, pick some fresh ingredients, and embark on this delightful culinary adventure with your little one. Happy blending!
