
Discover the secret to perfectly smooth and airy pancake and waffle batter using your blender! This comprehensive guide will walk you through the simple steps, from ingredient prep to the ideal blend time. Learn how to avoid common pitfalls and achieve consistently delicious results for your breakfast favorites.
Key Takeaways
- Smooth Batter is Key: Blenders excel at creating lump-free batter, which translates to tender pancakes and waffles with an even texture.
- Speed and Efficiency: Using a blender significantly cuts down on mixing time, making breakfast prep quicker and easier.
- Precise Ingredient Incorporation: Blenders ensure all wet and dry ingredients are thoroughly combined, preventing pockets of flour or undissolved leavening agents.
- Avoid Over-Mixing: While blenders are fast, it’s crucial to blend only until just combined to maintain tenderness and prevent tough results.
- Choosing the Right Blender: Most standard blenders work well, but consider immersion blenders for smaller batches or specific batter consistencies.
- Clean-up is Simple: Rinsing your blender immediately after use makes clean-up a breeze, often requiring just a quick pulse with water and soap.
Blenders for Mixing Pancake and Waffle Batter: Your Secret to Fluffy Perfection
Are you tired of lumpy pancake batter? Do your waffles sometimes have pockets of dry flour? In 2026, we have incredible kitchen tools at our disposal, and it’s time to leverage one of the most versatile: your blender! Forget the whisk and bowl; this guide will show you exactly how to use your blender to achieve consistently smooth, airy, and utterly delicious pancake and waffle batter. Get ready for breakfast bliss!
You might be wondering, “Can I really use a blender for batter?” The answer is a resounding yes! Blenders are designed to mix and emulsify ingredients quickly and effectively. When it comes to pancake and waffle batter, this means eliminating lumps, ensuring even ingredient distribution, and creating a lighter, fluffier final product. We’ll cover everything from the basic steps to advanced tips and troubleshooting, so you can become a blender batter master in no time.
Why Use a Blender for Batter?
Before we dive into the “how,” let’s talk about the “why.” Traditional whisking can sometimes lead to uneven mixing, leaving you with lumps or over-worked gluten. Over-working gluten can make your pancakes and waffles tough and chewy, which is the opposite of what we want. Blenders, when used correctly, offer several advantages:
- Lump-Free Consistency: The blades of a blender rapidly break down any clumps of flour or leavening agents, resulting in a perfectly smooth batter.
- Even Ingredient Distribution: All ingredients, from the wet to the dry, are thoroughly incorporated. This means your baking soda or powder is evenly spread, leading to a consistent rise.
- Speed and Convenience: Making batter takes mere seconds. This is a game-changer on busy mornings when you want a delicious breakfast without the fuss.
- Tenderness: By blending just until combined, you minimize gluten development, which is crucial for tender and fluffy pancakes and waffles.
Now, let’s get started on how to make your batter sing!
The Blender Batter Blueprint: Step-by-Step
This process is designed to be straightforward and efficient. We’ll break it down into easy-to-follow steps.
Step 1: Gather Your Ingredients and Equipment
This is the foundation of any great recipe. Ensure you have all your pancake or waffle ingredients measured out and ready to go. This typically includes:
- Flour
- Sugar
- Baking Powder (or Baking Soda)
- Salt
- Eggs
- Milk (or buttermilk)
- Melted Butter (or oil)
- Vanilla Extract (optional)
You’ll also need your blender. Most standard countertop blenders will work beautifully. If you have an immersion blender, that can also be a fantastic option, especially for smaller batches.
Step 2: Add Wet Ingredients First
This is a key technique when using a blender for batter. By adding the liquid ingredients first, you help the blender blades move more freely and efficiently. This prevents dry ingredients from getting stuck at the bottom.
In your blender jar, add:
- Eggs
- Milk
- Melted Butter (ensure it’s not too hot, or it could cook the eggs)
- Vanilla Extract (if using)
Step 3: Add Dry Ingredients
Once your wet ingredients are in, it’s time to add the dry ingredients. Gently sprinkle them over the top of the wet ingredients.
Add:
- Flour
- Sugar
- Baking Powder
- Salt
Step 4: The Blend – Precision is Key!
This is where the magic happens, but also where you need to be mindful. The goal is to blend *just until combined*. Over-blending will develop the gluten in the flour, leading to tough pancakes or waffles.
Here’s how to do it:
Start Slow
Begin by pulsing the blender a few times on a low setting. This helps to break up any initial large clumps of dry ingredients.
Increase Speed Briefly
After a few pulses, increase the blender speed for a short burst. You’re looking for the batter to become smooth and homogeneous. This usually takes only 15-30 seconds, depending on your blender’s power.
Check Consistency
Stop the blender and check the batter. You want to see a smooth, pourable consistency with no visible dry flour pockets. A few small specks of unmixed flour are okay, as they will dissolve during the resting period or will not impact the final texture significantly.
Pro Tip: If you notice ingredients sticking to the sides of the blender jar, stop the blender and use a spatula to scrape them down into the mixture. Then, give it a few more quick pulses.
Step 5: Rest the Batter (Optional but Recommended)
Many pancake and waffle recipes benefit from a short resting period. This allows the gluten to relax and the leavening agents to start working.
Pour the batter into a bowl or container and let it sit for 5-10 minutes at room temperature before cooking. This step contributes to a lighter, fluffier result.
Step 6: Cook Your Pancakes or Waffles
Now that you have perfectly smooth batter, it’s time to cook! Preheat your griddle or waffle iron according to your recipe’s instructions and cook your delicious creations.
Advanced Blender Batter Techniques and Tips
Once you’ve mastered the basics, here are some extra tips to elevate your blender batter game:
Using an Immersion Blender
Immersion blenders are fantastic for smaller batches or when you want to mix batter directly in the measuring cup or bowl you plan to use.
How-to with Immersion Blender:
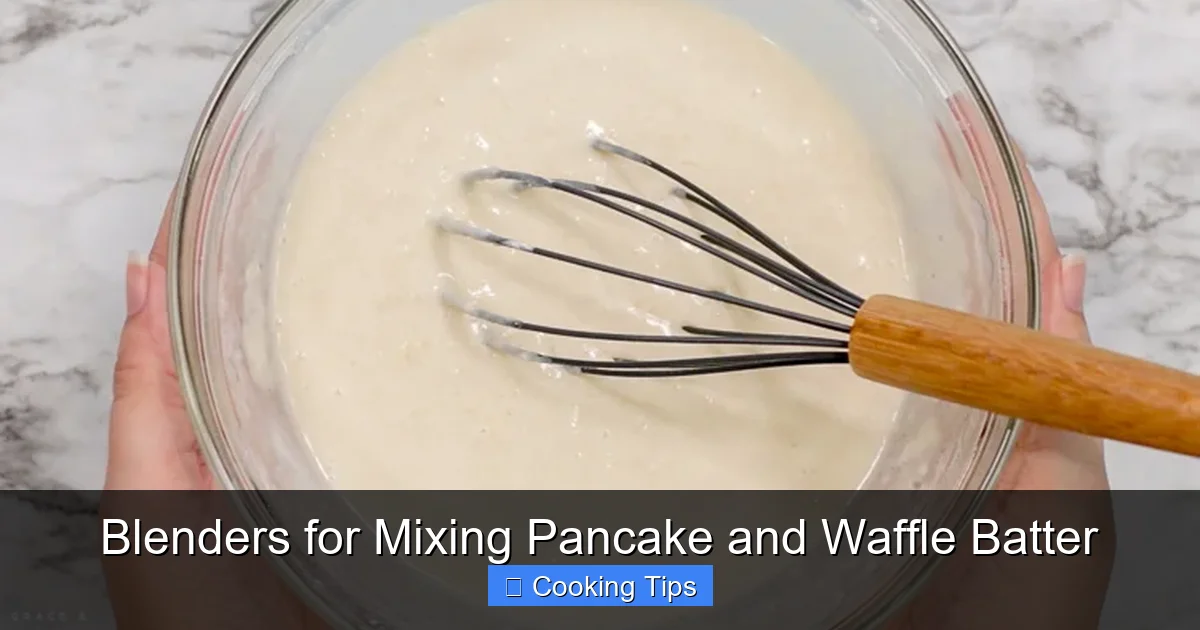
Visual guide about Blenders for Mixing Pancake and Waffle Batter
Image source: graceandgoodeats.com
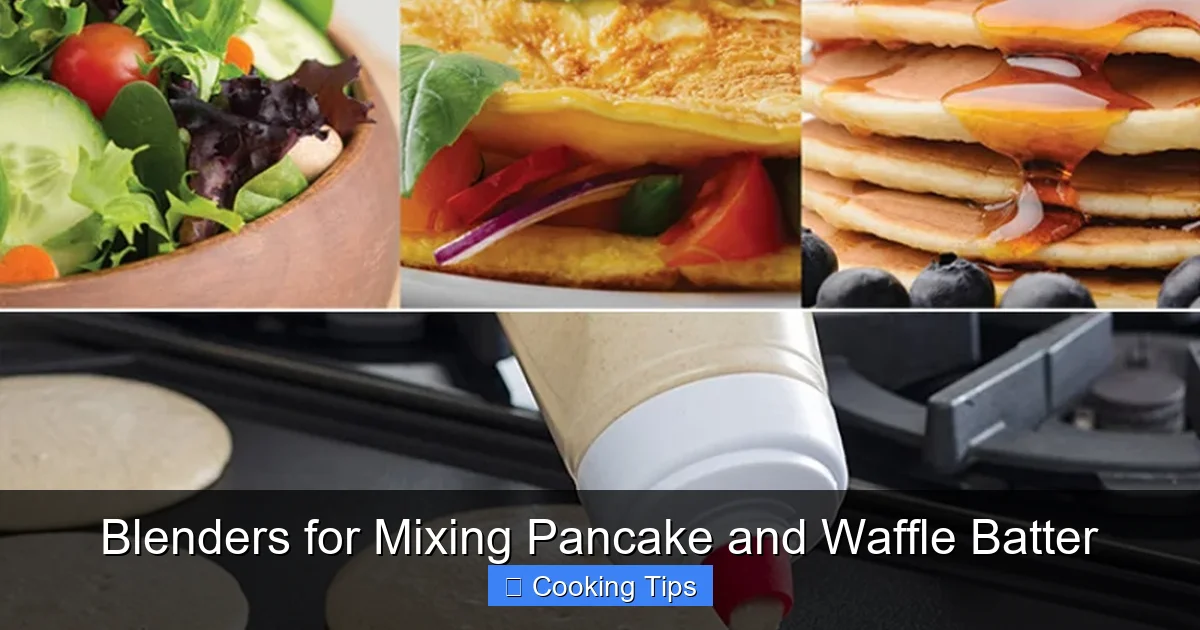
Visual guide about Blenders for Mixing Pancake and Waffle Batter
Image source: images.nexusapp.co
- Add your wet ingredients to your desired container.
- Add your dry ingredients on top.
- Submerge the immersion blender into the liquid, then turn it on.
- Move the blender around to incorporate all ingredients until smooth. Be careful not to splash!
- Blend only until just combined.
For Extra Fluffy Results
If you’re aiming for the lightest, fluffiest pancakes and waffles, consider separating your eggs. Whisk the egg whites separately until stiff peaks form, then gently fold them into the blended batter after it has rested. The air incorporated into the egg whites will create an incredible lift.
Incorporating Mix-ins
Want to add chocolate chips, blueberries, or nuts? It’s best to gently fold these in *after* blending, not in the blender itself. Adding mix-ins to the blender can cause them to break down too much or unevenly distribute.
Adjusting Consistency
If your batter seems too thick after resting, you can add a tablespoon or two of milk to thin it out. If it seems too thin, add a tablespoon of flour. Blend briefly to incorporate.
Troubleshooting Common Blender Batter Issues
Even with the best tools, you might encounter a few hiccups. Here’s how to fix them:
Issue: Batter is Too Thick
Cause: Too much flour, or not enough liquid.
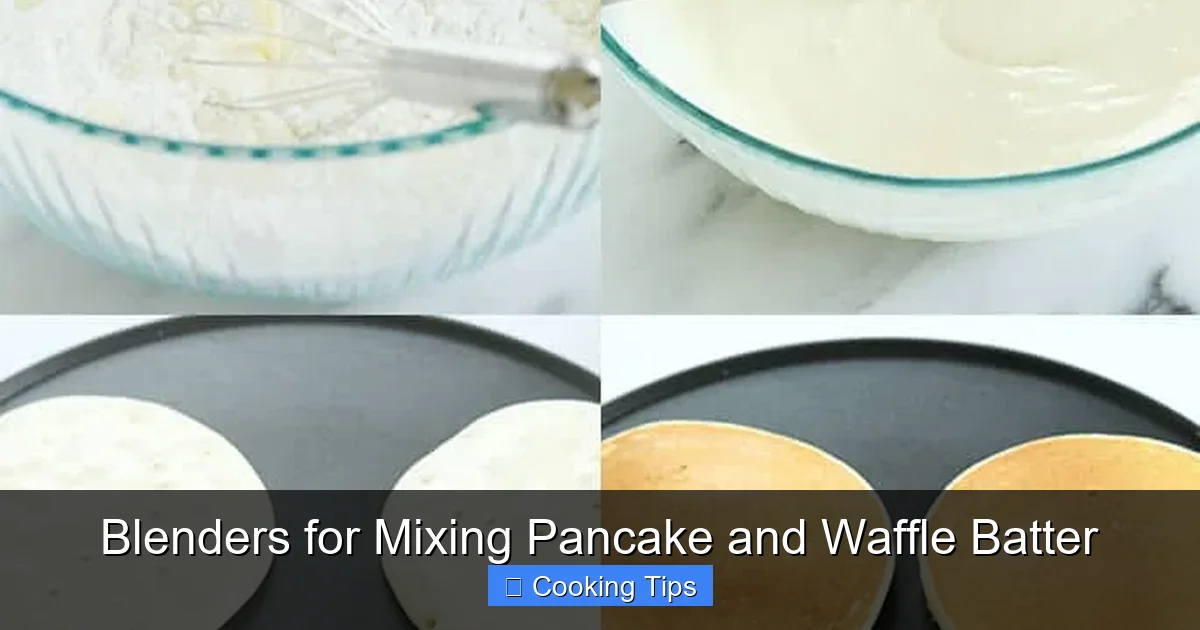
Visual guide about Blenders for Mixing Pancake and Waffle Batter
Image source: glutenfreeonashoestring.com
Solution: Add milk or other liquid (like buttermilk) one tablespoon at a time, blending briefly until the desired consistency is reached.
Issue: Batter is Too Thin
Cause: Too much liquid, or not enough flour.
Solution: Add flour one tablespoon at a time, blending briefly until the desired consistency is reached.
Issue: Batter is Tough or Chewy
Cause: Over-blending, which develops too much gluten.
Solution: This is hard to fix once it’s happened. For future batters, focus on blending *only* until just combined. A short rest period can help relax the gluten slightly.
Issue: Blender is Struggling or Motor is Overheating
Cause: Too many dry ingredients, or trying to blend for too long.
Solution: Ensure you’re adding wet ingredients first. Blend in short bursts. If the blender is really struggling, you might have too much batter for your machine; consider making two smaller batches.
Cleaning Your Blender After Batter Duty
One of the best parts of using a blender for batter is the easy clean-up.
Quick Rinse Method:
- Immediately after pouring out your batter, rinse the blender jar with warm water.
- Add a drop of dish soap and a bit of water to the jar.
- Secure the lid and blend on high for 30-60 seconds.
- Rinse thoroughly.
This usually gets it sparkling clean! For any stubborn bits, you can use a soft brush or sponge.
Conclusion: Embrace the Blender for Breakfast Bliss
Using a blender to mix your pancake and waffle batter in 2026 is a smart, efficient, and incredibly effective way to achieve perfect results every time. By following these simple steps and tips, you’ll consistently produce lump-free, tender, and wonderfully fluffy pancakes and waffles that will delight your family and friends. Say goodbye to mixing frustrations and hello to effortless, delicious breakfasts. So, dust off your blender, gather your ingredients, and get ready to experience breakfast perfection! Your taste buds will thank you.