

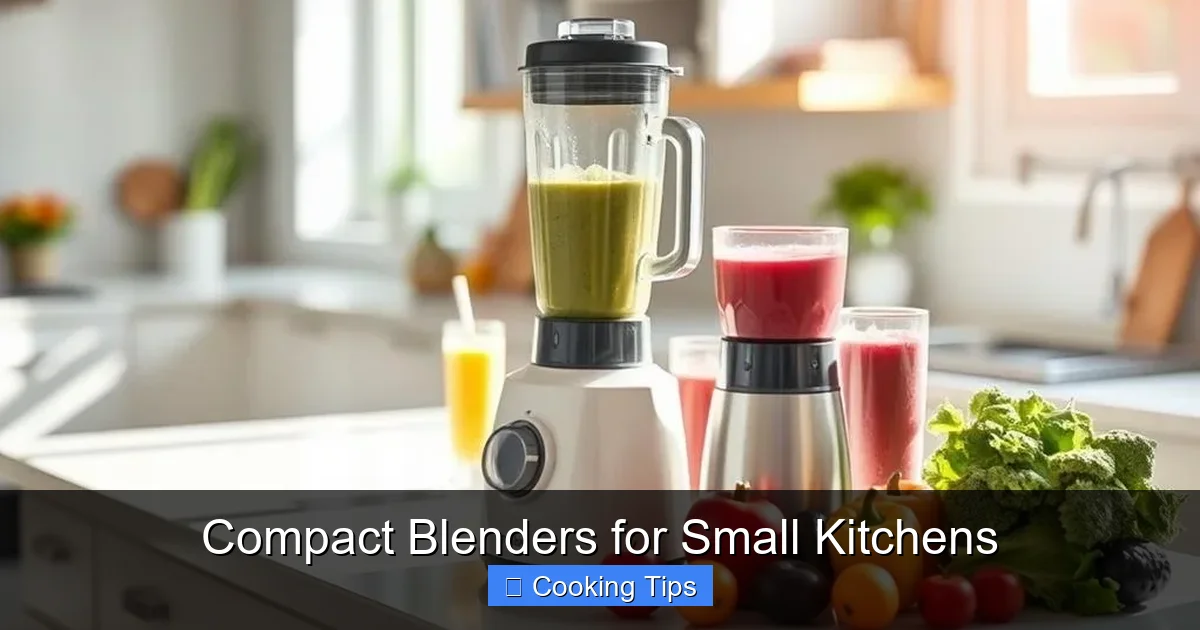
Don’t let a small kitchen limit your culinary creations! This guide explores the world of compact blenders, offering practical advice on choosing, using, and maintaining these space-saving appliances. Discover how a compact blender can revolutionize your smoothie-making, sauce-prepping, and more, all while maximizing your counter space and storage. Get ready to blend with ease and efficiency!
Key Takeaways
- Maximize Your Space: Compact blenders are designed for efficiency, fitting easily into small kitchens without sacrificing functionality.
- Assess Your Needs: Before buying, consider what you’ll blend most often to choose the right size, power, and features.
- Power vs. Portability: Understand the trade-off between smaller size and the blending power required for tougher ingredients.
- Smart Storage Solutions: Learn creative ways to store your compact blender, keeping your countertops clear and organized.
- Maintenance is Key: Simple cleaning and care routines will ensure your compact blender lasts and performs optimally.
- Versatile Applications: Discover the surprising range of tasks a compact blender can handle, from single-serve smoothies to small batches of dips and sauces.
Compact Blenders for Small Kitchens: Your Guide to Blending Bliss
Living in a small kitchen presents unique challenges, especially when it comes to appliances. Counter space is precious, and storage can feel like a constant puzzle. But what if you crave delicious smoothies, silky sauces, or perfectly pureed soups without dedicating a huge chunk of your kitchen to a bulky blender? Enter the compact blender. These ingenious devices are designed to fit seamlessly into smaller living spaces, proving that you don’t need a sprawling kitchen to enjoy all the benefits of blending.
This comprehensive guide is your roadmap to navigating the world of compact blenders. We’ll walk you through everything from understanding what makes a blender “compact” to choosing the perfect model for your needs, mastering its use, and keeping it in tip-top shape. Get ready to discover how these little powerhouses can transform your cooking and beverage-making, even in the coziest of kitchens.
Understanding “Compact” in Blender Terms
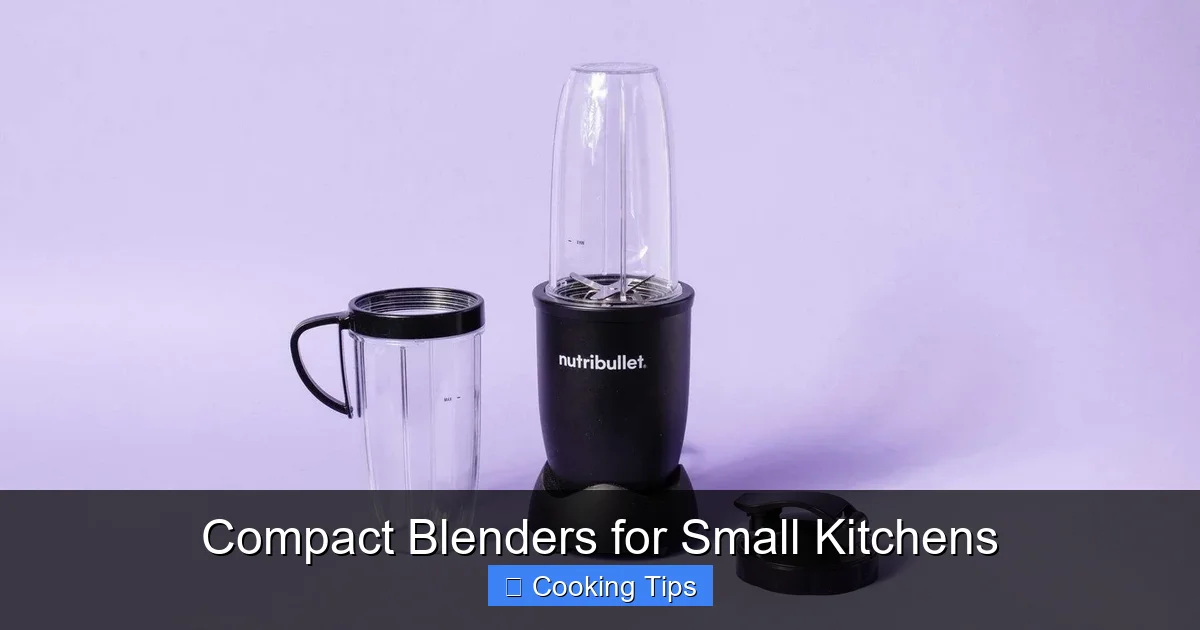
Visual guide about Compact Blenders for Small Kitchens
Image source: kitchenadvising.com
When we talk about compact blenders, what exactly are we referring to? It’s more than just a small footprint. Compact blenders are designed with space-saving in mind, often featuring:
- Smaller Jar Sizes: Typically ranging from 16 oz to 32 oz, these jars are ideal for single servings or small batches.
- Shorter Height: Many are designed to fit under standard kitchen cabinets, a crucial consideration for limited vertical space.
- Lighter Weight: This makes them easy to move from storage to countertop and back again.
- Streamlined Designs: They often boast simpler, more elegant designs that don’t overwhelm a small space.
The beauty of a compact blender lies in its ability to deliver robust blending performance without demanding excessive room. They are the perfect solution for individuals, couples, or anyone who prioritizes a clutter-free kitchen.
Step 1: Assessing Your Blending Needs
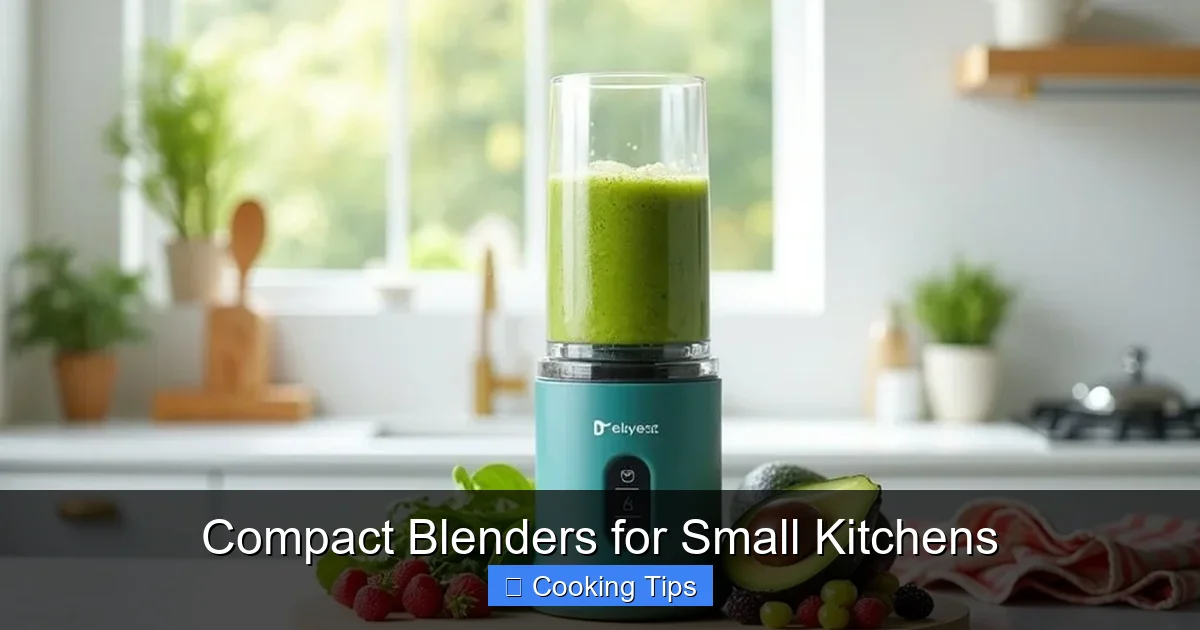
Visual guide about Compact Blenders for Small Kitchens
Image source: blenderjunkie.com
Before you get swept away by sleek designs, it’s vital to understand what you’ll actually be using your compact blender for. This will guide your choice and ensure you end up with a tool that truly serves your culinary goals.
H3: What Will You Blend Most Often?
* Smoothies and Shakes: If your primary goal is single-serve fruit and vegetable smoothies, protein shakes, or milkshakes, a smaller, less powerful model might suffice. Look for blenders with blades designed for softer ingredients.
* Sauces and Dressings: For making small batches of homemade salad dressings, pesto, or smooth sauces, you’ll want a blender with good emulsifying capabilities. A slightly more powerful motor can help achieve a smoother consistency.
* Dips and Spreads: If you envision making hummus, salsa, or baby food, consider a blender with a good vortex action that pulls ingredients down towards the blades.
* Crushing Ice: While many compact blenders can handle a few ice cubes for a cold drink, don’t expect them to pulverize large amounts of ice for frozen cocktails like their larger counterparts. Check the specifications for ice-crushing capabilities if this is important to you.
* Pureeing Soups: Some compact blenders are powerful enough to puree cooked vegetables for a quick soup, but be mindful of hot liquids and always follow safety instructions.
H3: How Many People Will You Be Serving?
* Single Servings: Most compact blenders excel at single-serving portions (16-24 oz). The blending jar often doubles as a to-go cup, which is incredibly convenient.
* Two Servings: If you’re often making smoothies for yourself and a partner, look for models with slightly larger jars (up to 32 oz) or consider if a second blending session is a minor inconvenience.
H3: What is Your Budget?
Compact blenders come in a wide range of prices. Generally, the more powerful the motor and the more features a blender has, the higher the cost. Determine your budget upfront to narrow down your options.
Step 2: Choosing the Right Compact Blender
Visual guide about Compact Blenders for Small Kitchens
Image source: lickingspoon.com
With your needs clearly defined, you’re ready to start exploring the market. Here’s what to look for when selecting your ideal compact blender.
H3: Motor Power (Wattage)
Motor power is a key indicator of a blender’s capability. For basic blending of fruits, vegetables, and liquids, 300-500 watts is often sufficient. If you plan on tackling tougher ingredients like frozen fruit, nuts, or seeds, aim for a motor of 600 watts or higher. Remember, a more powerful motor can also mean a slightly larger footprint or higher price point.
H3: Blade Design and Material
The blades are the workhorses. Stainless steel blades are durable and efficient. The design also matters:
* Criss-cross or multi-angled blades are excellent for creating a vortex that pulls ingredients down, leading to smoother blends.
* Blades specifically designed for crushing ice will have sharper angles and more robust construction.
H3: Jar Material and Size
* **BPA-free Plastic:** Most compact blenders use durable, lightweight BPA-free plastic for their jars. This is usually sufficient for most everyday blending tasks.
* **Glass:** Some models offer glass jars, which are aesthetically pleasing and don’t retain odors, but they are heavier and more fragile.
* **Size:** As discussed, consider the jar size that best suits your typical serving needs.
H3: Ease of Use and Cleaning
* **One-Touch Operation:** Many compact blenders feature simple button controls or pulse functions, making them incredibly easy to operate.
* **Dishwasher-Safe Parts:** This is a major convenience! Check if the jar, lid, and blades are dishwasher-safe. If not, manual cleaning should still be straightforward.
* **Detachable Blades:** Some models allow for the blade assembly to be detached from the jar for easier cleaning.
H3: Features to Consider
* **Travel Lids and Cups:** Many compact blenders come with lids that allow you to blend directly into a cup and then attach a travel lid to take it on the go. This is a huge space-saver and convenience.
* **Pulse Function:** A pulse function gives you more control over the texture and prevents over-blending.
* **Safety Features:** Look for blenders that won’t operate unless the jar is securely locked in place.
H3: Popular Types of Compact Blenders
* **Personal Blenders:** These are the quintessential compact blenders. They typically consist of a motor base, a blending jar (often doubling as a travel cup), and a lid. Perfect for single servings. Examples include NutriBullet and various Oster models.
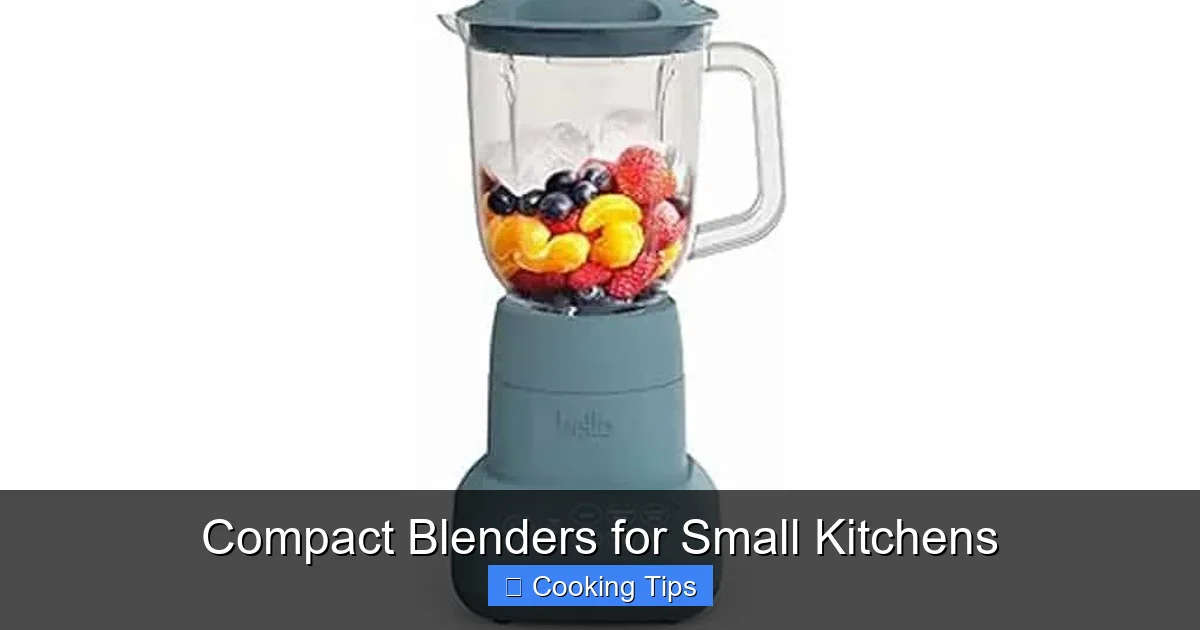
* **Compact Countertop Blenders:** These are smaller versions of traditional blenders, often with slightly larger capacities (up to 32 oz) and more robust motors, but still designed with a smaller footprint. They might have a more traditional pitcher design. Examples include some Cuisinart and Ninja models.
Step 3: Mastering Your Compact Blender
Once you’ve chosen your compact blender, it’s time to put it to work! Here are some tips for optimal use.
H3: The Art of Layering Ingredients
For the best blending results, the order in which you add ingredients matters. A good rule of thumb is:
1. **Liquids first:** Start with water, milk, juice, or yogurt. This helps the blades move freely and prevents ingredients from getting stuck at the bottom.
2. **Soft ingredients next:** Add things like spinach, protein powder, or soft fruits.
3. **Harder ingredients last:** Place frozen fruits, ice cubes, nuts, or seeds on top. This way, the heavier items help push the softer ingredients down towards the blades.
H3: Don’t Overfill
Even with a compact blender, it’s important not to exceed the maximum fill line marked on the jar. Overfilling can lead to leaks, uneven blending, and strain on the motor. Remember, you can always blend in smaller batches.
H3: Pulse for Control
The pulse function is your best friend for achieving the desired consistency. Use it to:
* Break down larger chunks before a continuous blend.
* Achieve a chunkier texture for salsas or dips.
* Avoid over-blending ingredients into a watery mess.
H3: Blend in Short Bursts
For tougher ingredients or to prevent the motor from overheating, blend in short bursts (10-30 seconds) rather than one long continuous run. This allows the motor to cool and ensures more even blending.
H3: Hot Liquids – A Word of Caution
While some compact blenders can handle warm liquids, extreme caution is advised. Never fill the blender jar more than halfway with hot liquids, and always remove the center cap from the lid to allow steam to escape. Blend on a low speed and hold the lid firmly. For truly hot liquids, it’s often safer to let them cool slightly or use a different method. Always refer to your blender’s manual for specific instructions.
Step 4: Caring for Your Compact Blender
Proper maintenance is crucial for extending the life and performance of your compact blender. Fortunately, cleaning these smaller appliances is usually a breeze.
H3: Immediate Cleaning is Best
The easiest way to clean your blender is right after use.
1. **Rinse thoroughly:** As soon as you’re done, rinse the jar and lid with warm water.
2. **Add soap and water:** Fill the jar about halfway with warm water, add a drop of dish soap, and blend on low for 20-30 seconds.
3. **Rinse again:** Empty the soapy water and rinse the jar and lid thoroughly.
H3: Deep Cleaning
* **Dishwasher-Safe Parts:** If your blender’s components are dishwasher-safe, take advantage of this for a more thorough clean. Place them on the top rack.
* **Manual Cleaning:** If parts aren’t dishwasher-safe, or for stubborn residue, use a soft brush or sponge to gently clean the blades and the inside of the jar. Be very careful when handling the blades – they are sharp!
* **Motor Base:** Never submerge the motor base in water. Wipe it down with a damp cloth. Ensure it’s completely dry before storing or using again.
H3: Blade Maintenance
Inspect the blades regularly for any signs of damage or dulling. If you notice significant wear, it might be time to consider replacing the blade assembly, if that’s an option for your model.
H3: Storage Solutions for Small Kitchens
The whole point of a compact blender is to save space. Here’s how to store it effectively:
* **Countertop (if space allows):** If you have a dedicated small spot, you can leave it out for frequent use.
* **Inside Cabinets:** The ideal solution for most. Store the motor base and jar separately if needed to fit them into tighter spaces.
* **Utilize Vertical Space:** Consider wall-mounted racks or hooks if your blender parts are lightweight and have a place to hang.
* **Within Other Appliances:** Some smaller blenders might fit inside a larger appliance like an air fryer or a slow cooker when not in use, provided they are dry and clean.
Troubleshooting Common Compact Blender Issues
Even the best compact blenders can encounter minor hiccups. Here are some common problems and how to solve them:
H3: Blender Not Turning On
* **Check Power:** Ensure the blender is securely plugged into a working outlet.
* **Check Assembly:** Make sure the jar is properly locked onto the motor base as per your model’s instructions. Many blenders have safety interlocks that prevent operation if not assembled correctly.
H3: Inconsistent Blending or Chunks Left
* **Ingredient Order:** Try re-layering your ingredients (liquids first, harder ingredients last).
* **Don’t Overfill:** Reduce the amount of ingredients.
* **Pulse Function:** Use the pulse function more frequently to break down larger pieces.
* **Add More Liquid:** Sometimes, a bit more liquid is needed to help the blending process.
H3: Leaking
* **Lid Security:** Ensure the lid is on tightly and all seals are in place.
* **Overfilling:** You might be filling the jar too full.
* **Cracked Jar:** Inspect the jar for any cracks or damage. If found, replace the jar.
H3: Overheating
* **Blend in Bursts:** Avoid running the blender continuously for too long.
* **Don’t Overload:** Avoid trying to blend excessively hard ingredients for extended periods.
* **Allow Cooling:** Let the motor cool down between blending sessions.
Conclusion: Embrace the Compact Blend
Living with a small kitchen doesn’t mean you have to compromise on delicious, healthy, and convenient food and drinks. Compact blenders are a testament to smart design and powerful functionality packed into a space-saving package. By understanding your needs, choosing wisely, using your blender correctly, and maintaining it with care, you can unlock a world of blending possibilities without sacrificing precious counter or cabinet space. So, go ahead, find your perfect compact blender, and start creating your favorite smoothies, sauces, and more, all while embracing the efficiency and charm of your small kitchen. Happy blending!
