

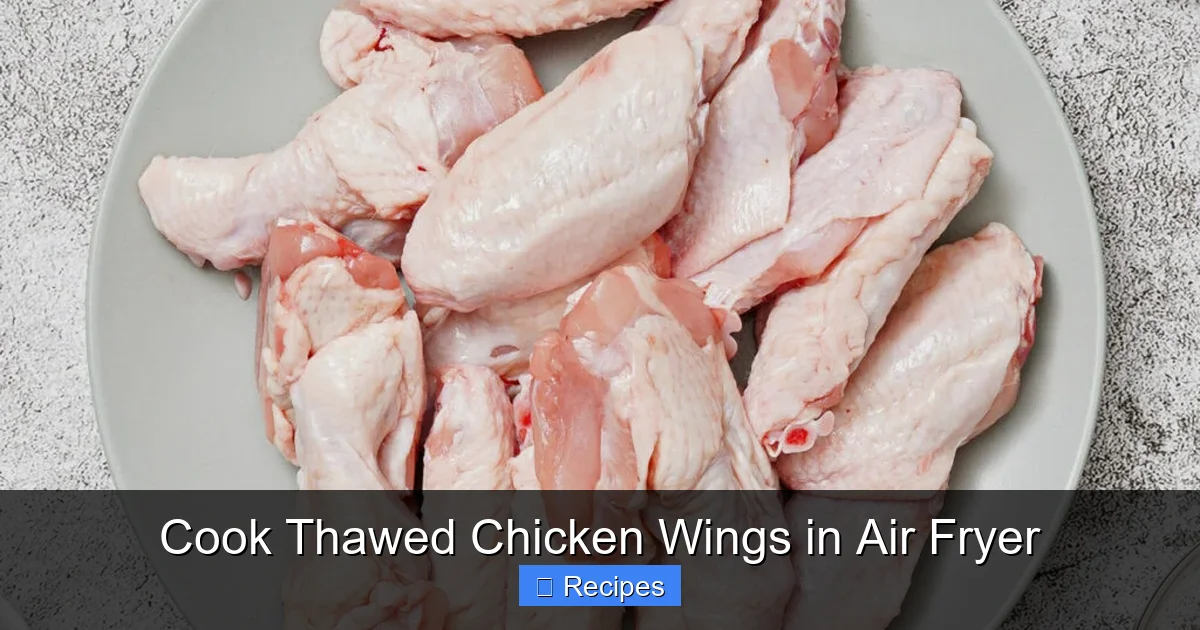
Cooking thawed chicken wings in an air fryer is fast, healthy, and delivers crispy, restaurant-style results at home. With minimal oil and no deep frying, you get golden-brown wings that are tender inside and crunchy outside—perfect for game day, snacks, or weeknight dinners.
If you’ve ever craved crispy, juicy chicken wings without the mess of deep frying, you’re in the right place. Cooking thawed chicken wings in an air fryer is one of the easiest and healthiest ways to enjoy this beloved snack or meal. Whether you’re hosting a party, feeding a hungry family, or just treating yourself, air-fried wings deliver that satisfying crunch and rich flavor—minus the guilt.
Unlike traditional frying, which requires gallons of oil and leaves your kitchen smelling like a diner, air frying uses rapid hot air circulation to crisp up the skin while keeping the meat moist. And when you start with thawed wings—instead of frozen—you cut down cooking time and ensure more even results. Thawed wings cook faster, absorb seasonings better, and develop a more uniform golden-brown finish. Plus, there’s no need to worry about icy centers or uneven doneness.
Key Takeaways
- Prep properly: Pat wings dry and season well before cooking for maximum crispiness and flavor.
- Cook at 380°F–400°F: This temperature range ensures even cooking and a crispy skin without drying out the meat.
- Cook for 20–25 minutes: Flip halfway through to promote even browning and avoid hot spots.
- Don’t overcrowd the basket: Leave space between wings so hot air can circulate freely.
- Use a light oil spray: A quick spritz helps achieve that golden, crispy texture without excess fat.
- Check internal temperature: Wings are safe when they reach 165°F (74°C) on a meat thermometer.
- Serve immediately: Air-fried wings are best enjoyed hot and fresh for peak crispness.
📑 Table of Contents
Why Thawed Wings Work Best in the Air Fryer
When it comes to air frying chicken wings, starting with thawed meat makes a big difference. Frozen wings can be cooked directly in some air fryers, but they often take longer and may not crisp up as well due to excess moisture. Thawed wings, on the other hand, respond beautifully to the high-heat environment of an air fryer.
Even Cooking and Better Texture
Thawing your wings before cooking allows heat to penetrate evenly from the start. This means the skin crisps up nicely while the inside stays tender and juicy. Frozen wings, by contrast, can end up with a rubbery exterior or undercooked center if not monitored closely. For best results, thaw wings in the refrigerator overnight or use the defrost setting on your microwave if you’re short on time.
Enhanced Flavor Absorption
Dry wings absorb marinades and dry rubs much more effectively than frozen ones. When you season thawed wings, the spices and herbs cling to the surface and infuse the meat during cooking. This leads to deeper, more complex flavors—something that’s harder to achieve with frozen wings straight from the package.
Step-by-Step Guide to Cooking Thawed Chicken Wings
Ready to get started? Follow these simple steps for perfect air-fried wings every time.
1. Prep Your Wings
Start by removing the wings from the fridge and patting them completely dry with paper towels. Moisture is the enemy of crispiness, so this step is crucial. If your wings come with the wingettes and drumettes still attached, you can separate them using kitchen shears or a sharp knife—though many pre-cut options are available at the store.
Next, toss the wings in a bowl with your favorite seasonings. A basic mix of salt, black pepper, garlic powder, and paprika works great, but feel free to get creative. Add a pinch of cayenne for heat, or try a smoky barbecue rub for bold flavor. For extra moisture and flavor, you can also marinate the wings for 30 minutes to 2 hours before cooking.
2. Preheat the Air Fryer (Optional but Recommended)
While not all air fryers require preheating, doing so helps ensure consistent results. Set your air fryer to 380°F (193°C) and let it run for 3–5 minutes before adding the wings. This gives the cooking chamber time to reach the ideal temperature, which promotes faster crisping.
3. Arrange Wings in a Single Layer
Place the seasoned wings in the air fryer basket in a single layer, making sure they don’t overlap. Overcrowding blocks airflow and leads to steamed rather than crispy wings. If you’re cooking a large batch, it’s better to cook in two rounds than to cram too many wings in at once.
For an extra-crispy finish, lightly spray the wings with cooking oil (like avocado or olive oil spray). This step isn’t mandatory, but it helps the skin brown and crisp up more effectively.
4. Cook and Flip
Cook the wings at 380°F for 10 minutes, then flip them over using tongs. Return them to the air fryer and cook for another 10–15 minutes, or until the skin is golden brown and the internal temperature reaches 165°F (74°C). Total cook time usually falls between 20 and 25 minutes, depending on the size of the wings and your air fryer model.
5. Check for Doneness
Use a meat thermometer to check the thickest part of the wing—avoiding the bone. If it reads 165°F, your wings are safe to eat. If not, cook in 2-minute increments until done. Overcooking can dry out the meat, so keep a close eye during the final minutes.
Tips for Extra-Crispy Air-Fried Wings
Want that perfect crunch? These pro tips will take your wings to the next level.
Use a Wire Rack (If Available)
Some air fryer models come with a wire rack insert. Placing wings on the rack elevates them slightly, allowing hot air to circulate underneath. This helps crisp the bottom as well as the top, giving you all-around golden perfection.
Add Cornstarch to the Seasoning
For an ultra-crispy exterior, toss your seasoned wings with 1–2 tablespoons of cornstarch before cooking. The cornstarch absorbs moisture and creates a light, crunchy coating that mimics deep-fried texture—without the oil.
Don’t Skip the Flip
Flipping the wings halfway through ensures even browning. Air fryers can have hot spots, so rotating the wings helps prevent one side from burning while the other remains undercooked.
Serving Suggestions and Pairings
Once your wings are done, serve them hot for the best texture and flavor. Classic pairings include blue cheese or ranch dressing, celery sticks, and carrot sticks. For a spicy kick, toss the cooked wings in your favorite hot sauce—like Frank’s RedHot or Sriracha—right after cooking.
These wings also pair well with sides like air-fried hash browns, coleslaw, or a simple green salad. And if you’re looking for a complete meal, consider serving them alongside crispy air-fried chicken thighs or juicy air-fried chicken breasts.
Storing and Reheating Leftovers
While air-fried wings are best eaten fresh, leftovers can be stored in an airtight container in the refrigerator for up to 3 days. To reheat, place them back in the air fryer at 350°F for 3–5 minutes until warmed through and crispy again. Avoid using the microwave, as it tends to make the skin soggy.
For longer storage, you can freeze cooked wings. Let them cool completely, then transfer to a freezer-safe bag. When ready to eat, reheat directly in the air fryer—no need to thaw first. Just add a few extra minutes to the cooking time.
Common Mistakes to Avoid
Even seasoned cooks can make errors when air frying wings. Here are a few pitfalls to watch out for:
- Not drying the wings: Wet wings won’t crisp up. Always pat them dry before seasoning.
- Overcrowding the basket: This traps steam and leads to soft, chewy skin.
- Skipping the flip: Uneven cooking is common if wings aren’t turned halfway through.
- Using too much oil: A light spray is enough—too much can cause smoking or greasy results.
- Ignoring internal temperature: Always check with a thermometer to ensure food safety.
Conclusion
Cooking thawed chicken wings in an air fryer is a game-changer for anyone who loves crispy, flavorful wings without the hassle of deep frying. With just a few simple steps—proper prep, even spacing, and the right temperature—you can achieve restaurant-quality results at home in under 30 minutes. Whether you’re making them for a party, a quick dinner, or a snack, air-fried wings are sure to impress.
So next time you’re craving that perfect crunch, skip the oil and fire up your air fryer. Your taste buds—and your kitchen—will thank you.
Frequently Asked Questions
Can I cook frozen chicken wings in the air fryer instead?
Yes, you can cook frozen wings in the air fryer, but thawed wings cook more evenly and crisp up better. If using frozen, add 5–7 minutes to the cook time and check frequently to avoid undercooking. For detailed instructions, see our guide on how to cook frozen chicken wings in air fryer.
How long do I cook thawed chicken wings in the air fryer?
Thawed chicken wings typically take 20–25 minutes at 380°F (193°C). Flip them halfway through and check the internal temperature—it should reach 165°F (74°C) for safe consumption.
Do I need to preheat the air fryer for wings?
Preheating isn’t always required, but it helps achieve better crispiness and more consistent results. We recommend preheating for 3–5 minutes at 380°F before adding the wings.
Can I bread my thawed wings before air frying?
Absolutely! For breaded wings, coat them lightly in flour, egg wash, and breadcrumbs or panko. Spray with oil and air fry at 375°F for 18–22 minutes, flipping halfway. Check out our tips on how long to cook breaded chicken in air fryer for more details.
Why are my air-fried wings soggy?
Sogginess usually happens when wings aren’t dried properly, the basket is overcrowded, or they’re not flipped during cooking. Make sure to pat wings dry, leave space between them, and turn them halfway through.
How do I reheat leftover air-fried wings?
Reheat wings in the air fryer at 350°F for 3–5 minutes until hot and crispy. Avoid the microwave, as it makes the skin soft. For best results, see our guide on how to reheat chicken wings in air fryer.
